| Date: 07-19-2012 | |
| Number of Hours: 14 | |
| Manual Reference: 6-5 |
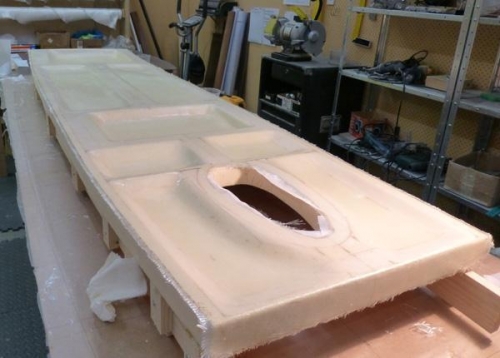
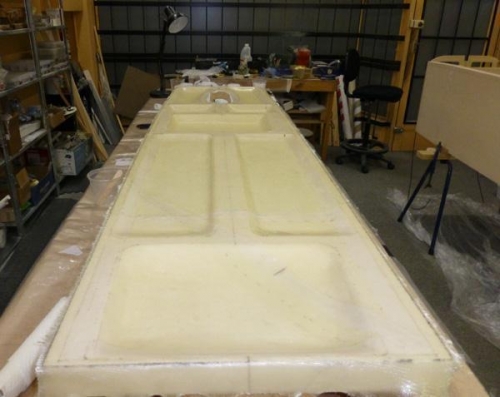
This layup took 13 hours and next time I’ll find an assistant. Pheeeeewww
First the foam was covered in micro and then this is removed leaving just a film to fill the cell holes. a good couple of hours in the end. Then the first layer of BID is positioned and the end piece nearby.
Then the epoxy work begins. My contours were too deep or at least too abrupt on the bottom and I did my best to get it to lay down. It just wouldn’t in places no matter how I tried so I have a few small air voids to fill later. The bulk is OK it just takes a really long time to do.
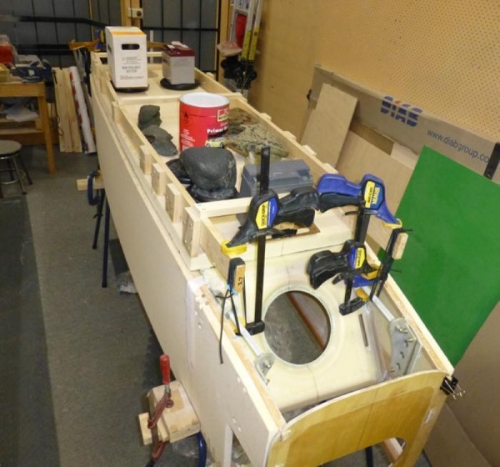
Once the floor was glassed then I mixed flox and applied it to both mating surfaces with the bulk on the fuselage. I should have had an assistant to move the floor into position but it worked out OK.
I spent some time ensuring it was straight although I’m 1mm out at the aft end. The fuselage is still straight however. I ensure the top was on tight and cleaned up all the excess flox from underneath .
There are some inside pics of the layup in the next (or previous log entry)
Floor layup begins
Layups done
Clamping the floor


