| Date: 10-02-2021 | |
| Number of Hours: 8 | |
| Manual Reference: 11 |
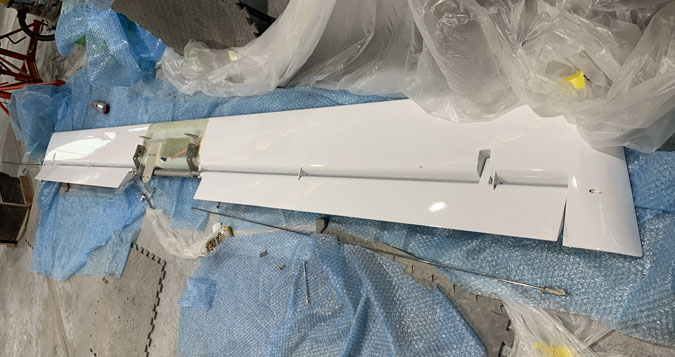
This is the post paint elevator set up where I get to put the hinge pins in… again.
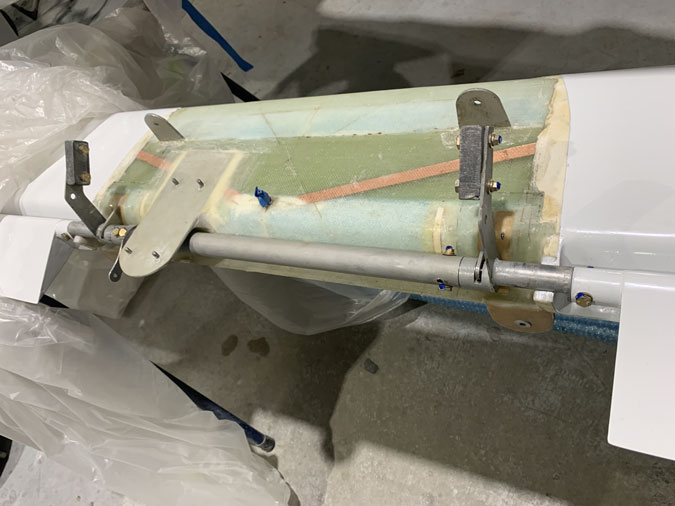
Here the long pins are not yet installed. Its a bit of a fiddle as the center torque tube and offset pieces all have to fit together. Getting these pins in is a bit of a horror job on these planes.
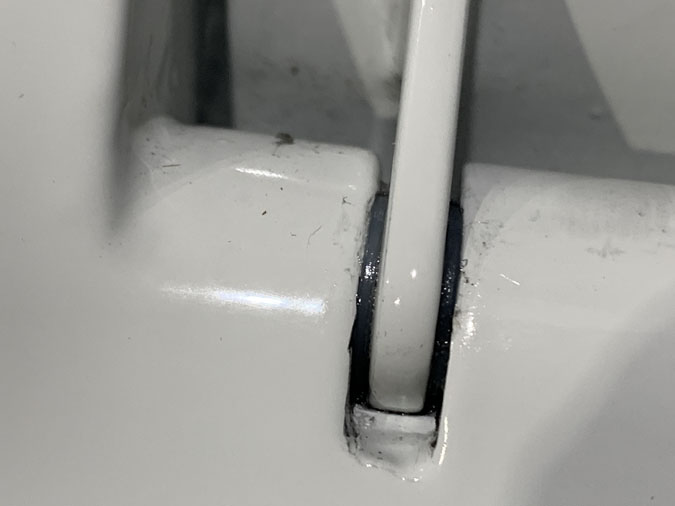
Sadly the hinges went in and out a few times. I did have metal washers installed to eliminate end play. It is very hard to get these in with the pins. The elevators were too stiff so I took them out, with the pins of course having to come out again. I checked the plans and there were no washers showing. After a bit of a think all I could see them doing would be the reduce end play.
I sourced some nylon ones just for the outer edges.
Well the elevators were still a bit tight. After more goes I had one pin all the way in. Then I realised the washers had to go. I cut them out with a razor blade in-situ. Fun? Not so much.
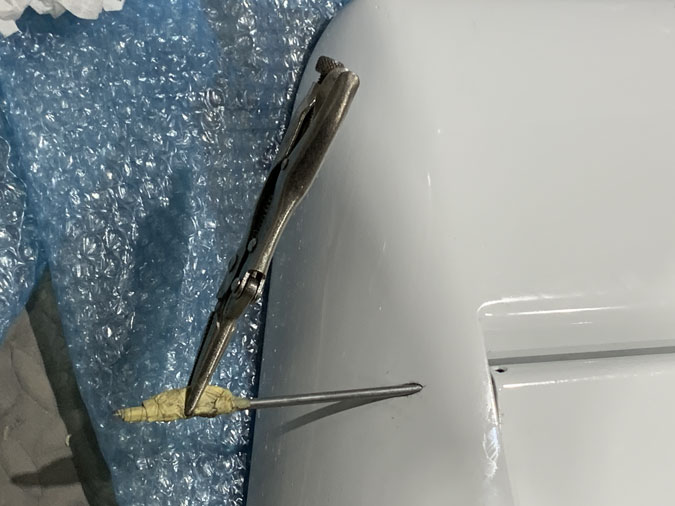
I got the other pin almost fully in and that was it. I finally realised that it was hitting a through bolt inboard of the offset crank. I thought about it overnight and just shortened the rod. It was doing nothing being 2 inches longer hanging in space. Yeap, the pin came out and went in again. Vise grips, WD40 and anything else in the cupboard.
At the end of the second day, well after dark, they were in.
I finished off the center section with new hardware and a bit of blue torque seal. That’s my code for ‘this item is secured ready for flight’.
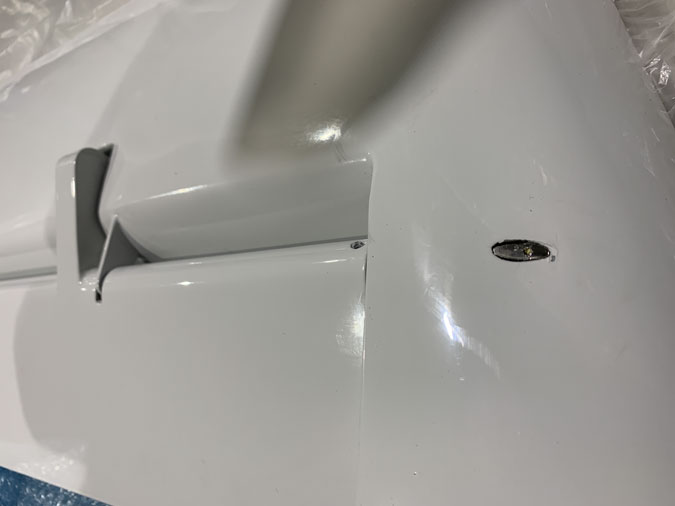
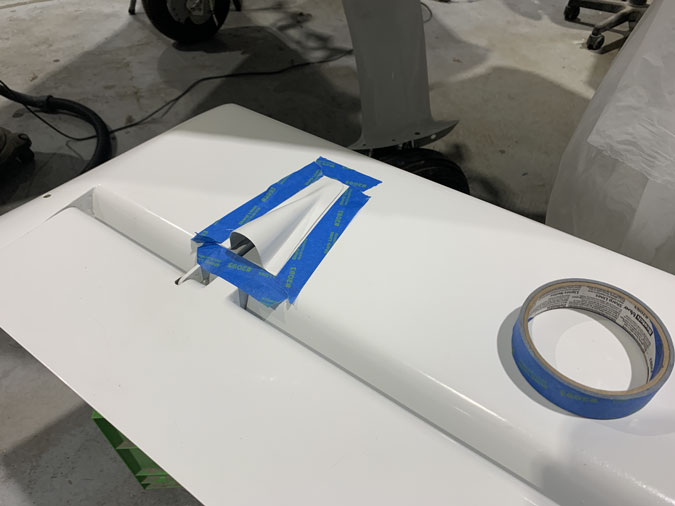
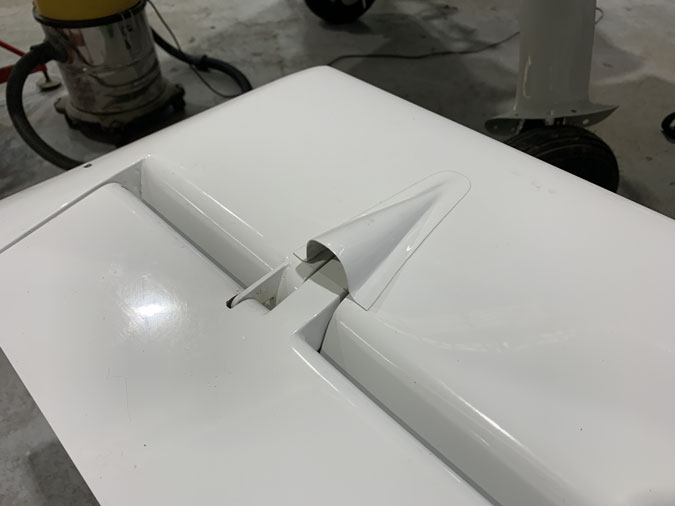
I made these Ice shields that fit over the counter weights ages ago and they were painted with all the other bits. I don’t know if the larger sleeker format that the usual covers was a good idea or not. Better airflow over them maybe but bigger wetted area too.
They fit, the elevators swing full range, they are balanced and the full up, full down are within specs. We are good to go.

