| Date: 10-15-2019 | |
| Number of Hours: 25 | |
| Manual Reference: no ref |
Yes its time to get the ferry tank sorted out. Or at least make a good start with the fitting.
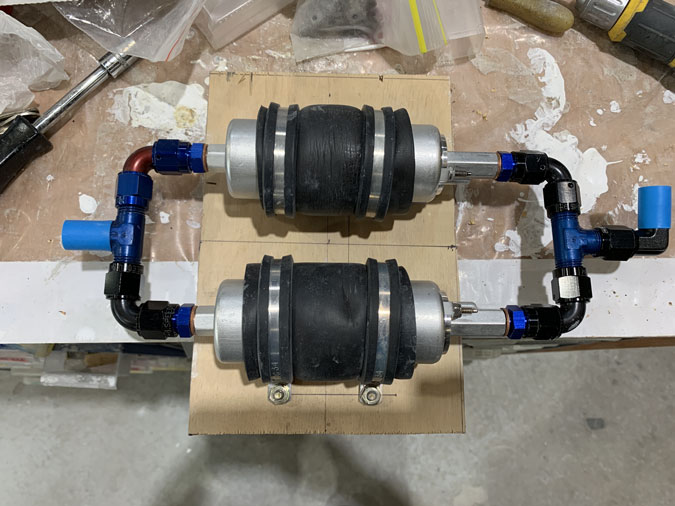
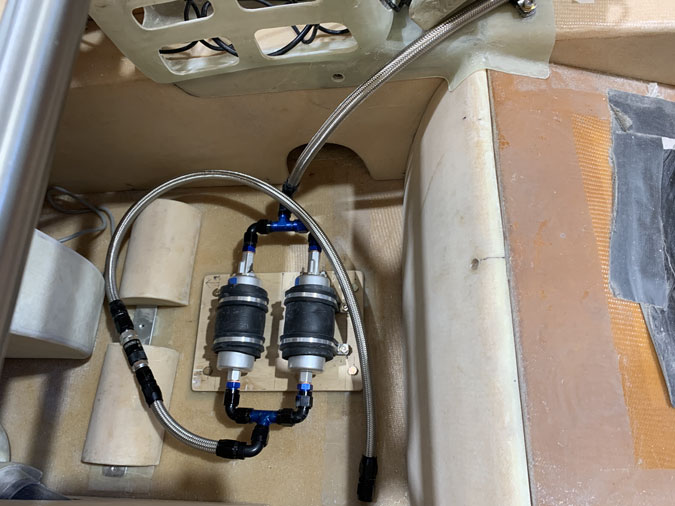
After a lot of fiddling around I got a bunch of ‘Speedflow’ fittings together on a piece of firewall plywood. You get the idea? Two pumps that start and end up in the same places. I have the Adel clamps as well which should allow for the vibrations that pumps seem to have.
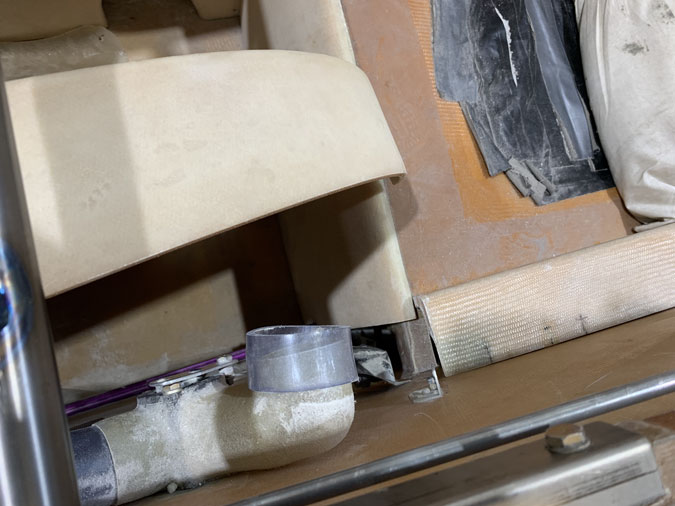
I tried fitting the ferry tank in place and soon realised that I’d put the back seat heat outlet in the wrong place. Doh!
Its pointing inwardly and would rub against the tank. Not a good idea.
After a LOT of work I have removed the internal pipe, re-positioned it backwards and made a new hole for the outlet, I had to fill in the old hole of course. I’m very happy with the result because it will now work a lot better for the person in the back seat (GIB) and also be clear of the ferry tank when it is installed.
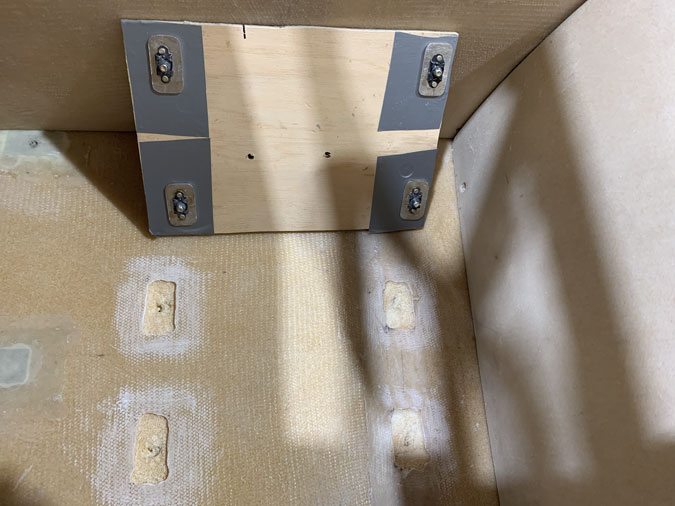
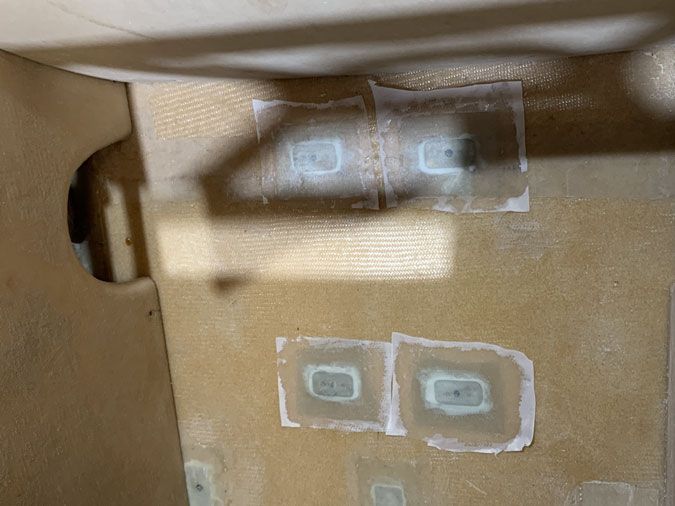
Back to the pump install. I needed hardpoints in the floor.
A few processes later the new fittings are secured with 2 ply of BID and with a bit of peel ply and yet another overnight cure.
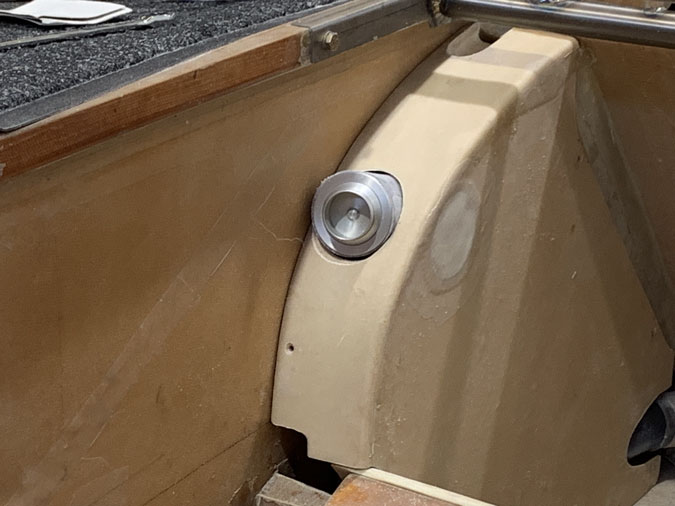
The pump base is now secured to the floor with 4 X AN3 bolts and is rock solid. I have gone for Speed Flow 100 rubber pipes with the SS braid. Teflon has issues with bending and these hoses will get plenty. You might also notice a fitting which is a ‘dry break’. This allows me to disconnect the hose without getting any left over fuel leaking out.
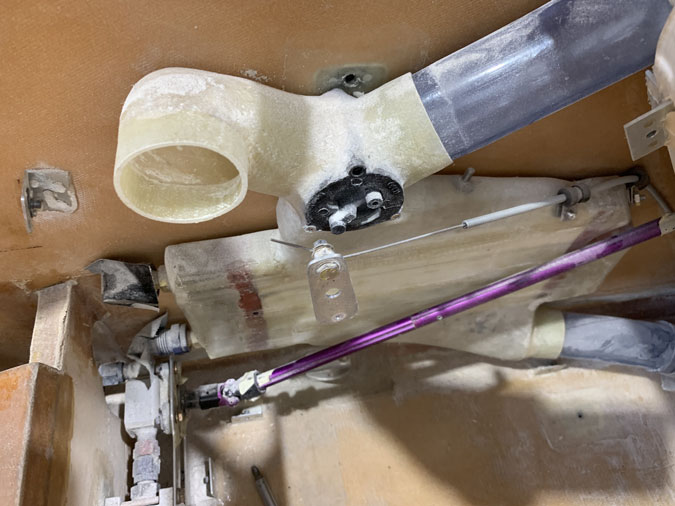
The curve in the bottom hose will go to the bottom of the ferry tank. The other hose goes to the right hand side main tank as a top up.
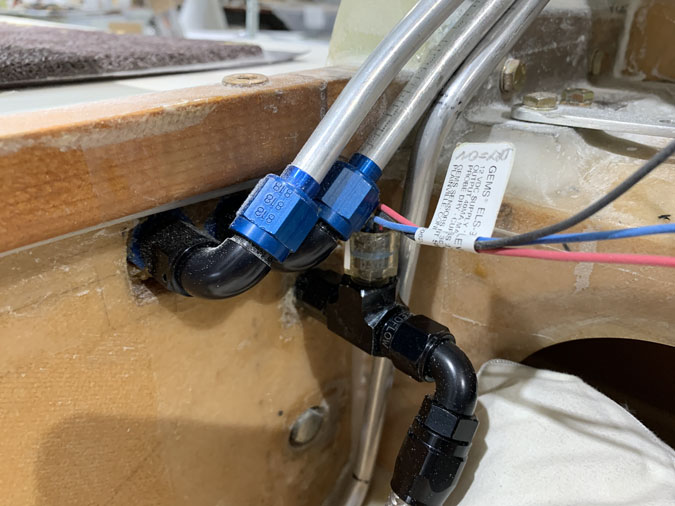
Here’s the RHS hose entry from the ferry set up. The fitting above allows for a GEMS liquid sensor to tell me if the ferry tank pump is delivering fuel. I think this will work. If it doesn’t I’ll go to a pressure sensor instead.

