| Date: 02-28-2017 | |
| Number of Hours: 5 | |
| Manual Reference: 16-1 |
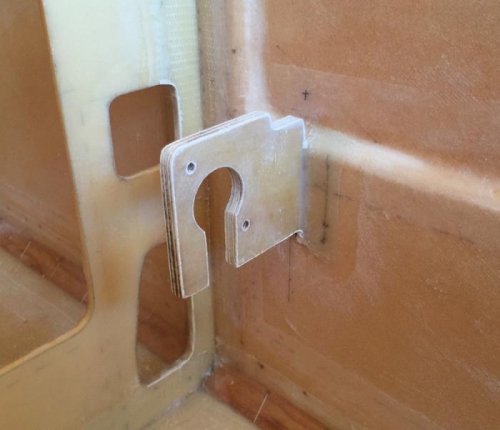
Having spent the time on where CS109 goes it was more fun getting it done. Pic 1 shows how I set the piece in position ready to flox in place. I hot glued a sharpened stick on the top to act as a pointer. A bit of scrap foam was hot-glued in place to get the level right and he same sort of thing to keep it upright. I wanted an easy way of just placing the little bulkhead in position so it would stay there.
I added my pure epoxy and flox and when I was happy with the position, hot glued the blue foam to the base. Worked a treat. I added a bit of flox down the edges too for a nice transition and peel plyed it.
The next day I cleaned it all up and layed up three plys of BID both sides using the usual foil method. Pic 2 shows it all done and peel plyed. Plans have 2 ply but then it gets lapped over the arm rests. Mine are going to be removable so I wanted a bit extra strength here.
Pic 3 is today where I have cleaned it up carefully. Must be a better way than leaning over the side of the plane to do all this. 3plys a side and this is pretty solid now.
Positioning set up
BID plies and peel ply
Cleaned and trimmed


