| Date: 02-25-2014 | |
| Number of Hours: 10 | |
| Manual Reference: |
I pre heated the room over night and we maintained 26C throughout the layup. This took 9.5 hours with Miachel and myself the whole time and Darren able to stay for more than half the time.
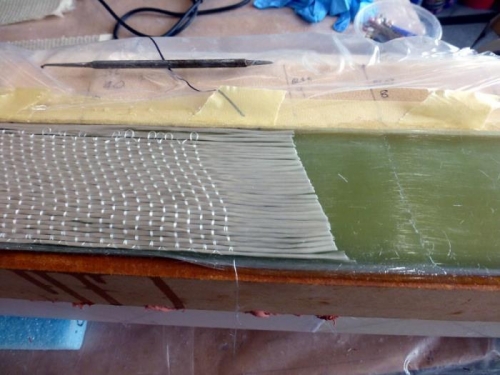
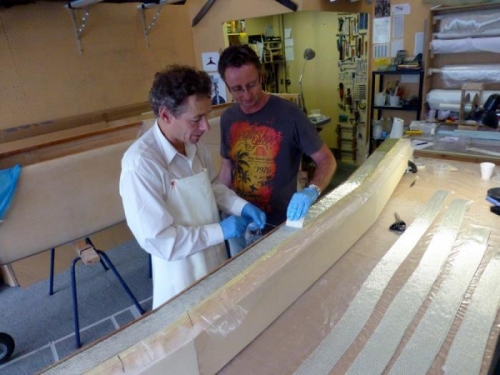
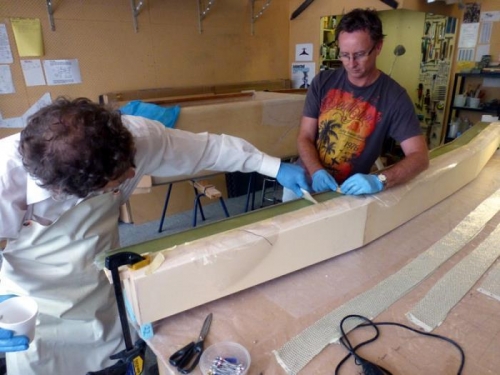
The first pic is to show you the cross threads. Once the cloth is down a key thread is taken out all along one edge which releases the cross threads. These you can see being removed in Pic 2. Once they are out the fibres can be layed up flat but there are also ‘free’ so it can get wild if you are not in control.
BTW the online log doesn’t show ‘partners’ where as the PC log software has a place for this… so for the record. Thanks to Darren Crompton and Michael Wood for their expert collaboration on this layup.
With Darren mixing epoxy in 130 gram batches we got each piece down, fibres as straight as we could get them and then with warm resin poured on we all just went at it with the 3″ wide squeegies. It was amazing how much pressure we could apply to the .025″ thick UNI tapes.
Once we got the hang of it things went relatively quickly. We really got all the air out that was possible and all the excess epoxy as well. It was easy to see as we went, it just takes a while despite moving as quickly as we could and still getting it right.
I feel very good about the quality of the spar cap, we can improve slightly next time but the result shows no trapped air and a really solid piece.
CS SPAR Layup Schedule for spar trough
TOP SPAR CAP
Plys Depth Length BL BL
6 0.15 113 56.5
7 0.175 100 50
8 0.200 94 47
9 0.225 90 45
10 0.250 80 40
11 0.0275 74 37
12 0.300 70 35
13 0.0325 60 30
14 0.0350 54 27
15 0.0375 50 25
16 0.400 40 20
17 0.425 34 17
18 0.450 30 15
19 0.475 24 12
1. Prep surface, light sand and wipe with acetone, vac and brush clean
2. 19 Plies UNI tape
3. Peel Ply
4. Plastic
5. Padding and weights
Cross thread removal
Miachael and Darren
Straightening out fibers


