| Date: 11-16-2024 | |
| Number of Hours: 11 | |
| Manual Reference: 23 |
Do we have a problem?
Yes the cowl is vibrating a little too much for my liking. It isn’t touching the ‘lampshade’ around the prop extension yet but it is certainly close. This is another thing I had put off to see if it was an issue or not. It is.
I had a pretty good idea how to fix this using a technique that goes all the way back to the Education Chapter 3 in the plans where you make a ‘confidence’ piece. I also looked to my good friend and build buddy in the US, Wade Parton, who did a sterling job in roughly the same place addressing the same problem. Of course no two builds are the same and mine came out a little wider and higher as I may have had a touch more room.
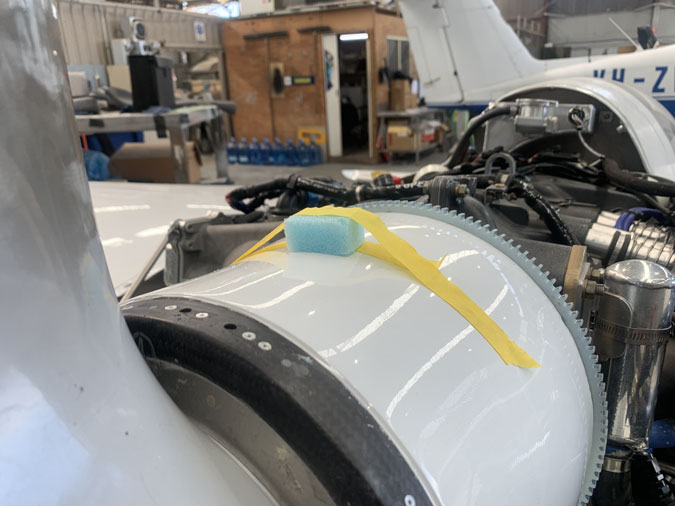
The first issue is how little room there is to put a stiffener in place and have a healthy gap to the bottom of the top cowl. It turned out to be even less than this blue block in total.
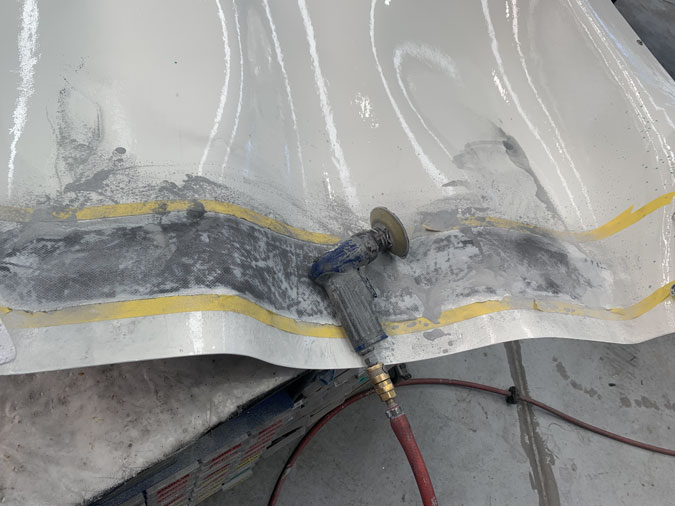
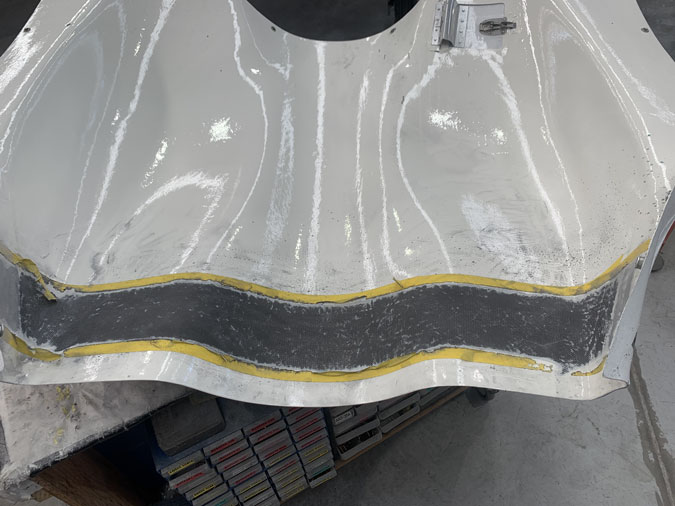
It took a couple of hours of sanding to get down to the carbon as that skilfully applied undercoat and two pack top coat really wanted to hang on.
I eventually got there without loosing much thickness at all. That’s why it took a while.
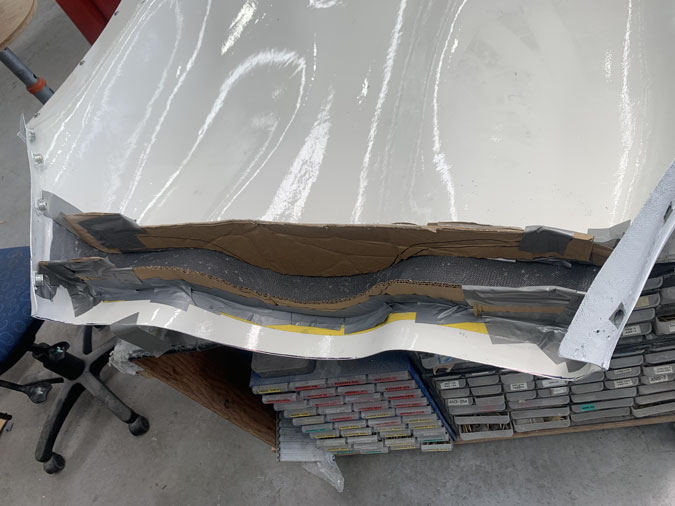
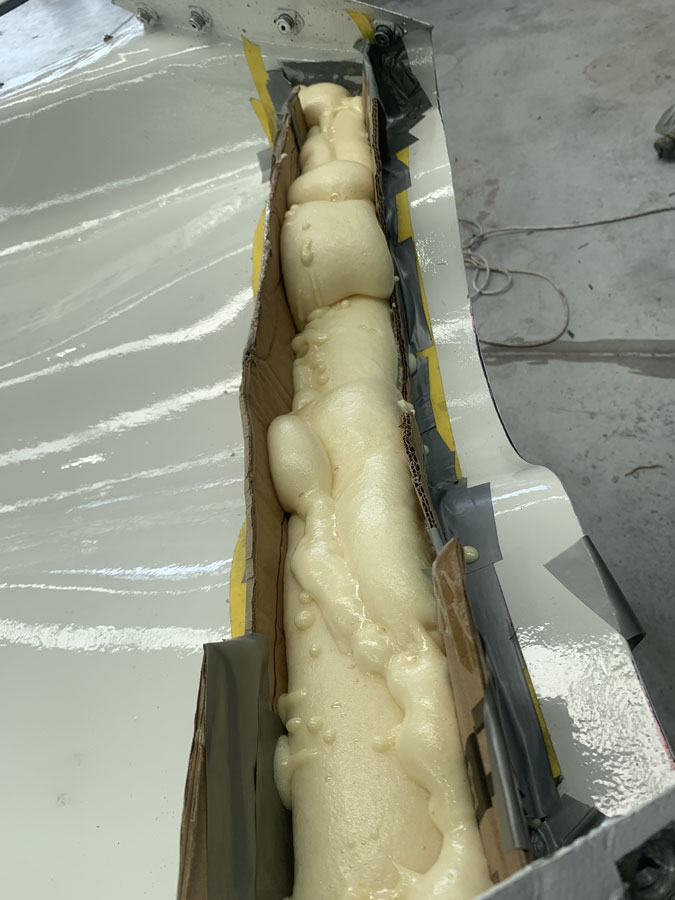
I made a less than elegant dam with scrap cardboard and duct tape.
Even uglier is the pour foam. This stuff is great. Nice and light, you just have to contain it. I do something like this in several layers or you know its going to go everywhere.
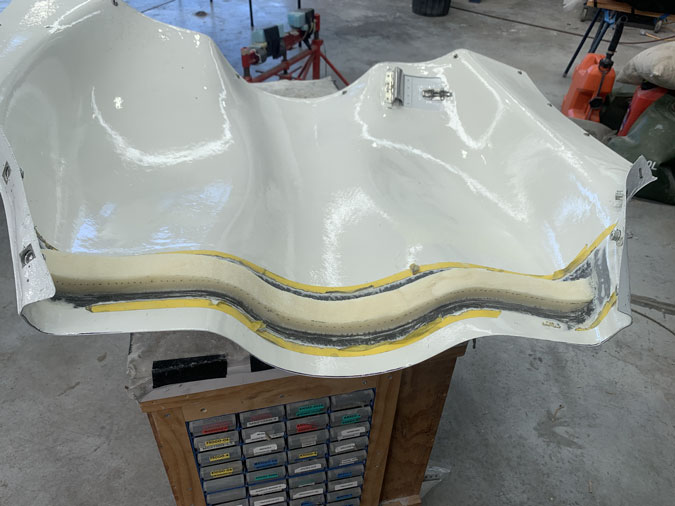
I like to progress evenly and then keep putting the cowl on to check the height.
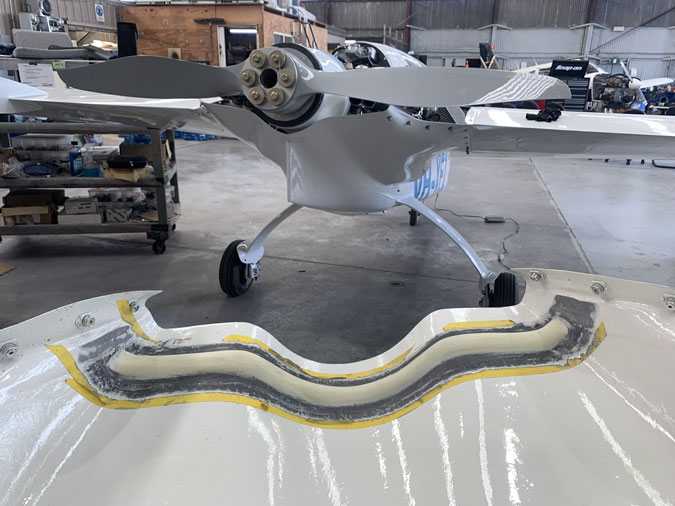
With the cowls done up and the clearance height confirmed, I went ahead and rounded the foam to make it ‘nice’.
Then I went ahead with a sort of pseudo hard shelling procedure. I knew putting micro on to transition the edges and then the carbon, it could get out of control. Here I have spent a while getting the micro smoother than it looks in the pic. I wanted it to be sticky but not fully cured for when the cloth went on.
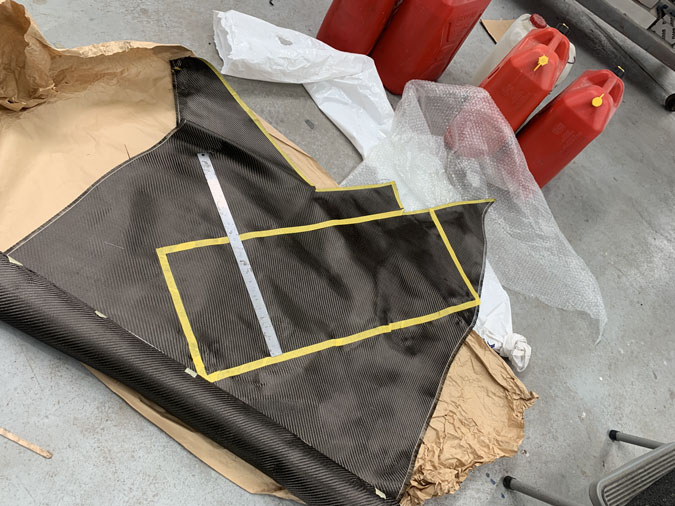
I’m going for three plies of BID at 45 degrees. Each piece is 4.2″ wide and 33″ long. The easiest way to do this is wet out the carbon in one piece, then cover it with another piece of plastic and squeegee all the air out. Then its a simple matter of cutting out the three long strips so you end up with exactly sized wetted out carbon with plastic both sides really for the layup.
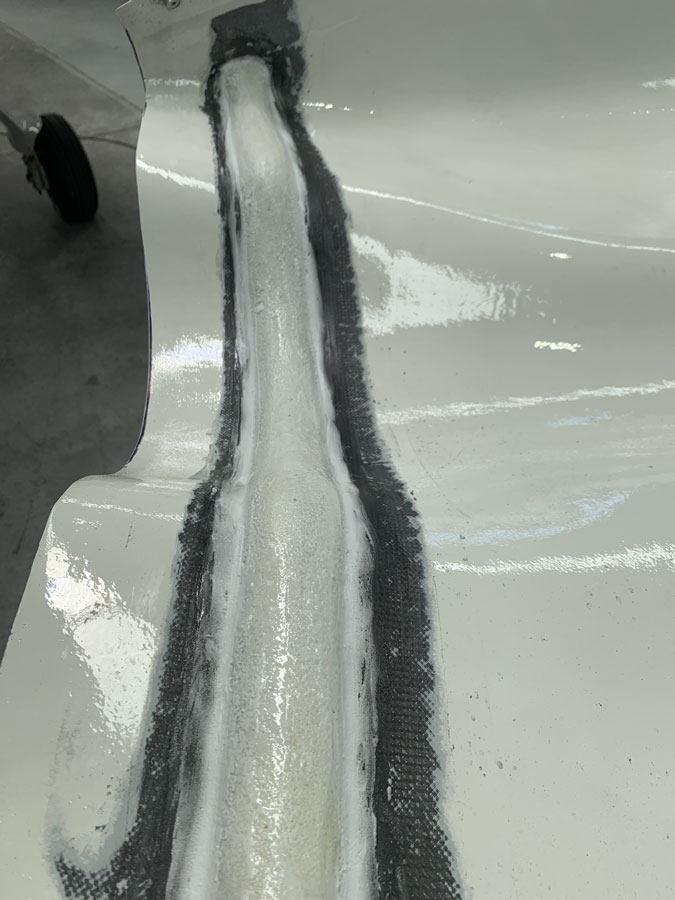
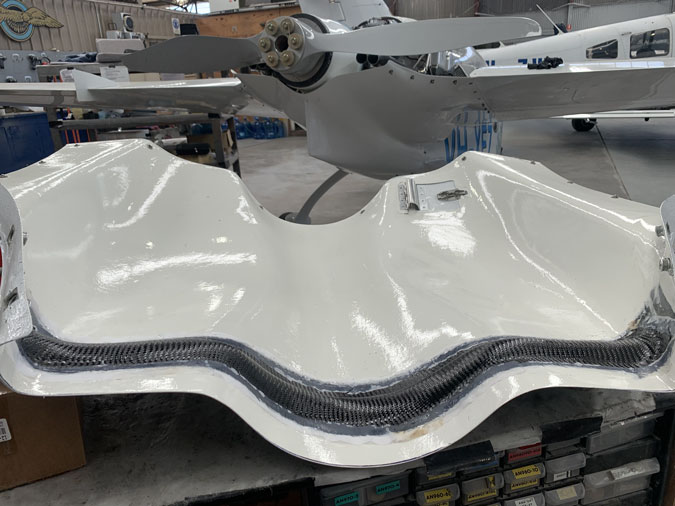
With all that prep work done, getting the carbon on is a piece of cake. I did peel ply just at the edges for a smooth transition. This often takes as long as putting the wet cloth down.
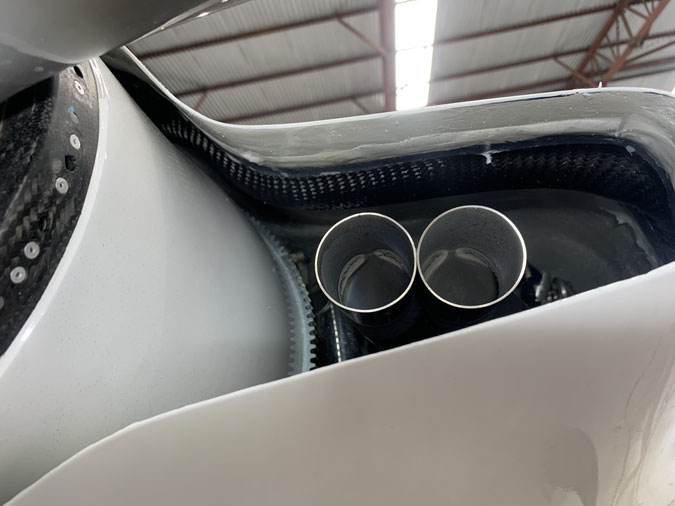
It looks like I have enough clearance in the middle. It is certainly too hard to photograph without breaking out the endoscope. Being cured enough and still at the ‘plastic’ stage I put the cowls on and let it go really hard in the correct position. This way the bend in the cowl should match where its going rather than fighting me every time I put it on.
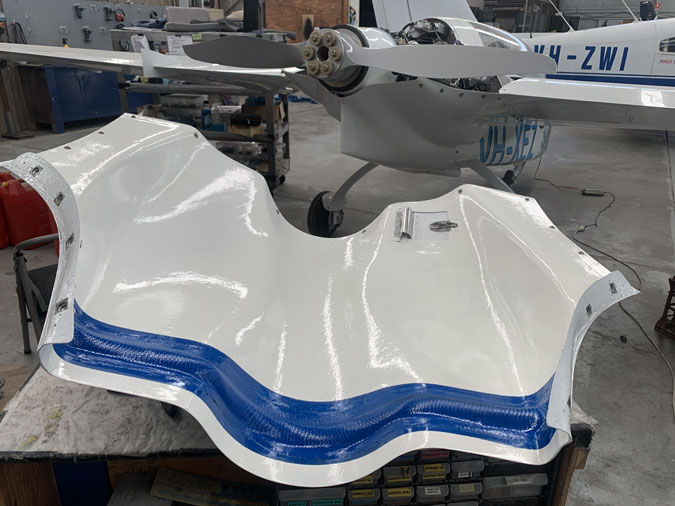
While the carbon looks great, I’m going to clean it up after the cure and hit it with some high temp paint to finish off.
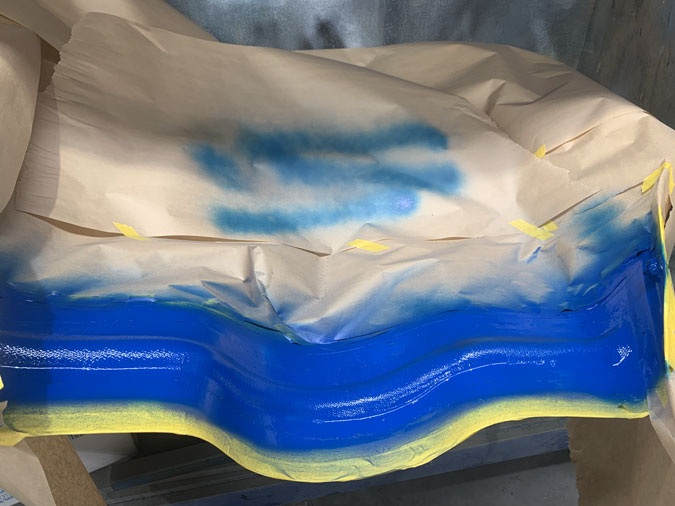
Despite all this masking care I did, there was some clean-up needed after a little ‘blue bleeding’. Paint doesn’t care how much time you put in. It shows no mercy, you have to get things absolutely perfect.
Why blue? Well it matches the registration marks on the sides. You can’t see it when the cowl is on AND it was easier than going to a spray booth and trying to match the white. Yes, I should have done this before paint. Here’s turning a mistake into a feature. Oh, and someone else suggested the colour too, so I can’t even take credit for the idea.
Post ‘adding the stiffener’ test. I’m really pushing on this and it is nice and solid compared to before. I don’t think it will be a problem with the engine running now. A bonus is that the top cowl is a bit easier to put on as it is more stable across the back. I’m calling this one done.

1 Comment. Leave new
Glad I could help! Haha!
Good job. The blue looks awesome.