| Date: 11-06-2018 | |
| Number of Hours: 13 | |
| Manual Reference: 23-2 |
Over three days this lower cowl install has been one of the more difficult challenges on the build. I don’t know why. Its probably me just missing the trick to it.
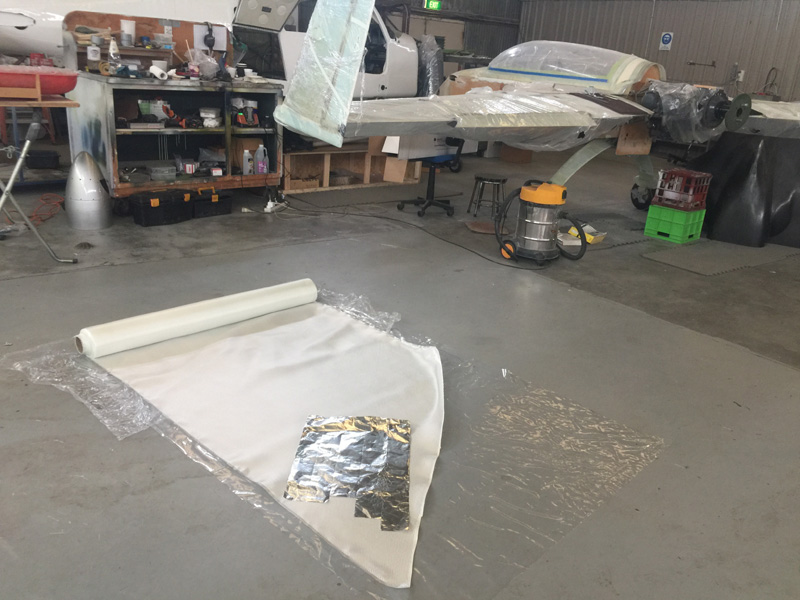
I have no cutting table so I’ll keep using the floor. I unroll fresh plastic so its clean and then label that side. No matter how clean I make the floor the reverse side is not usable for putting glass on.
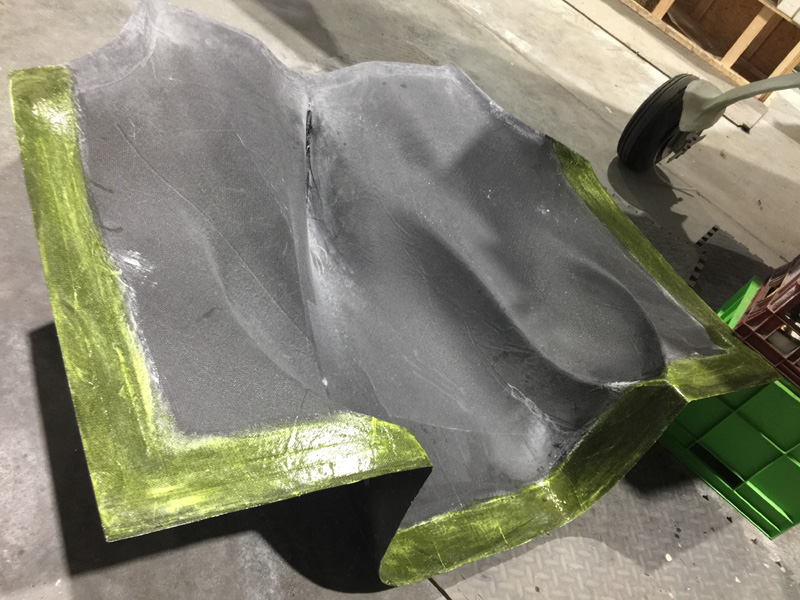
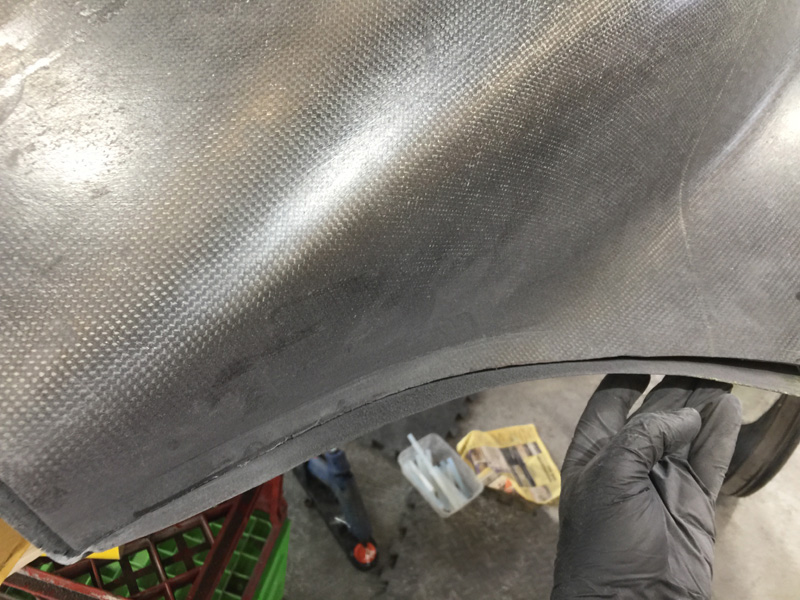
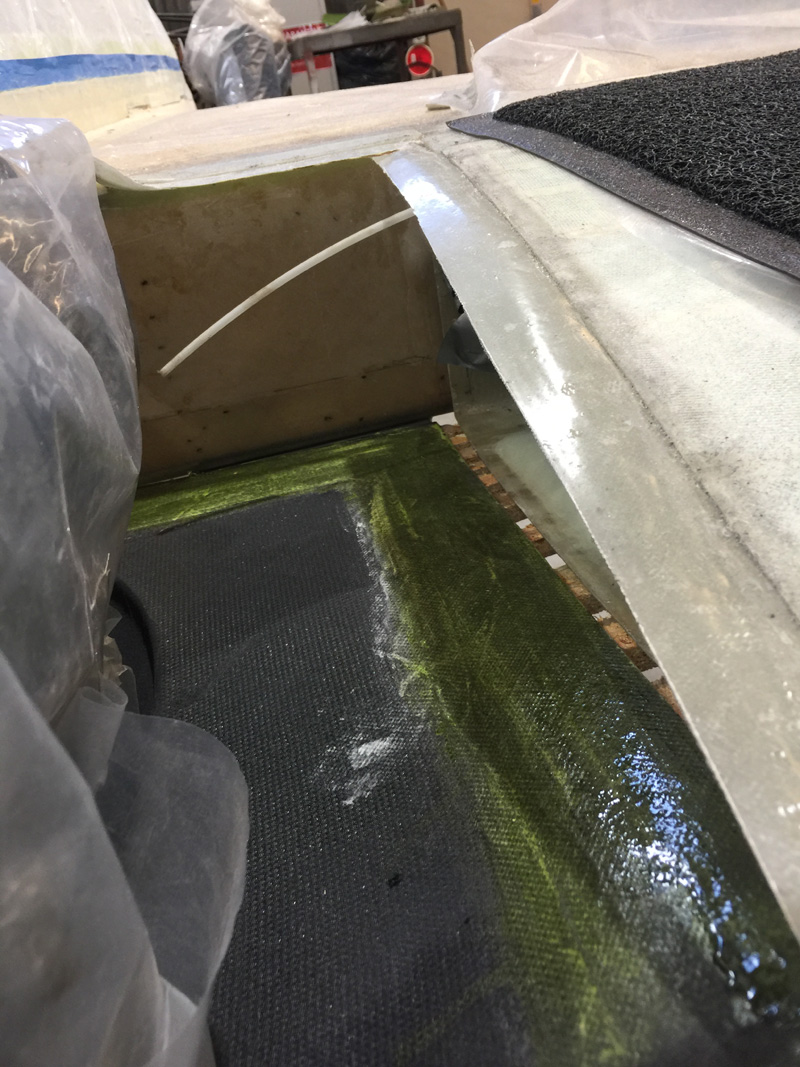
I tried using release tape on the cowls. At this point I’ve removed all the heavy peel ply, which is a job in itself. The usual grey plastic tape would peel off and curl after an hour, it just wasn’t sticking to the carbon. I drove home and got some mould wax and PVA green release liquid. I did about 4 coats of the wax and then spent a few hours doing about 8 coats of the green the next day. I wanted it thick like tape, which is what I finally got. The usual 2 coats on wax I think would not release well due to the deep weave in the carbon. Yes I will have to get that wax off later… fun to come.
I just couldn’t get the bottom cowl to sit and decided I needed to trim the top one. That helped a bit.
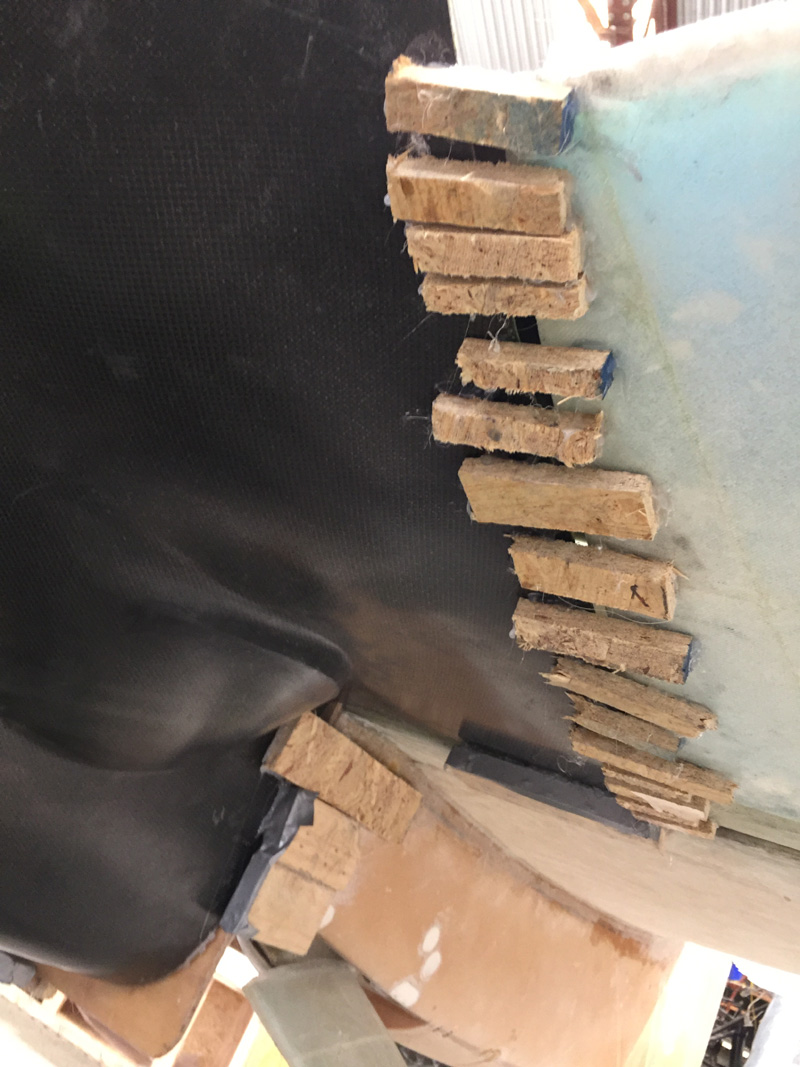
I got it to this stage a couple of times and used the hot glue to set it but it would pop out again. I tried the heat gun to get the cowl to play nice, it just didn’t work. I tried more cutting and trimming for some hours.
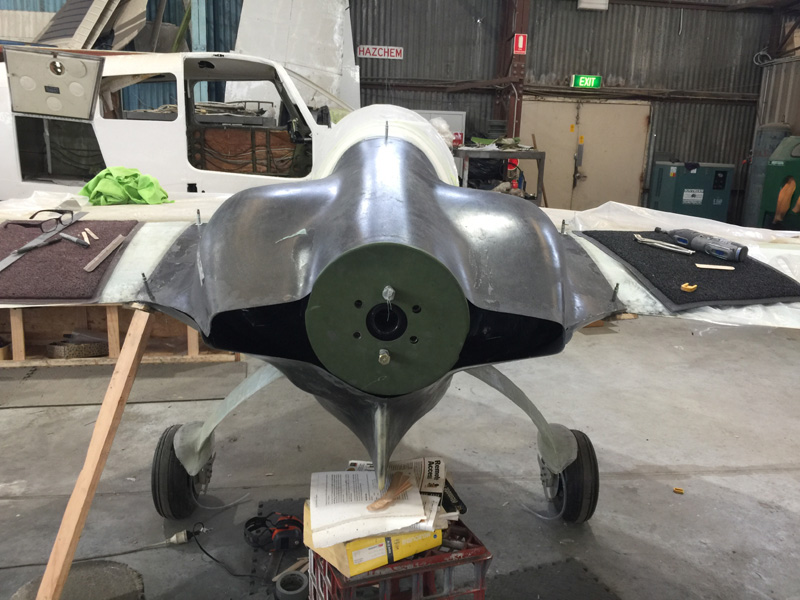
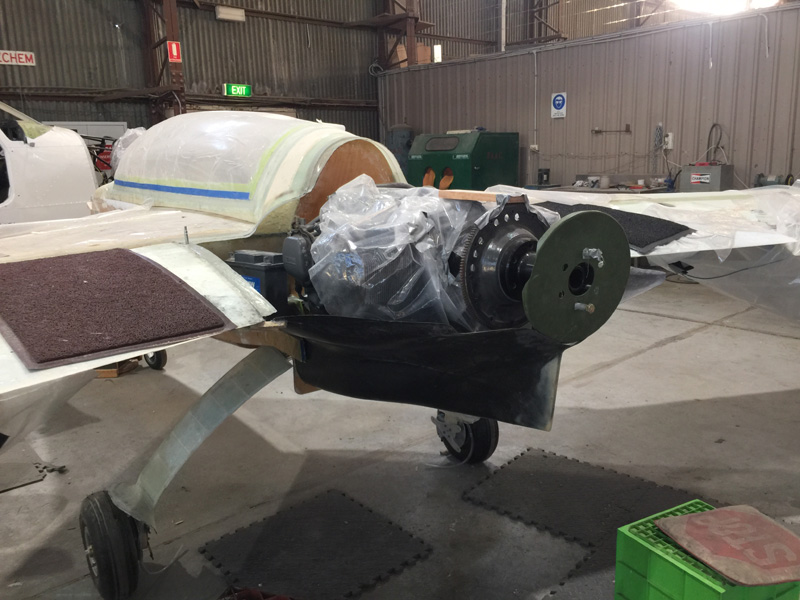
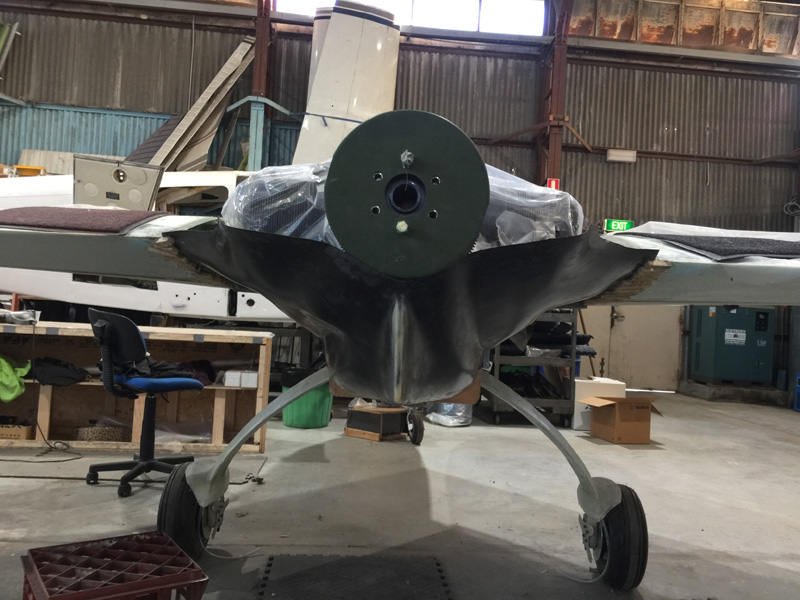
Eventually I resigned myself to gaps at the wing join and the cowl not fitting nicely in line with the fuselage sides. I can fix both things later. The side gaps you see above are easy. The fuselage lining up will be a little more challenging. Getting it to sit was still not easy with blocks and hot glue as you see above.
Quite a gap here. If I had a second bottom cowl I wouldn’t trim the sides at all. I’d leave them wide and place them on the outside of the wing. Fit in place and then consider the trim right at the end when you are 100% sure all is good. I thought I was OK when I did it but not so.
Finally I had a cowl on and reasonably as straight as it would go. That thing is not perfectly symmetrical just to add to the challenge. This was into the evening with the last part being to put on the tapes.
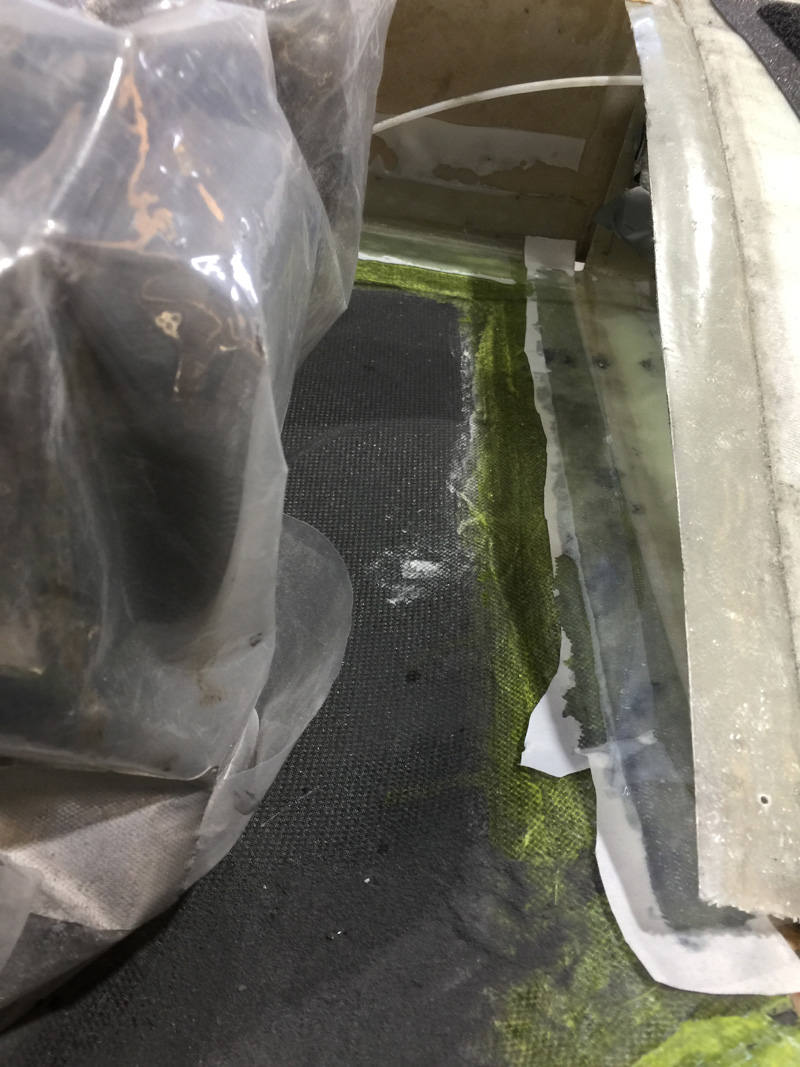
The wing and upper spar tapes were easy enough to place.
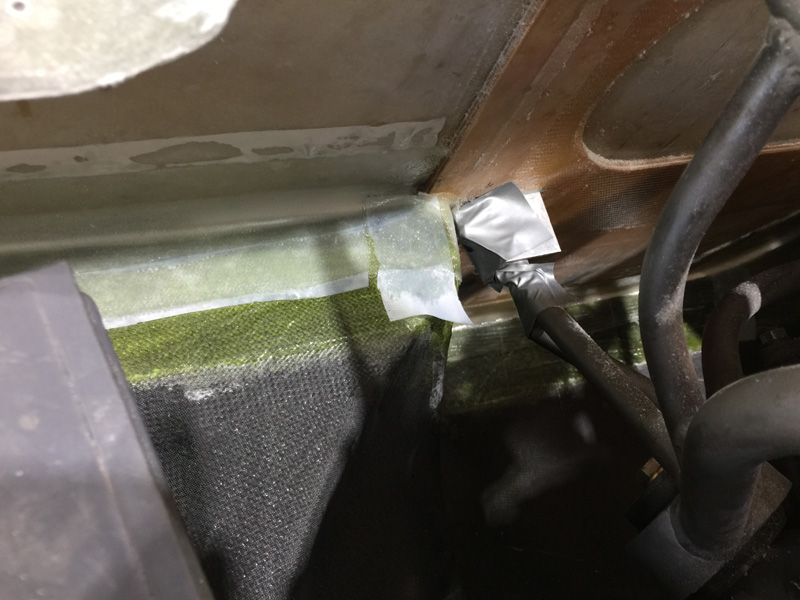
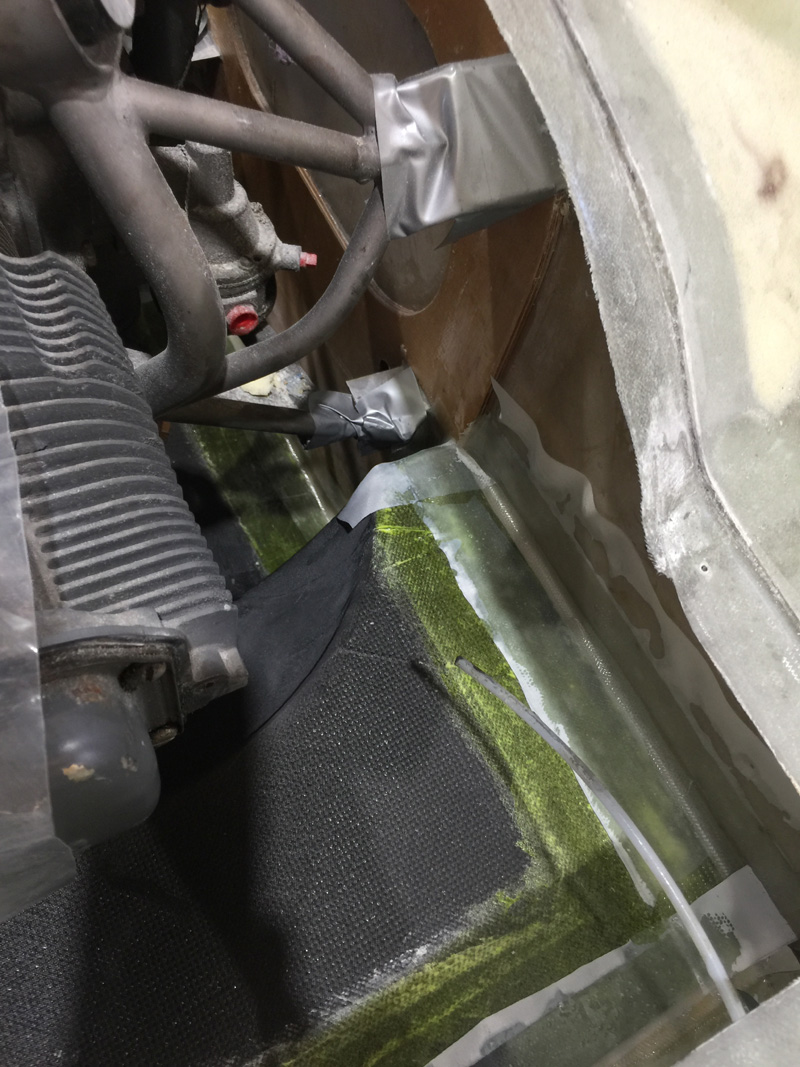
The tape on the firewall took a little digging and diving. If the engine was easy to take off I would have. The crane is in use in the hangar at the moment so that wasn’t an option. Frankly its not that hard to reach down, especially using the foil and plastic method.
Its on, thats the main thing.
Hard to tell in the pic but it is as straight as I can make it. I’ll give it a couple of days to cure and then still a bit more work to secure the cowls with some cutting and trimming. There is the top rear cowl lip layup and reinforcing of the existing tapes. This has been tough, I hope if you are doing these cowls its somewhat easier for you and you make less mistakes than I have.

