| Date: 11-24-2024 | |
| Number of Hours: 8 | |
| Manual Reference: ch23 |
My heat shielding finally arrived.
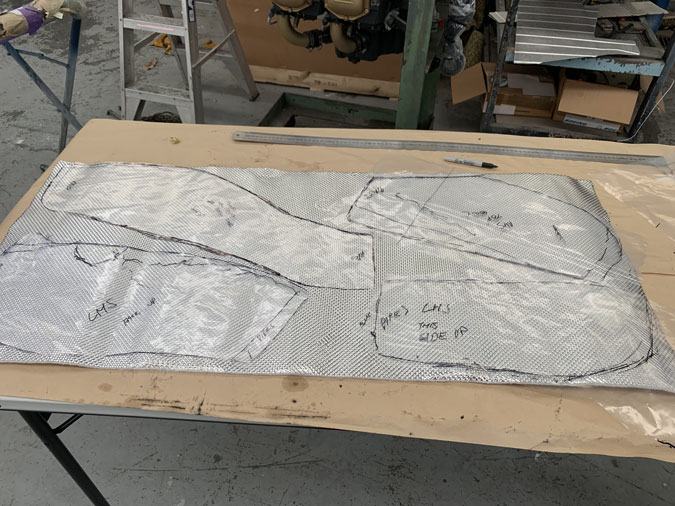
It took a bit of planning to work out where it needed to go and the sizes required. I just used plastic as templates and drew on them. Next up was to trim the plastic, mark the insulation and cut them out .
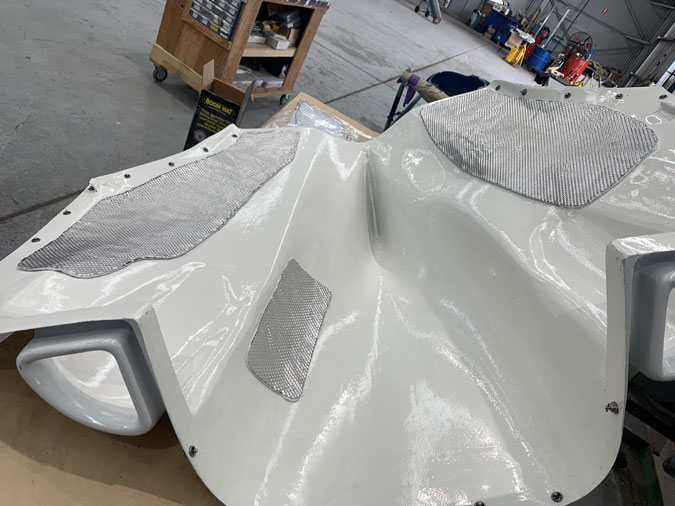
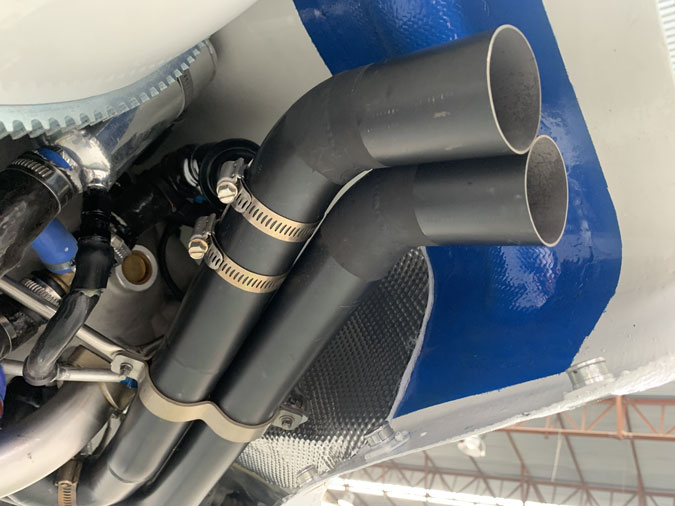
This stiff is meant to be good to 1750F and should protect the cowls. Given I had some heat damage from when I lost the Wesh plug and shortly after that…the coolant, there were a few clue on where to put the stuff. I added a bit for the heat exchanger as this sits right next to the cowl with very little clearance. Despite the pipes being coated it is going to get pretty hot in there. Particularly before I have some ram air pulling the heat out.
I have the shielding also running on the top cowl the length of the pipes, both sides.
All in place both sides and the lower cowl. I’ve also spent a few hours trying to get the top cowl sitting better by moving one fastener. It took a couple of goes and its ‘better’ but not quite as I’d like. Onward for now. It is something I can revisit later.


2 Comments. Leave new
HI Dave
There’s also the hot tarmac air so close to the ground in tropical/middle eastern climate where you’re blasting 35-50deg C air plus the radiant heat from the concrete or bitumen into the radiators.
Sorry to be negative nancy.
Regards
Roger
Hahah no worries Roger. This is why I’m spending so much time working on the ground cooling before first flight. If it cools on the ground it should be OK in the air or at least I’ll leave that box of frogs for the flying phase to solve and tweak. For now, my self brief is a minimum of 30 minutes possible at idle RPM ‘in the hold’. Sure OAT is a ground factor as well. Its going to be rough on the pilot too!