| Date: 01-30-2022 | |
| Number of Hours: 40 | |
| Manual Reference: no ref |
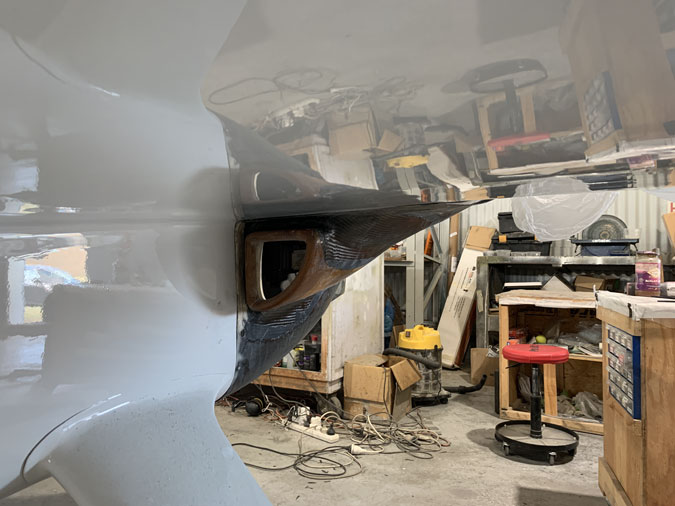
It is clear than the radiator size I need and the space available under the cowls is not a match. Some smallish changes to the lower cowl will unlock a much larger area.
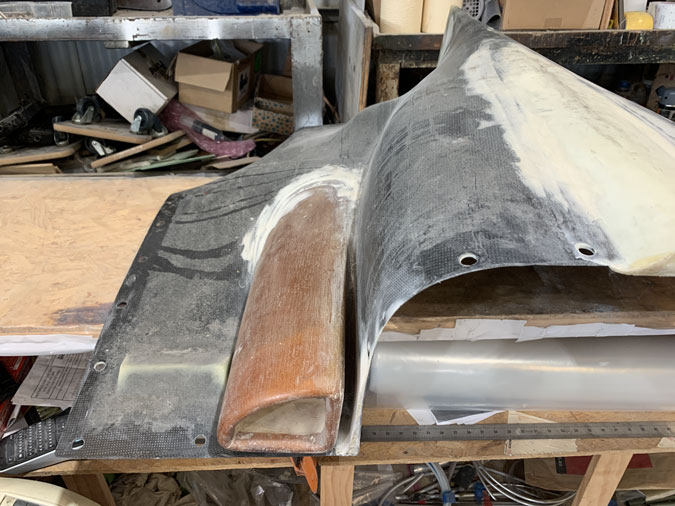
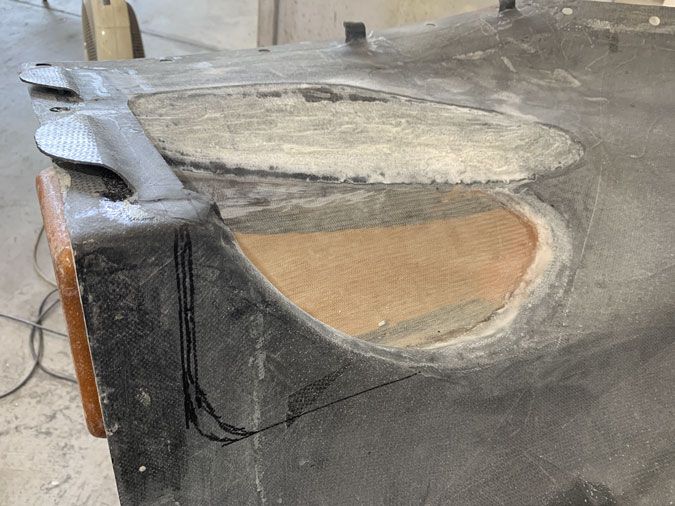
Here’s where I started with the cowls. The area around the intake scoops was my target.
First up I removed the oil cooler bump that is not required for my build but was a part of the original cowls. I filled the inside with foam then cut the bump out. With a smooth foam base, I glassed (or carbon fiber-ed if there is such a phrase) the outside with two plies. Then I removed the inside foam down to the carbon filler after cure. Pretty standard stuff.
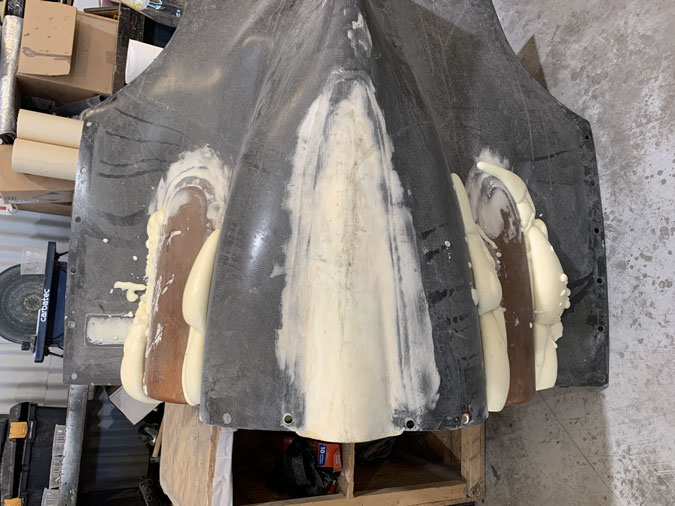
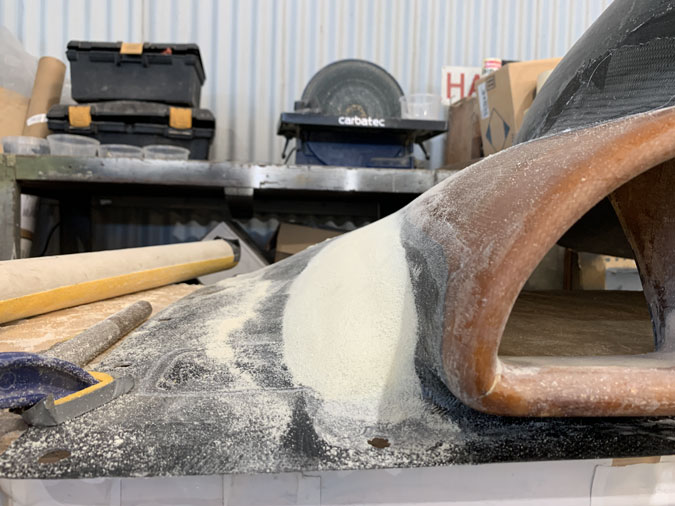
I used pour foam on the transitions. Oh you can see the foam fill for the oil cooler bump. I guess the pics are out of order.
Here was are after some shaping.
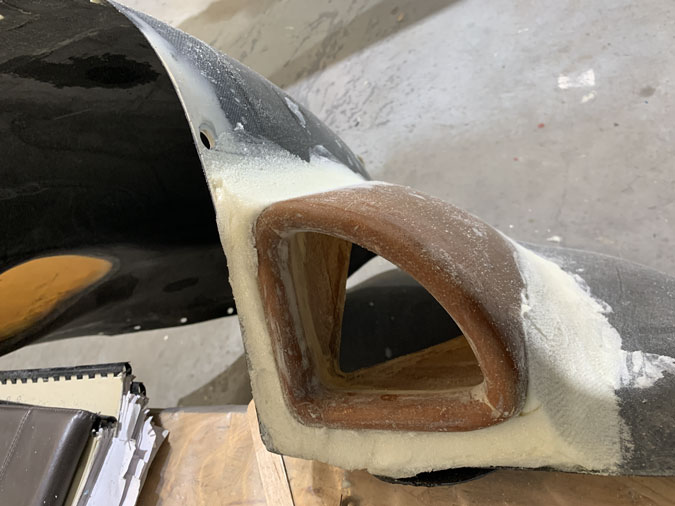
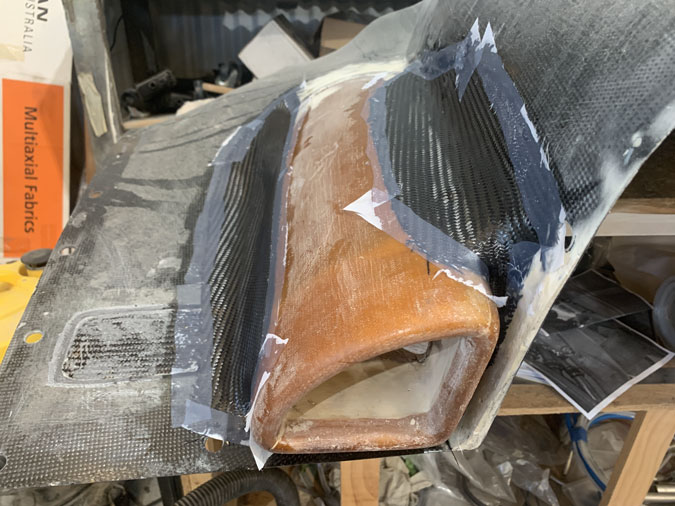
The scoop entries got quite a bit of careful sculpting. The entry needs to be away from the boundary layer.
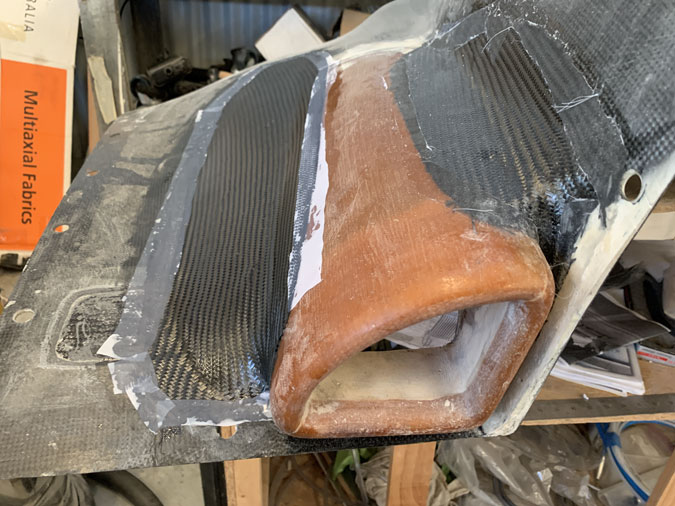
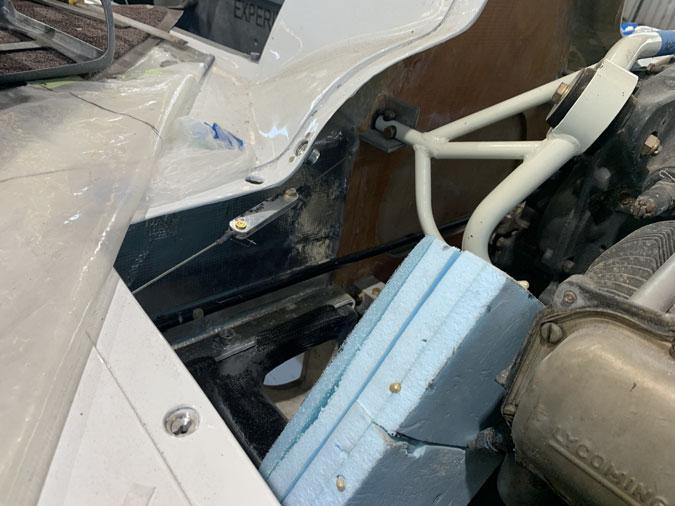
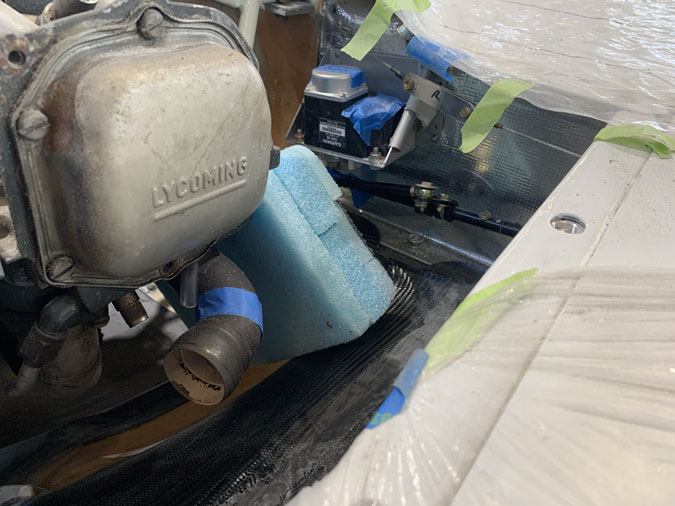
This was a pretty conservative change and pleased with myself. I used one ply of carbon transitioned with peel ply. What followed were quite a few hours on the inside removing material right down to the outer carbon. Then I set the cowl up and tried my radiator foam dummies to see how much space I had created on the inside.
BUZZZ. Honk! NOT ENOUGH was the verdict. So I have to do it all again…
Second try. More pour foam and sculpting. You can see I still have a nice transition.
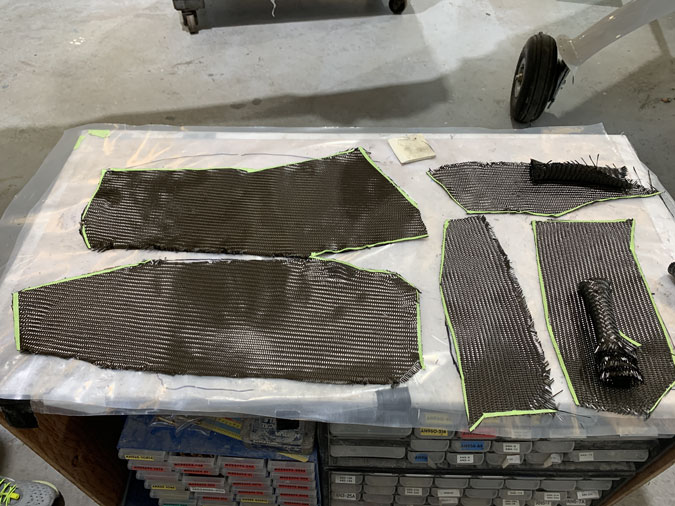
Here we go again with version two, another layer of carbon upper and lower of the scoops.
Now for removing more material on the inside down to the new outer layer of carbon. Its quite a long process. Then cowls back on to see if I’m winning the space I need.
OK I have more space but those edges have to go. I see possibilities with those corners gone. Every millimeter counts.
So lots more grinding and cutting. Its so noisy and prolonged that I started getting to this job after the other guys in the hangar had gone home at 4pm. I had a couple of late nights. Then its the big layup after lots of prep and sanding work.
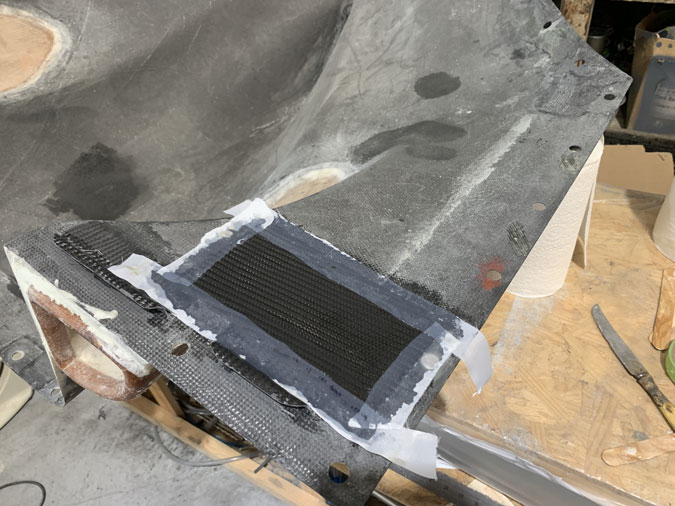
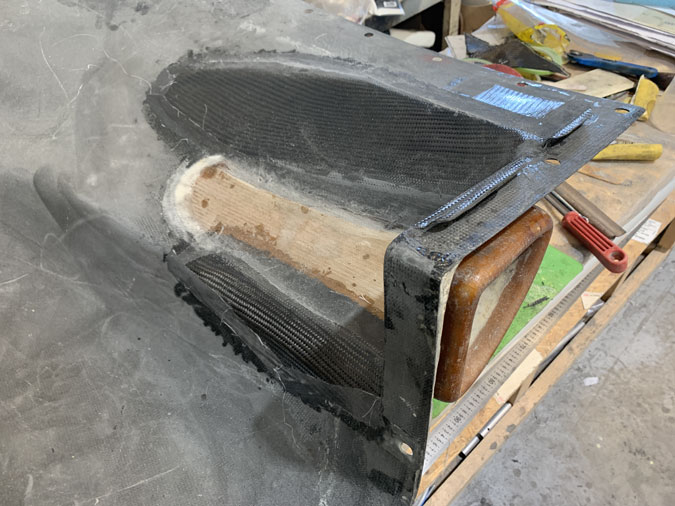
The new two ply inner layer is now installed.
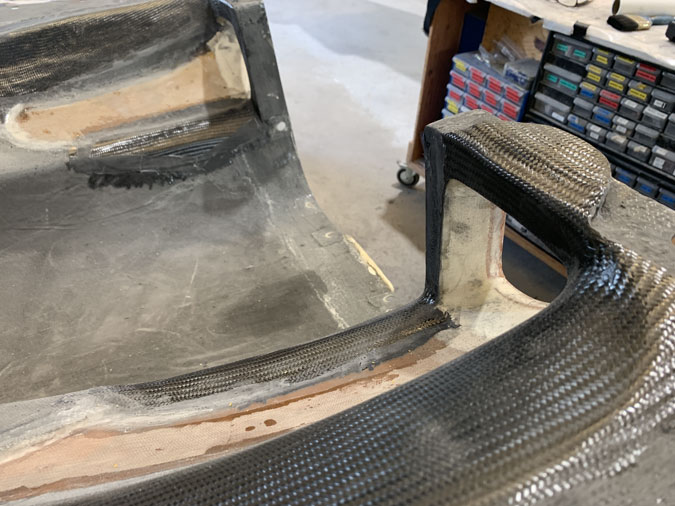
The back of the inlets got flox corners and a separate layup. I also reinforced the backs of my holding tabs with a small two ply piece as they had lost all strength with so much material removed.
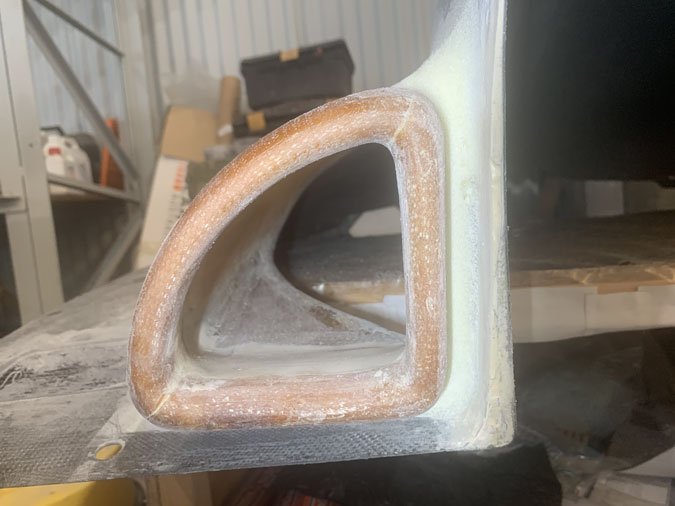
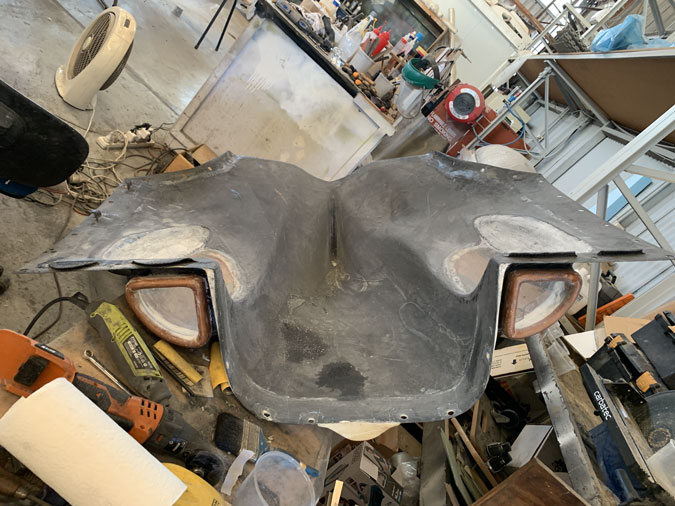
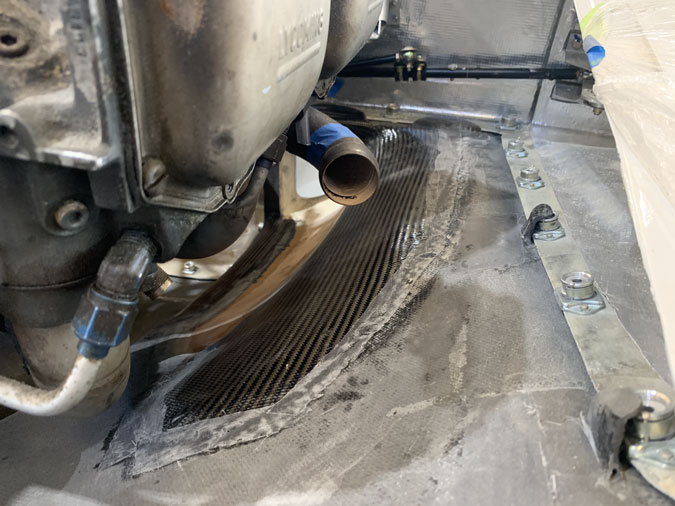
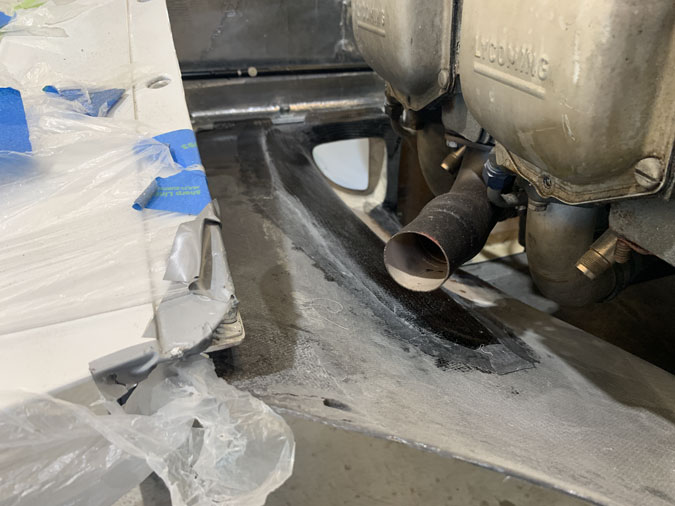
You might see the space I have now compared to before?
It is hugely improved on both sides.
I am still not really sure of the orientation of the radiators or the final sizes.
This side will be smaller due to less space with the offset cylinders.
What I can say is that I now have enough room to make something, somehow work. I just will not know exactly until the engine is sitting in there and I can see exactly what I have.
The cowl of course has a slightly larger wetted area. I think it will not produce a large or even measurable amount of extra drag. I need the space to cool all those horses! This is all I can do on the water radiator install for now.
Something special is going to have to happen between the scoop and the rads. I don’t want anything attached to the cowls. I will need a clever push fit seal with the rads perhaps attached to the engine mounts. I will be as surprised as you are to find out what I end up with.

