| Date: 05-11-2017 | |
| Number of Hours: 4 | |
| Manual Reference: no ref |
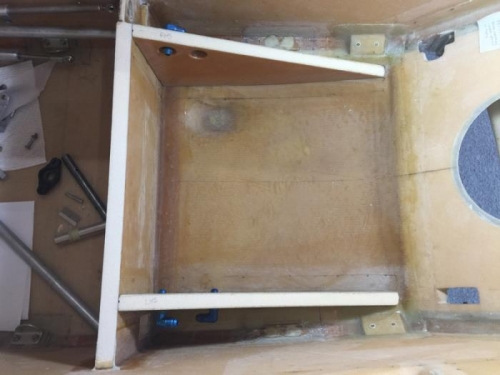
Time for the sump side walls. I spent some time prepping all the relevant surfaces with some sanding, even where I’d peel plied as this energises the surface for better adhesion… apparently.
I check the fit and had to adjust for the taped front wall. I also chased out the fittings as there was just a little epoxy on a couple of threads. I should have had more of one fitting exposed through the hole. I’m still learning about these NPT things. It will be OK as I’ll just need to trim a few mm off the female part that tightens on. No big problem but it always seems to be some minor thing I miss and need to correct.
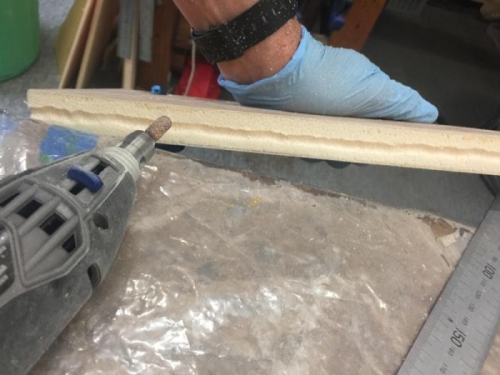
Given I must have 100% sealing for this sump I’ve dremeled out a groove in the joining edges. Pic 2. The idea is I’ll fill these with flox and added to a bead of flox on the floor of the sump at the join too so I’m very likely to have no gaps. Of course I’ll also be taping these joins as well.
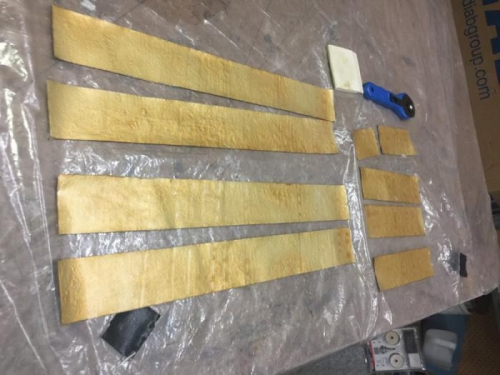
Pic 3 and I’ve wetted out my 2″ wide 2 ply 45 degree bias BID tapes and trimmed them of a foil and plastic backing. The next log shows things all in place. I thought a few extra pics might be helpful…
Trial fit
Flox groove
Tapes ready to go


