| Date: 12-08-2023 | |
| Number of Hours: 18 | |
| Manual Reference: 16 |
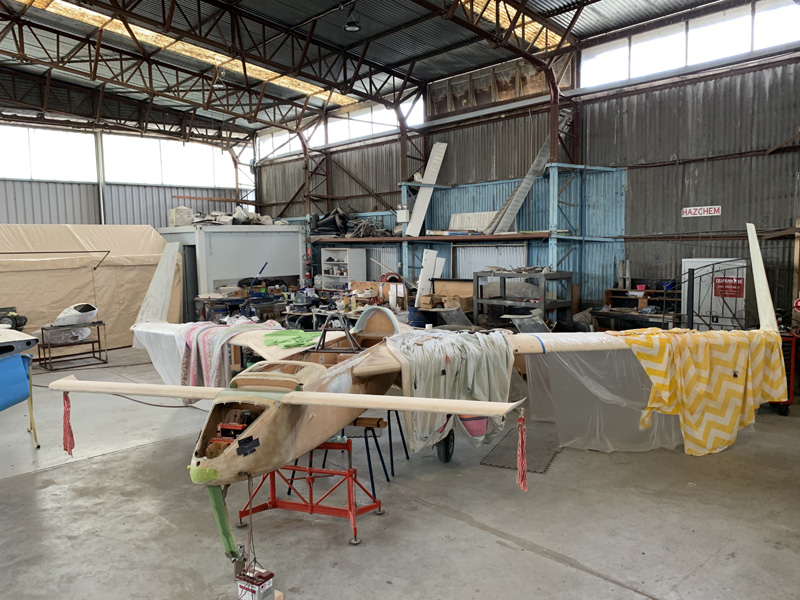
Here we go. I have had the control system with all the push rods in and out for years. Now it is time to put them in to a flight ready condition. The last time? I certainly hope so.
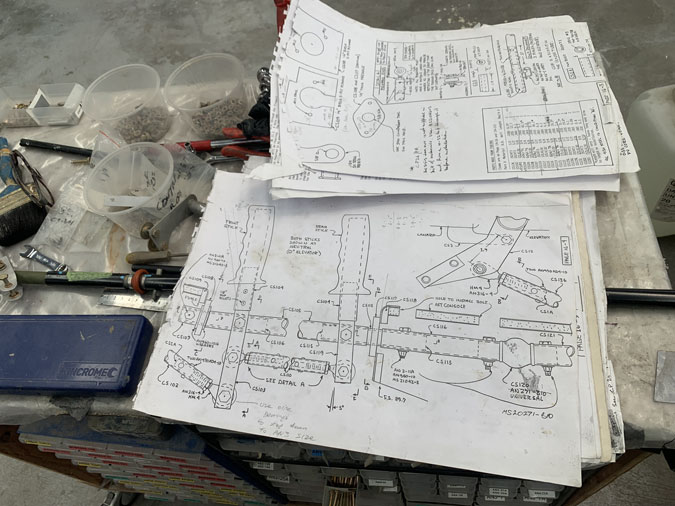
This is the first time I’ve had the plans out in quite a while. I wanted to get my head around exactly what was happening. When I started this build I couldn’t understand these things at all. Now it makes sense. ..it should after all this time. Its only a copy of the originals I have, but this paper has sure seen a lot of wear and tear with a few pages departing my binding.
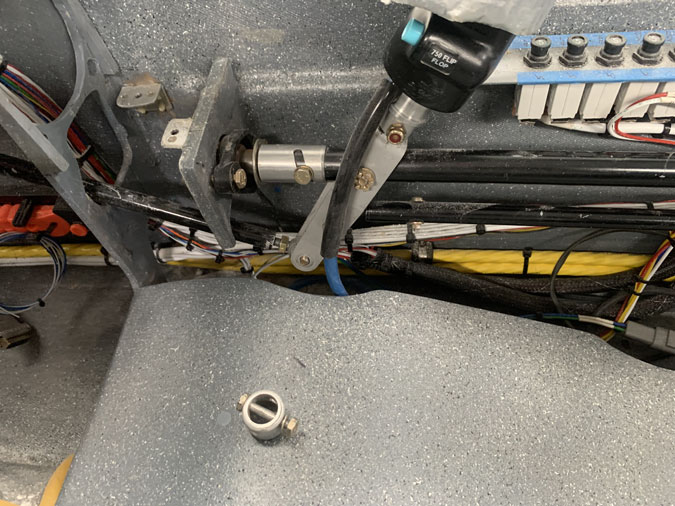
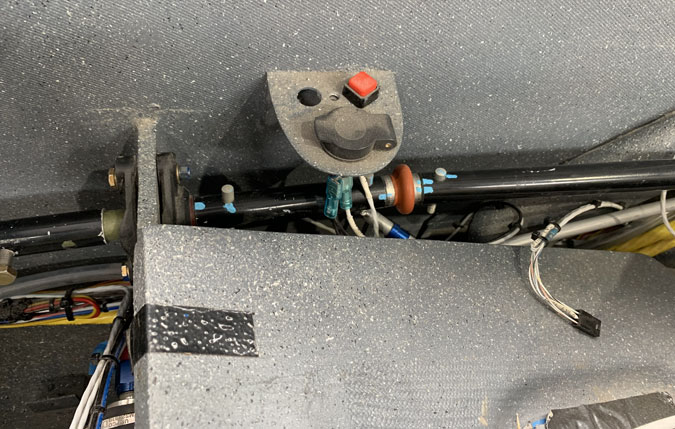
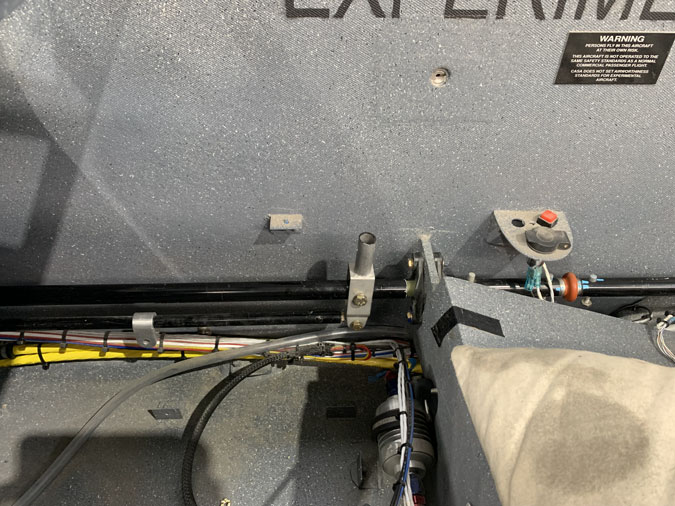
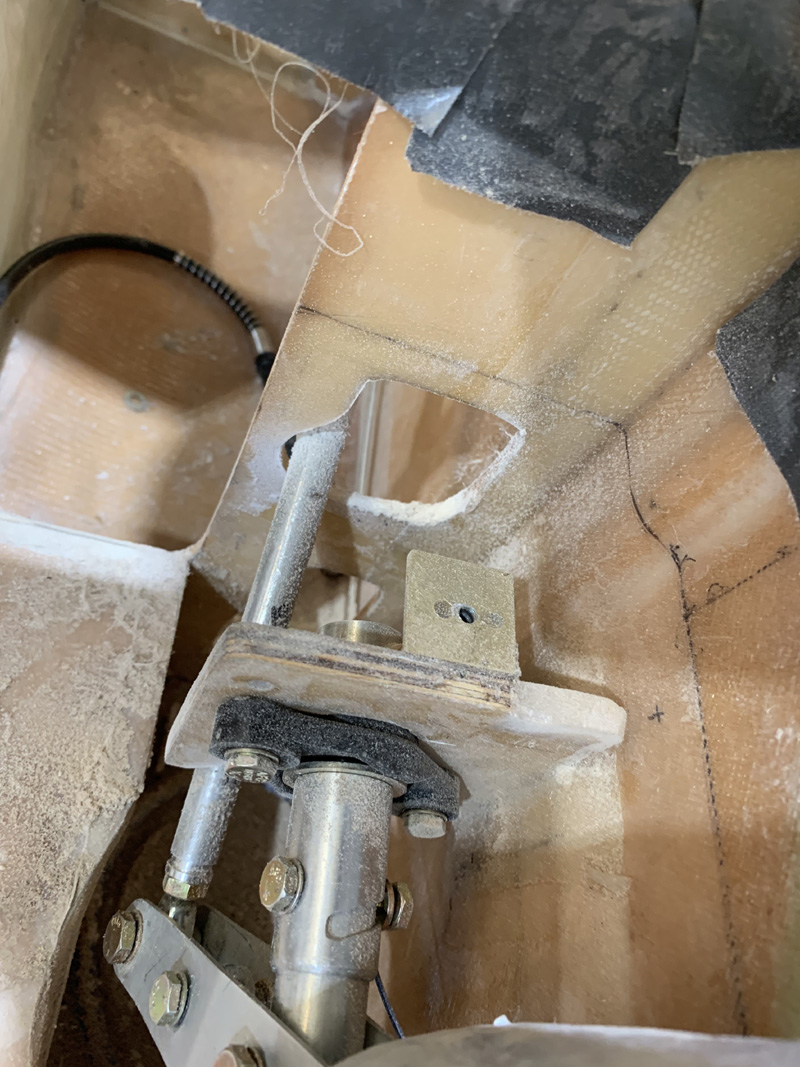
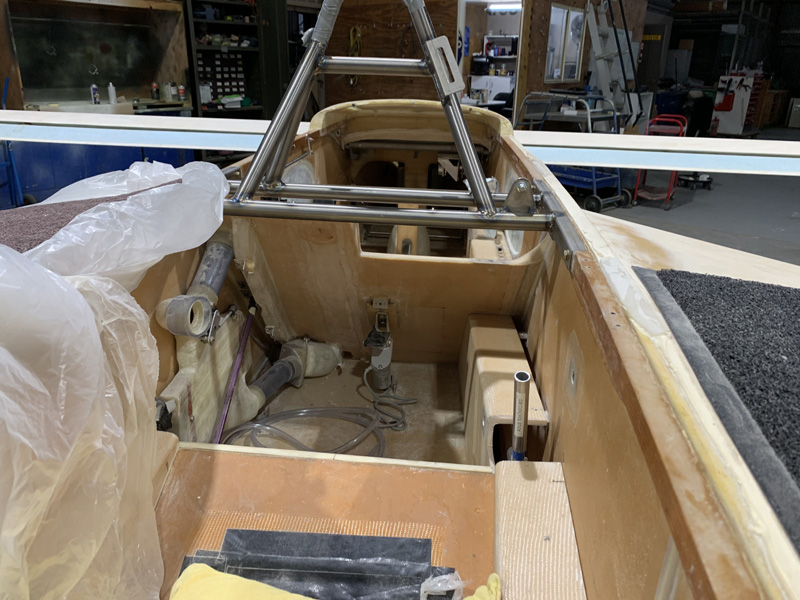
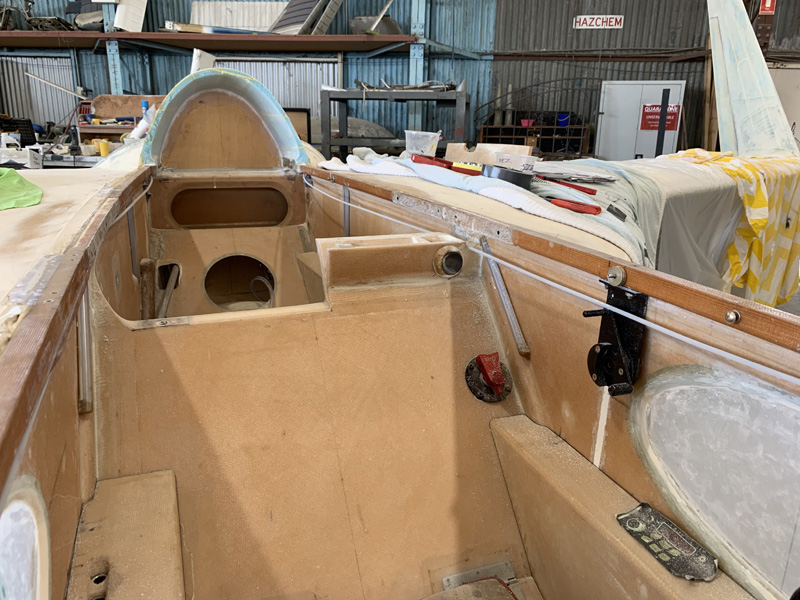
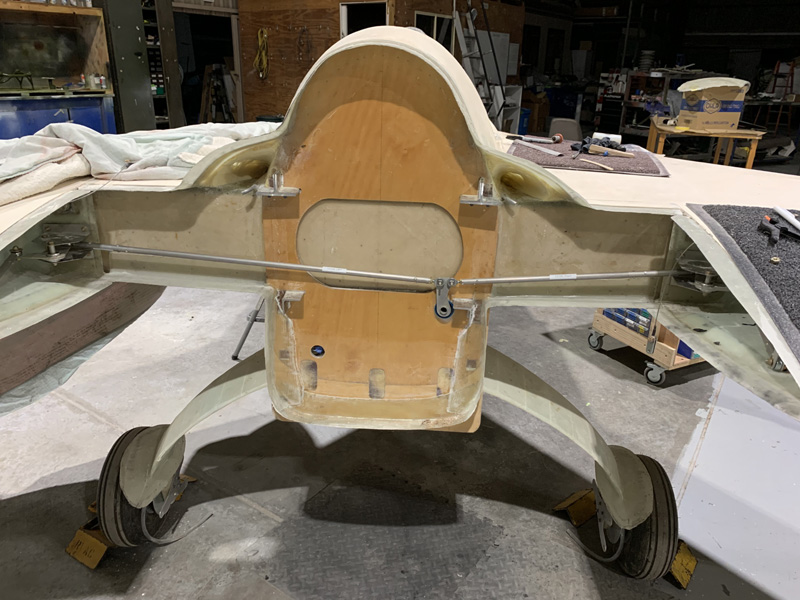
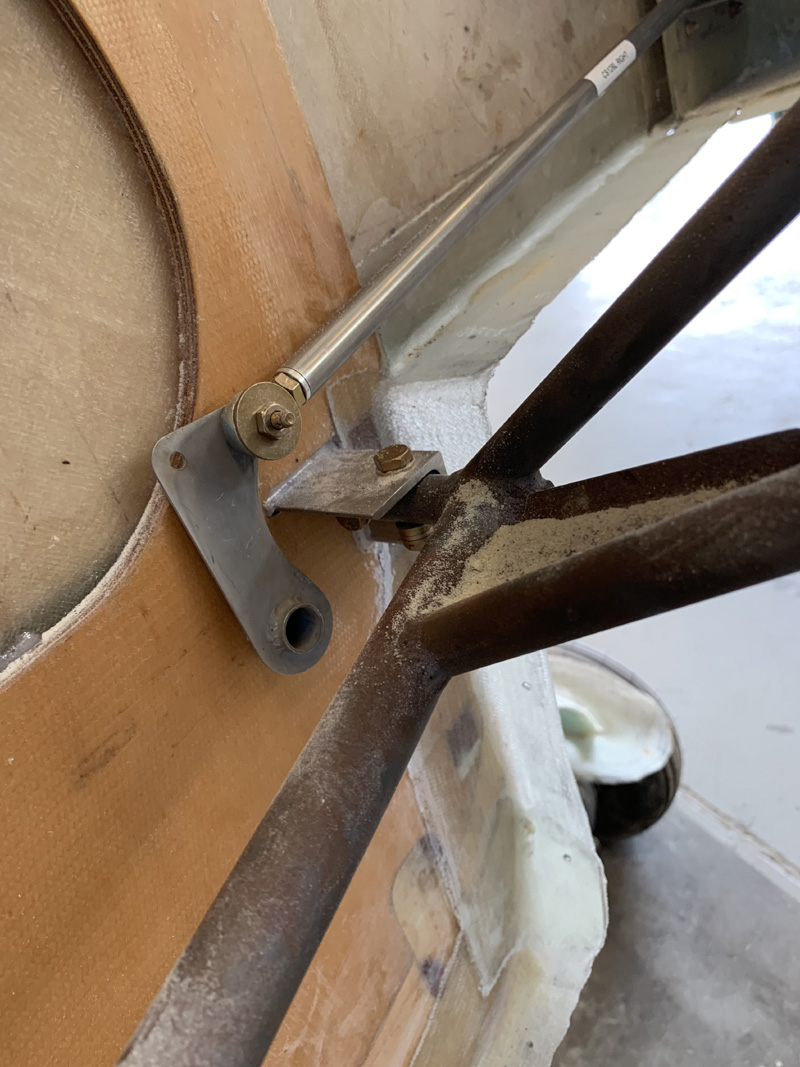
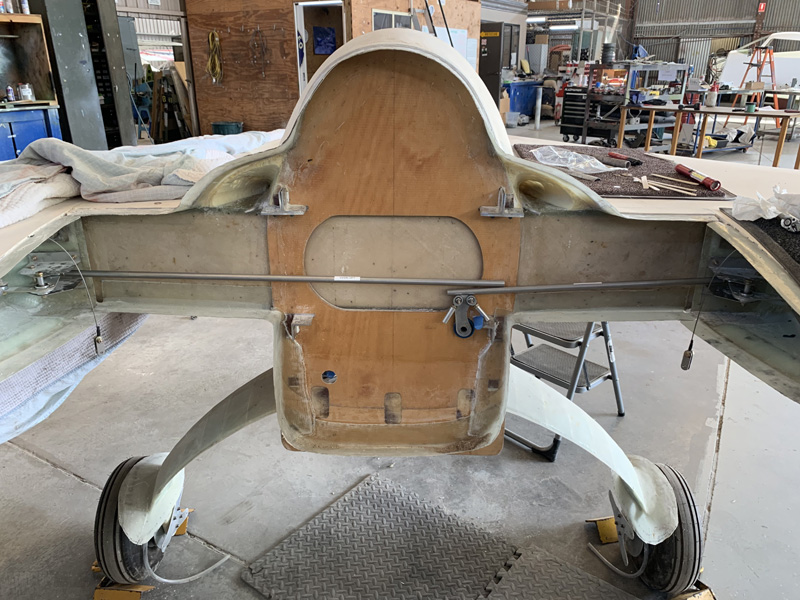
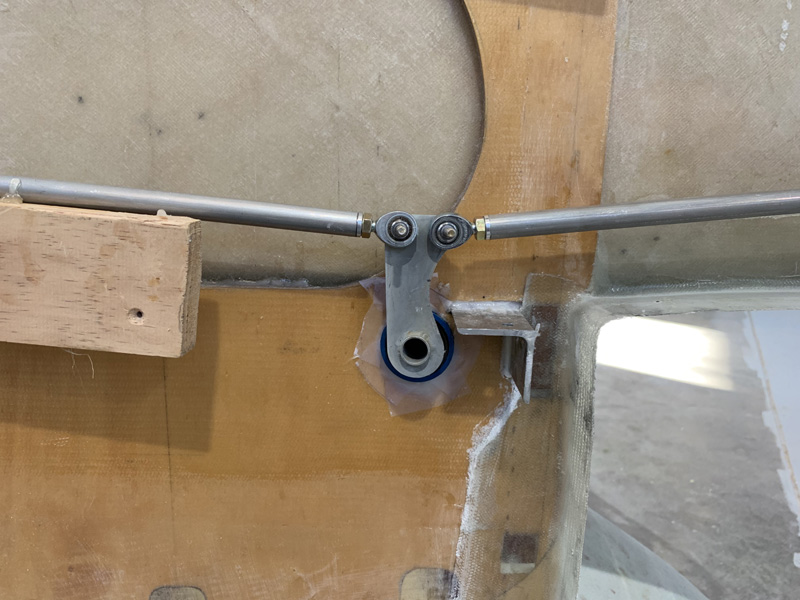
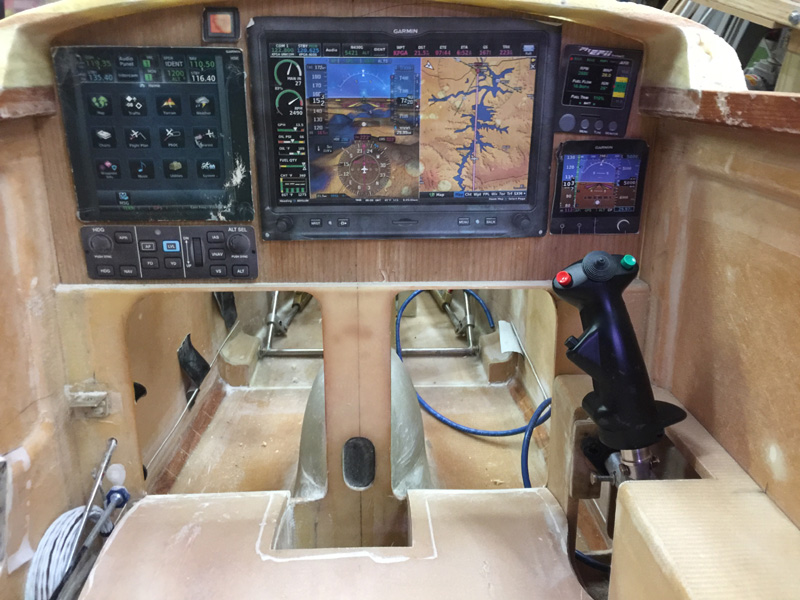
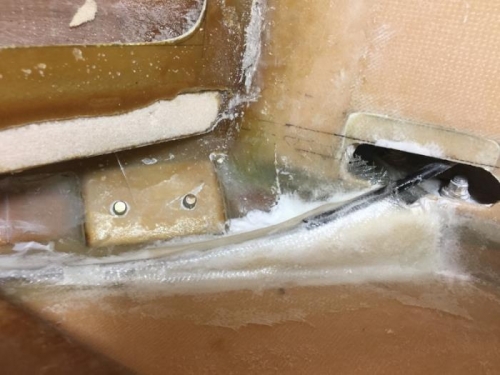
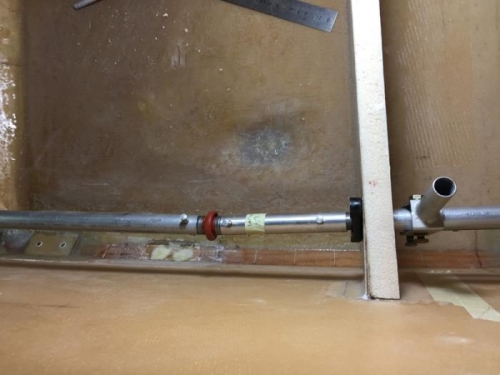
This is what I have. That fitting on the seat to cap off the controls doesn’t really work. The whole mess has to come out.
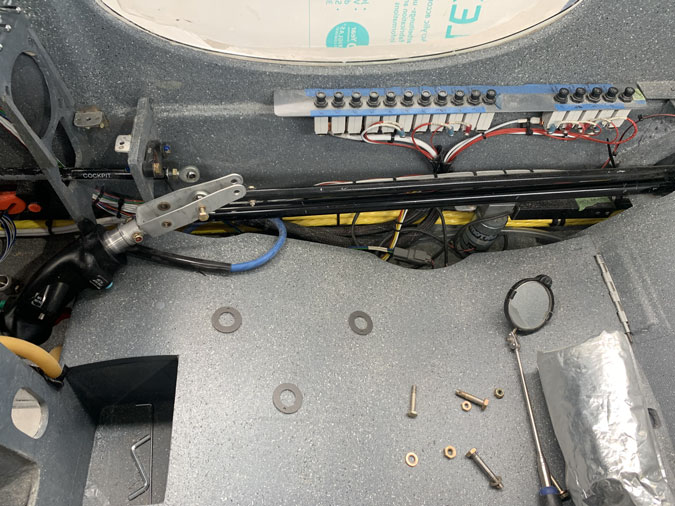
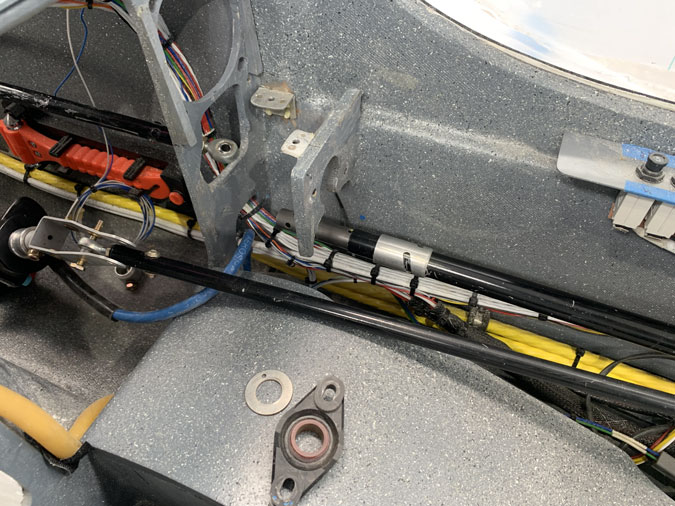
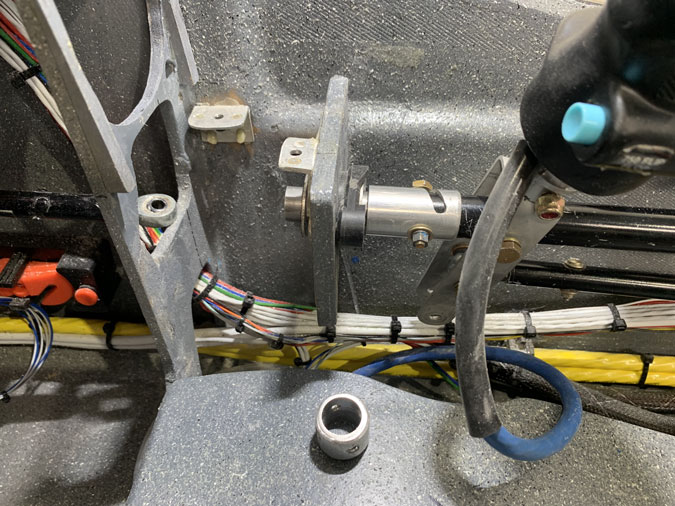
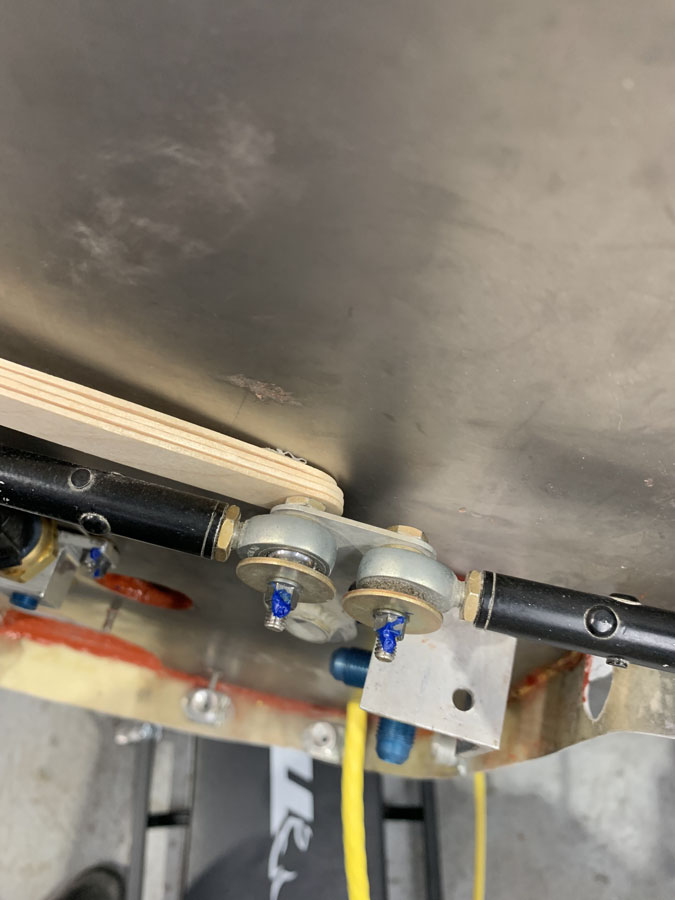
OK, those special thrust washer are going in now. They will reduce friction at the Igus plastic bearings I’m using.
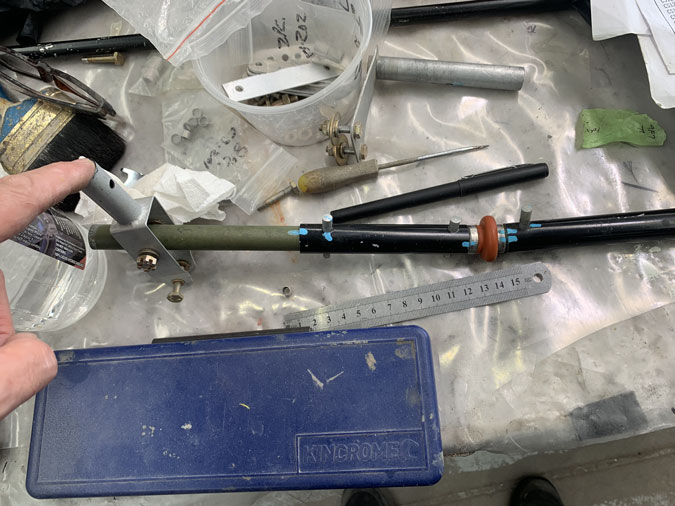
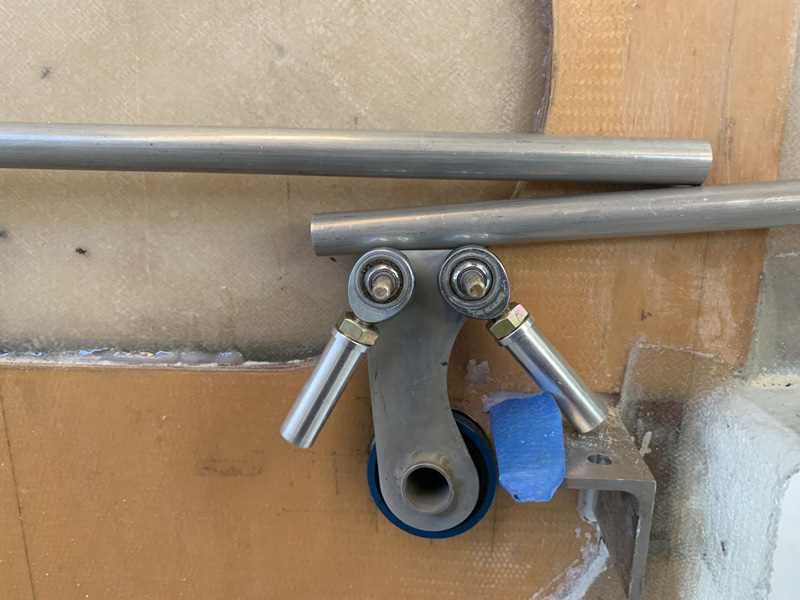
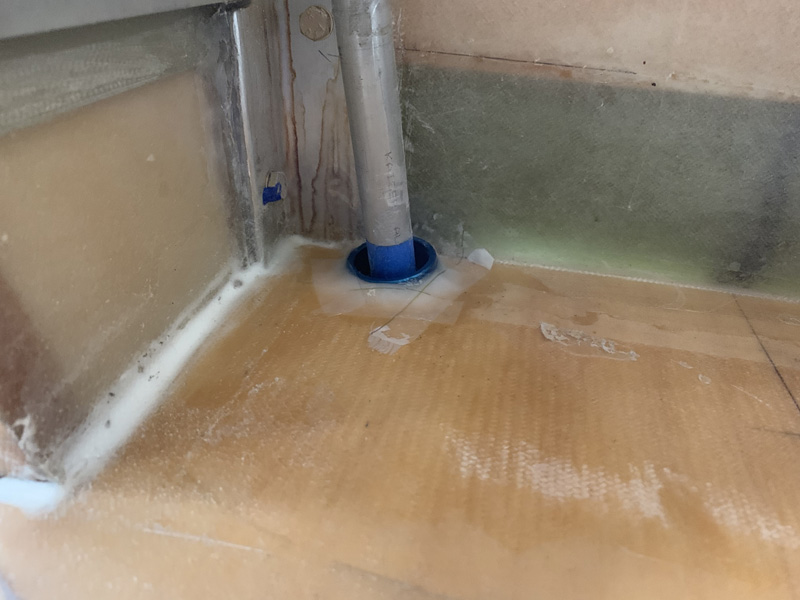
I had previously added that blue paint. Last time I did this I rotated one of these tubes and it sorta fits but not correctly, the holes line up but its like something is wrong and you don’t know why.
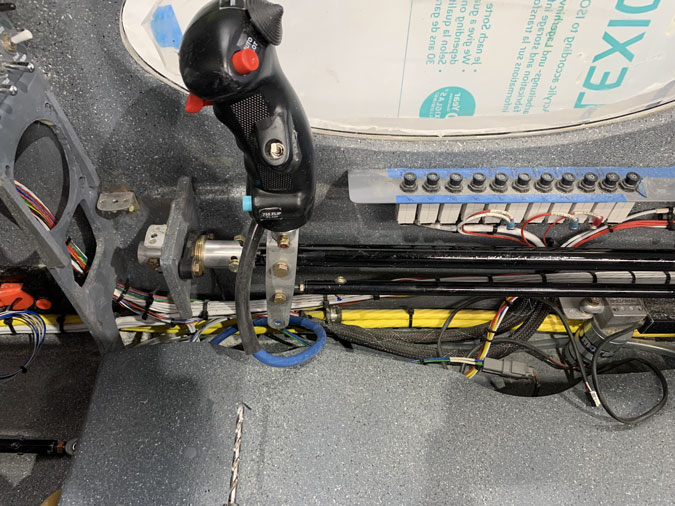
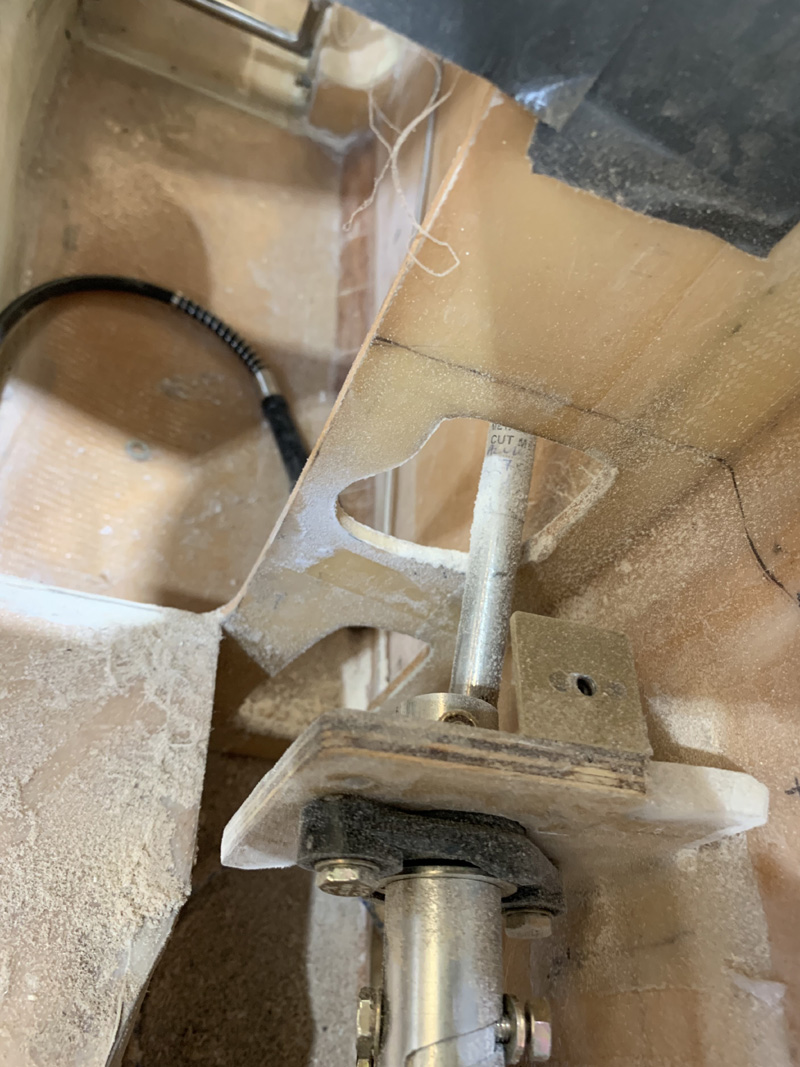
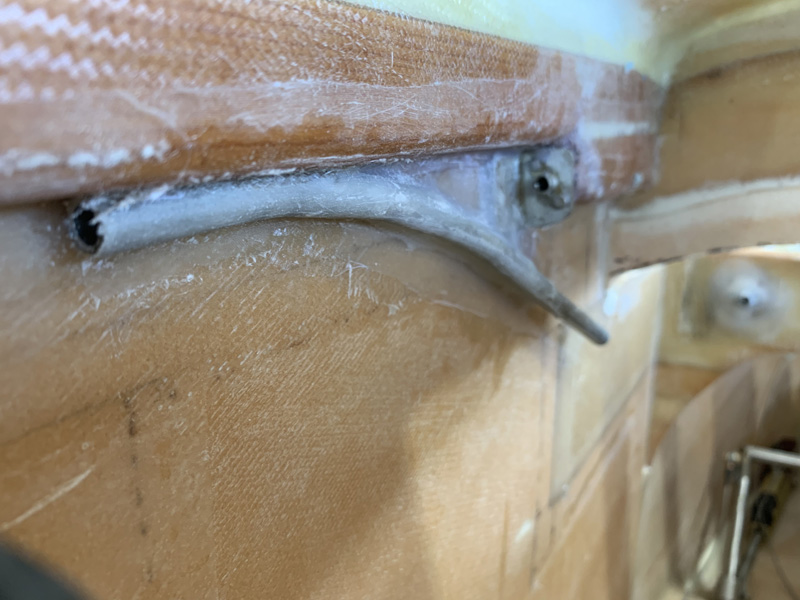
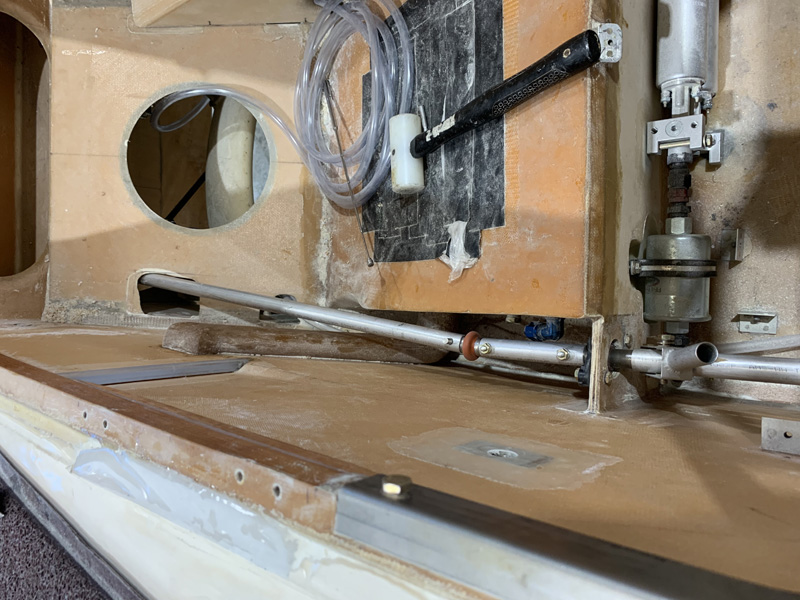
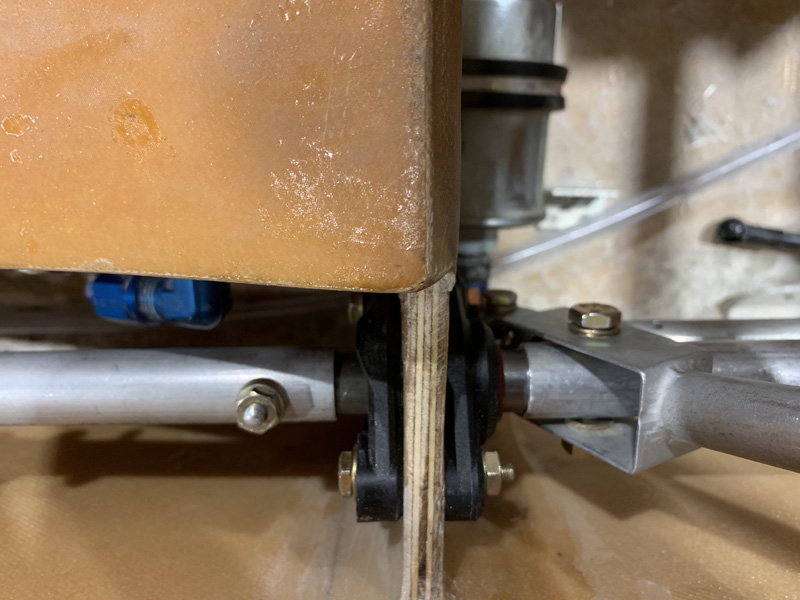
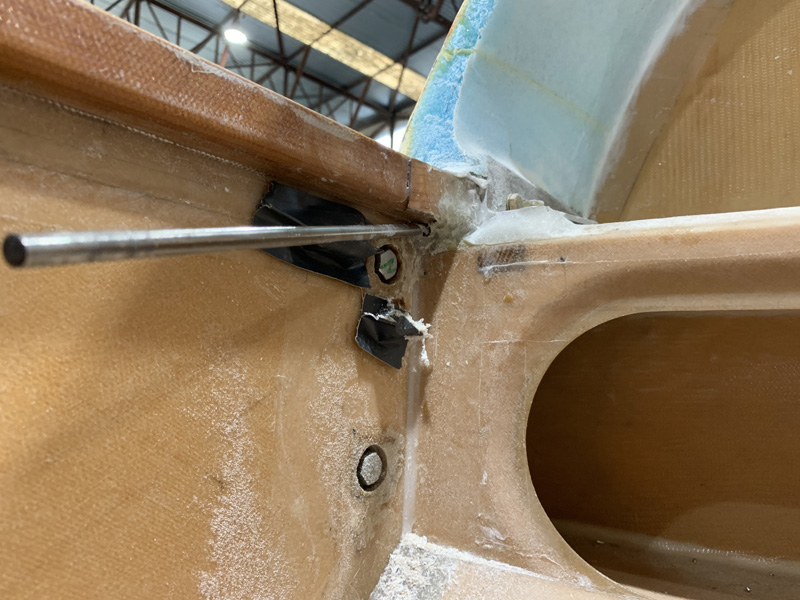
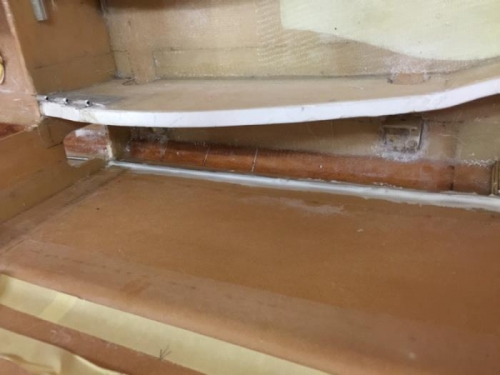
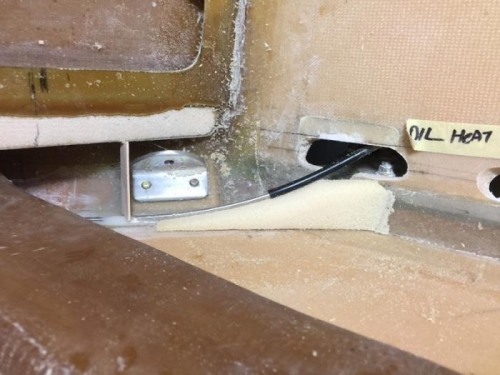
After several ins and outs I got my head around the fact that the back pushrod must go in first. The order is critical or you can’t get the front ones in. Hey who put that electrical fitting in there? Who forgot after it was all in for the last time and managed to get one of the wires on the INSIDE?
BTW this was not the last time, it came in and out several more, but I still missed a wire that I would rather cut and rejoin than take it ALL out again.
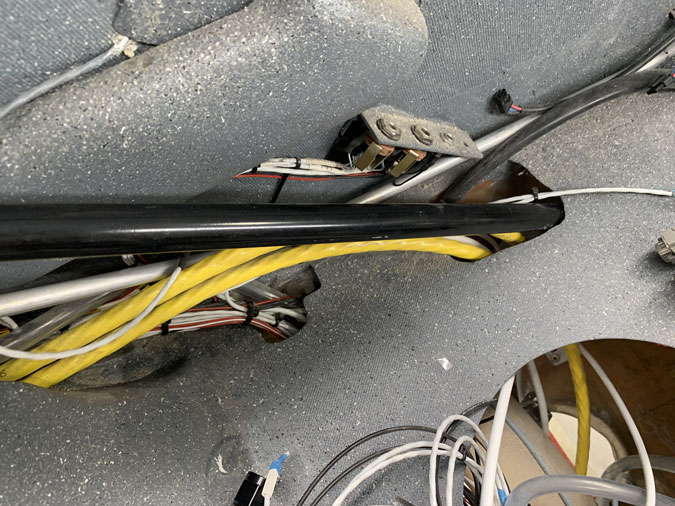
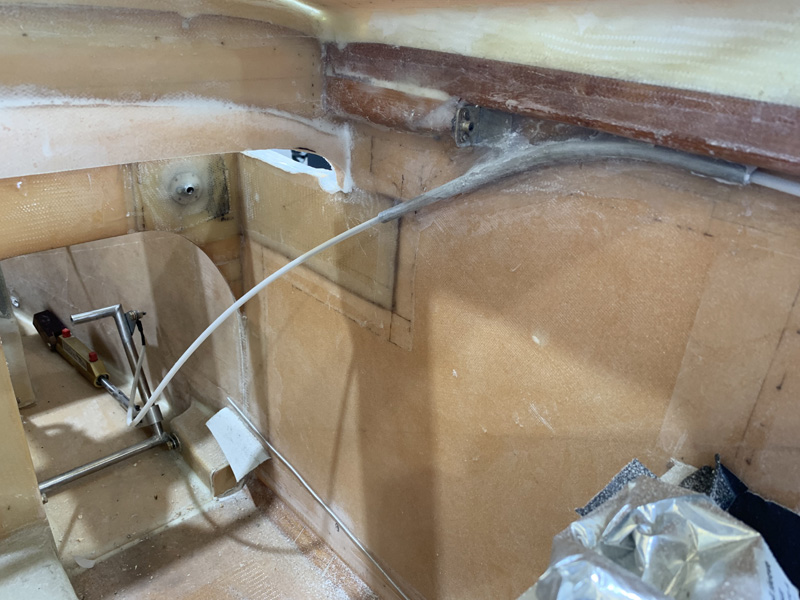
OK, not a lot of room with those yellow cables. I will be fixing them so there is clearance. Another job for next week or the week after.
Yep, take it all out again.
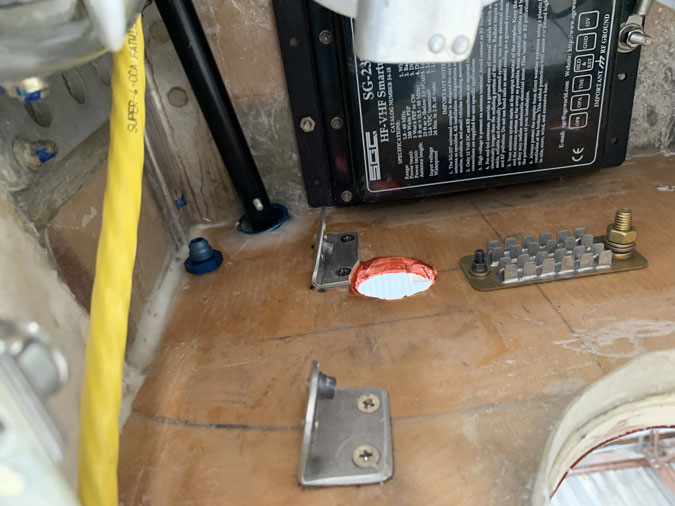
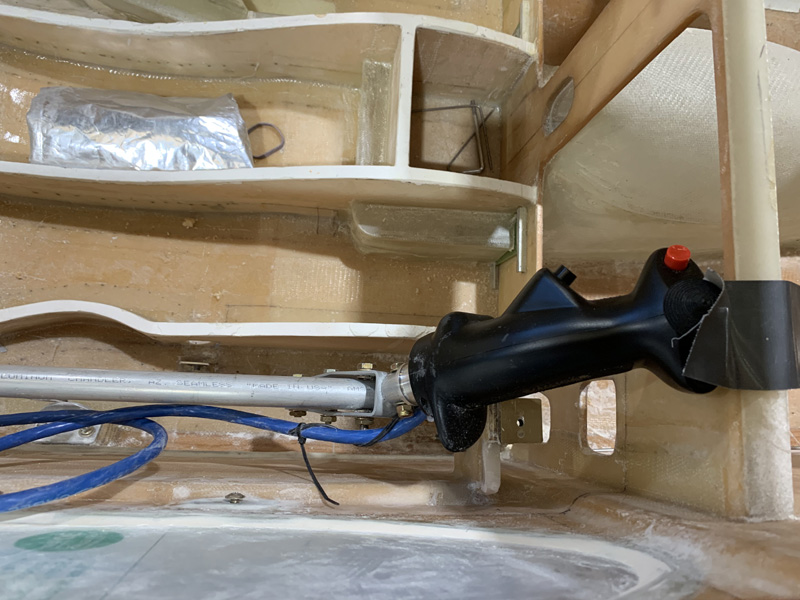
Once that last push rods is in, if i want it removed everything has to come out again. Even the engine mount has to be off to get the final fitting out!
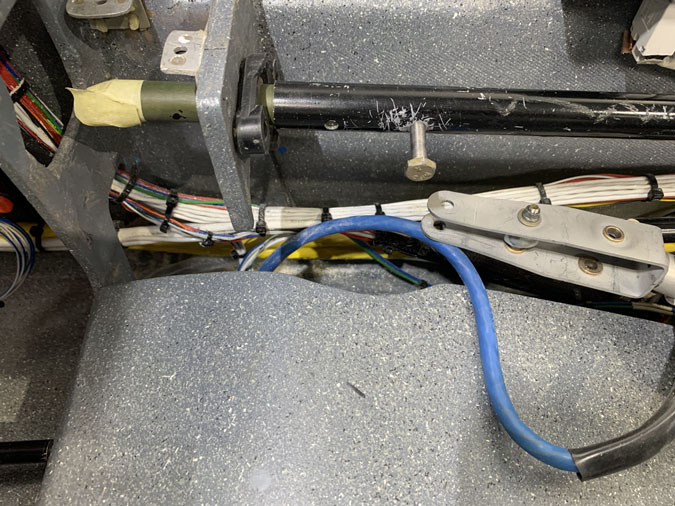
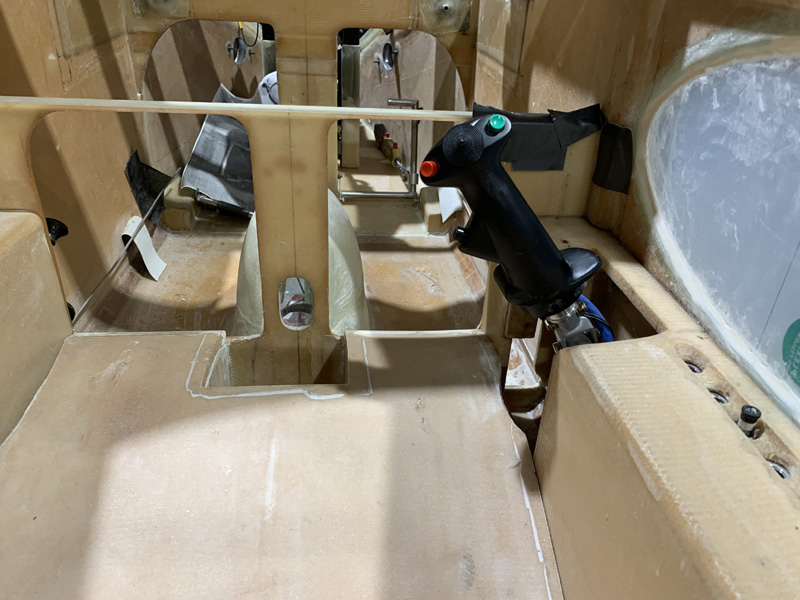
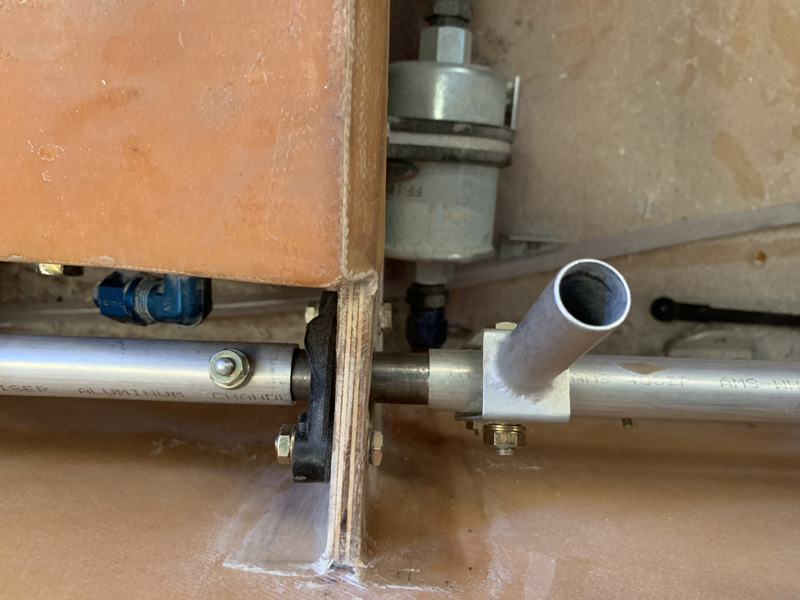
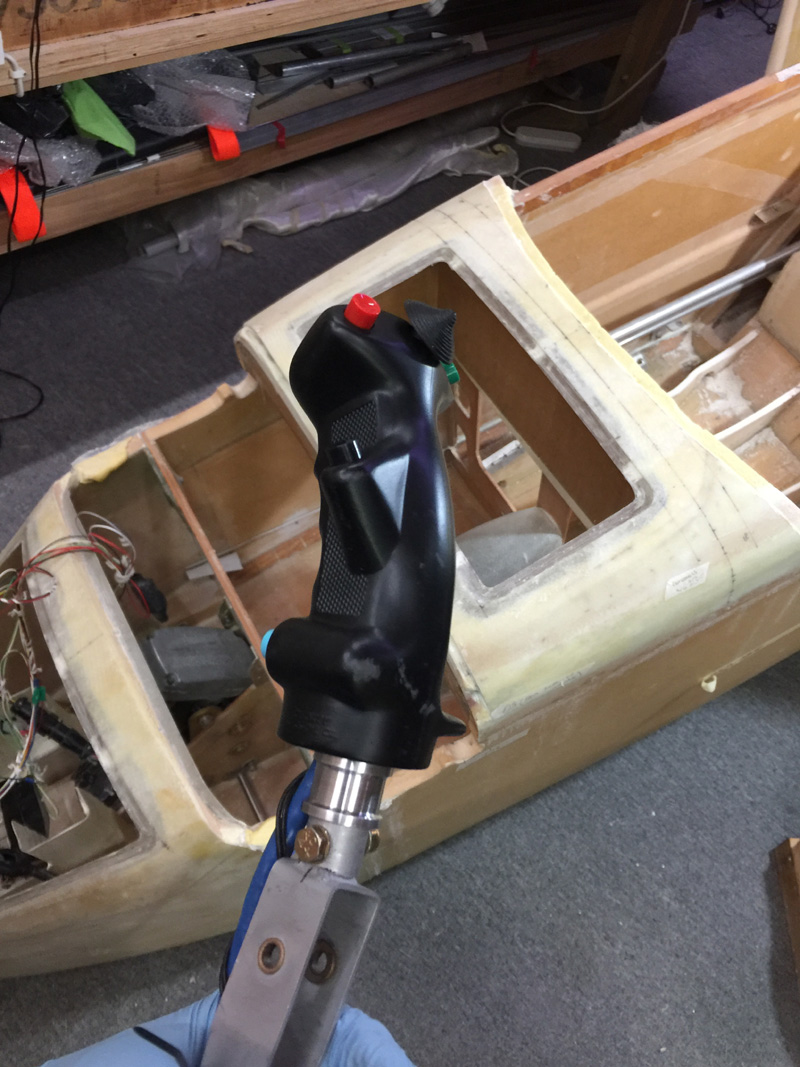
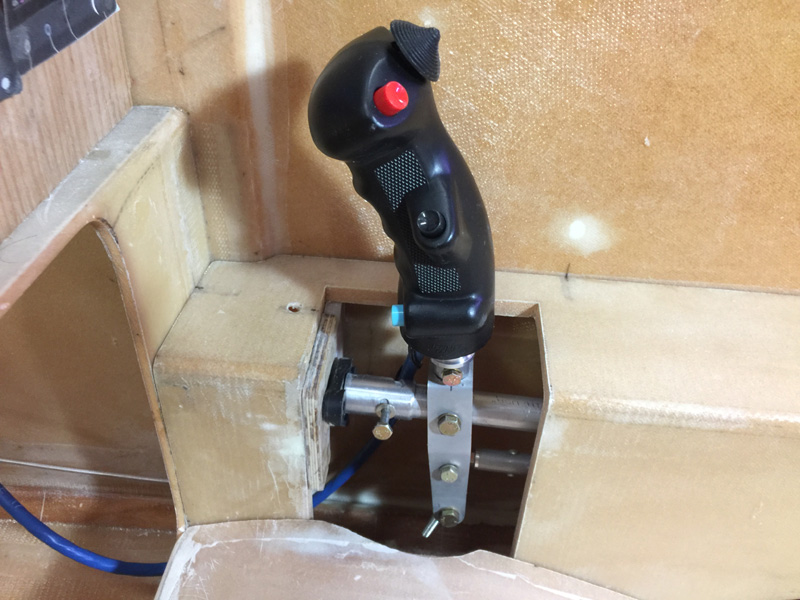
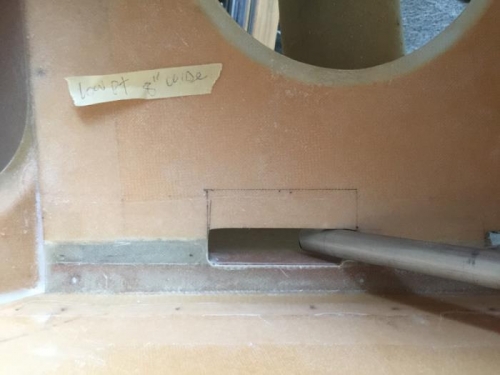
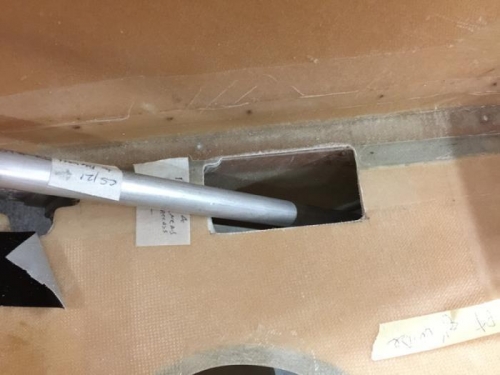
Now here’s something I missed. I got the whole thing assembled and noted that since the firewall went it the rear clearance was about 1/4″ less. So I had to disconnect a bunch of things at the front stick and I’ve put in some spacers to ensure I get the other end correct.
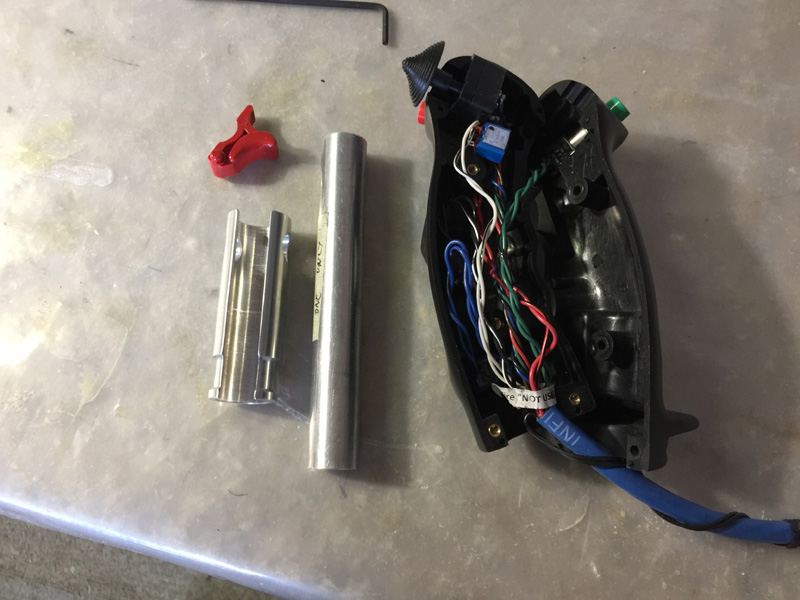
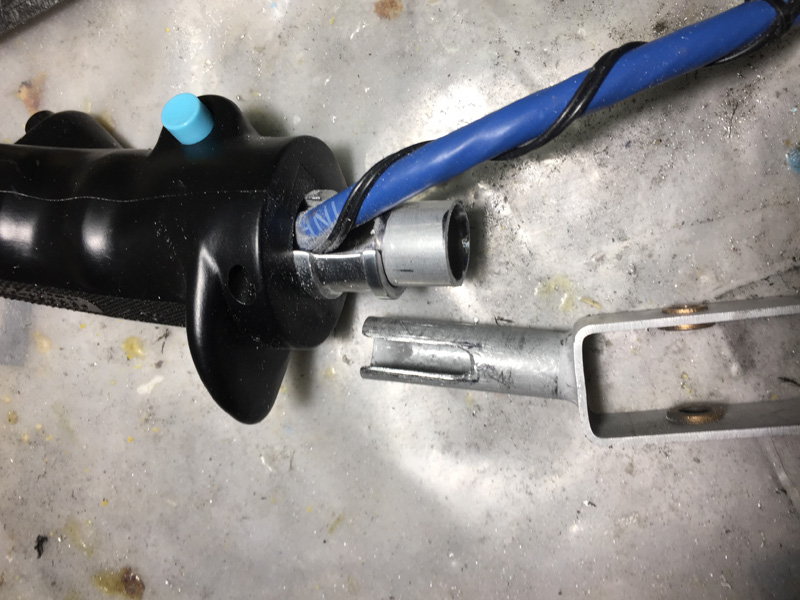
OK I SEEM to be OK but that end cap is not fitting on now. The stub of steel is too short.
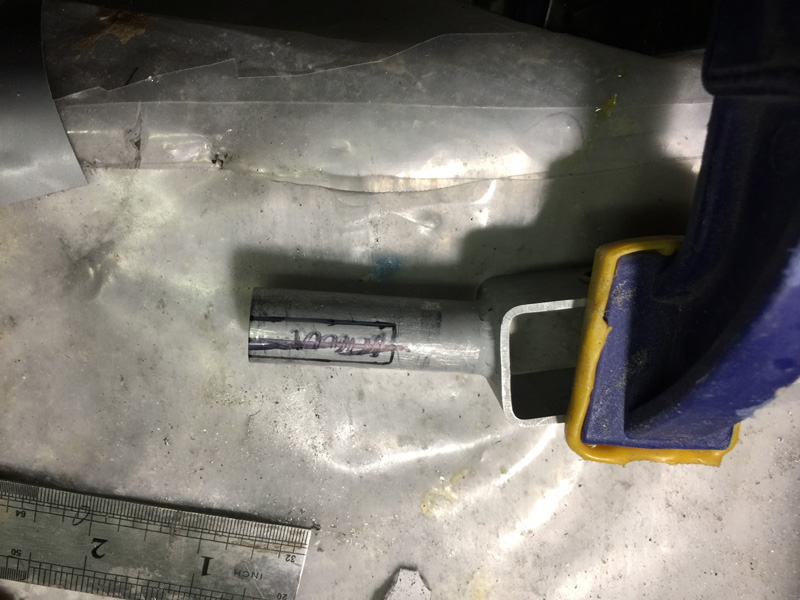
OK, bite the bullet and replace the last steel joiner with a longer one. I did have a piece that I had prepped a while ago which was incorrect when doing the wing controls. So that was handy.
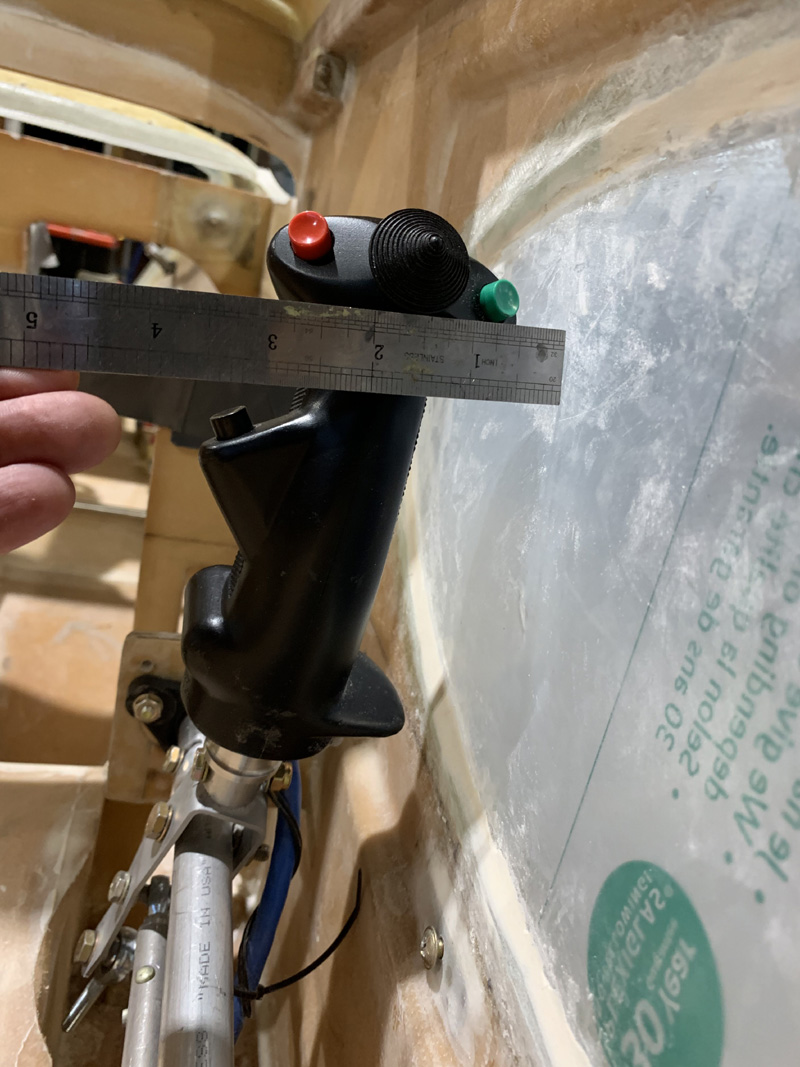
Its working out OK. Did I mention a few hours making spacers for these sticks after I found myself short of them? They were used elsewhere or lost years ago. These go at the rod ends so everything is tight.
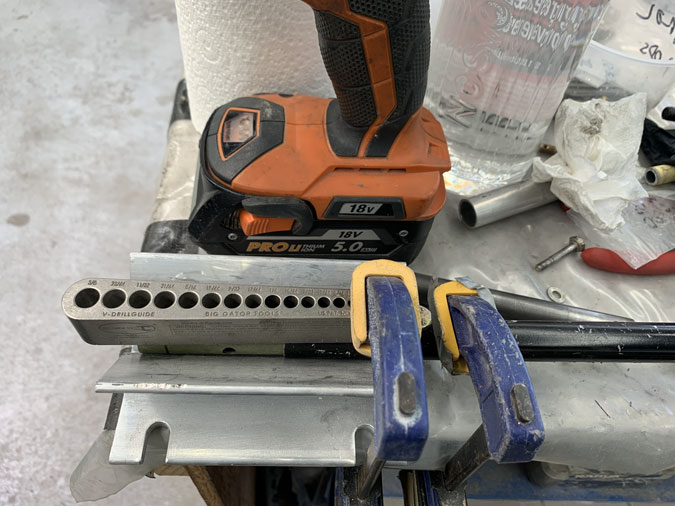
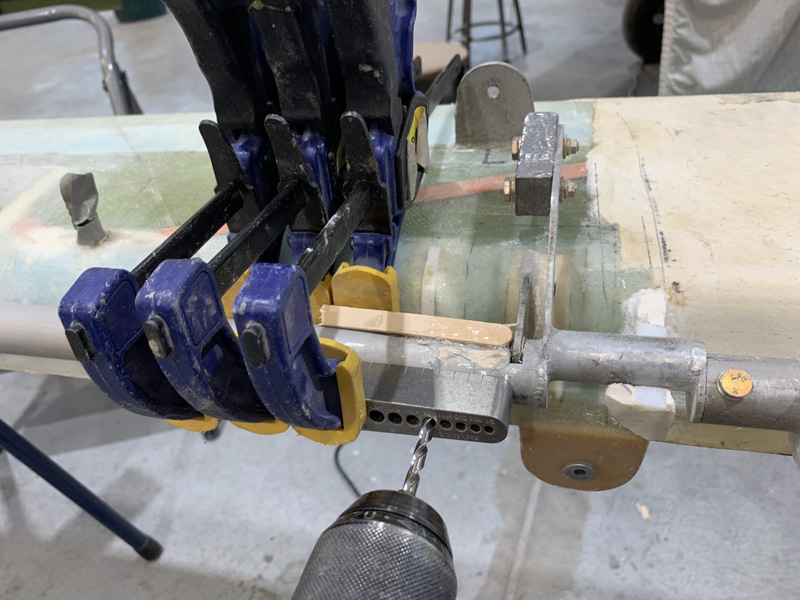
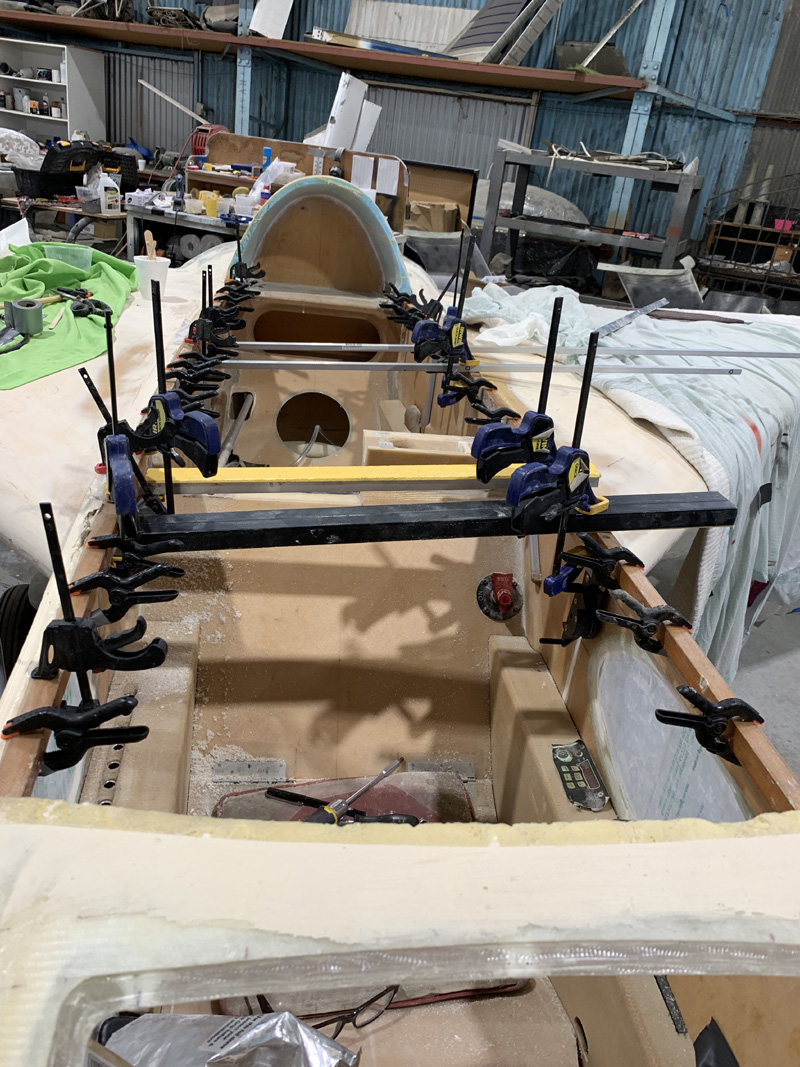
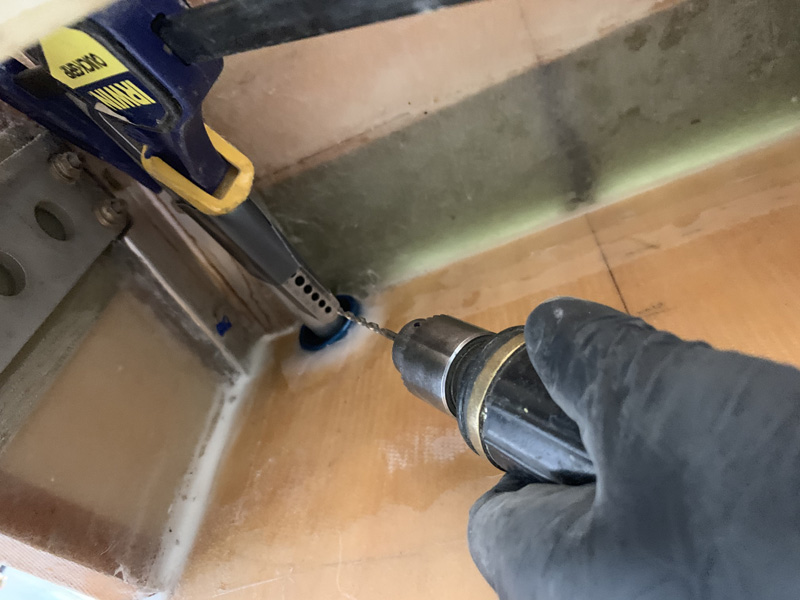
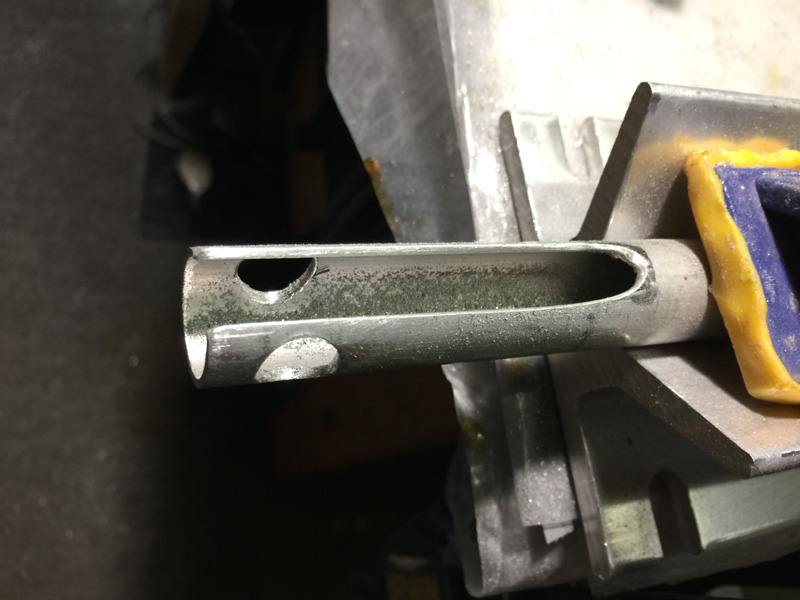
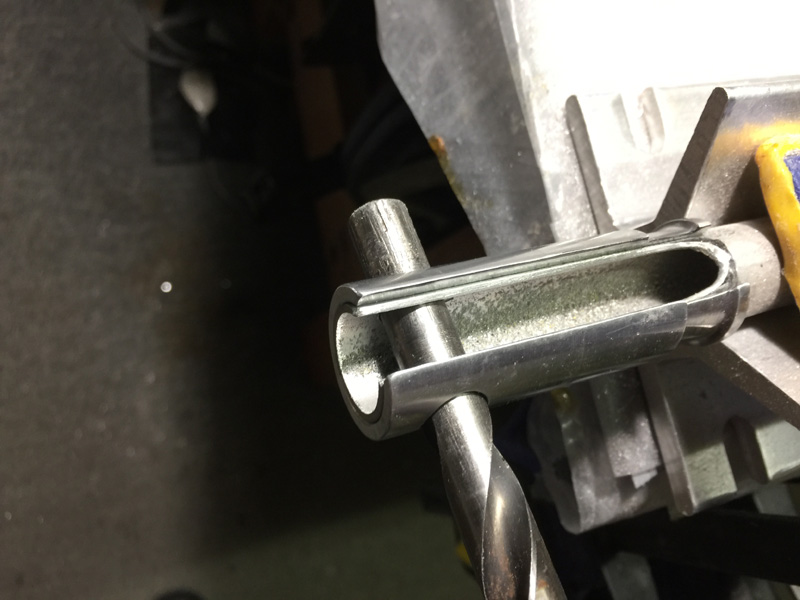
I have to match drill the front pushrod tube for the new steel extension. I have some cool tools for this. The Vee block hold tubes and the drill block helps you keep the holes parallel. Oh, did I mention everything had to come out again, even though I thought I was done?
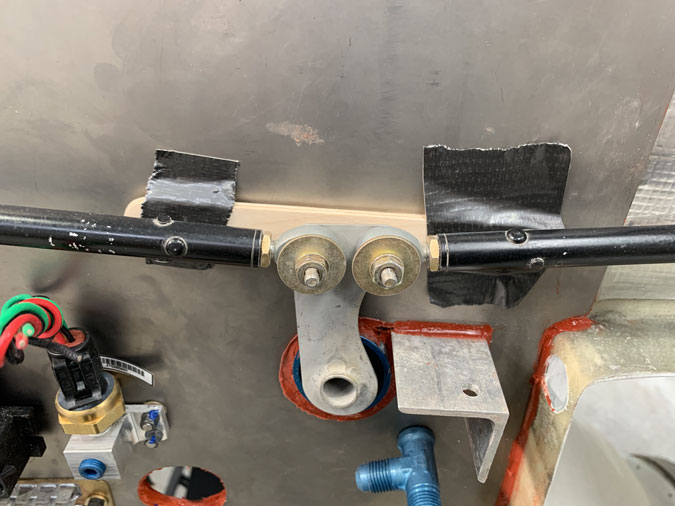
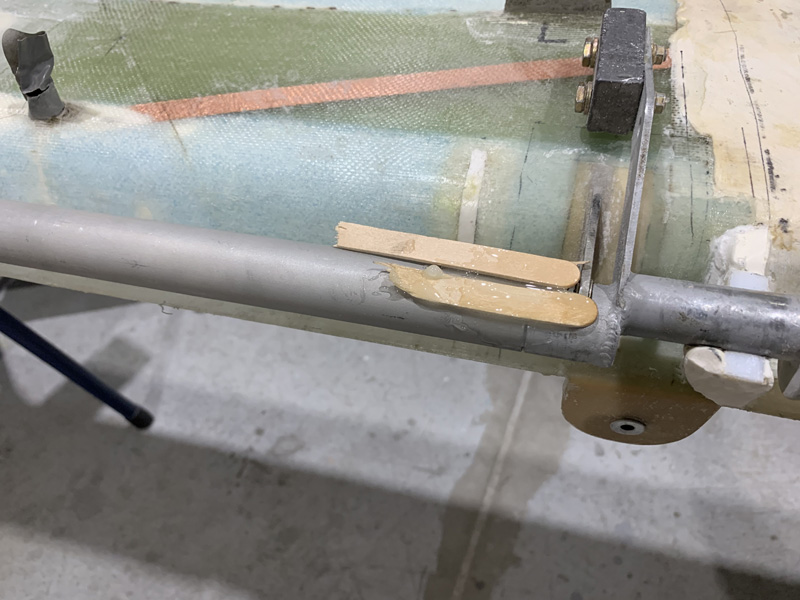
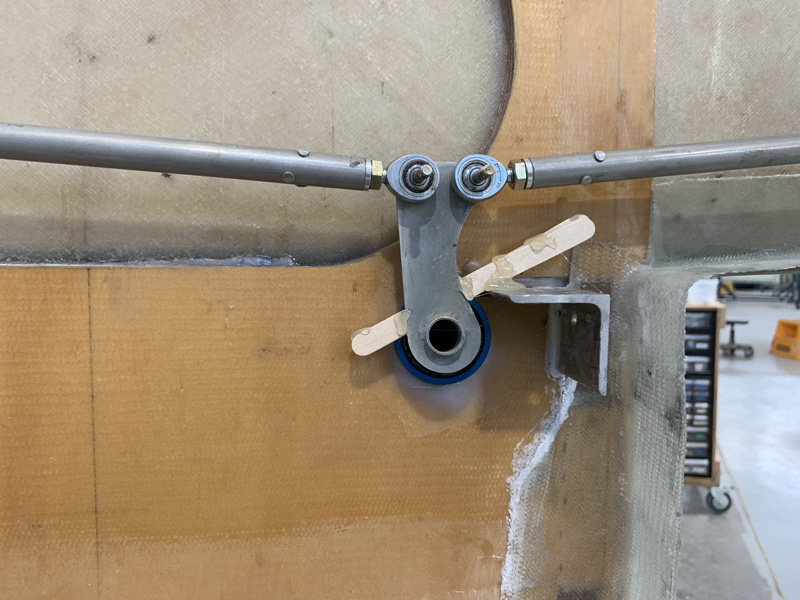
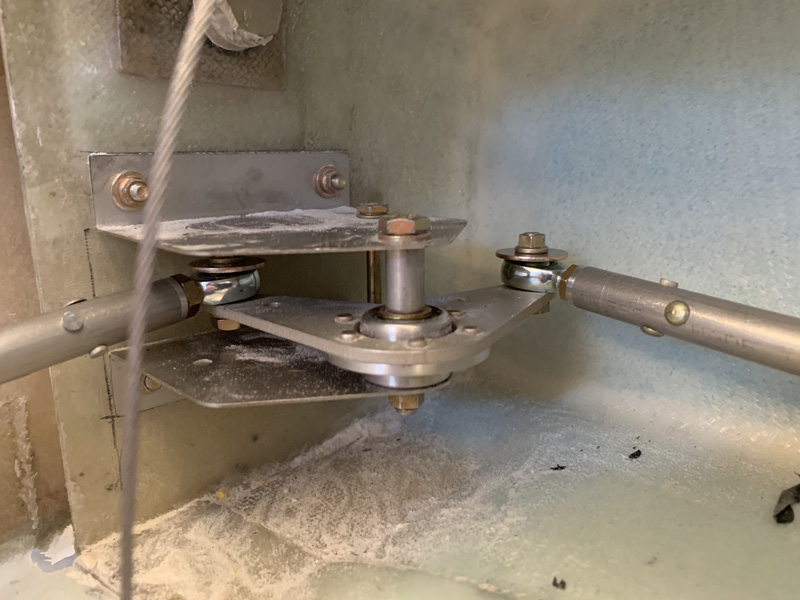
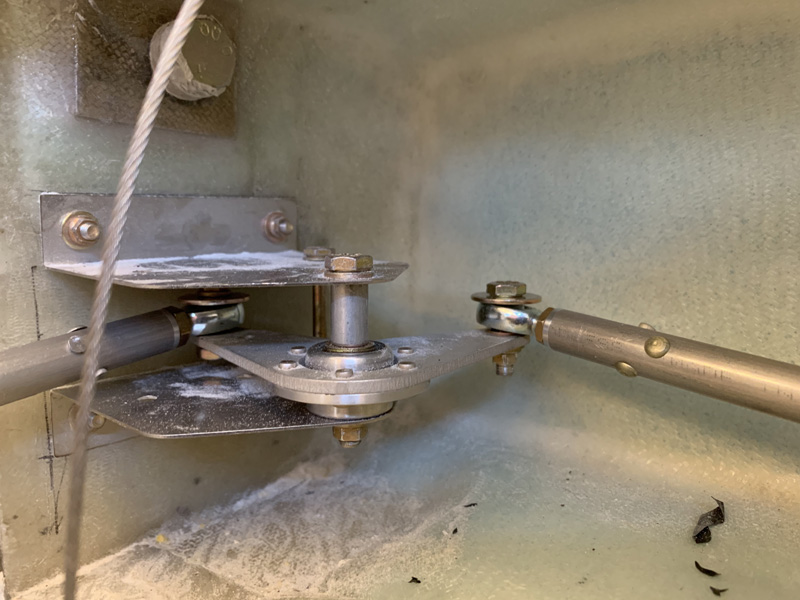
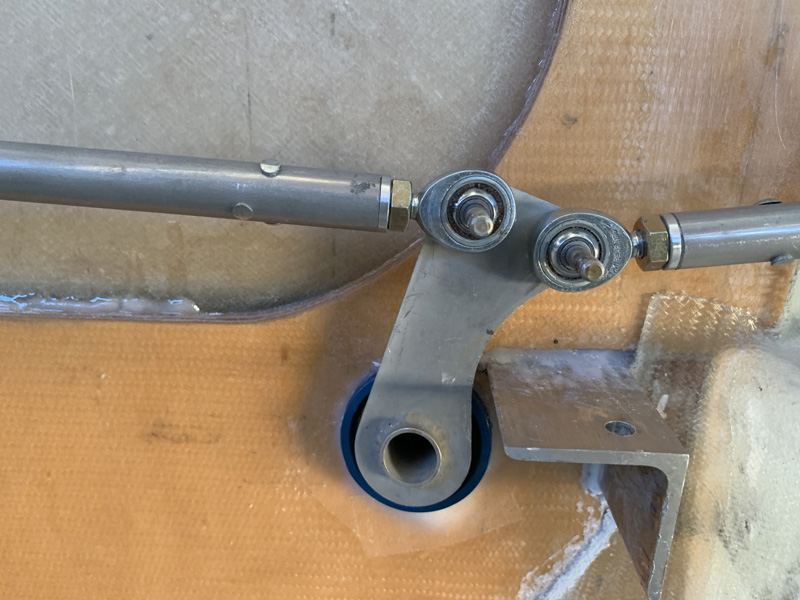
All good…except three ice-cream sticks wasn’t enough. I really needed 4. So it all came out again at the stick. I really want 100% clearance at the firewall when the ailerons move. Because the bearing is on an angle the rod ends don’t move parallel to the firewall, you have to allow for that. Hmmm you’d think I would have remembered that earlier.
This looks done. Notice I have extra washers at the Igus bearing. These were to give the spacing at the firewall. I also make a new end piece which now fits easily. I’ve rechecked and played with the tightness of the controls. I spent over 3 hours just getting one nut on a taper pin. It is next to the sump where I have snookered myself with space. I should have built a Cozy. Nothing is easy here.
I really hope I don’t have to do this again.

