| Date: 08-30-2018 | |
| Number of Hours: 12 | |
| Manual Reference: no ref |
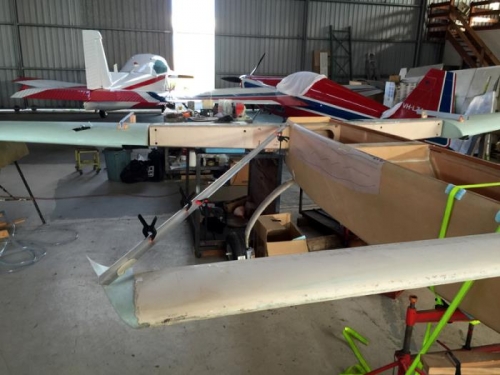
Over several days and many cure cycles I’m slowly making progress on sealing this canard. The cold air that comes in from gaps I have experienced over many flights, this airplane will have the minimum possible air leaks. It IS worth extra effort here.
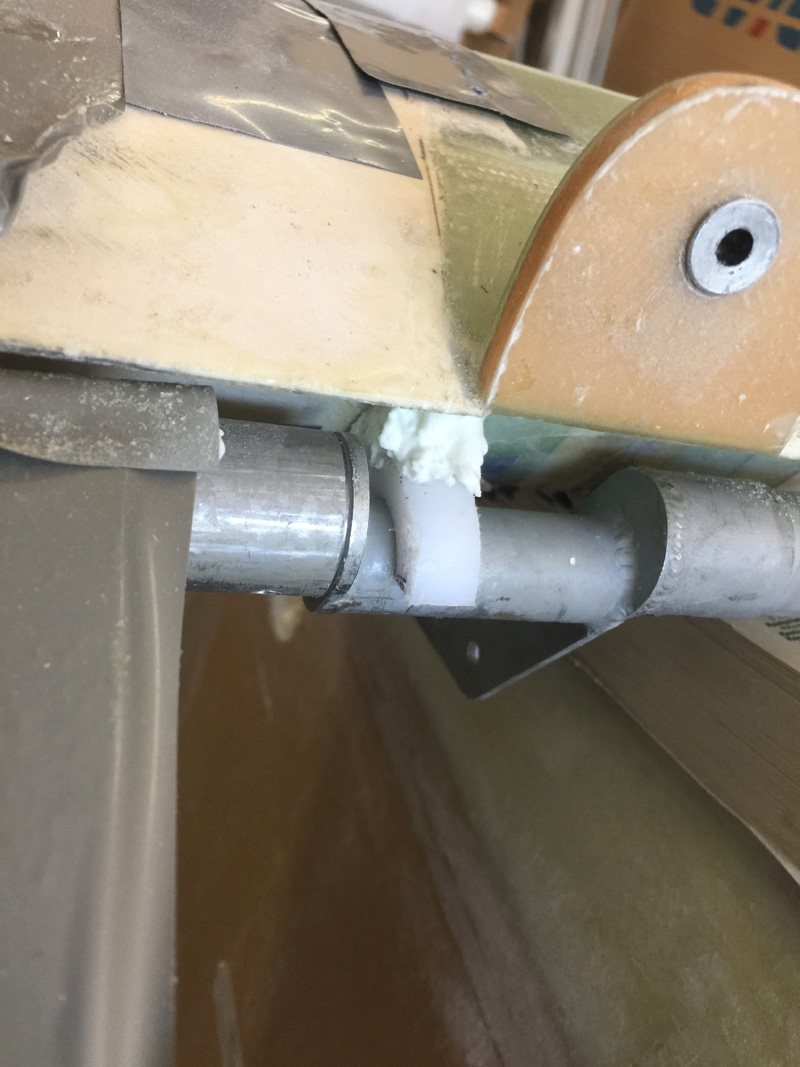
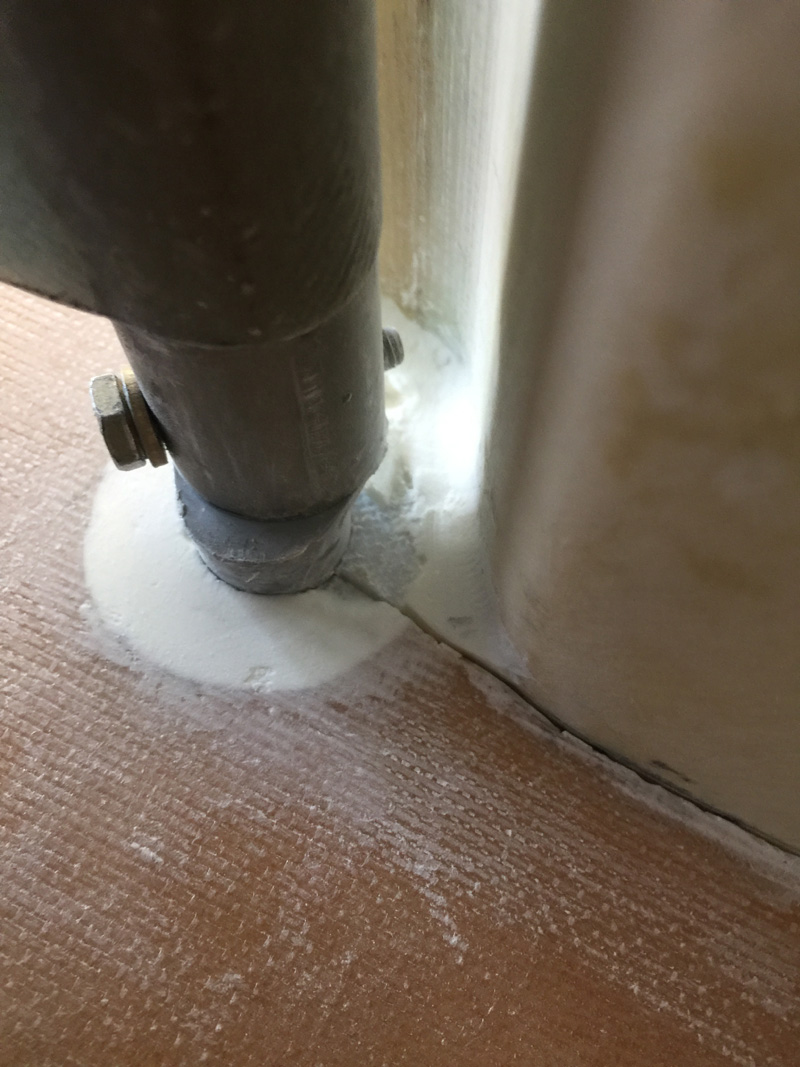
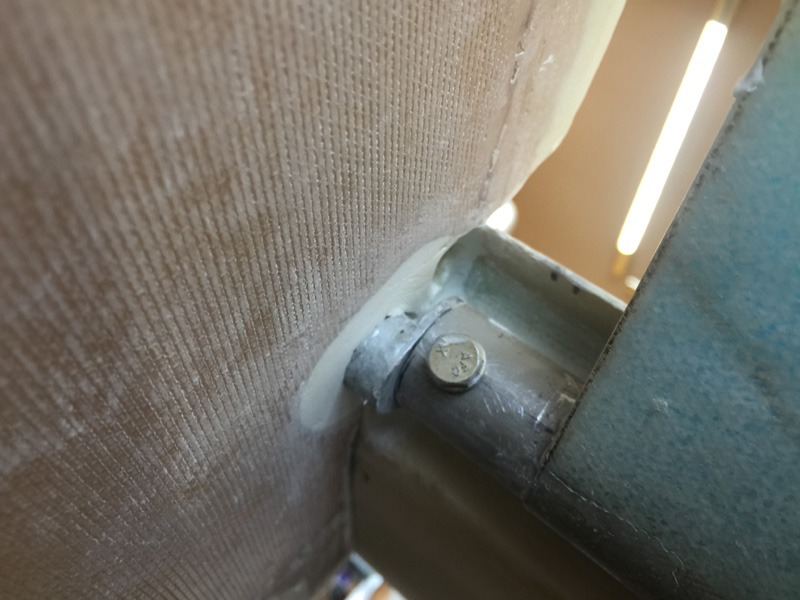
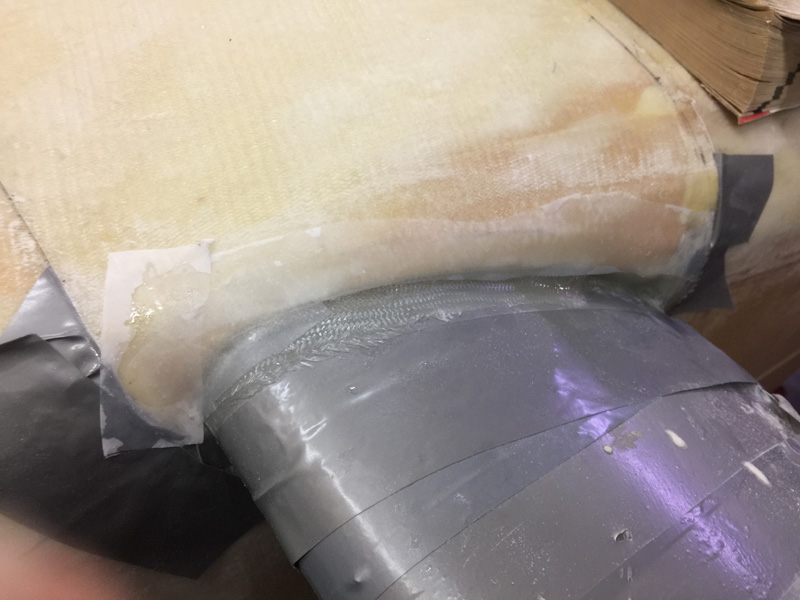
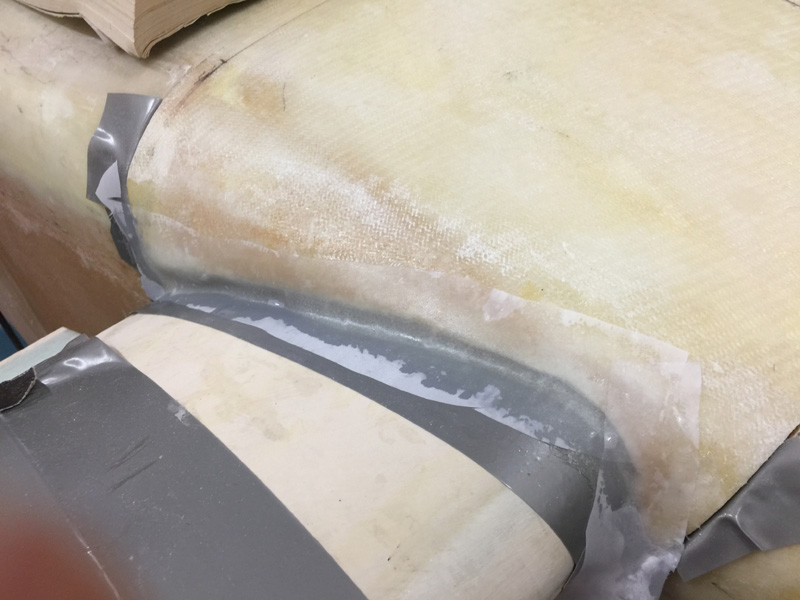
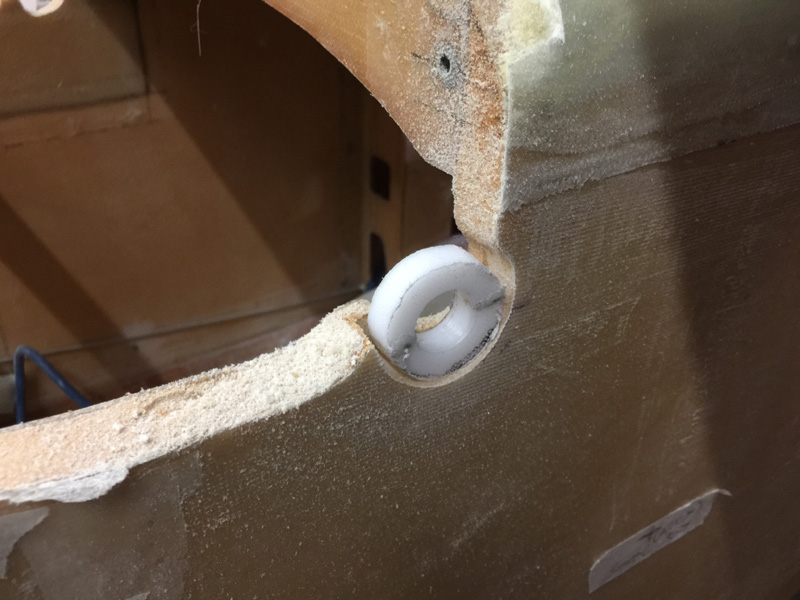
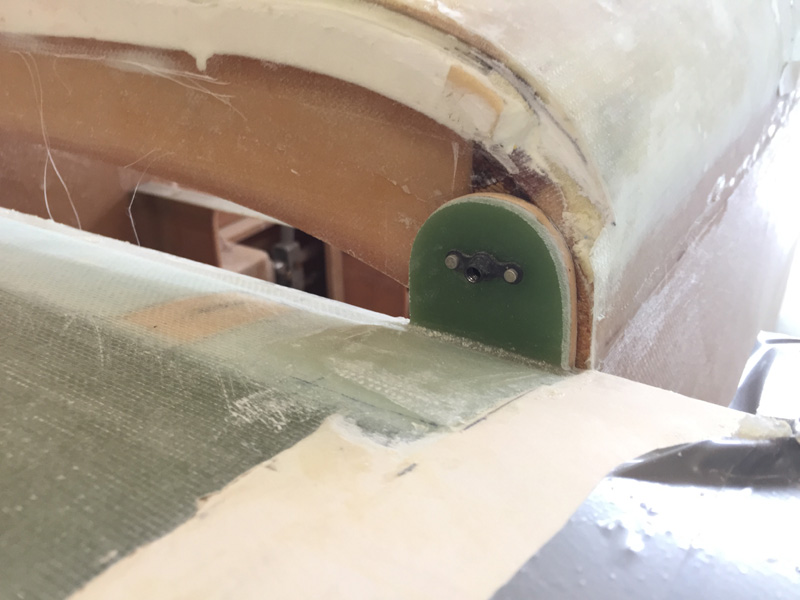
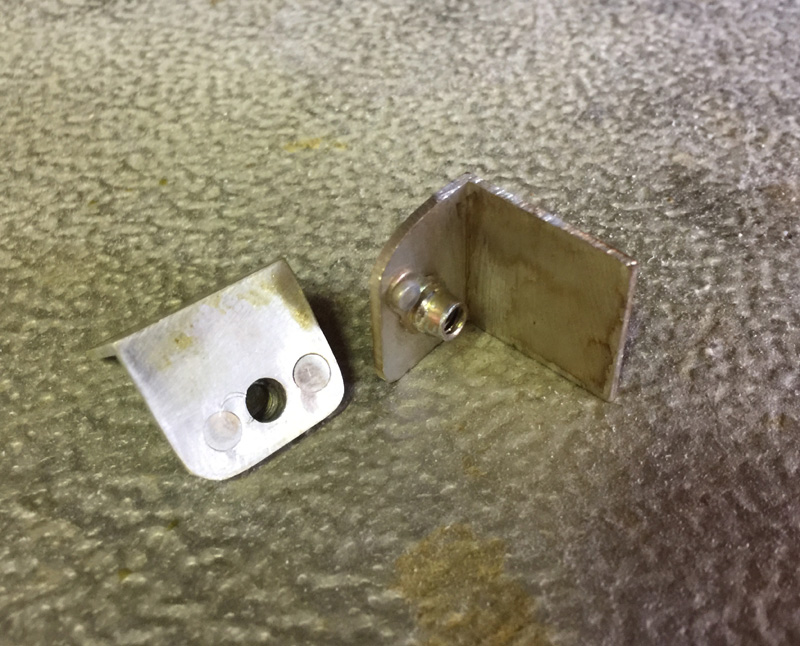
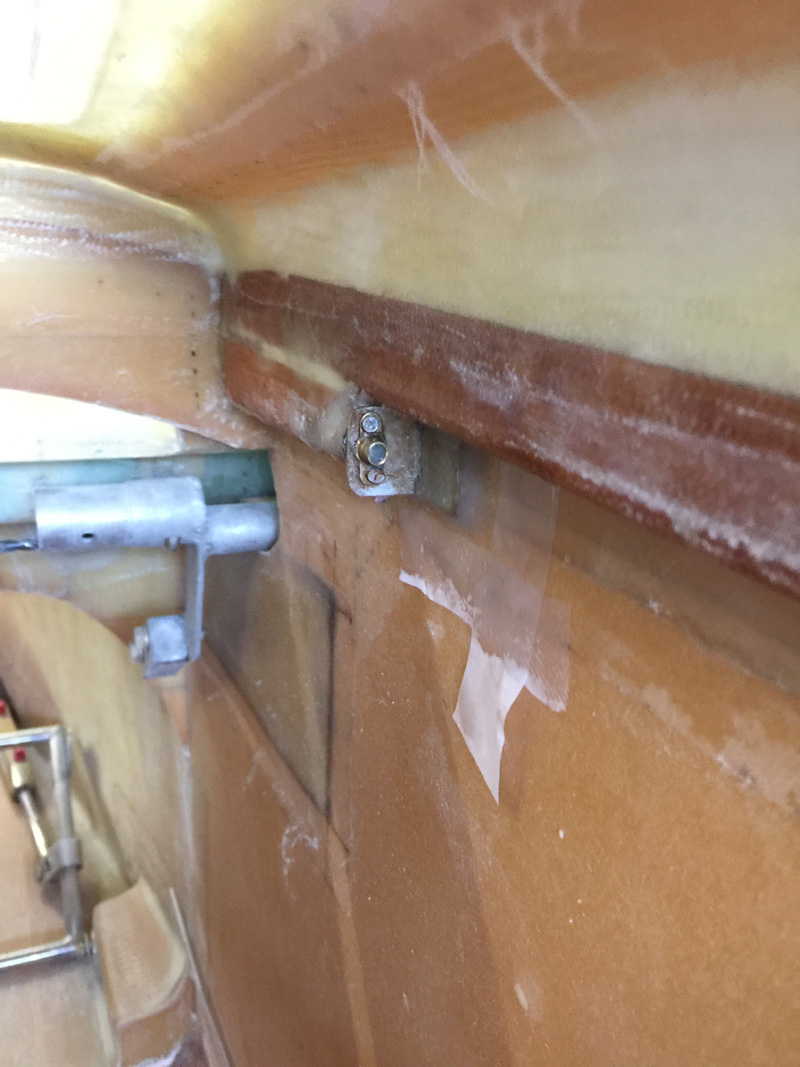
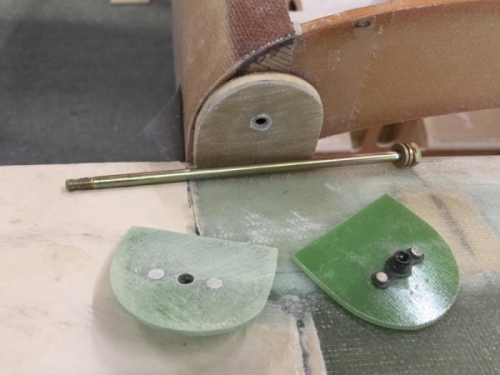
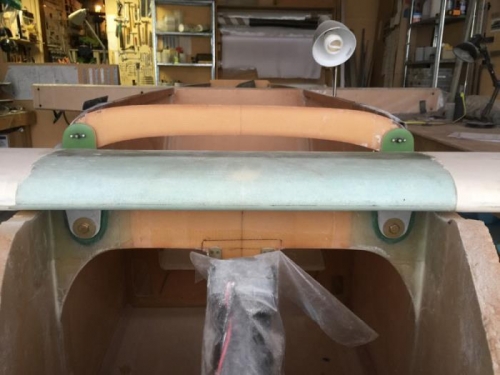
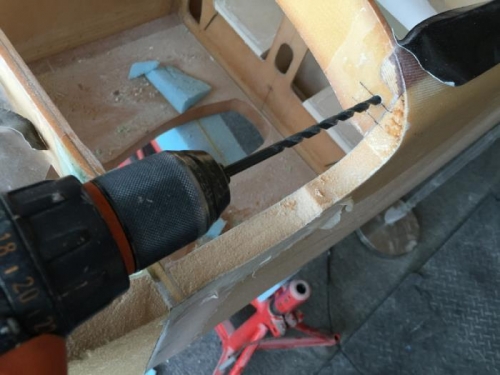
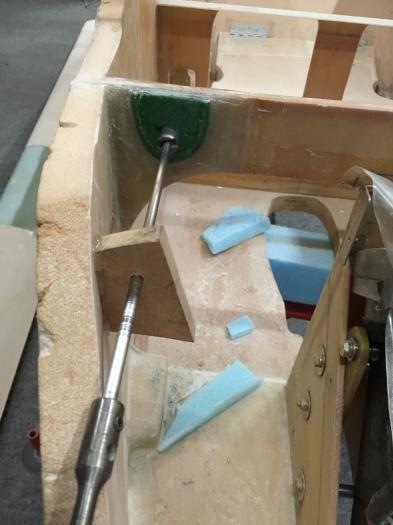
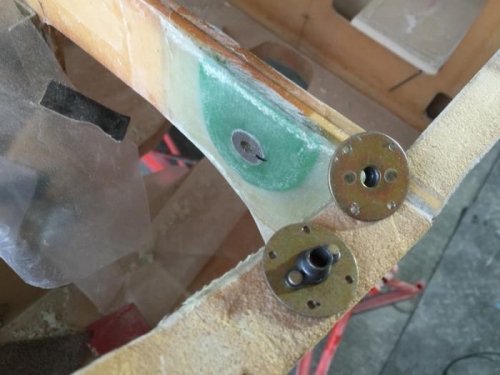
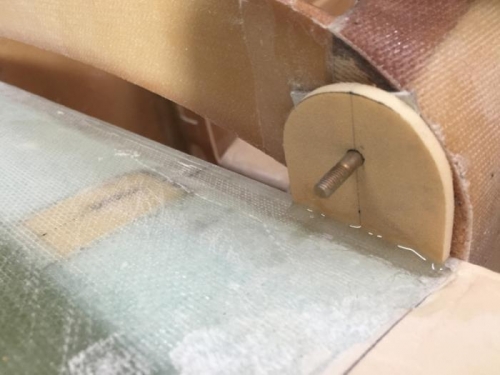
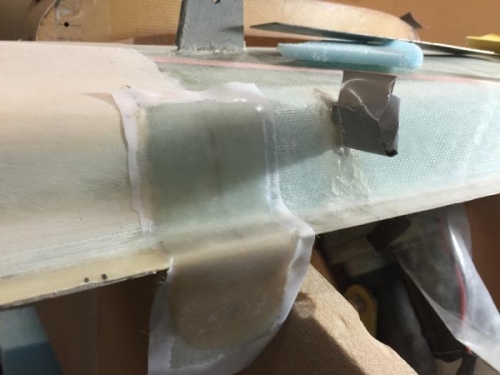
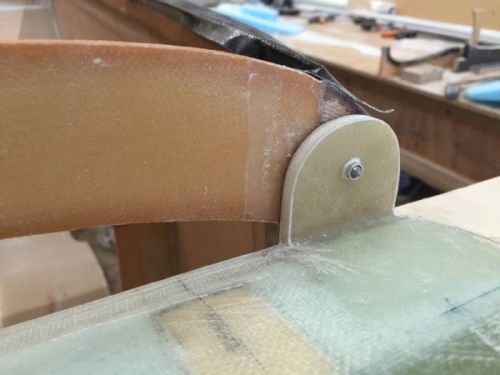
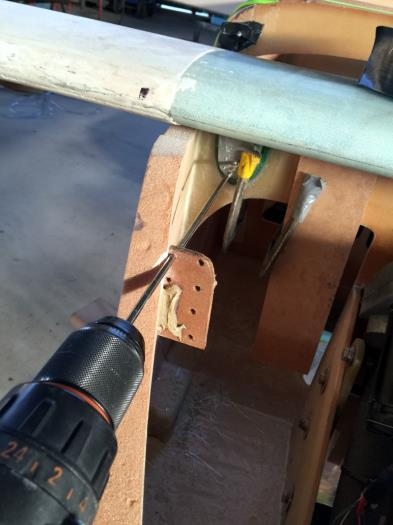
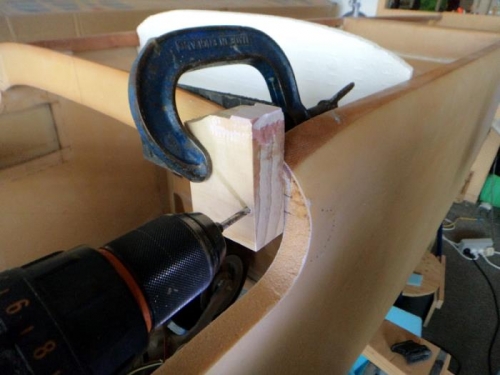
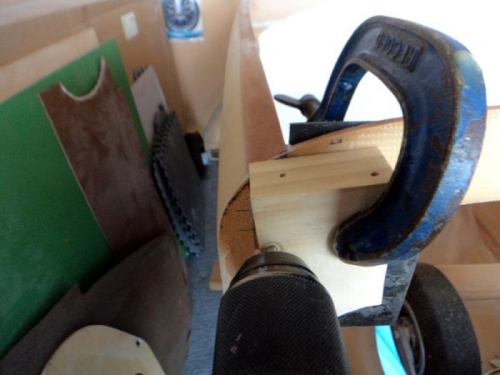
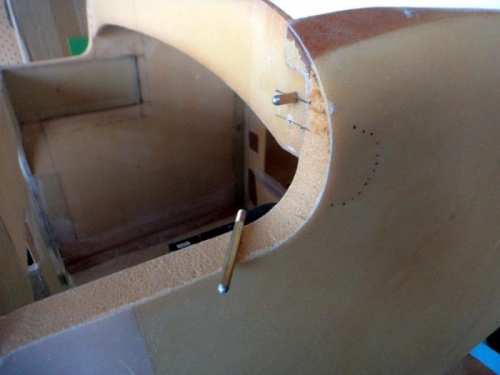
Here we have the top half of one of my phenolic bearings. Pretty messy? Sure, I need to get the top half connected to the canard and the bottom half stays on the fuselage. I know it will take a few goes. For a start, one of them fell off and I had to go again for yet another cure cycle.
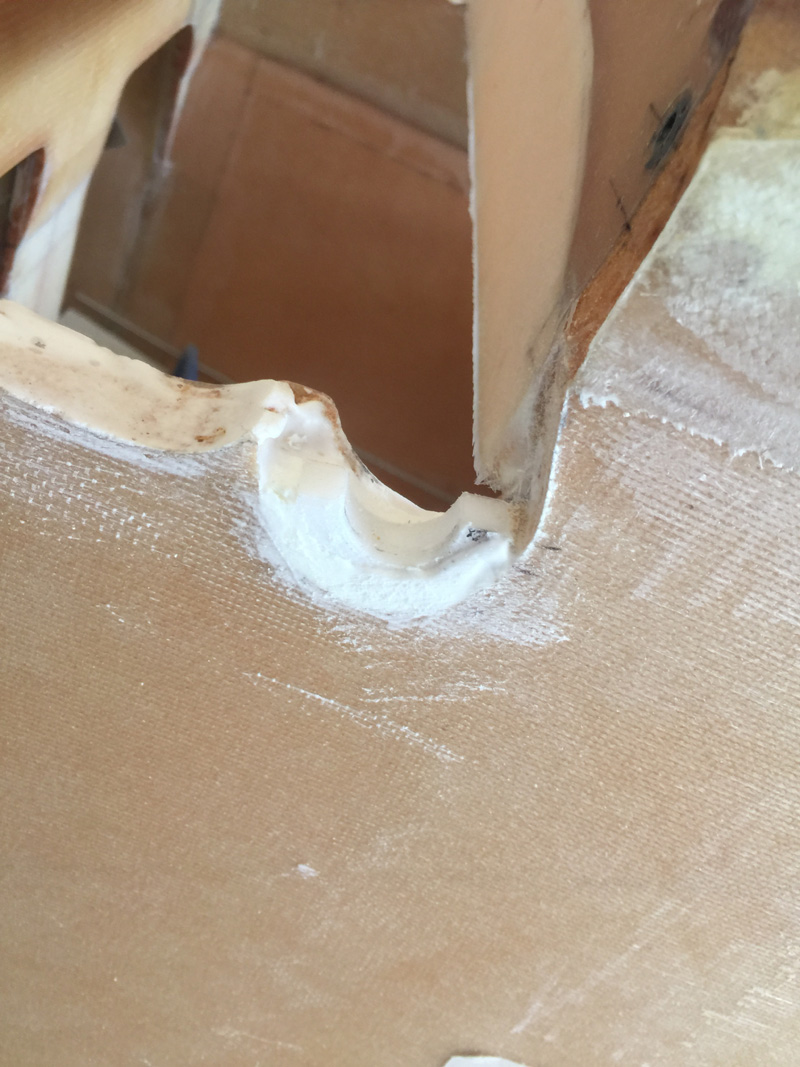
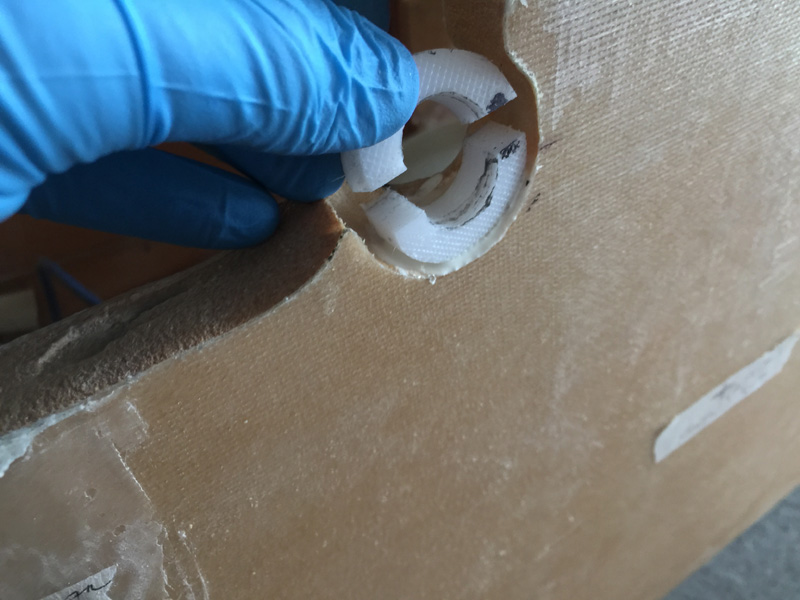
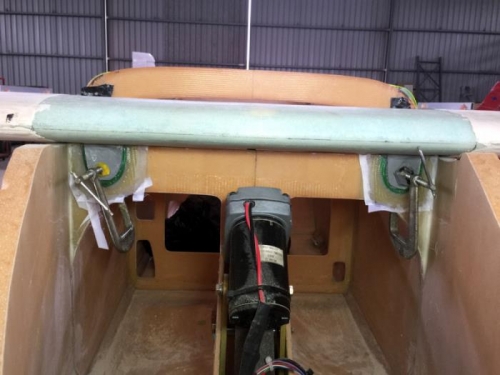
A bottom half here and they are starting to stay put and get filled in.
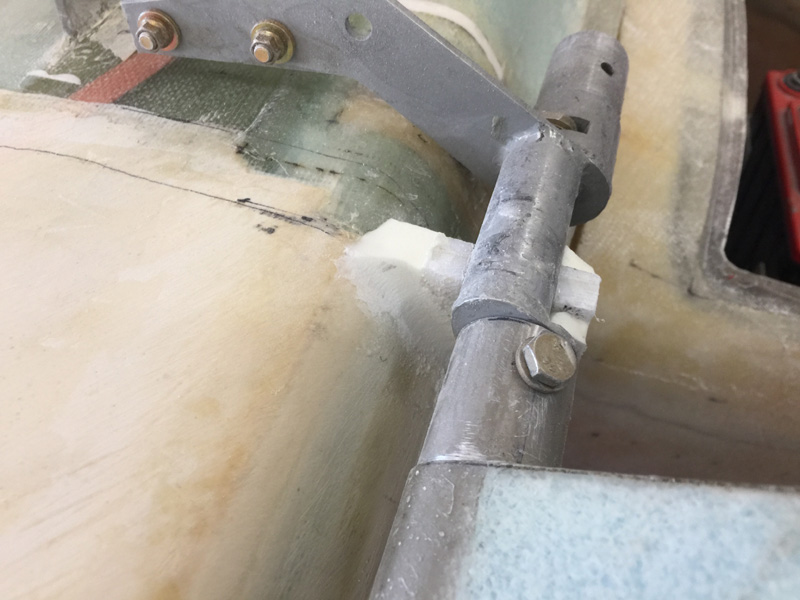
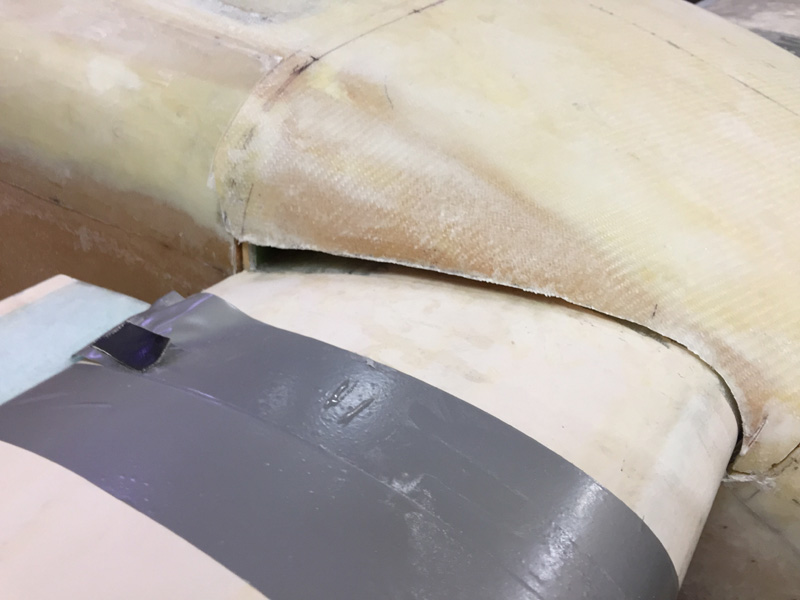
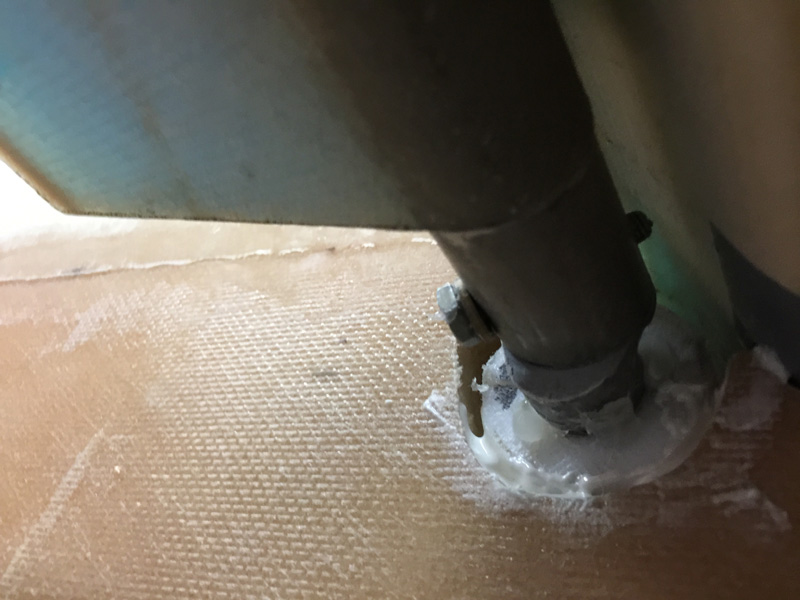
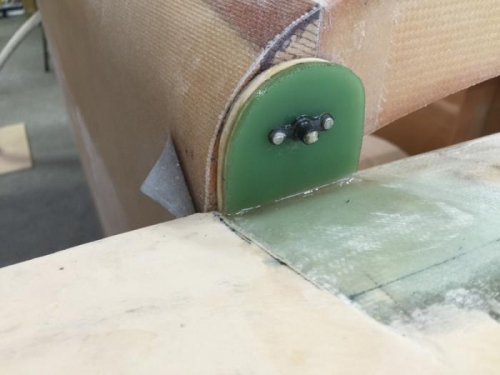
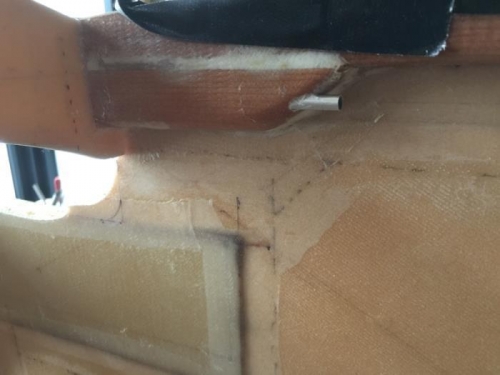
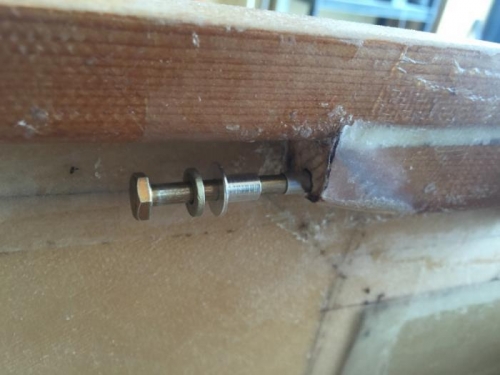
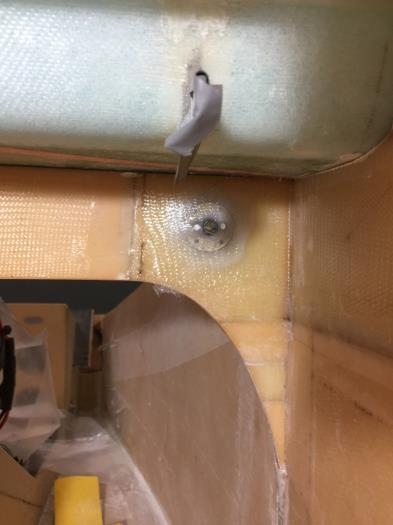
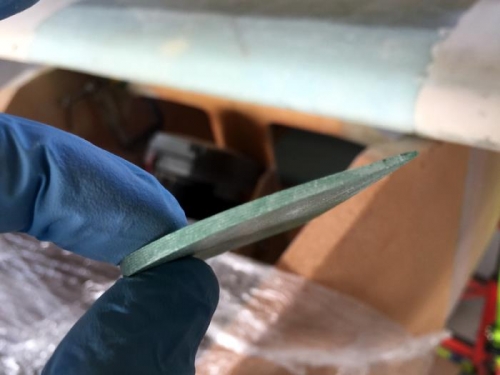
This top half is starting to look right. Now I have the torque tube sealed of course I still need some sort of close seal for when the canard comes off and goes back on. I found I needed to file a flat area, seal that with tape and reinstall the canard and get filler up to this area too.
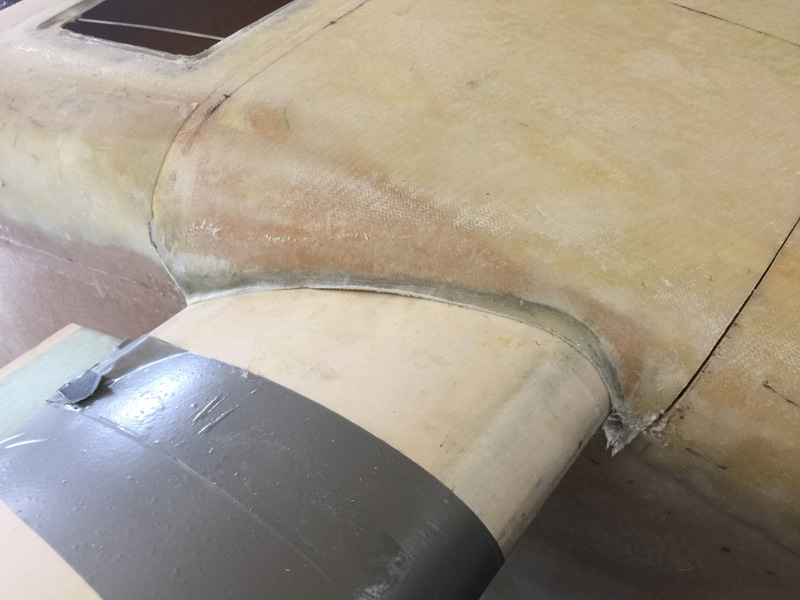
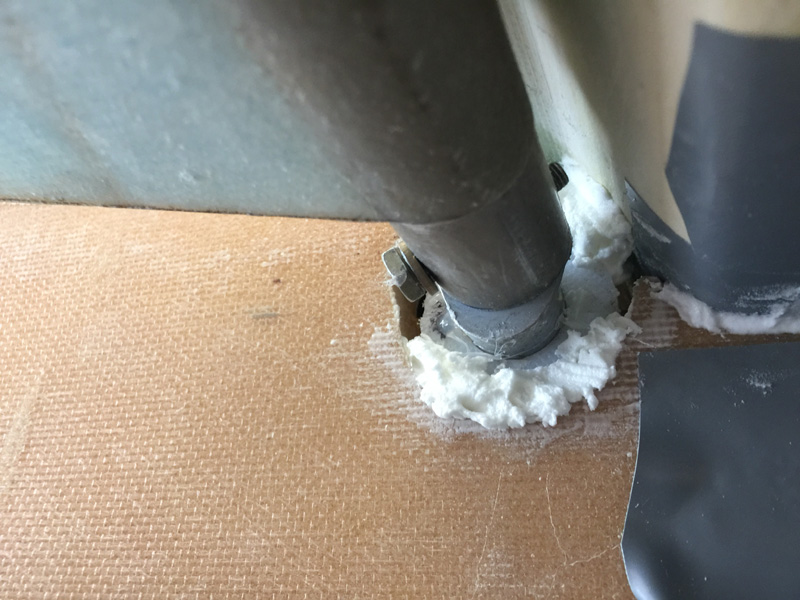
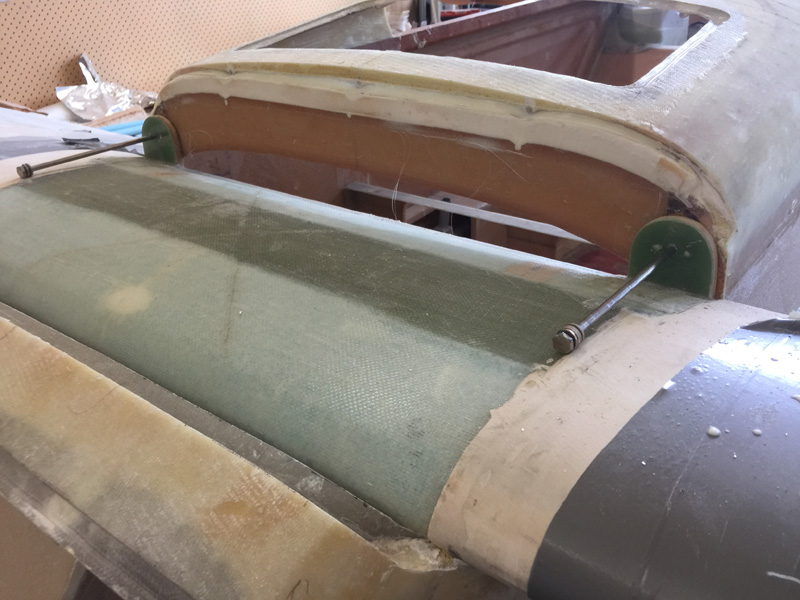
After another cure cycle and the gaps are really minimal now and the canard can be removed and replaced fairly easily.
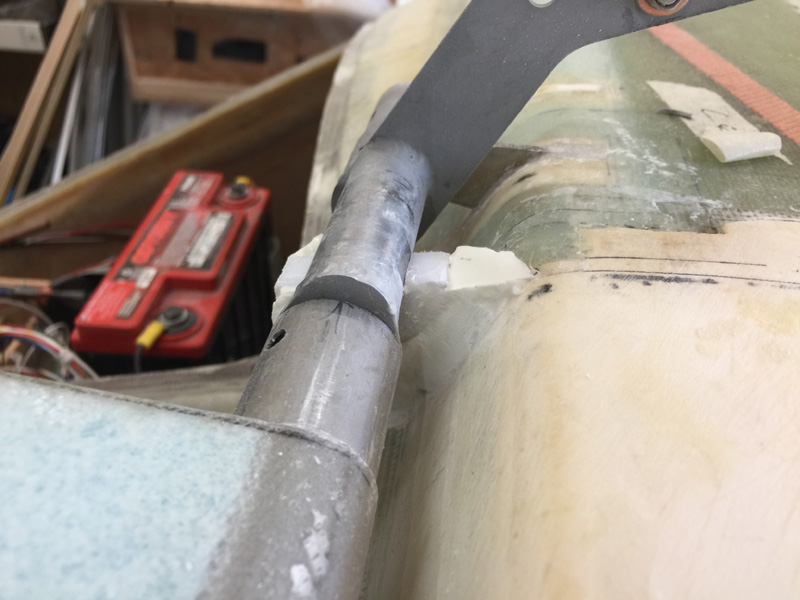
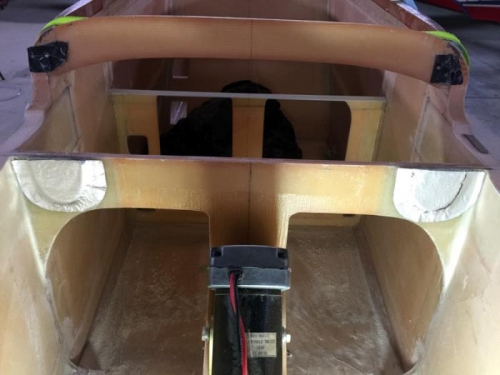
Now we are getting really close. These gaps are the minimal I was seeking. I can get a little better but its approaching a very close seal.
I’m almost happy with this!
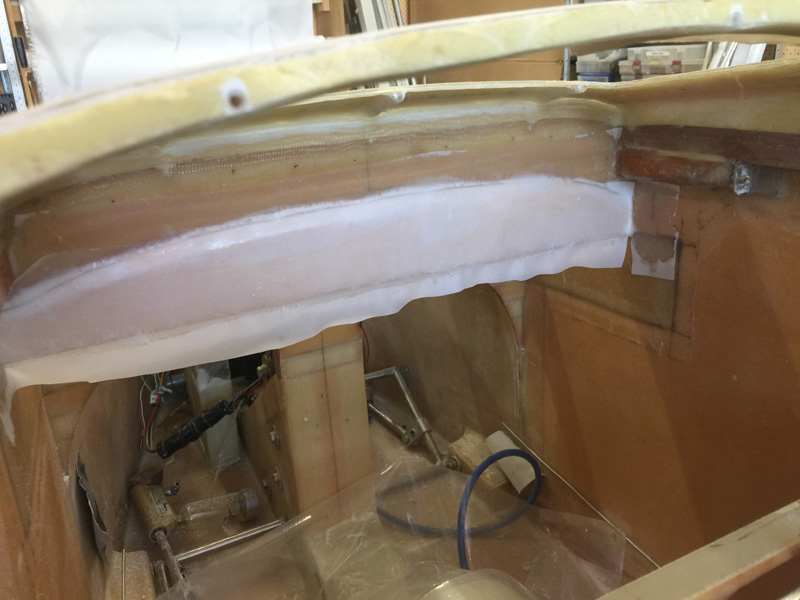
While all the torque tube sealing was going on I had a massive gap at the rear of the canard. If the canard cover was not removable if wouldn’t have been an issue. As it is…. I needed a good rear seal too.
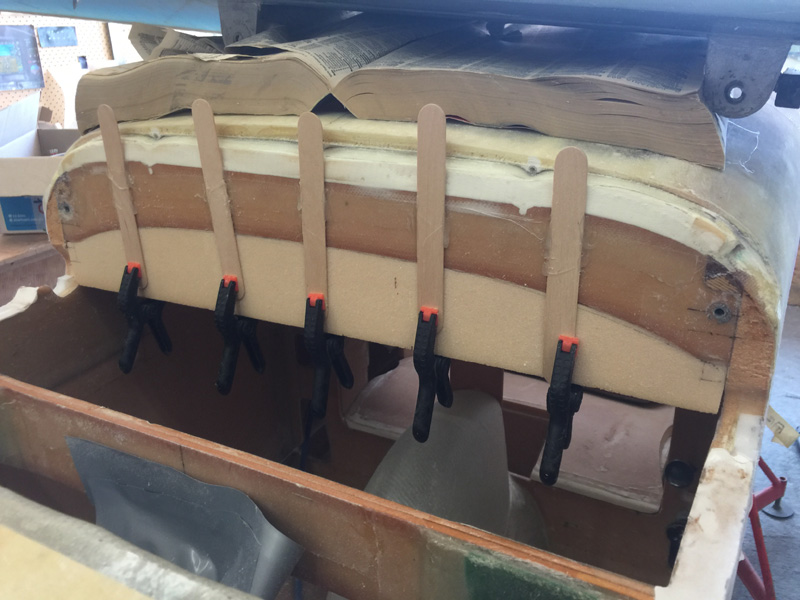
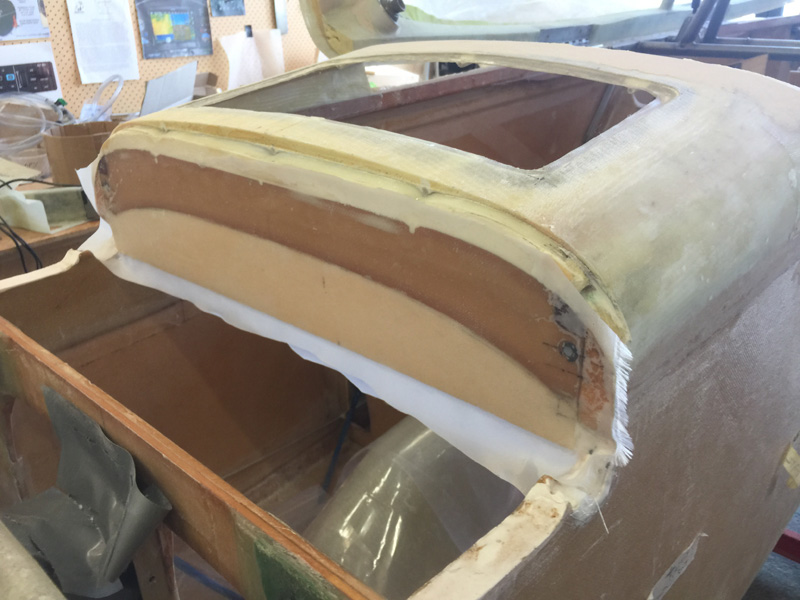
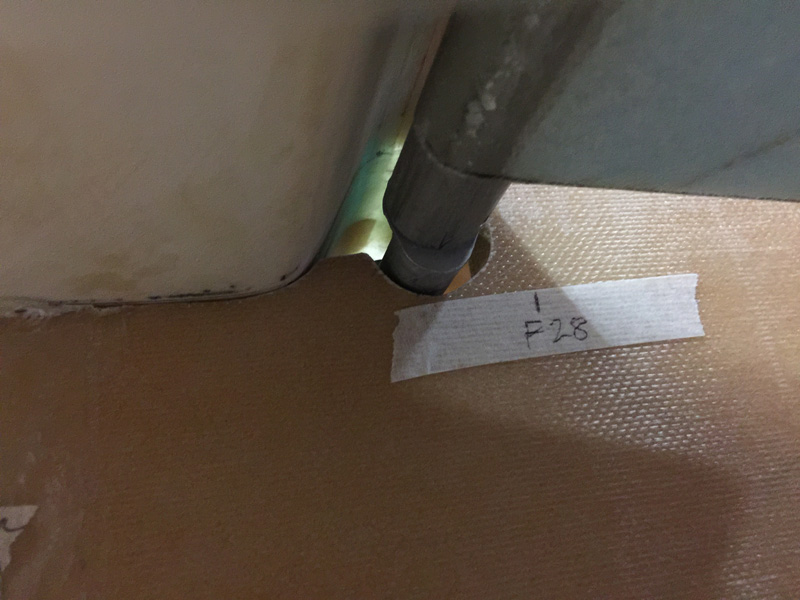
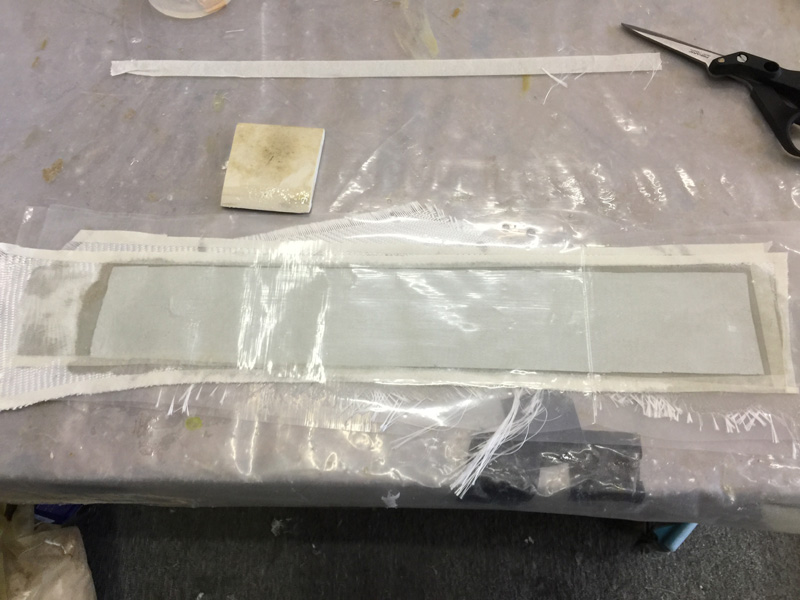
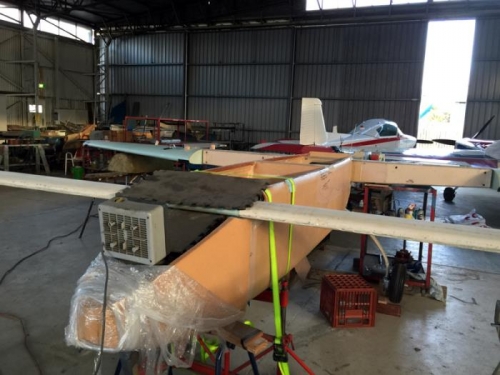
The first step was to extend the rear of the canard about F28 I think? Anyway extend this down with a piece of fitted foam. Of course I had to glass both sides with a ply of BID with a good inch overlap.
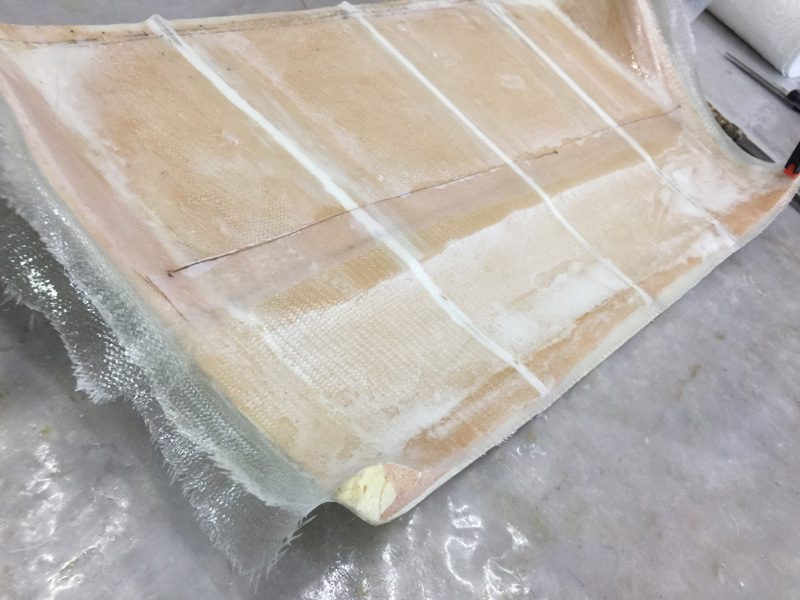
Here’s the inside, peel plied of course.
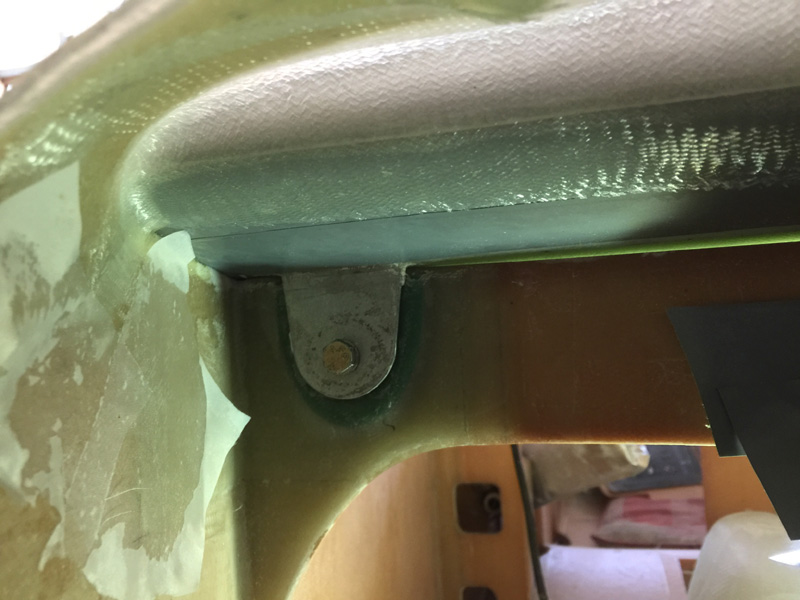
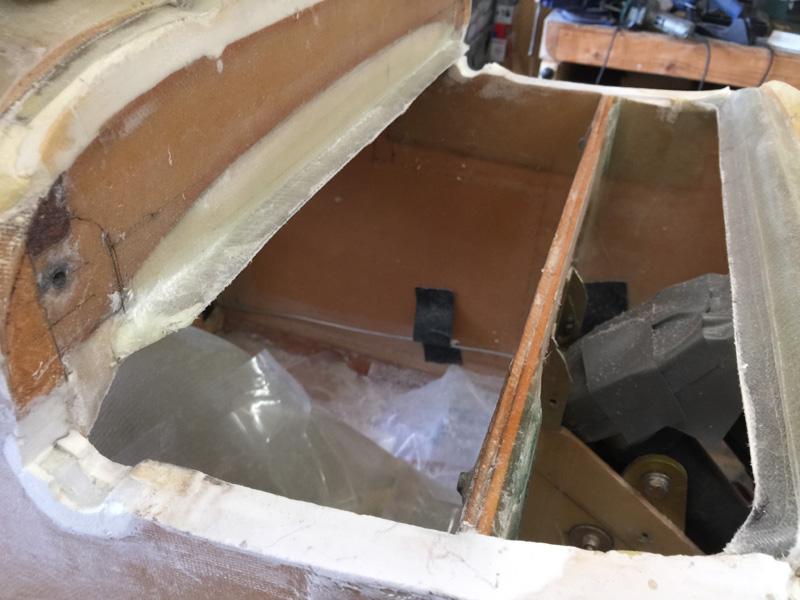
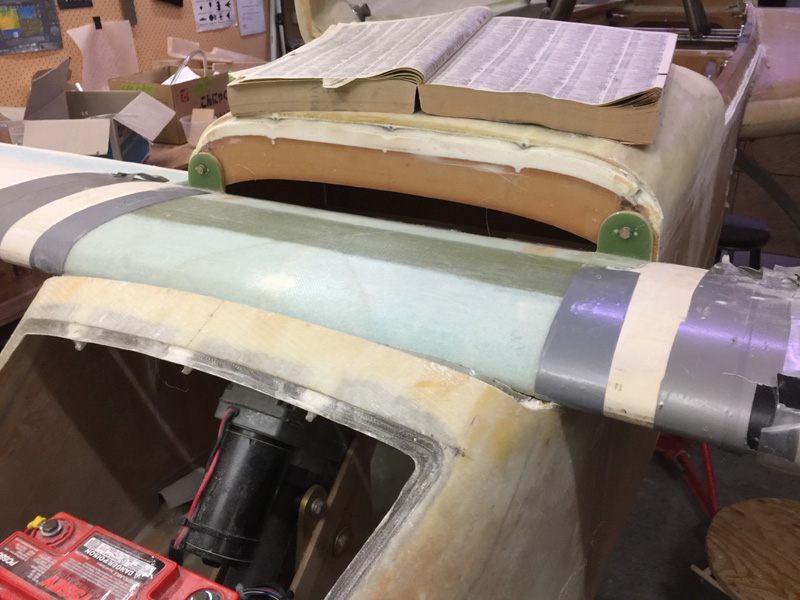
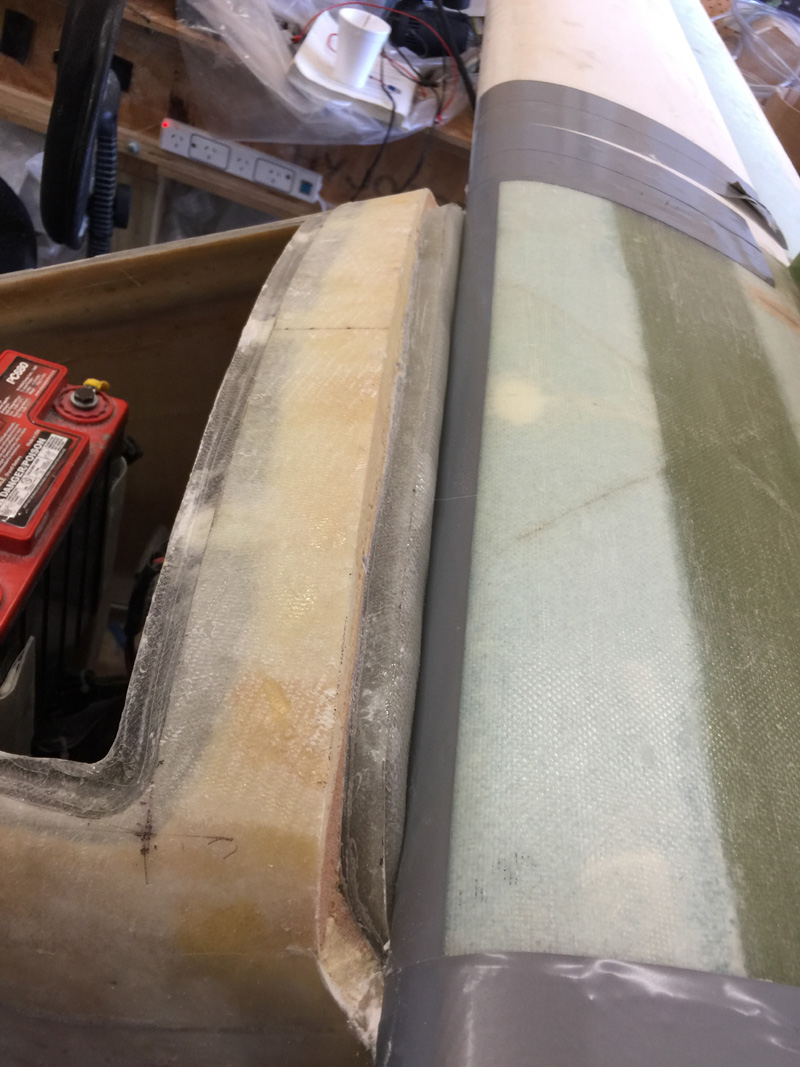
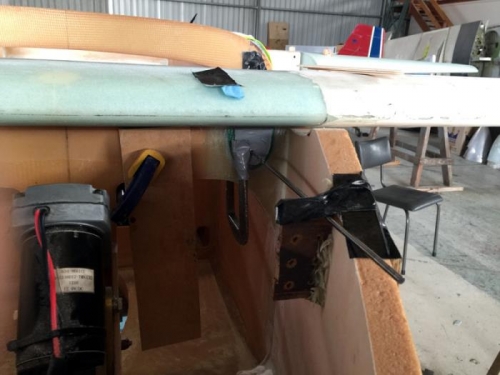
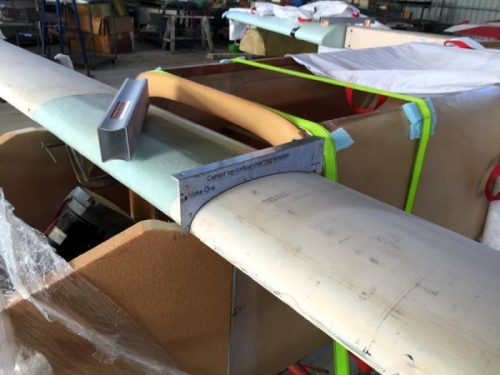
I went to some trouble to also get a front seal, but it still had tiny gaps. So I had to add to that front seal with an underneath seal as you see above.
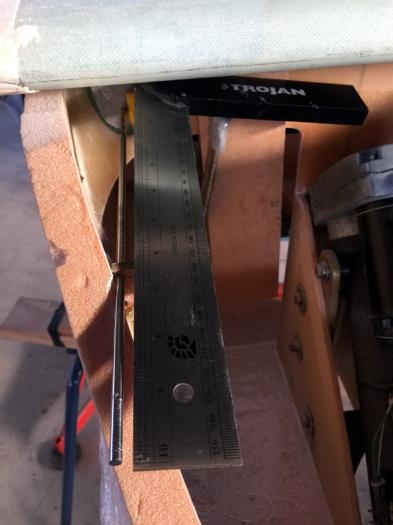
Now my rear wall seal still had a gap too. I’ve trimmed that wall and added yet another few plies of BID under the canard joining into the wall. That all may not make sense. I hope the picture above clarifies it. I’ve added seals to the front and back of the canard that also curl under the canard so it really does seal! Thats four separate operations here. I think we are good now.
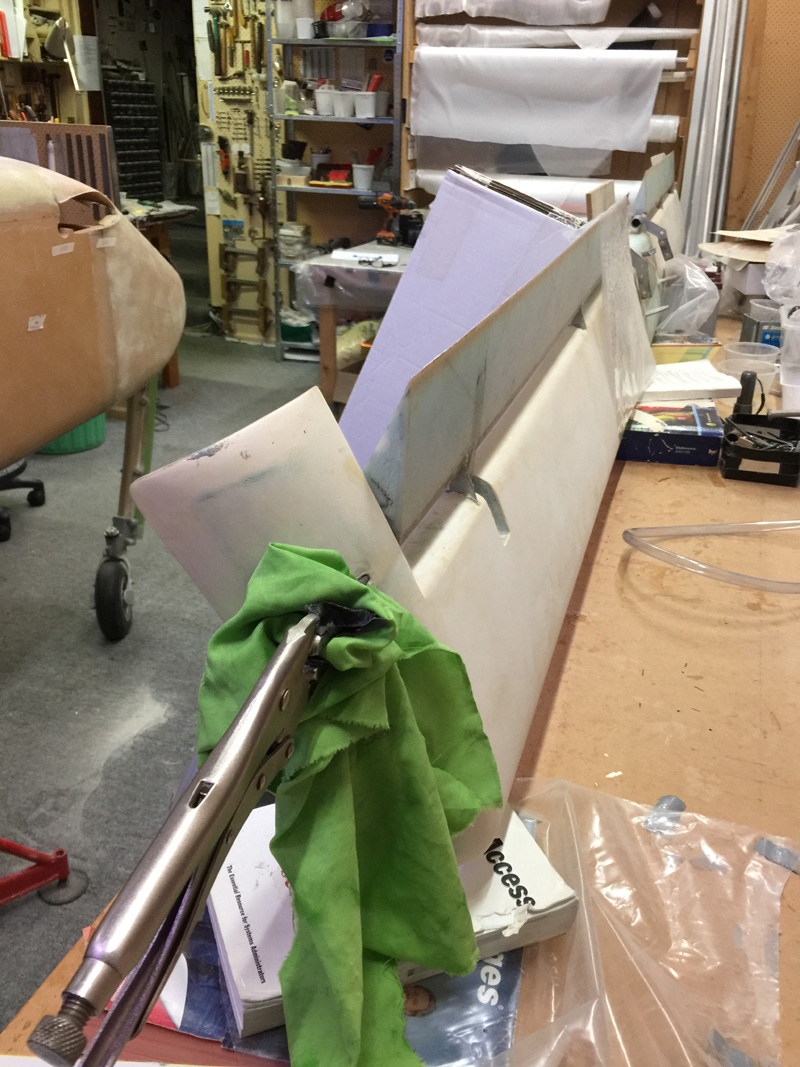
Meanwhile the canard cover needed extending.
Yes the canard cover had those gaps at the sides from when I raised things for a bigger instrument panel. Hey, its just a bit more work.
Meanwhile with the canard cover off I realised that some of it was still bare foam so that got a ply of BID. While I was at it I reinforced the side fill areas.
Here we are after the cure and it still needs work. I added some flox to that daggy front corner tonight and it will need more trimming later and maybe another fill to get the gaps down to nothing. I’ll keep at it. We are getting closer.

