• Home
  • Flying
    • First Flight
  • Build by Chapter
    • Ch 3 Education
    • Ch 4 Fuselage Bulkheads
    • Ch 5 Fuselage Sides
    • Ch 6 Fuselage Assembly
    • Ch 7 Fuselage Exterior
    • Ch 8 Roll Over/Seat Belts
    • Ch 9 Main Gear/Landing Brake
    • Ch 10 Canard
    • Ch 11 Elevators
    • Ch 12 Canard Installation
    • Ch 13 Nose and Nose Gear
    • Ch 14 CenterSection Spar
    • Ch 15 Firewall and Accessories
    • Ch 16 Control System
    • Ch 17 Roll/Pitch Trim System
    • Ch 18 Canopy
    • Ch 19 Wings, Alierons
    • Ch 20 Winglets/Rudders
    • Ch 21 Strakes – Fuel/Baggage
    • Ch 22 Electrical System
    • Ch 23 Engine Installation
    • Ch 24 Covers/Consoles
    • Ch 25 Finishing
    • Ch 26 Upholstry
  • Build Mods
    • Liquid Cooling, Numbers, Weights and Flow
    • Cooling
      • Solving Ground Cooling 1
      • Solving Ground Cooling 2
      • Solving Ground Cooling 3
      • Solving Ground Cooling 4
      • Solving Ground Cooling 5
      • Solving Ground Cooling 6
      • Solving Ground Cooling7 – Test Data
      • Solving Ground Cooling 8 – Flap Building
      • Solving Ground Cooling 9 – Hinges
      • Solving Ground Cooling 10 – Lower Flaps
      • Solving Ground Cooling 11 – Upper Flaps
      • Solving Ground Cooling 12 – Completed
      • Cooling the Beast 1
      • Cooling the Beast 2 – Lower Cowl Expansion
      • Cooling the Beast 3 – KW Oil Cooler Diffuser
    • EVS (Enhanced Vision System)
    • Cowl Keeper
    • Rudder Gust Locks
    • Wing Fences
    • Post Cure
    • Hinge Upgrade
    • RAM Air & Hellhole Cover
    • Main Gear Beef Up
    • Pilot Side Windows
    • Baggage Pods
    • Winglet Intersection Fairings
    • Titanium Rollover
    • Nose Gear Doors
    • Wheel Pants/Gear Leg Fairing
    • Cabin heating System
    • Fuel System
    • Roll and Pitch Trim
    • Oxygen System
    • The Ferry Tank
    • Cruise Angle Indicator
    • Fire Extinguisher Install
  • Round the World
    • RTW Route East #12 rev1
    • Survival Equipment
    • Training Flights
  • Other Stuff
    • Blog
    • Around the World: RAAUS Sport Pilot Issue 110
    • Taxi Tests
    • Summary Feb ’24 from an SAAA Meeting
    • AOPA Pilot 27th Sept 2019
    • Build Tests
    • Flying Stories
      • A Long Easy Dream ’06
      • Townsville ’07
      • Cairns ’08
      • Albany ’08
      • East Coast ’08
      • Brisbane ’09
      • Cairns ’10
      • Perth ’10
    • Non Build Mods
      • F16 Scoop for JZE
      • Ram Air Box for JZE
      • Strange Tips
    • Milestones
    • Links
  • Contact

Main Gear Beef Up

Home
Build Mods
Main Gear Beef Up

Main Gear Side Reinforcement 3

Date:  05-11-2019
Number of Hours:  6
Manual Reference:  

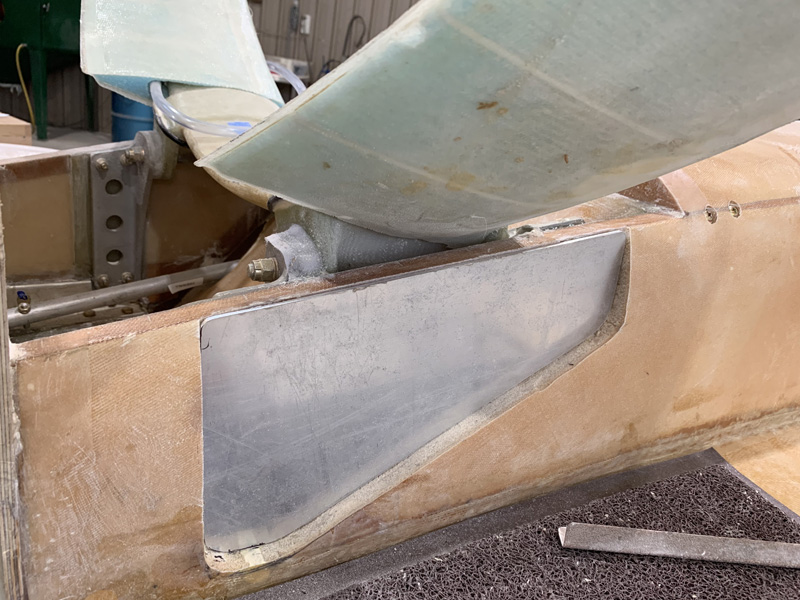
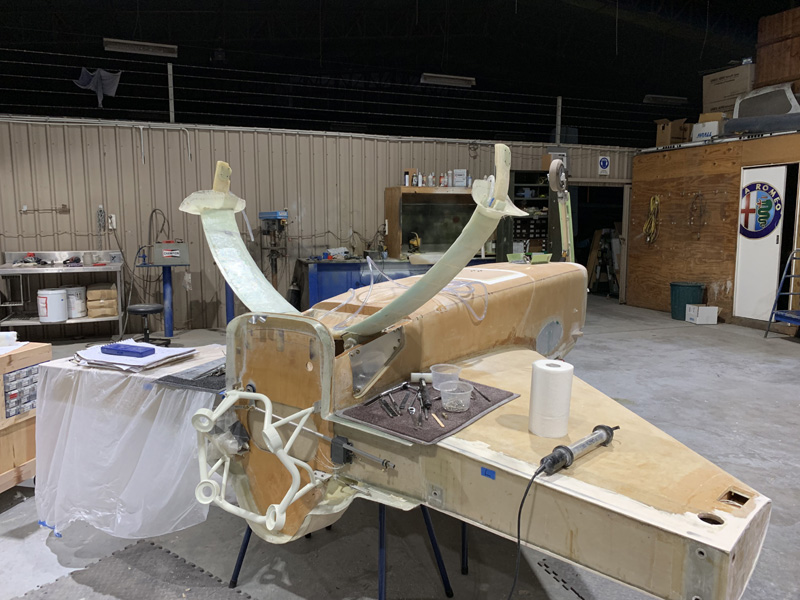
Time for the ‘other side’ reinforcement plate.

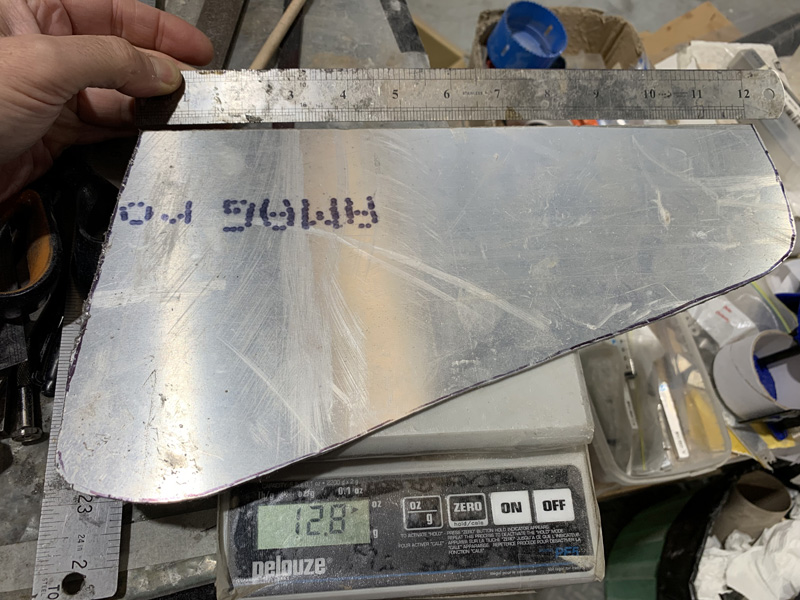
What is the ‘cost’ of this upgrade? The benefits are less likely main gear failure, particularly at higher MAUW. It is more weight at the rear end too, exactly what we don’t want.Β  1lb 9.6ozs is the estimated all up weight penalty.

This is significant. I am doing this because I will be a heavy Long-EZ with full fuel, if I have to land back with 550 liters on board, thats 396kg or 871lbs. I could be in the 2000lb range all up.Β  That would be exception circumstances, after a long flight of course fuel is burnt off. Then there is the unexpected pothole consideration too. I have set the MAUW of the plane at 995kg or 2180lbs in the paperwork which I can as the manufacturer.

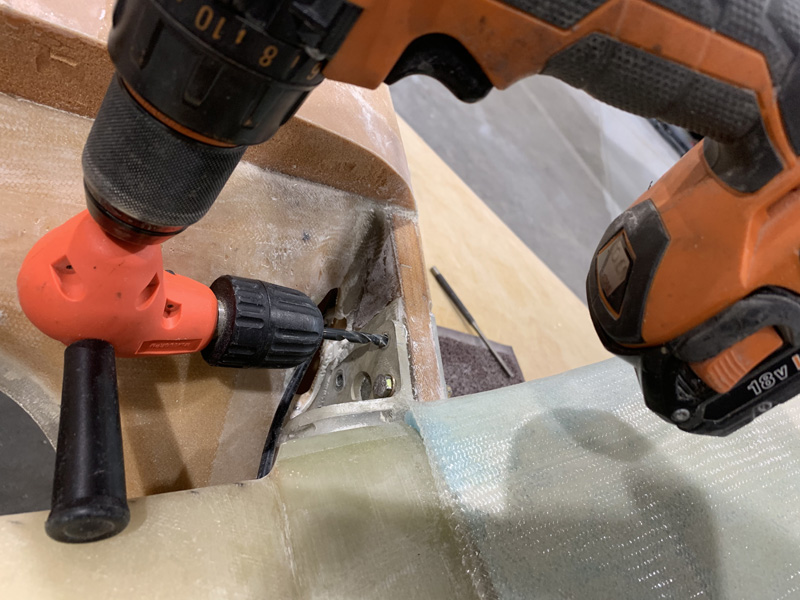
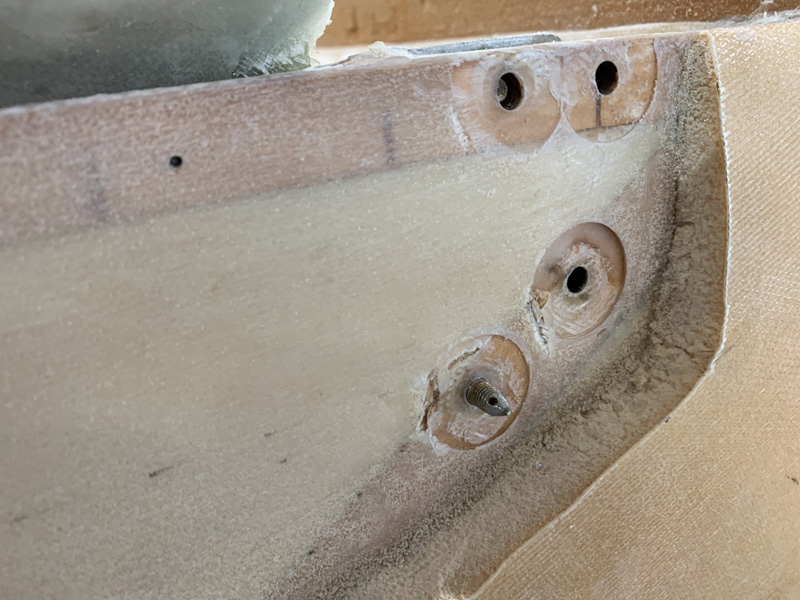
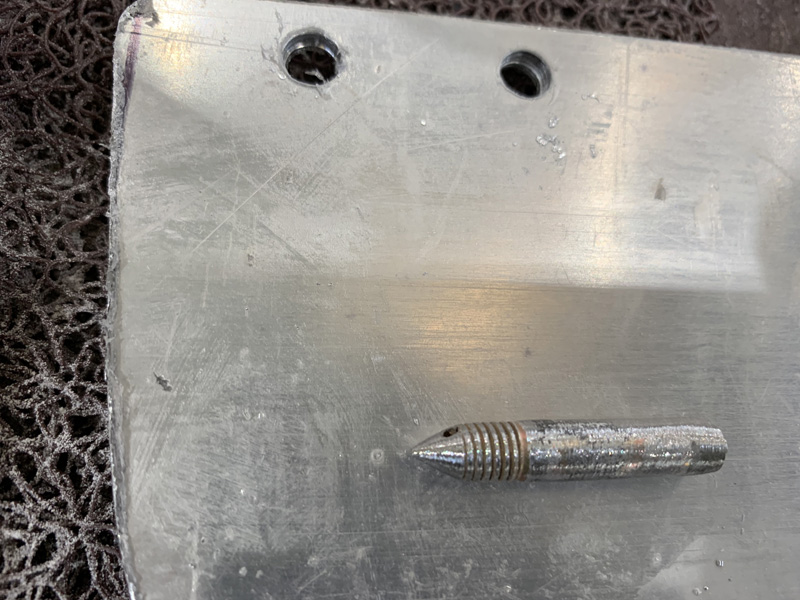
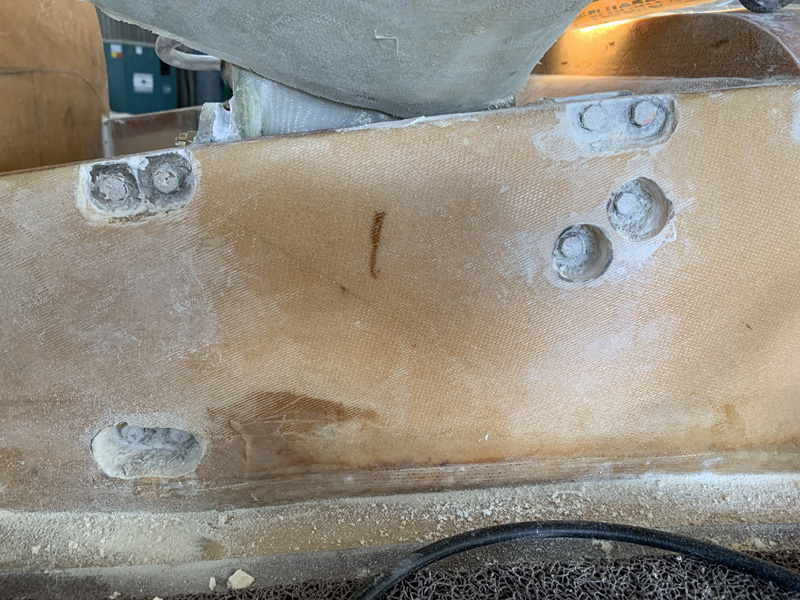
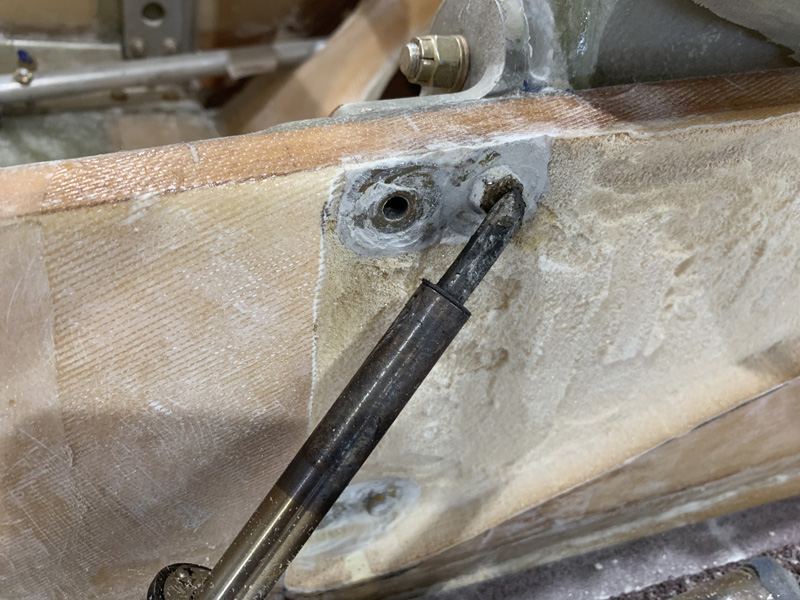
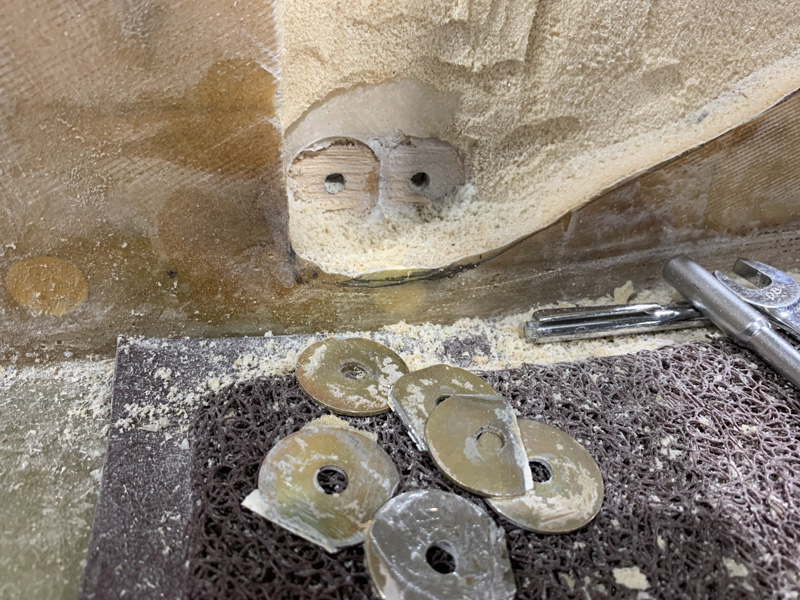
The side had some challenging bolts to get out. The one above took 2 hours to remove.

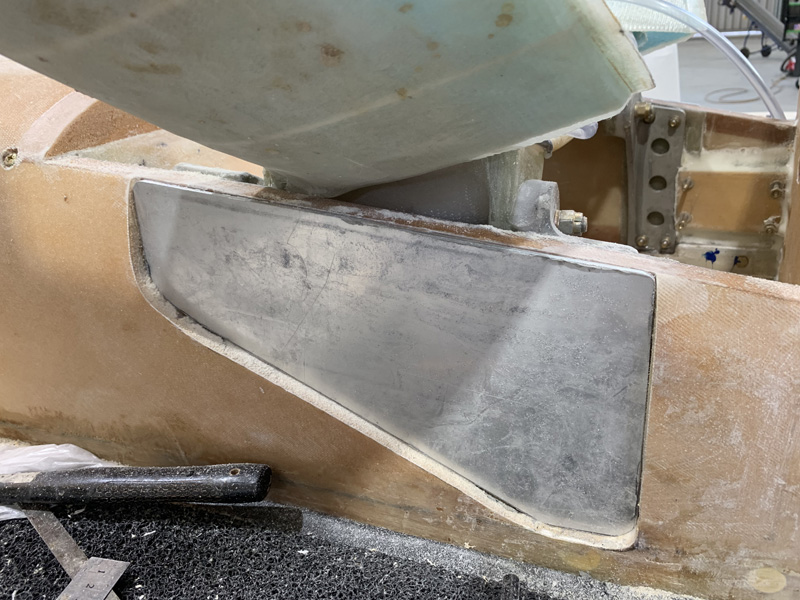
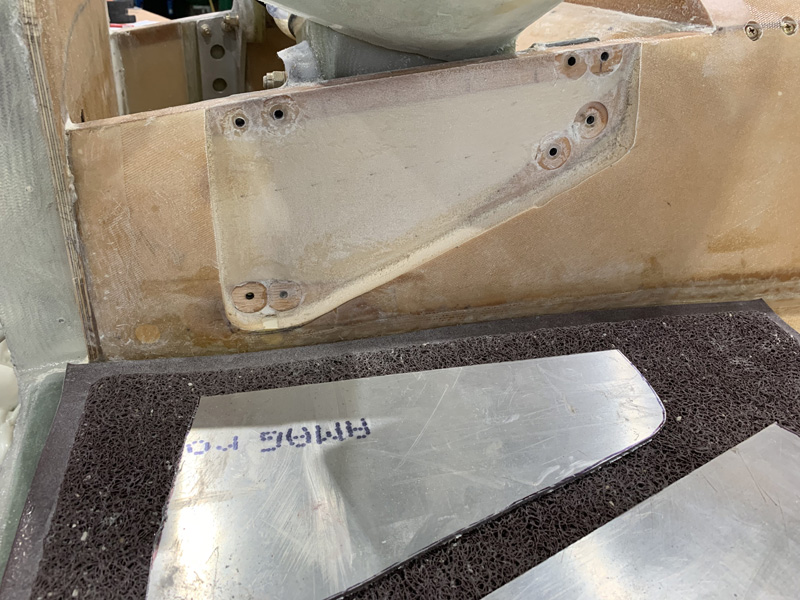
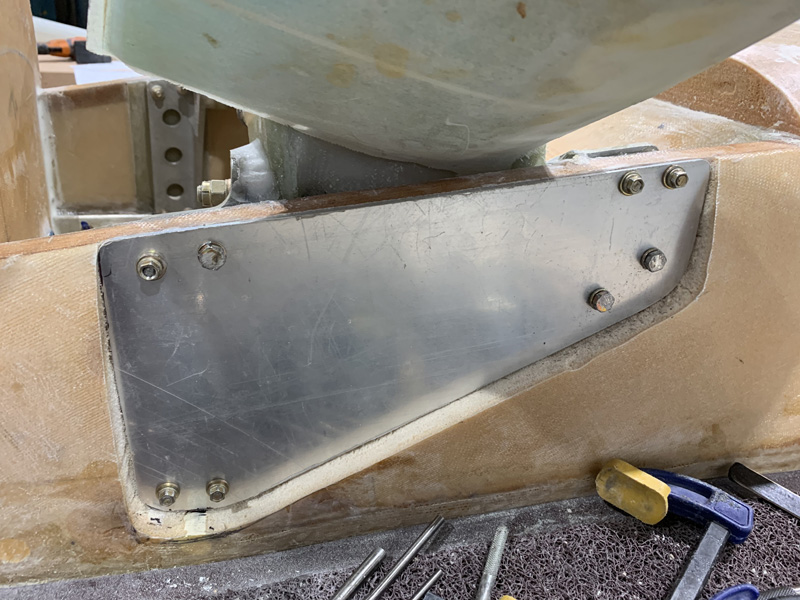
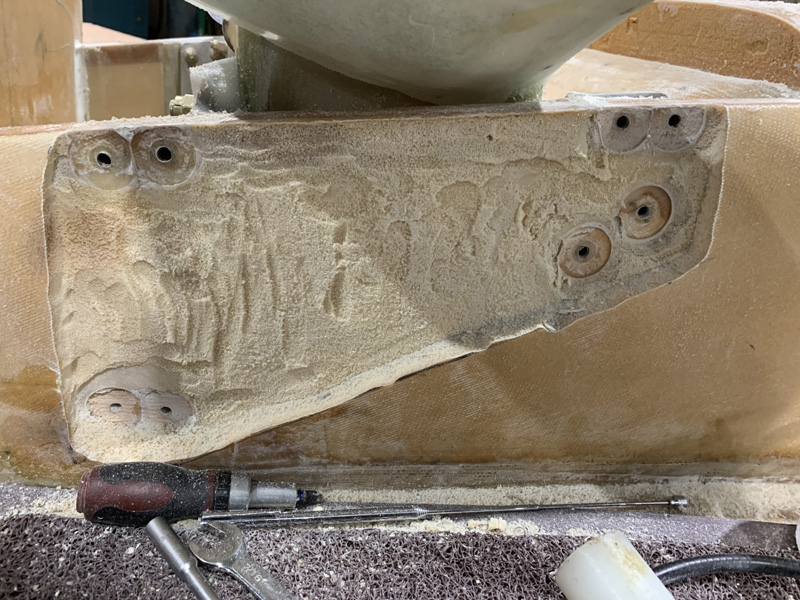
Finally I got the plate blank fitted.

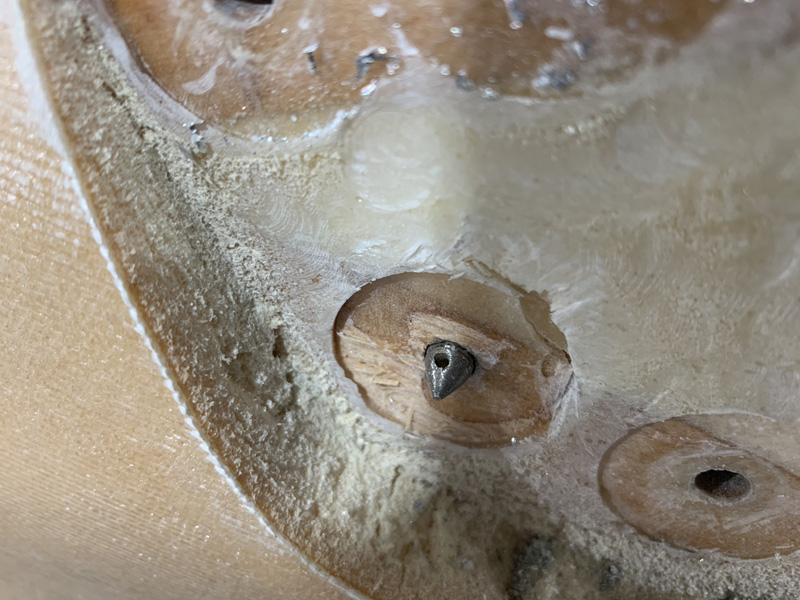
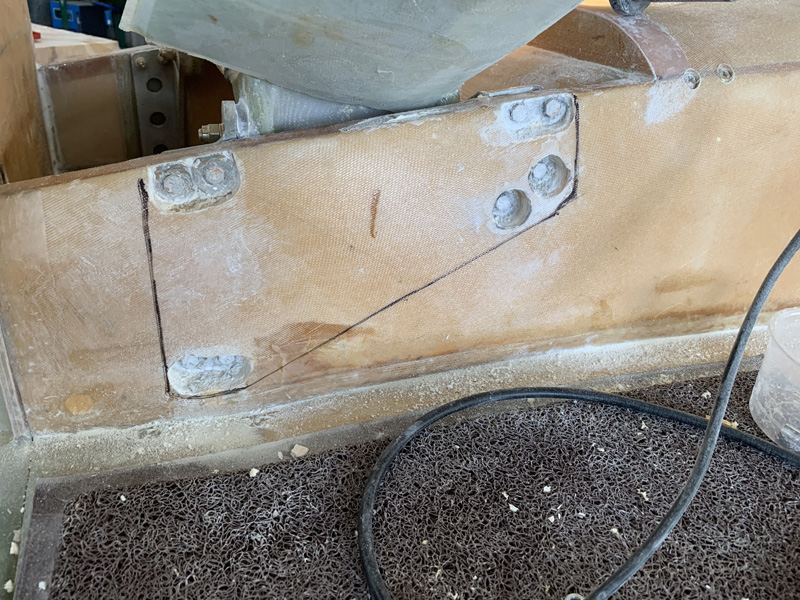
Again the blind hole matching trick worked very well.

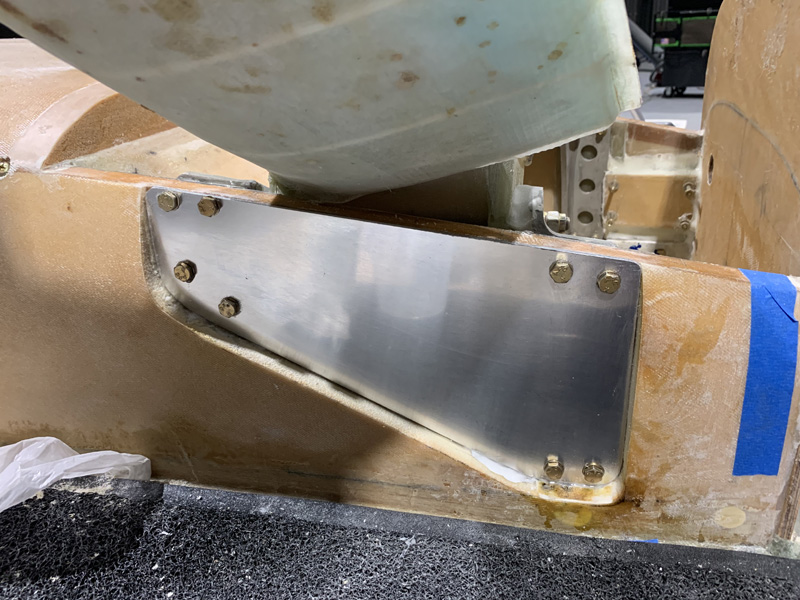
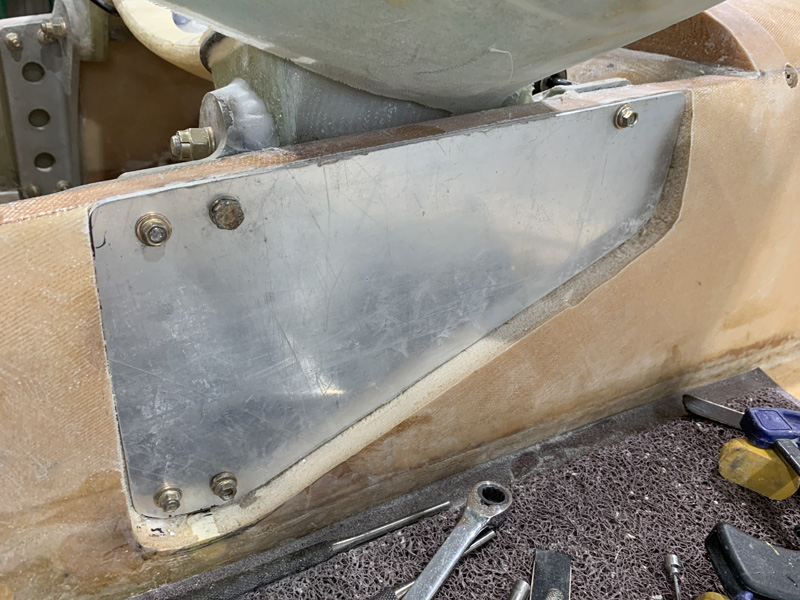
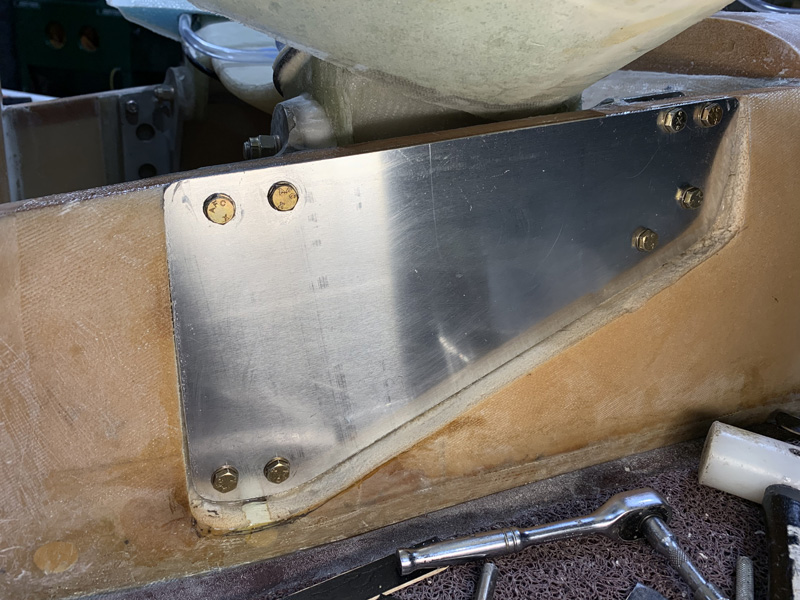
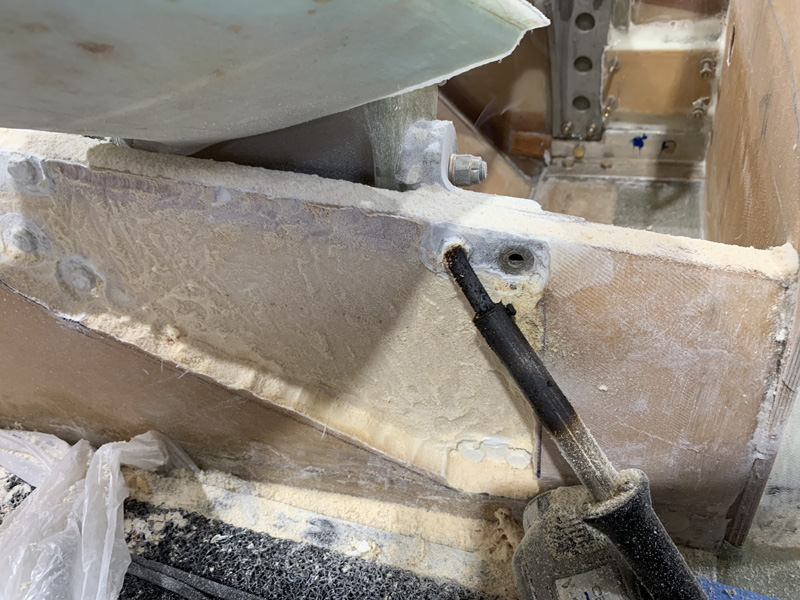
After a lot of clean up and plenty of flox in the bolt holes I completed the second plate after three long days. All that remains is a final torque of the bolts after the epoxy cures. The plates still need to be covered in foam and then a structural repair to the outside of the fuselage.

Main Gear Side Reinforcement 2

Date:  05-10-2019
Number of Hours:  8
Manual Reference:  no ref

Today did get one side completed. Here’s what happened.

I removed all the foam down to the glass underneath and this gives quite a level surface with little effort.

I’ve gone for 0.125″ (1/8″) 2024 T3 aluminium for my plate. I contacted one of our gurus asking about lightening holes. The answer was that maybe with 1/4″ plate but in this situation 1/8″ might buckle if highly stressed. The plates were too heavy for my 200gram limit scales. WE might be adding yet another pound or so with this beef up. So be it!

I champed the plate to the sides and used the existing holes as drill guides. I then added bolts as I went and removed the clamps. Most holes were accessible. The smaller bracket top ones I could just do with the right angle attachment above. I do have a 1/4″ chucking reamer so the holes were made good.

The lower two holes in the forward bracket are not accessible from the rear to drill through. Forget it.

I used an AN4 bolt and my large sanding disc and made a point by rotating it against the moving disk. Easy! Then I used the same technique to grind off the bolt head.

The idea is to put the ‘tool’ in the slot as you see above and then use the other holes to get the plate in position. Then I used a flat punch and a hammer from the inside and belted the tool so it made a mark in the center of our hole on the inside of the plate.

Here’s a look at the ‘tool’ and the indentation it made. I started with my smallest drill using the dent hole as a guide. Next was to drill it up progressively to .25″ constantly checking I was centered in the hole. It worked a treat. I did the same for the required second lower bolt hole.

With the final temporary bolts in place we are looking good.

I removed the temporary bolts and got my 8 x AN4-16A, metal lock nuts and washers ready. I then mixed some flox after priming the previously sanded plate and the fuselage cavity interior with pure epoxy. I then added lots of flox as a bed. The hardware went in, I torqued it all up to quite a low value and will get it to spec after the flox cures.

For an AN4 its 50-70 inch pound PLUS the resistance of the lock nut on a bolt. I’ll sort that after cure.

This side is done, there is a lot to do on the other side. The hardest part was getting the old bolts out. Somebody did an ace job making them permanent.

Main Gear Side Reinforcement 1

Date:  05-09-2019
Number of Hours:  8
Manual Reference:  no ref

This Long-EZ build will be operating up to 1800lbs at times. The original design was just 1325lbs. Over the years these planes have been built with many add-ons, like a starter motor, then bigger motors, heaters, electric nose lifts. People wanted more than just a basic fun airplane. My own build is for round the world missions and a LOT of extra fuel.

I have decided to mitigate against the main gear coming loose despite having already applied known fixes for this problem. Yes quite a few peoples main gear has gotten the wiggles, worsening over time. It only takes one heavy landing or an unseen pothole in a runway to cause main gear damage.

Using on line and then a private discussion, along with the input from a qualified structural engineer but mainly from one of the Canard ‘gurus’ I have begun the ‘FIX’.

The known fixes are to use a steel bushes for the large AN6-80A bolt, a flox donut to prevent the gear moving fore and aft on its largeΒ  5/8″ OD steel tube. I also changed the small AN960-4 washers for AN970-4’s some time ago. That was a lot of work I am about to undo.

All this is considered by some not enough. Perhaps another way to put this is to say there is a further measure. This is linking the 8 main gear bolts together on the outside of the fuselage with a plate of 1/8″ 2024-T3 aluminium. Feeewwwww. Its a big job, so lets go!

The first step was to get down to the bracket bolts on the outside of the fuselage. I needed to clean up the bolt edges enough to get a socket on to them.

As I had carefully epoxied these in all those years ago they were very hard to move. I used the known method of a soldering iron on the part that needs loosening up.

This is the area for the plate that has to go after I remove the bolts and big washers.

It was a long day when finally bolts and all the washers were out.

I’d also made a good start of getting the foam down to the level of the spruce longerons and reinforcement. From here it will be very careful sanding to get a level base for the large plate.


CategoryLogsHours
All157617079
Uncategorized135
Ch 3 Education220
Ch 4 Fuselage Bulkheads25231
Ch 5 Fuselage Sides32283
Ch 6 Fuselage Assembly30270
Ch 7 Fuselage Exterior14140
Ch 8 Roll Over/Seat Belts990
Ch 9 Main Gear/Landing Brake71642
Ch 10 Canard28287
Ch 11 Elevators36298
Ch 12 Canard Installation12102
Ch 13 Nose and Nose Gear1291097
Ch 14 CenterSection Spar57525
Ch 15 Firewall and Accessories448
Ch 16 Control System27237
Ch 17 Roll/Pitch Trim System654
Ch 18 Canopy70502
Ch 19 Wings, Alierons1271090
Ch 20 Winglets/Rudders71528
Ch 21 Strakes - Fuel/Baggage65437
Ch 22 Electrical System591031
Ch 23 Engine Installation961152
Ch 24 Covers/Fairings/Consoles25202
Ch 25 Finishing561084
Ch 26 Upholstry340
Fuel System46310
Rollover1050
Cabin heating System60331
The Ferry Tank335
Blog2694182
Build Mods2252513
Nose Gear Doors856
Wheel Pants/Gear Leg Fairing40473
Oxygen System762
Roll and Pitch Trim964
Winglet Intersection Fairings445
Baggage Pods11104
Pilot Side Windows437
RAM Air & Hellhole Cover15177
Main Gear Beef Up322
Post Cure124
Fire Extinguisher16
Wing Fences13
EVS (Enhanced Visual System)130
Hinge Upgrade115
Cowl Keeper110
Rudder Gust Locks19
Cooling20607
Taxi Tests42
Flying10

Complete the Test Flight Program

2025/6/30 10:26:01

Round Australia in Four Flights

2026/4/1 10:26:01

Round the World Departure

2026/8/22 10:26:01

Rough River Flyin, Sept 23, 2026

2026/9/23 10:26:01

Β© Copyright 2025 Dave Berenholtz