| Date: 05-09-2021 | |
| Number of Hours: 30 | |
| Manual Reference: no ref |
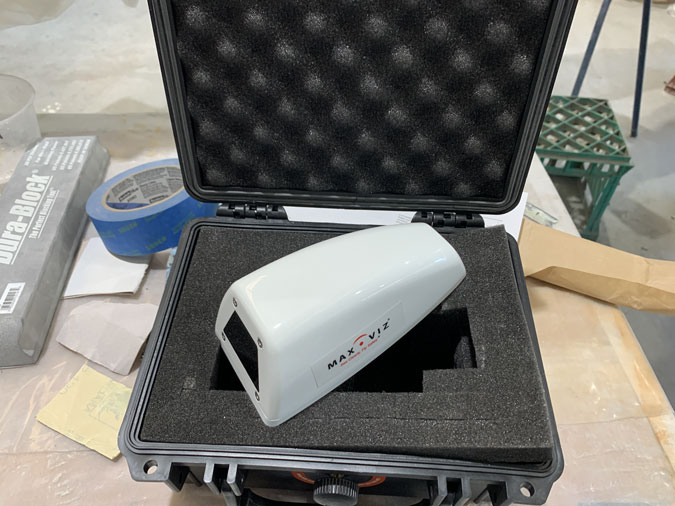
EVS stands for Enhanced Vision System. It is an extraordinary pilot tool. I purchased this special infrared camera from Astronics. Here is their description:-
 Give your aircraft a safety boost with a Max-Viz enhanced vision system (EVS) from Astronics. These systems help you see through smoke, fog, and night to help you avoid runway obstructions, severe weather, and more.
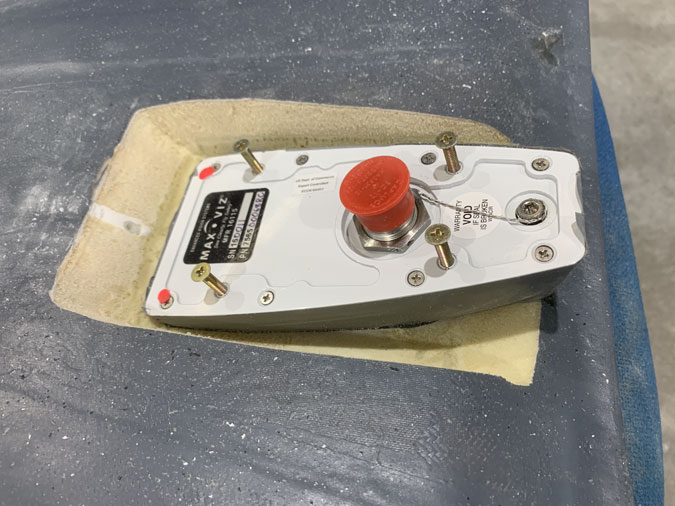
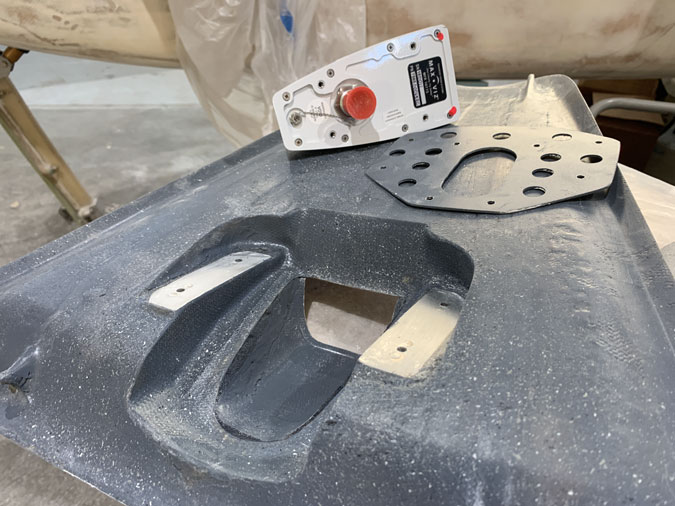
Here’s the unit. The company was great to deal with, the support documentation and packaging the best I have found in aviation and the product is of exceptional build quality and performs in our tests as advertised. I just wish they were paying me to say all that!
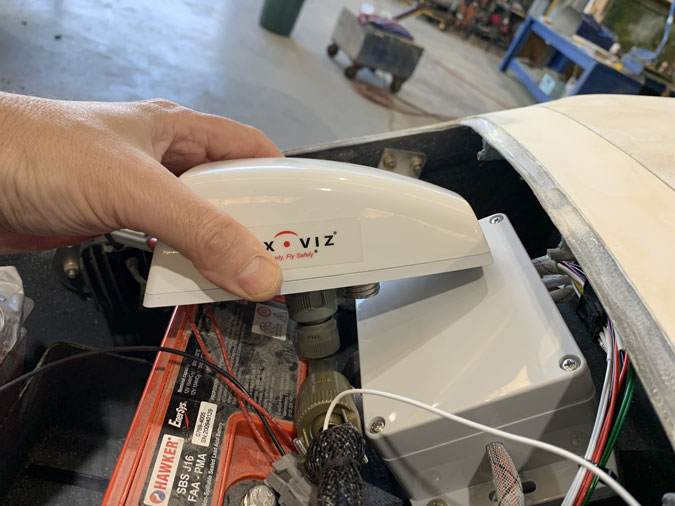
The install in my Long-EZ build was challenging. It had to go about here and that milspec fitting and loom was substantial. The white box (nose gear retract electronics) had to be moved which is also a bit of a job.
The docs say that the best angle is around 8.4 degrees nose down. I had to allow for the plane flying 2 degrees nose up as well. I also had to ensure that where I placed the unit would not give me a great view of the end of the nose! I used a digital level and of course had the unit plugged in to a test screen.
Once the optimum spot was found I very gingerly started cutting into my hatch. I got there eventually.
This is the only selfie on the build so far! You might see that the nose is not in the frame. I checked and recheck and rechecked the angles of course.
Out came the hot glue to secure the position while I built a mounting system on the other side.
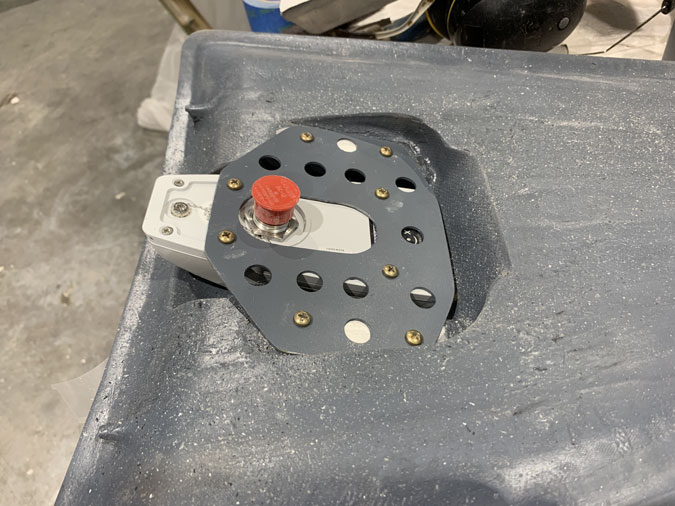
Having worked around the unit for the fit I had an interesting angle to deal with.
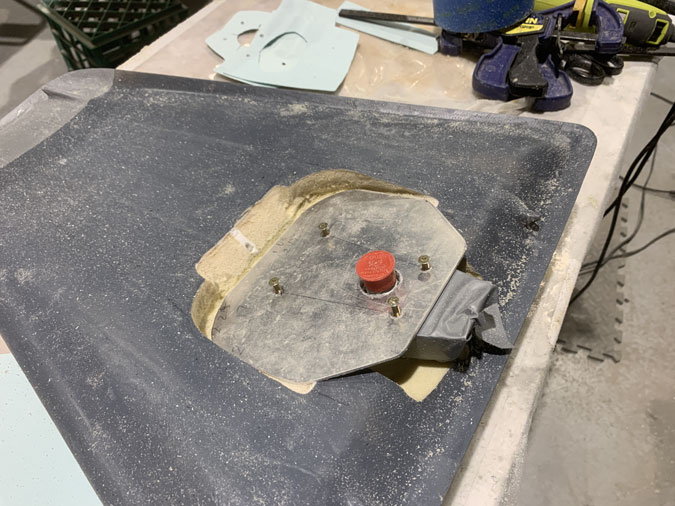
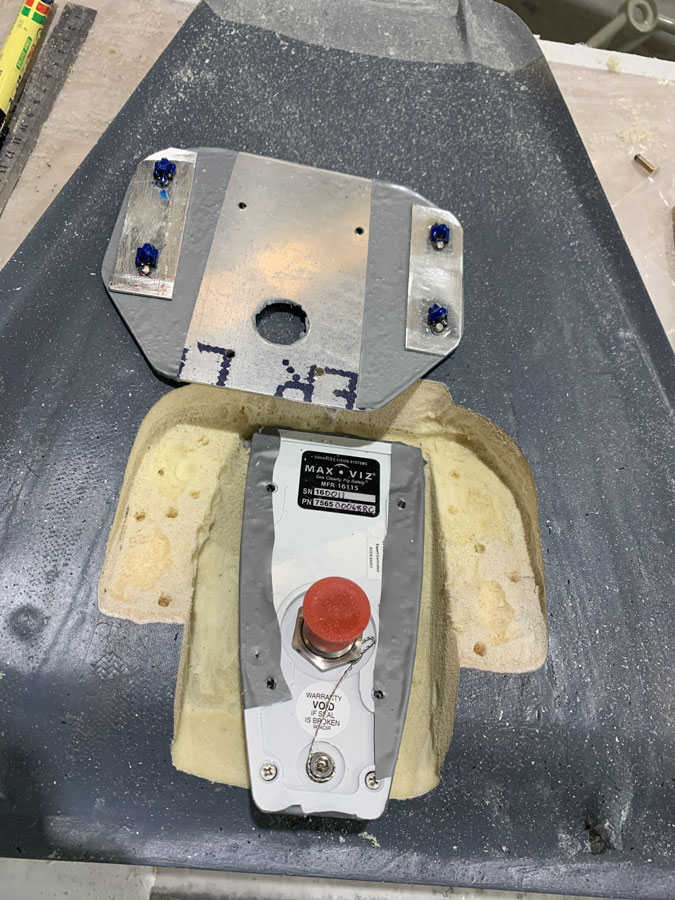
I made a plate and angled the foam cutout to match it.
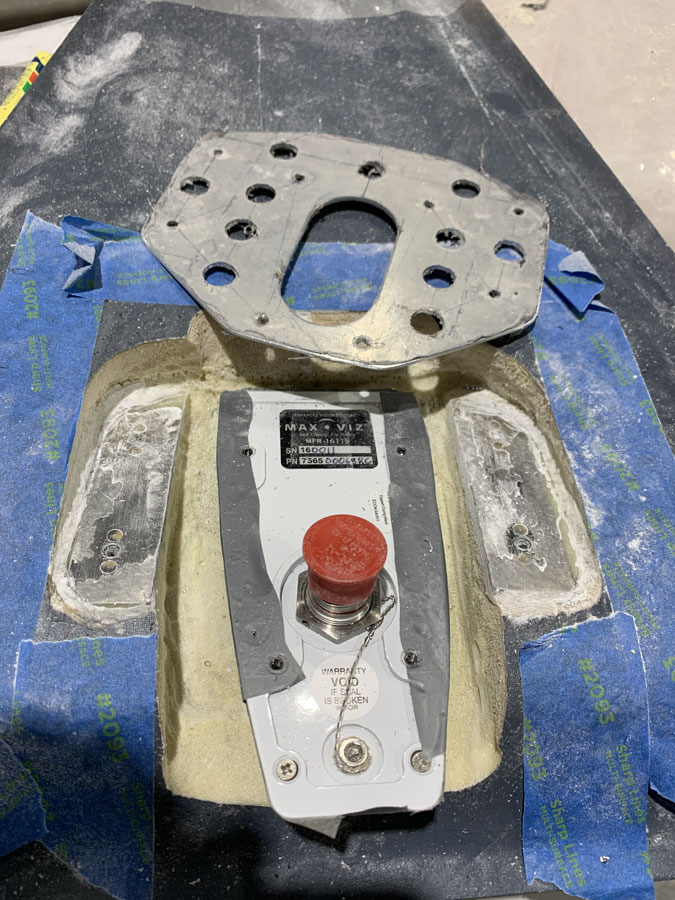
Next up were two aluminium hardpoints with nut plates.
I floxed it all in place with plenty of release tape. (aka very thin duct tape)
You can see the hard points in place and I’ve tweaked the mounting plate to make it lighter.
When I removed the EVS unit I only had the thin top skin and foam to take the weight. There was flex, so 2 ply of BID went down.
This worked giving me a tidy result after a little paint. It is rock solid.
I did think about calling this done. Just some silicon sealant after the paint. You and I know this just doesn’t look right, not really part of the plane. So after thinking about it overnight I went all in for a fairing.
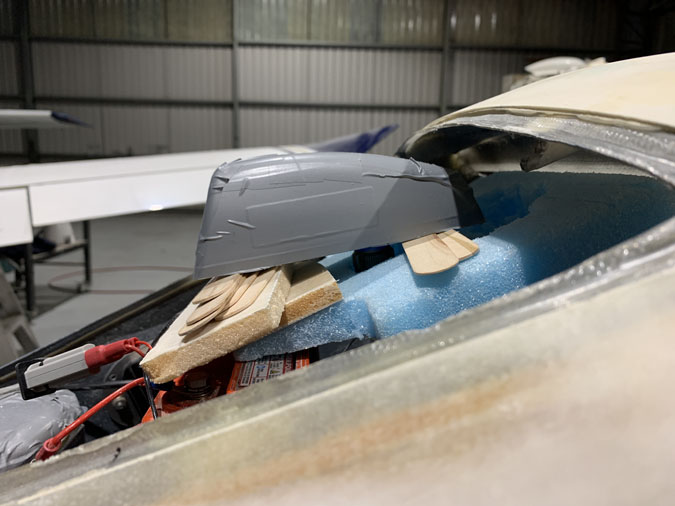
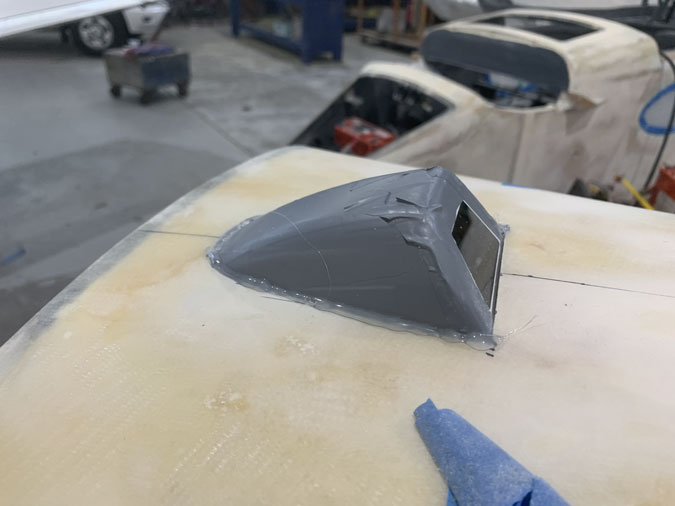
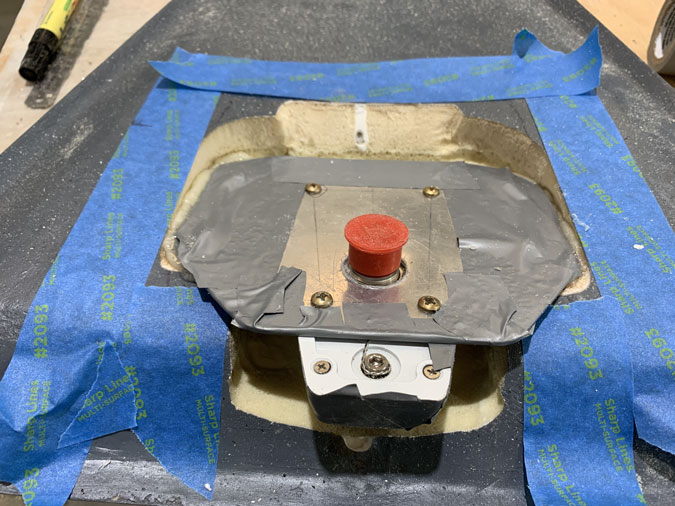
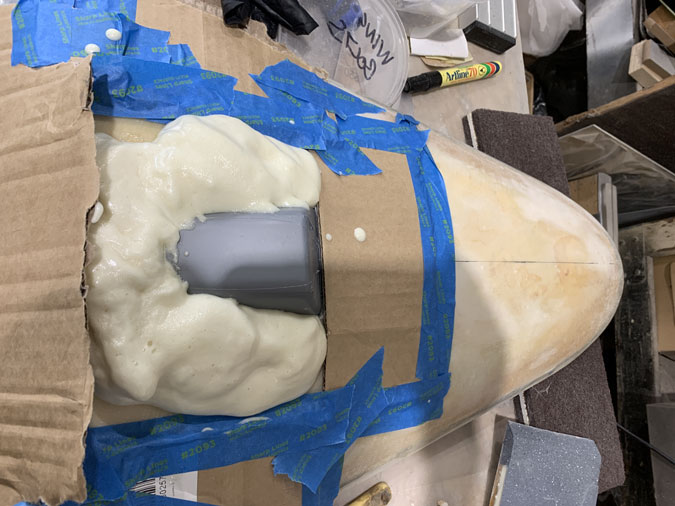
I recovered the EVS camera with duct tape and out came the pour foam.
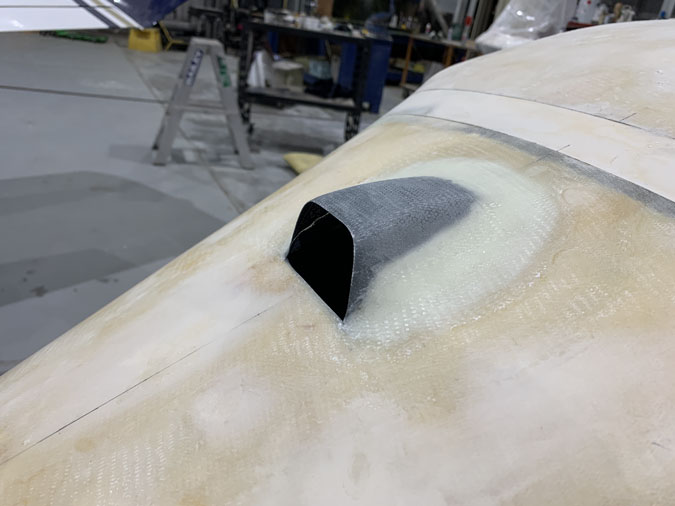
I spent some time pretending to be a sculptor.
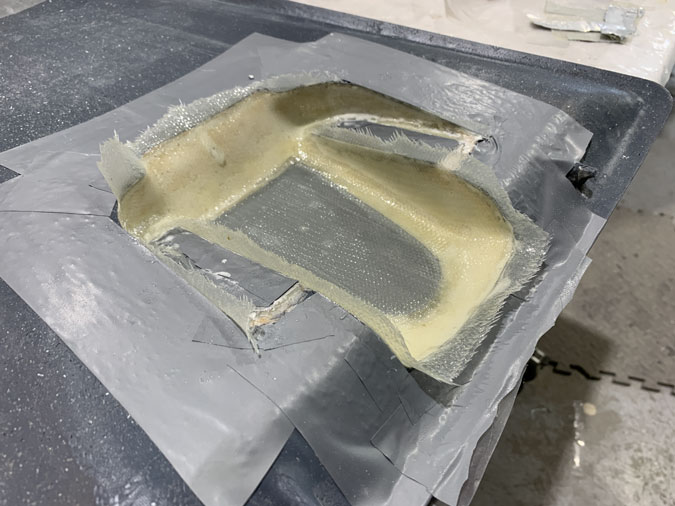
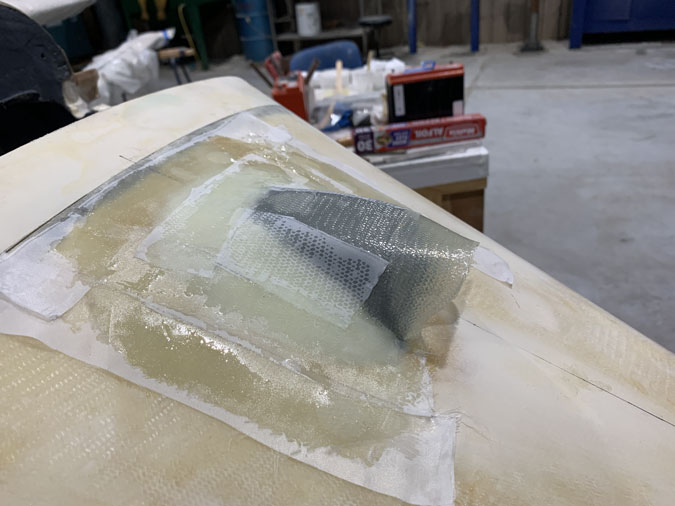
Then two plies of BID and plenty of peel ply.
The camera come out with patience applied and zero damage. We were close but not quite done.
I did paint the inside again now the fairing was in place. Probably overkill.
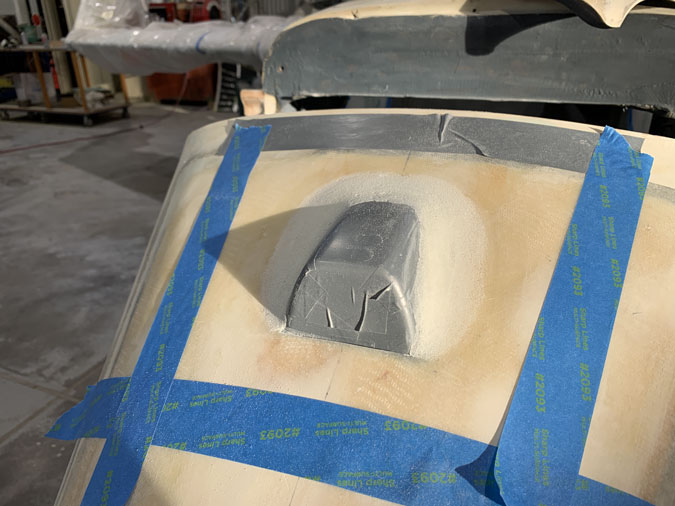
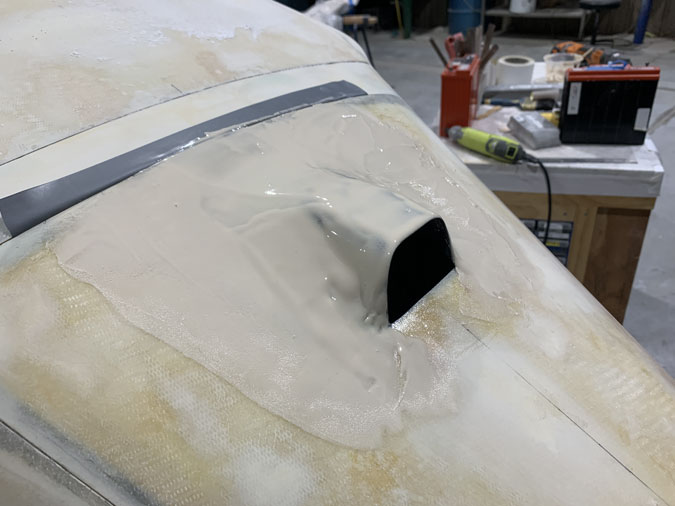
Time for some ice cream aka West 410 filler. It looks like a lot but nearly all of it will be sanded off.
After the plane is painted the camera will get a very thin bead of sealant around the edges.
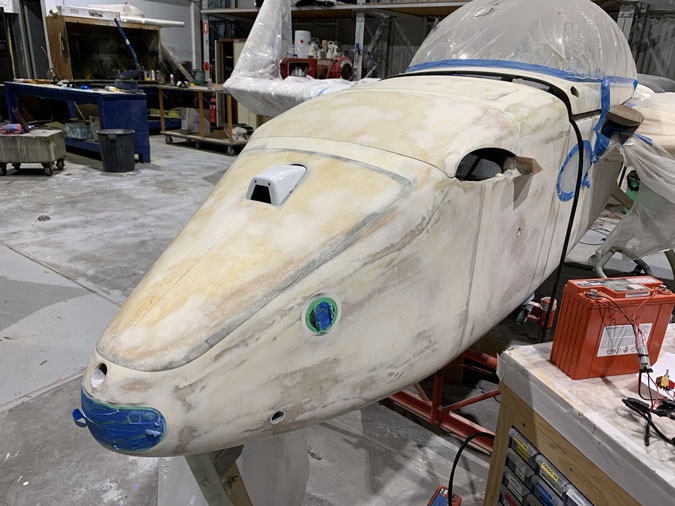
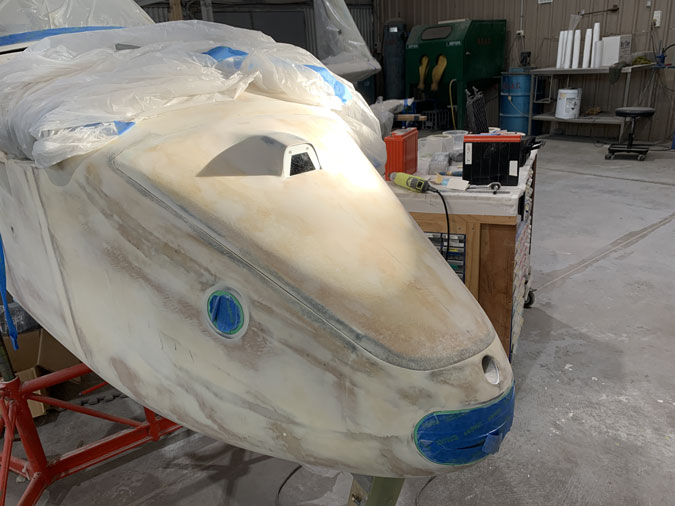
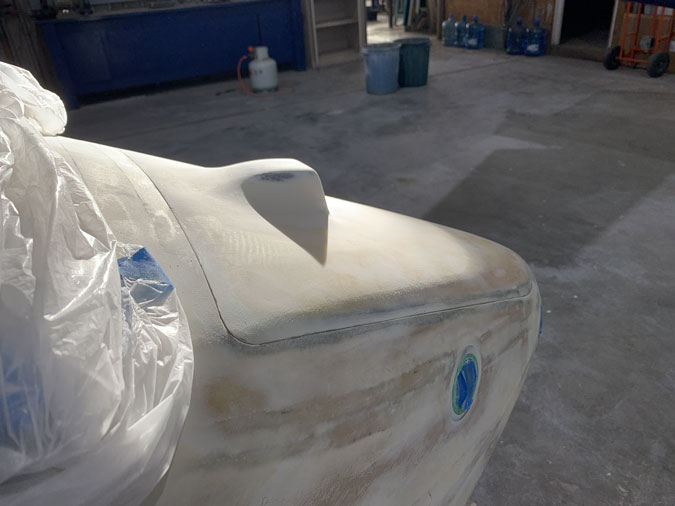
It now looks like a part of the aircraft.
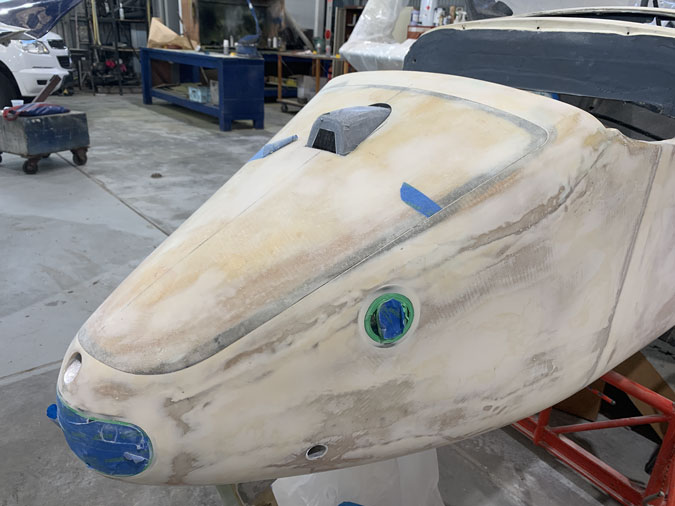
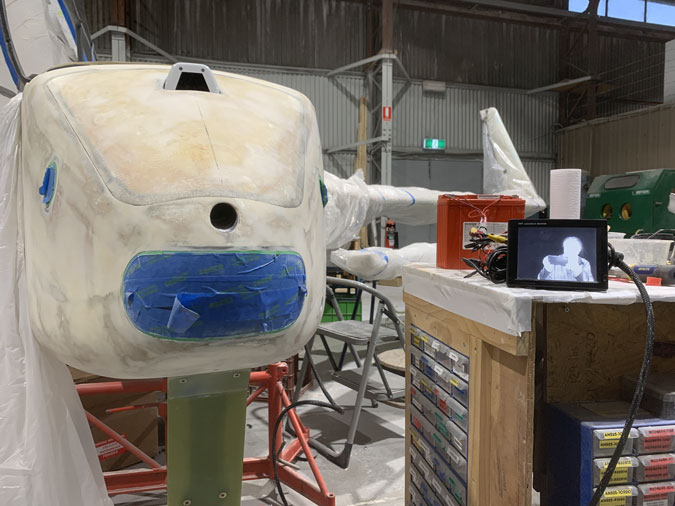
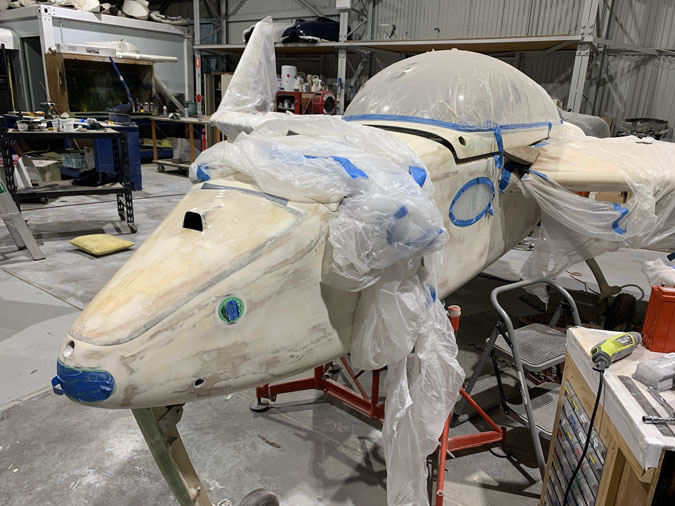
While this shot was before the final clean up is is an overview of my busy nose area. We have a front headlight, an unusual pitot opening, side recognition lights, a tie down nose hole, lower windows further back, even NACA vents on the canopy and now the Max Vision EVS.

