| Date: 01-03-2018 | |
| Number of Hours: 0 | |
| Manual Reference: 18-4 |
Today’s post is to show you pictures of the removed canopy as a baseline for what comes next. I worked late last night to get the canopy frame on and had Darren, a fellow aircraft builder and pilot, come over and give me a hand today. Moving the canopy is now most definitely a two person job.
As expected I will need wider hinges than I bought for this job because I have had to widen the outer edges to fit the oversized canopy. The hinges will sit right on the outside of the frame. I have the plans MS20001P-6 which open out to 2″. I’ve ordered MS20001P-10 which go to 2.75″ but are otherwise the same specs.
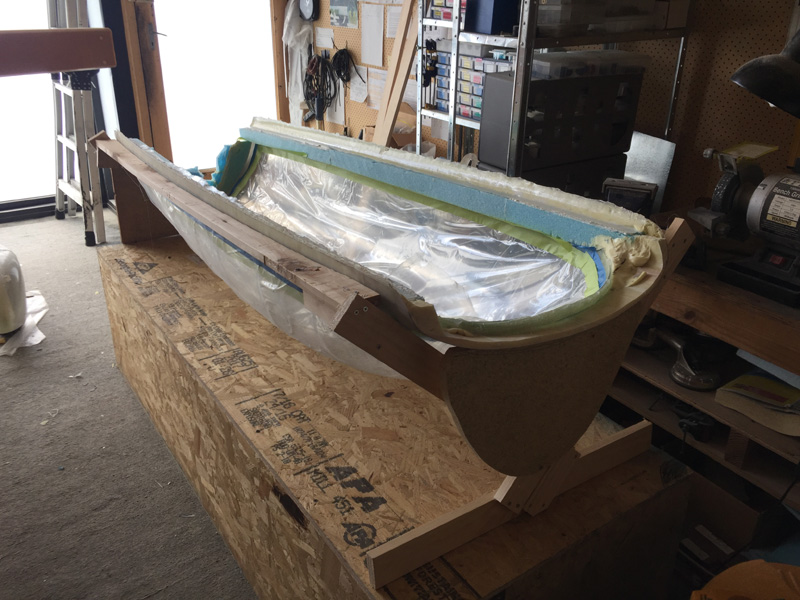
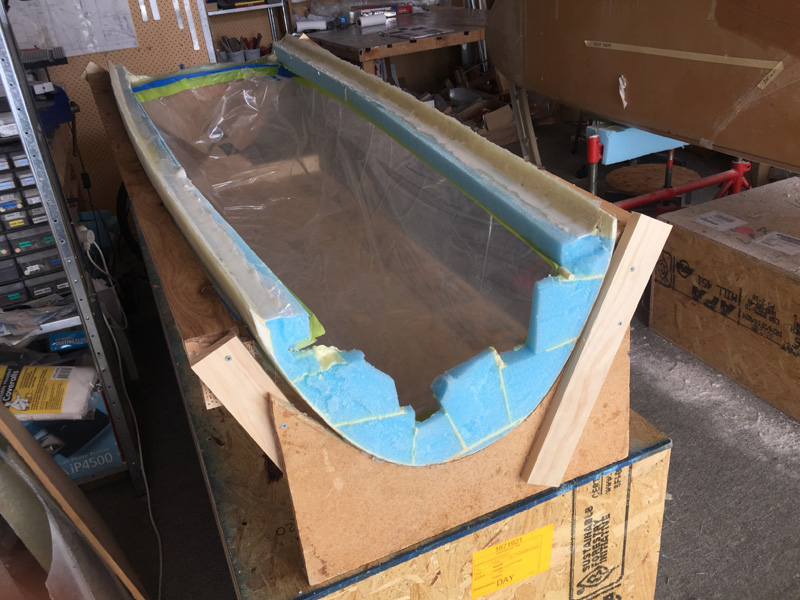
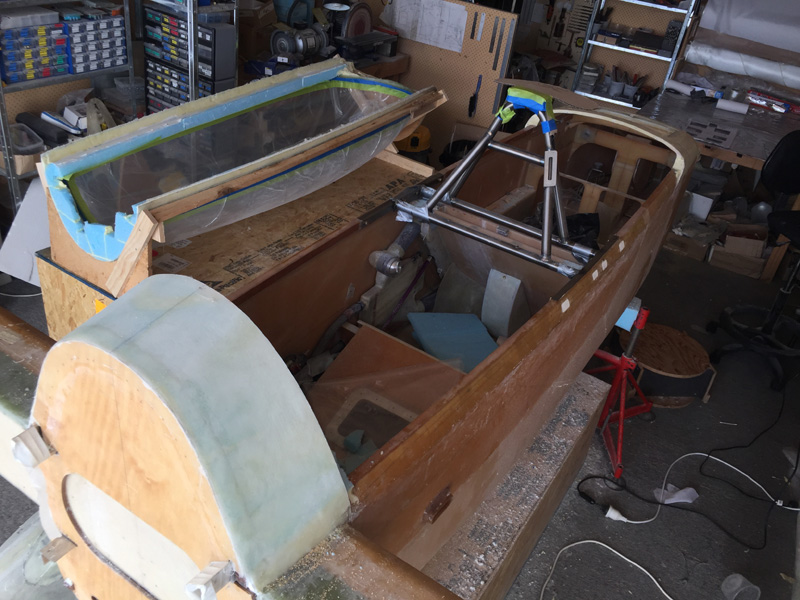
These first two pics really show how easy it is to make a stand for the canopy while building the frame. It doesn’t have to be fancy. I used what off-cuts I had lying around.
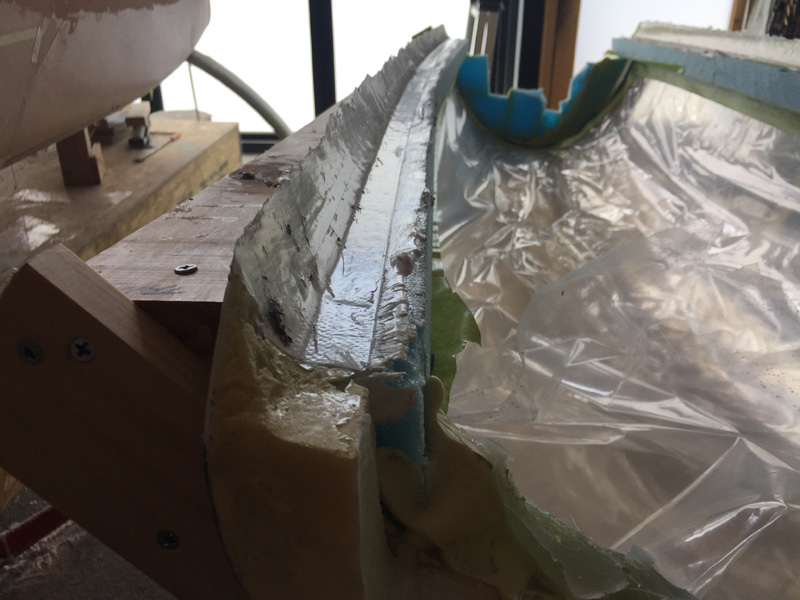
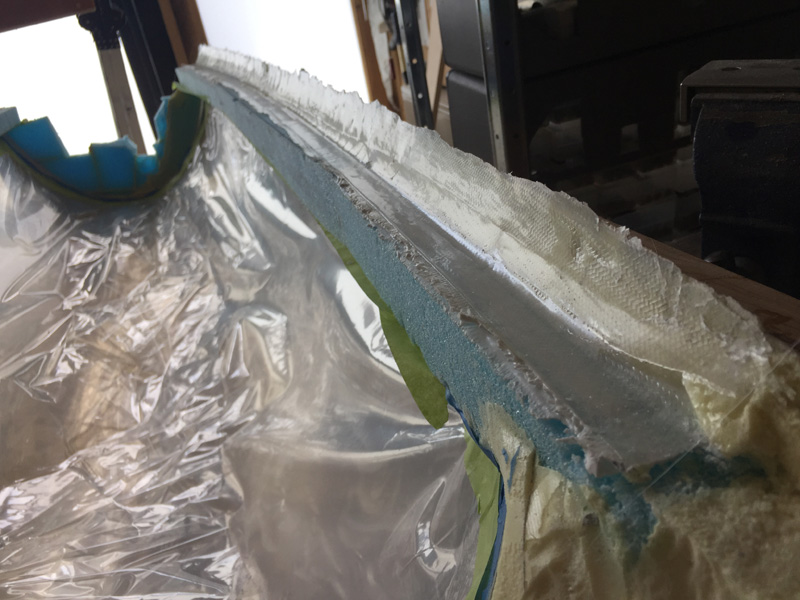
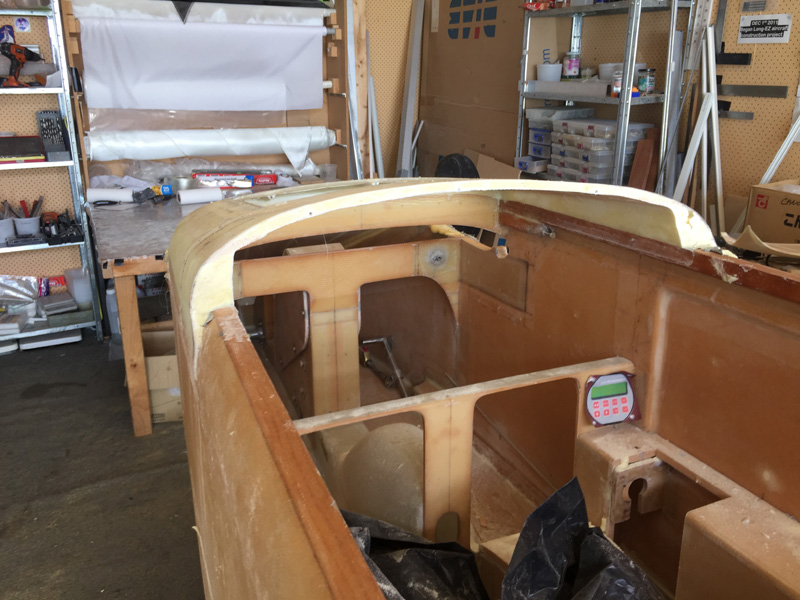
These two shots show how well the plan worked to get the canopy rail molded to the sides. Once released, and lets not talk about that, you are left with a really accurate fit to the longerons.
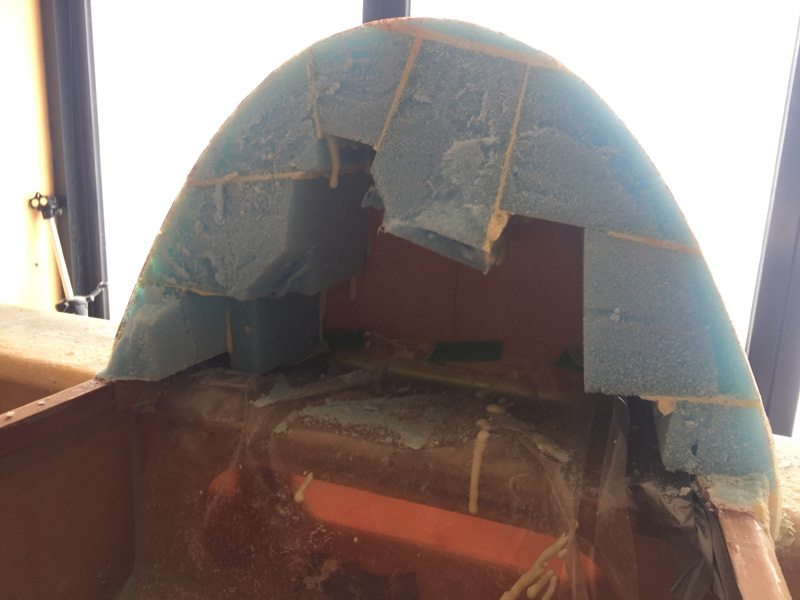
Here’s the turtleback. I could have trimmed it a bit first!
Finally I can see the front area where the instrument panel goes. I now have a definite height to work off for the panel, 10.2″ in the middle.
Here’s an overall shot. I am running out of workshop space to say the least! The box the canopy came in has turned out to be very handy.

