| Date: 01-06-2018 | |
| Number of Hours: 7 | |
| Manual Reference: 18-4 |
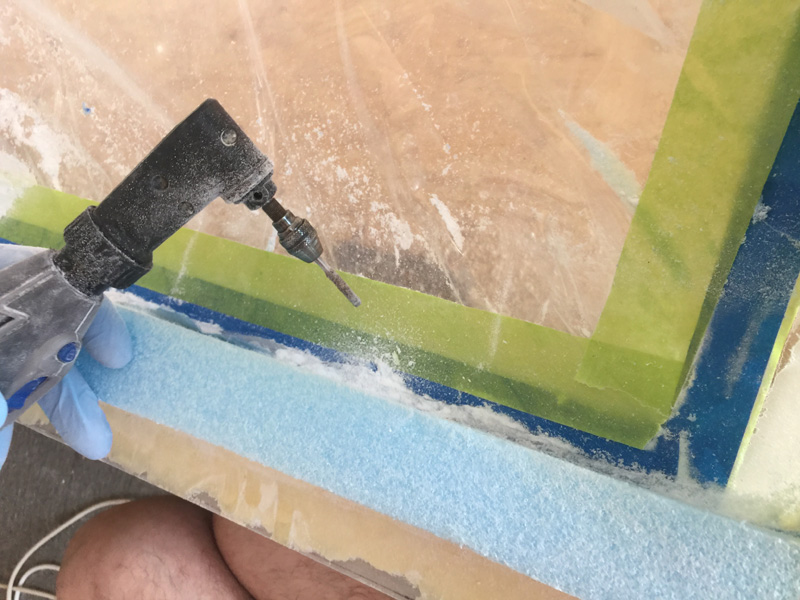
Today was spending a lot of hours re-reading the plans as well as actual work – which is all I log. I started with grinding away the excess flox that seeped up when the canopy was glued to the frame. It is unbelievably careful work. I do not want to touch the canopy with a dremel going 30,000+ rpm
I spend a few hours doing this work. I knew it was on, but unavoidable really. I got most of it flush but there is still more to do in later steps.
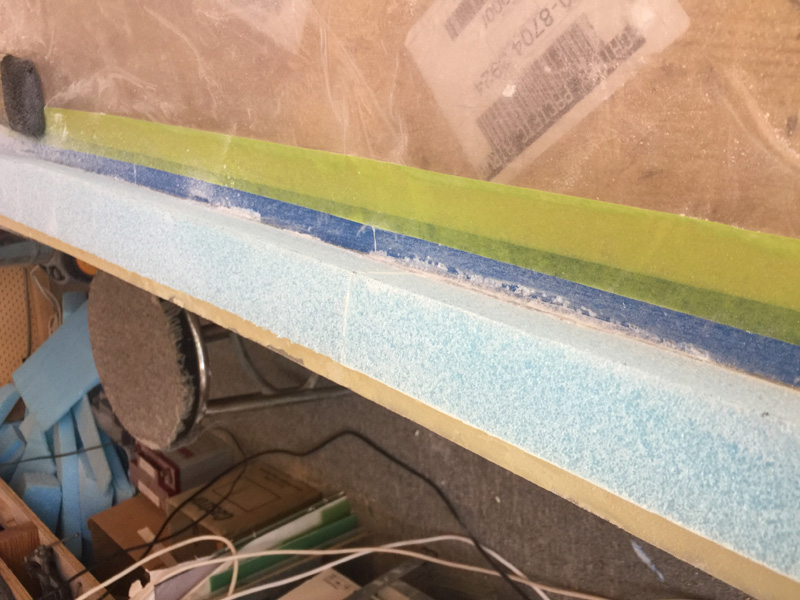
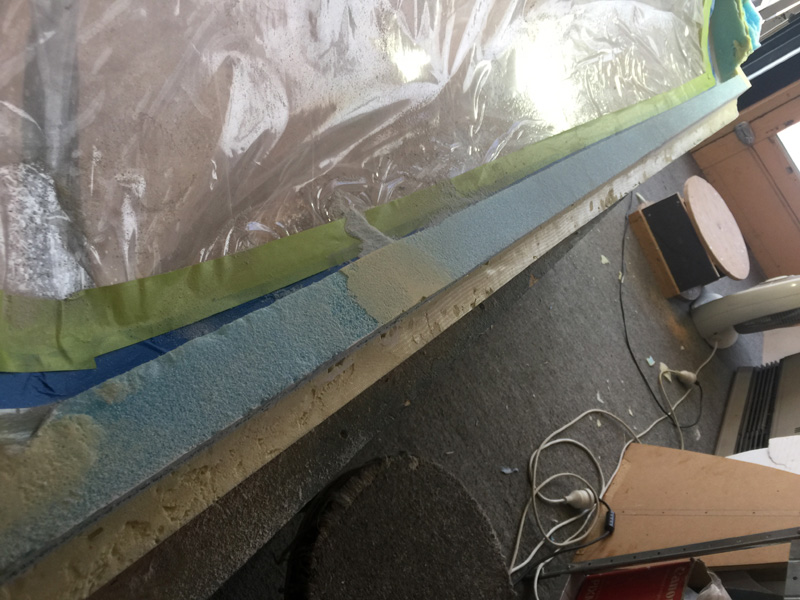
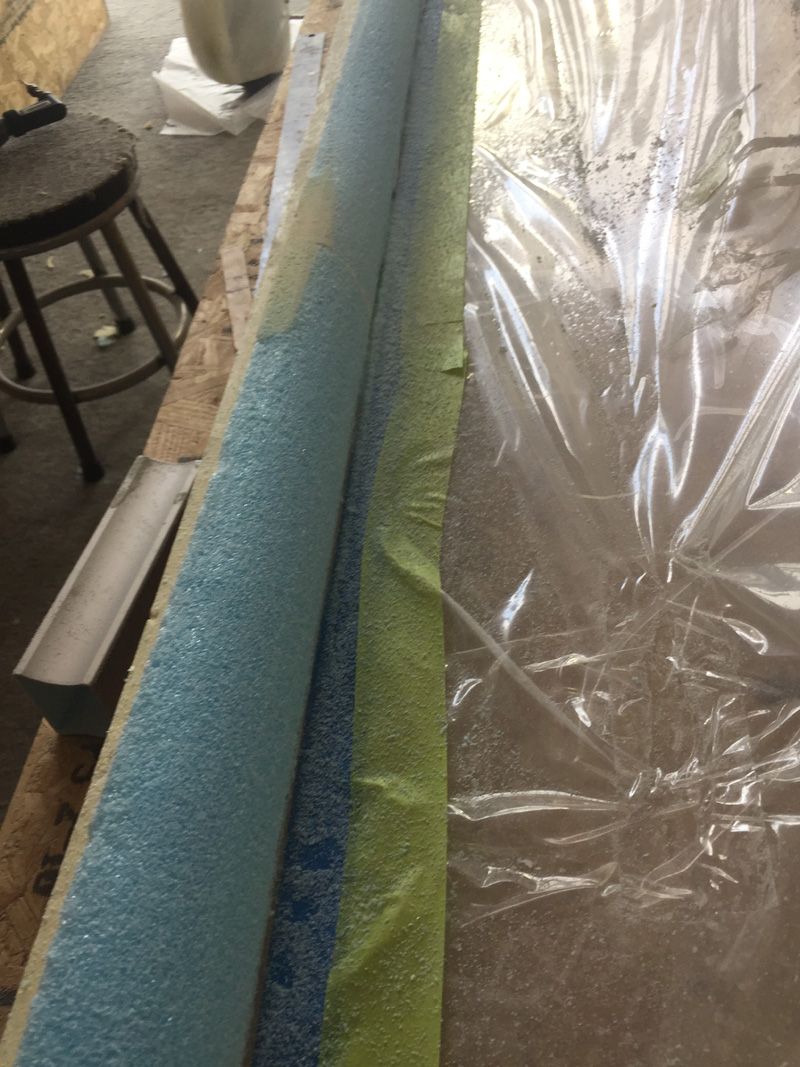
Next up was to get the canopy rail at equal thicknesses. This gives a good base for later rounding.
From here I did a couple of hours reading going over the plans multiple times. I was still unsure about how to do the inside layups. I got the Cozy plans out and looked at that canopy too. Slowly a clearer idea emerged. I have to say here that I think there is an error or rather an omission in the Long-EZ plans. Yet another thing I’ve found that should have been spotted years ago… or maybe everyone else thinks differently. If you are reading this and about to install a canopy…. well consider putting release tape on the longerons equal in thickness to the four ply layup that follows. From what I can see of the plans a 0.048″ gap should be allowed for and they have you just stick the foam onto the longerons to pry off later.
As I read it you then build in an error which is avoidable and just add a bit of micro later to fix it. That sucks.
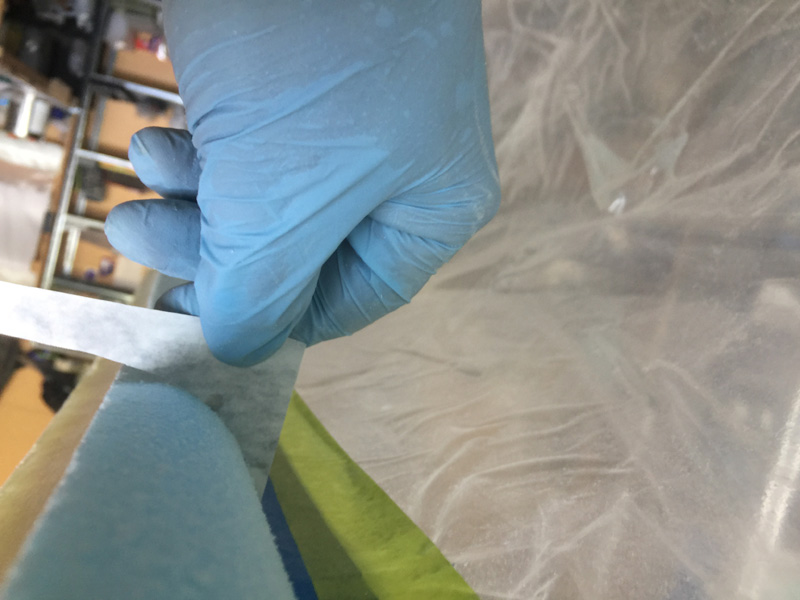
Ok moving on – I’ll detail my ‘fix’ for this later. After again quite some time rereading the plans I am comfortable with rounding the inner part of the canopy frame. Here’s a pic.
I’ve done both sides and now its starting to look a little less bulky. A cure here is important as my shoulders will butt against that edge as I fly around the world. The balance is between the needed thickness for the hardware and a desire for a wide open cockpit at my shoulders.

