| Date: 01-05-2018 | |
| Number of Hours: 10 | |
| Manual Reference: 18-3 |
Over a few last days I’ve been working on the canopy rail. Prepping it for glassing. To be honest I’ve been very unsure how to do things.
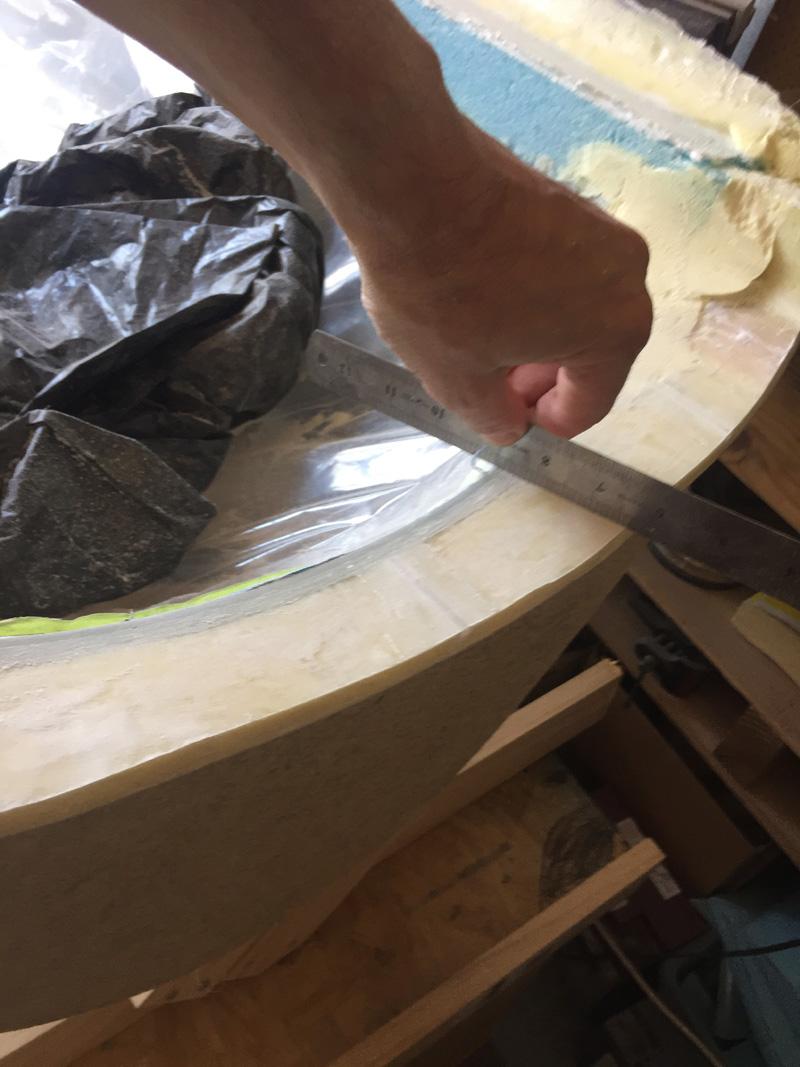
First up was getting the front lip sorted. This was nearly a days work. Hard to believe right? I watched several YouTube videos and accepted that using the vibration cutter was OK for perspex and flox.
Here we are all done. Yes I am being overly careful with this canopy. The penalty for getting it wrong… i.e. cracked… is pretty high.
Next up was to plan the inside layups. I had a few ideas but in the end called Wayne Blackler, a friend who has built the best and most beautiful Long-EZ I have ever seen. I don’t ask for help at every stage and I’m always grateful for knowledgeable input.
Well that one layer of BID I’d built the frame on had to go. I really need to tie the layups into the frame in a better manner. We also talked about different ways of doing the struts that keep the canopy roughly the same size. Perspex and fiberglass move differently when at different temperatures. More exotic material move even more. The last thing I need is to hear the POP of de-lamination when things are getting very cold in flight. The results of these discussions will come in later blogs. I guess thats a teaser <grin>.
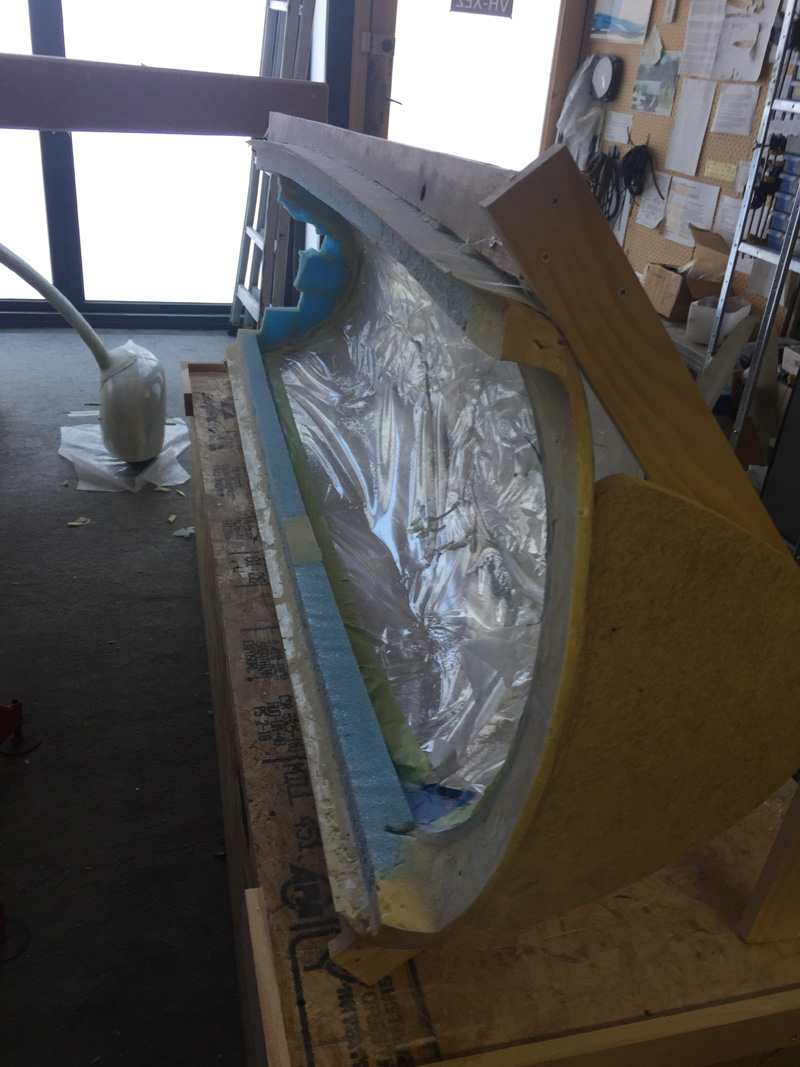
My timber frame works a treat for putting things sideways and I removed the one ply of BID I’d so carefully put on for a perfect fit. Ouch.
Here’s the before shot…
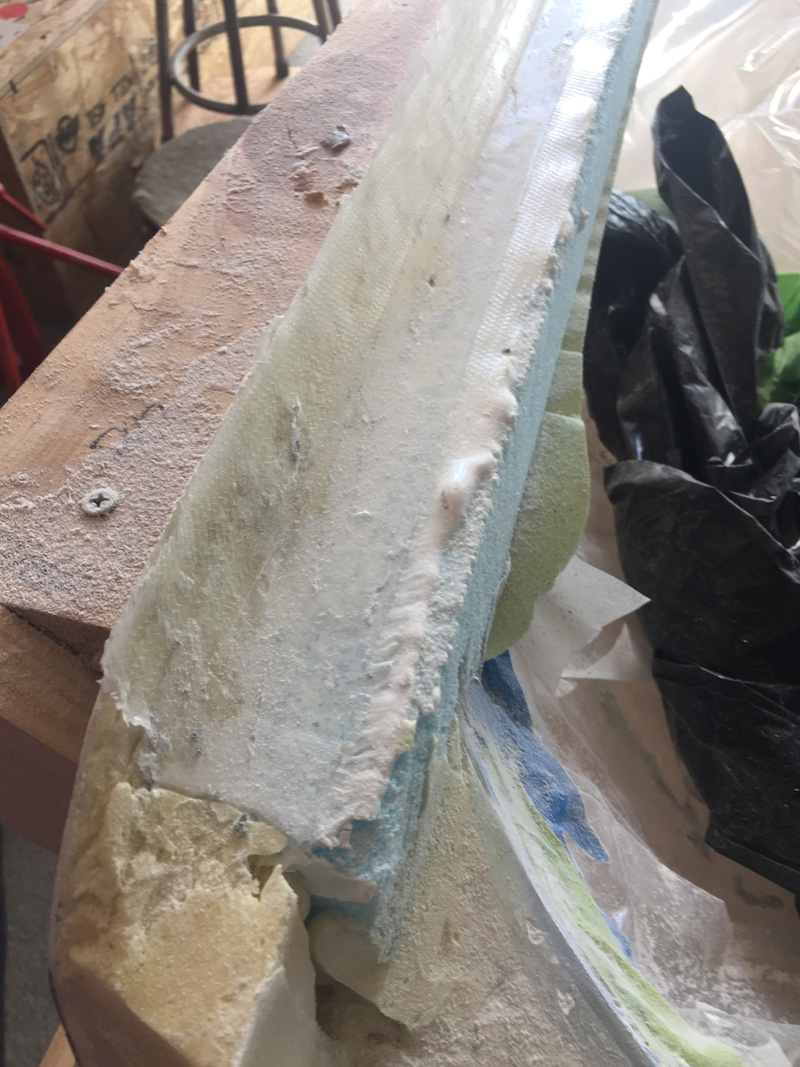
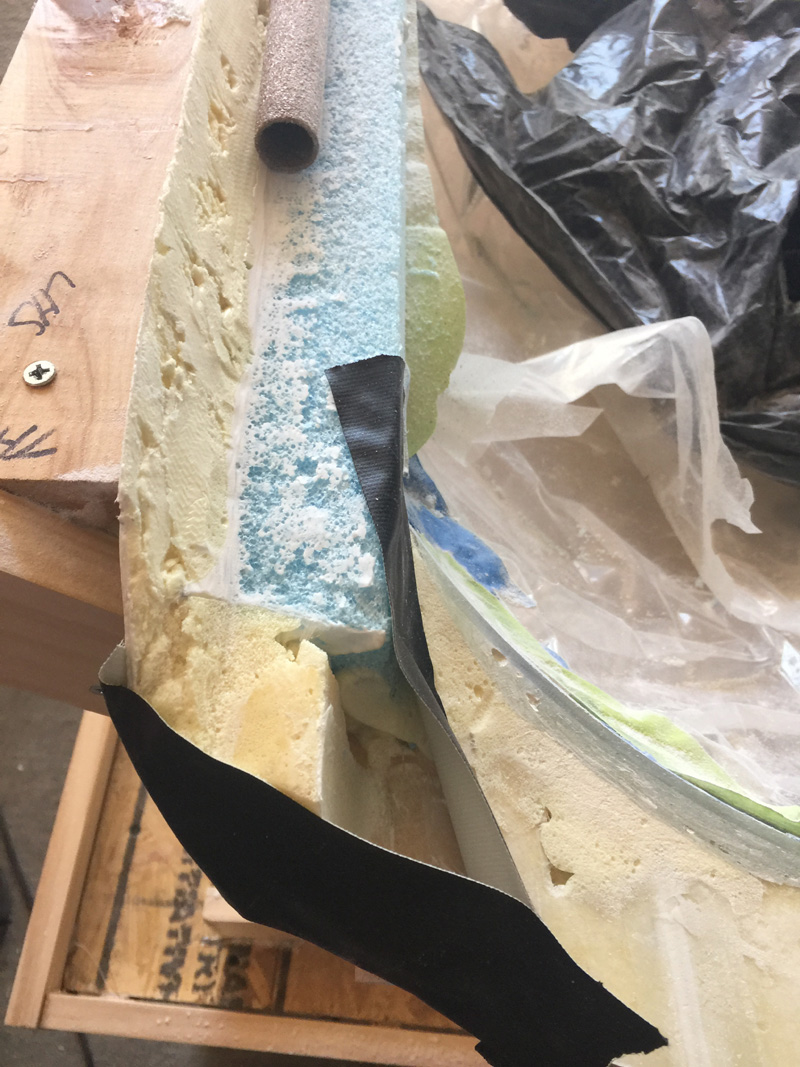
Here’s me working on the after. That gaffer tape was to add yet more pour foam.
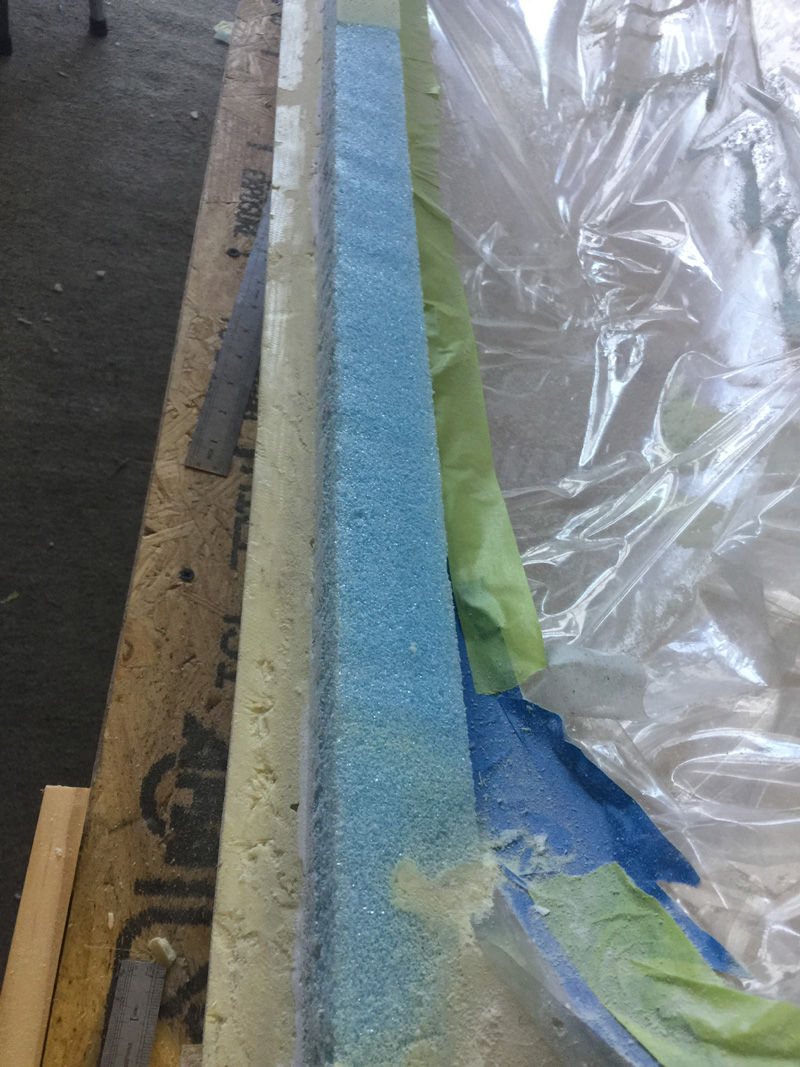
I spent some hours getting this smooth and to a depth that equals somewhere close to a 4 ply layup.
I also spent a few hours adding a bit of pour foam here and there and sanding it back after cure. Enough to say I’m working on getting it nice.

