• Home
  • Flying
    • First Flight
  • Build by Chapter
    • Ch 3 Education
    • Ch 4 Fuselage Bulkheads
    • Ch 5 Fuselage Sides
    • Ch 6 Fuselage Assembly
    • Ch 7 Fuselage Exterior
    • Ch 8 Roll Over/Seat Belts
    • Ch 9 Main Gear/Landing Brake
    • Ch 10 Canard
    • Ch 11 Elevators
    • Ch 12 Canard Installation
    • Ch 13 Nose and Nose Gear
    • Ch 14 CenterSection Spar
    • Ch 15 Firewall and Accessories
    • Ch 16 Control System
    • Ch 17 Roll/Pitch Trim System
    • Ch 18 Canopy
    • Ch 19 Wings, Alierons
    • Ch 20 Winglets/Rudders
    • Ch 21 Strakes – Fuel/Baggage
    • Ch 22 Electrical System
    • Ch 23 Engine Installation
    • Ch 24 Covers/Consoles
    • Ch 25 Finishing
    • Ch 26 Upholstry
  • Build Mods
    • Liquid Cooling, Numbers, Weights and Flow
    • Cooling
      • Solving Ground Cooling 1
      • Solving Ground Cooling 2
      • Solving Ground Cooling 3
      • Solving Ground Cooling 4
      • Solving Ground Cooling 5
      • Solving Ground Cooling 6
      • Solving Ground Cooling7 – Test Data
      • Solving Ground Cooling 8 – Flap Building
      • Solving Ground Cooling 9 – Hinges
      • Solving Ground Cooling 10 – Lower Flaps
      • Solving Ground Cooling 11 – Upper Flaps
      • Solving Ground Cooling 12 – Completed
      • Cooling the Beast 1
      • Cooling the Beast 2 – Lower Cowl Expansion
      • Cooling the Beast 3 – KW Oil Cooler Diffuser
    • EVS (Enhanced Vision System)
    • Cowl Keeper
    • Rudder Gust Locks
    • Wing Fences
    • Post Cure
    • Hinge Upgrade
    • RAM Air & Hellhole Cover
    • Main Gear Beef Up
    • Pilot Side Windows
    • Baggage Pods
    • Winglet Intersection Fairings
    • Titanium Rollover
    • Nose Gear Doors
    • Wheel Pants/Gear Leg Fairing
    • Cabin heating System
    • Fuel System
    • Roll and Pitch Trim
    • Oxygen System
    • The Ferry Tank
    • Cruise Angle Indicator
    • Fire Extinguisher Install
  • Round the World
    • RTW Route East #12 rev1
    • Survival Equipment
    • Training Flights
  • Other Stuff
    • Blog
    • Around the World: RAAUS Sport Pilot Issue 110
    • Taxi Tests
    • Summary Feb ’24 from an SAAA Meeting
    • AOPA Pilot 27th Sept 2019
    • Build Tests
    • Flying Stories
      • A Long Easy Dream ’06
      • Townsville ’07
      • Cairns ’08
      • Albany ’08
      • East Coast ’08
      • Brisbane ’09
      • Cairns ’10
      • Perth ’10
    • Non Build Mods
      • F16 Scoop for JZE
      • Ram Air Box for JZE
      • Strange Tips
    • Milestones
    • Links
  • Contact

Blog

Home
Ch 18 Canopy
Canopy Rail Adjustments 3

Canopy Rail Adjustments 3

7 years ago
Dave Berenholtz
Ch 18 Canopy
Date:  03-25-2018
Number of Hours:  15
Manual Reference:  no ref

This log is getting a little out of order. I’ve shown you the crossover reinforcements already but I had to re glass the reshaped inside of the canopy rail first. Here’s a bit of a walk through that process over quite a few days.

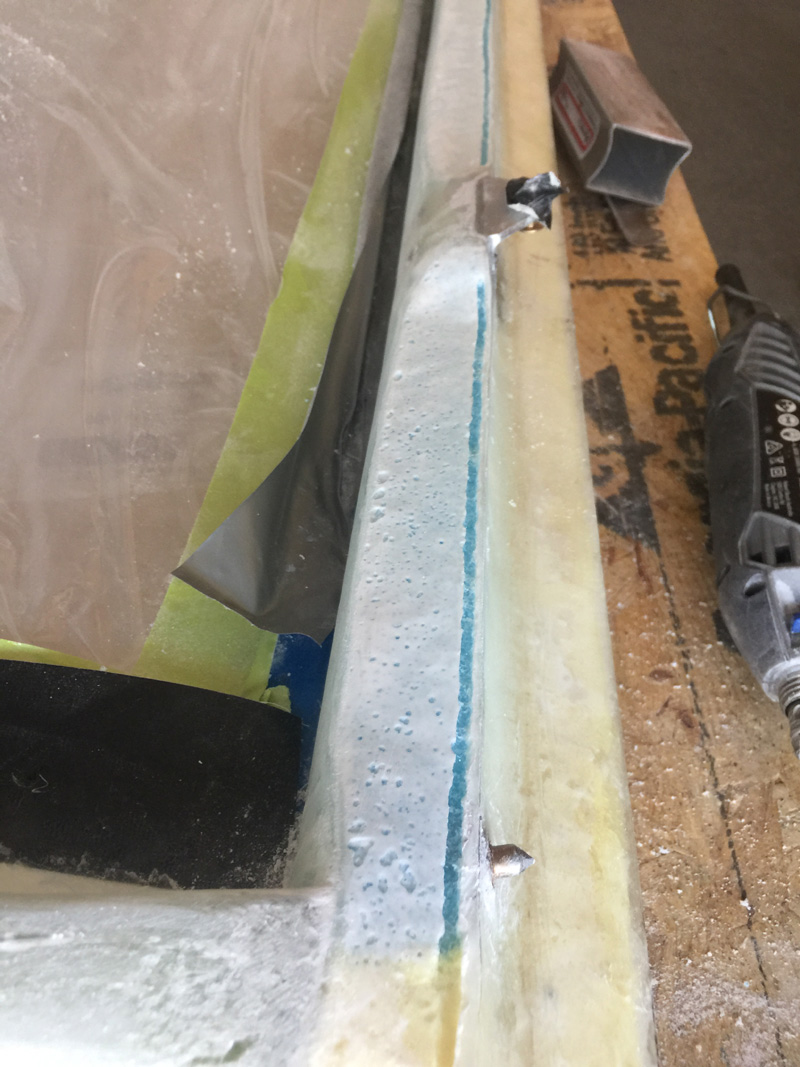
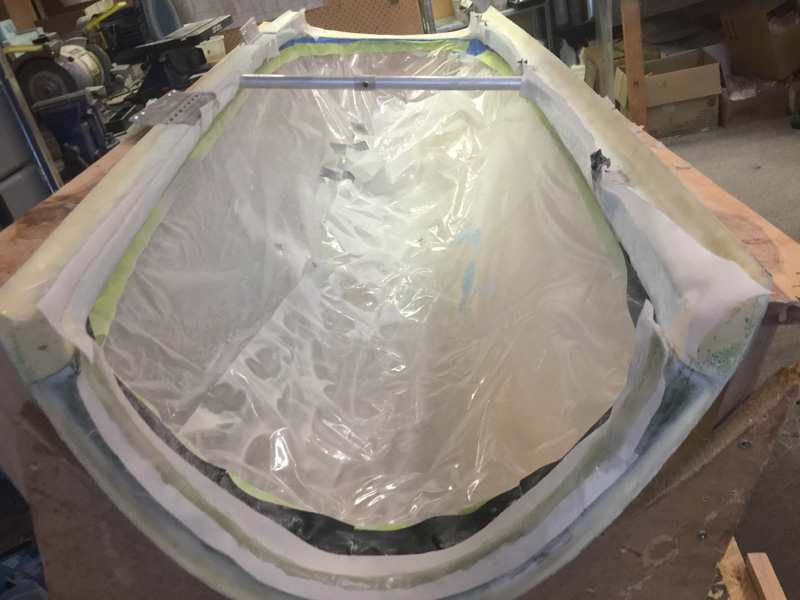
I started out by hard shelling the exposed blue foam. This was after countless excursions into the cockpit where I would sit and sand and file until I was happy with the position of things. The next day I ground out a trough for the flox corners. Yes I know the foam looks a bit honeycomb like. I did fill the smaller holes with stiff micro when I did the glass layup. This is still a lot better than laying down on exposed foam which unless super smooth seems to promote air bubbles larger than are acceptable.

After all the prep I measured out the areas where I wanted to join the unaltered canopy frame to the new contours. After some thought I went for BID UNI BID. The previous frame layup was the plans 4 ply and as I was joining on to this I’d be getting 7 ply at the intersections. I felt I could drop a ply for the rest.

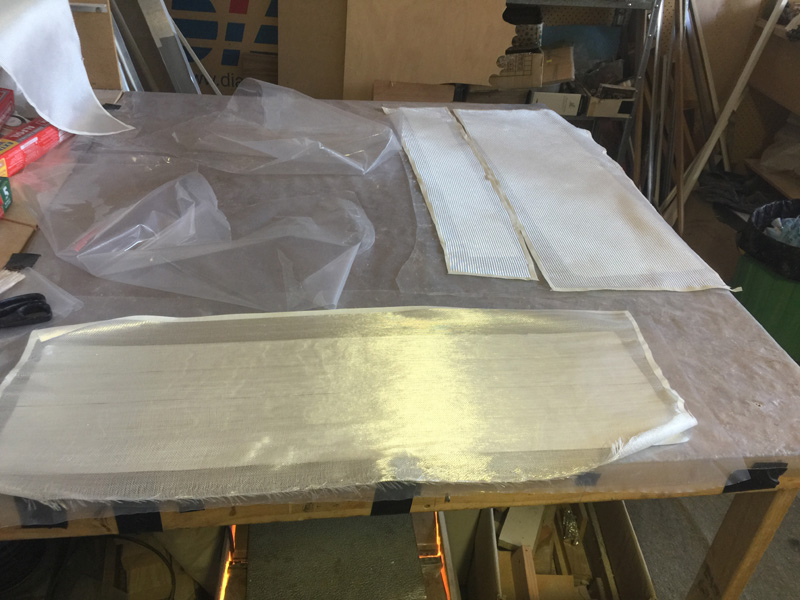
All done and peel plied. After the prep work this part is pretty straight forward. A bit like painting something where the laying on the paint is really a small part of the whole job.

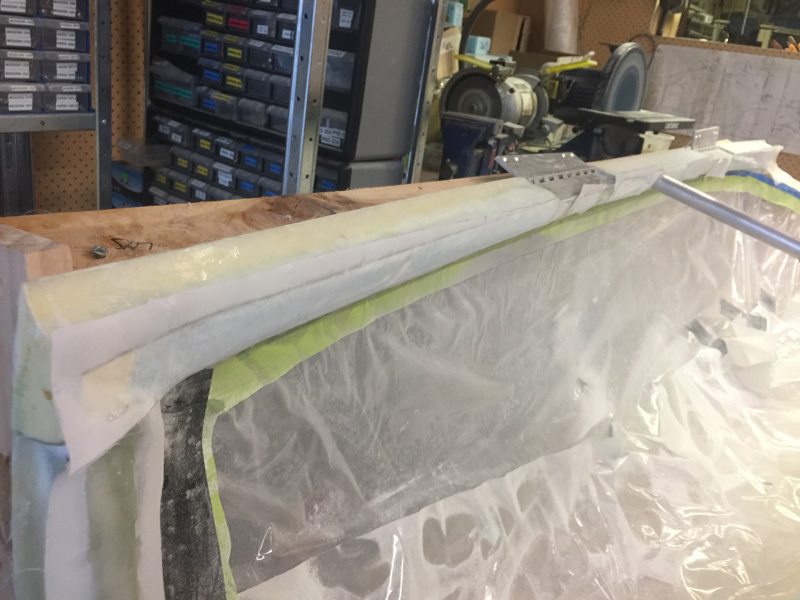
OK another angle of the same thing.

I did the end hoop around this time too. Details of that are in an earlier log.

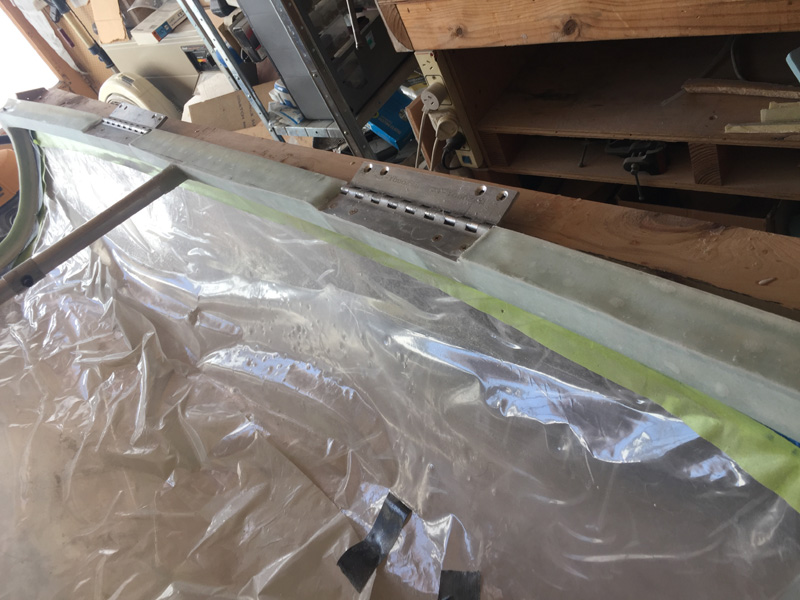
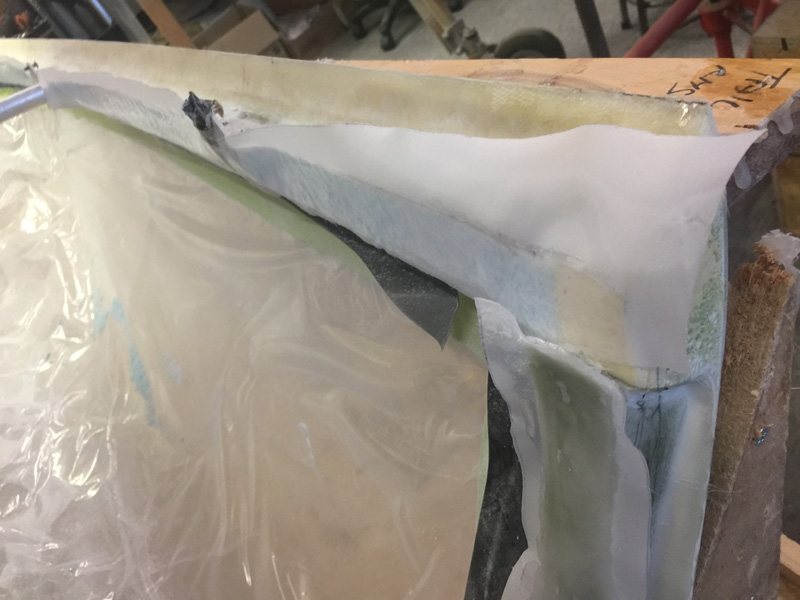
After cure and a tidy up this is the result. You might be able to see that the hinges have inside diagonal areas. The width tapers to fit the new sides. It was very exciting trimming these with an angle grinder. I am getting a little bolder in my quest to finish this airplane.

Now you might get an idea why I went to all this reshaping trouble. The canopy rail is the same width as the longerons except where it has to be wider for the hinges and fittings. This was a later pic sitting inside the cockpit working on the latch.

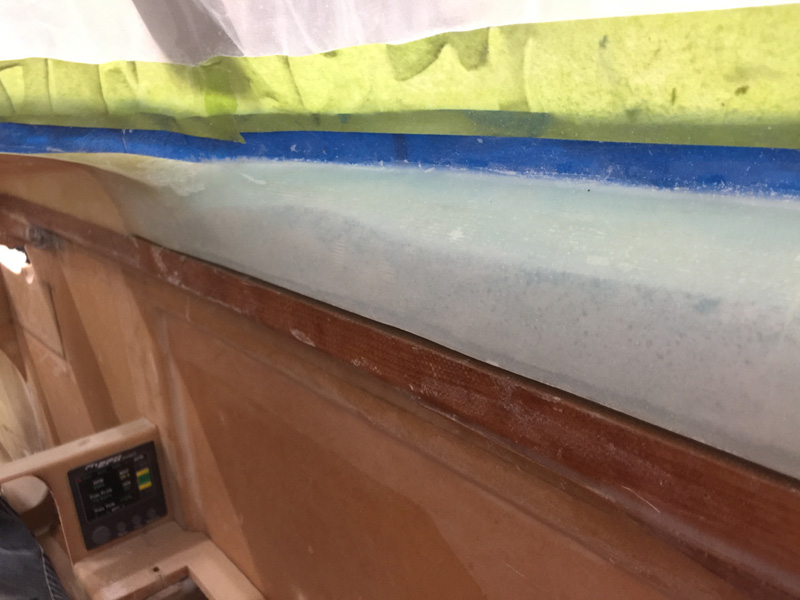
Here you might see the space gained with the 1″ or so overlap of the longerons removed. It has really improved the cockpit area. At the shoulders where is quite a wide flat area now and it is amazingly comfortable compared to before. Its much improved for the lucky passenger as well.

You might say to yourself. “This guy is pretty dumb.”, “Why didn’t he just correctly shape the canopy rail first and allow for the width needed at the hinges and catches?”

I might be able to do that if I had another canopy to make, maybe. I knew the overlay could be an issue but I didn’t see how to get around it at the time. I just couldn’t see exactly where it was all going to end up or if it even mattered.

If you think you could have, you will be building a lot faster that I am and I’d be pleased for you to send me some of your tips on strake building which is not far away.

Previous Post
Canopy Rail Adjustments 2
Next Post
Canopy Latch Clearances

Leave a Reply Cancel reply

Your email address will not be published. Required fields are marked *

Fill out this field
Fill out this field
Please enter a valid email address.

CategoryLogsHours
All157617079
Uncategorized135
Ch 3 Education220
Ch 4 Fuselage Bulkheads25231
Ch 5 Fuselage Sides32283
Ch 6 Fuselage Assembly30270
Ch 7 Fuselage Exterior14140
Ch 8 Roll Over/Seat Belts990
Ch 9 Main Gear/Landing Brake71642
Ch 10 Canard28287
Ch 11 Elevators36298
Ch 12 Canard Installation12102
Ch 13 Nose and Nose Gear1291097
Ch 14 CenterSection Spar57525
Ch 15 Firewall and Accessories448
Ch 16 Control System27237
Ch 17 Roll/Pitch Trim System654
Ch 18 Canopy70502
Ch 19 Wings, Alierons1271090
Ch 20 Winglets/Rudders71528
Ch 21 Strakes - Fuel/Baggage65437
Ch 22 Electrical System591031
Ch 23 Engine Installation961152
Ch 24 Covers/Fairings/Consoles25202
Ch 25 Finishing561084
Ch 26 Upholstry340
Fuel System46310
Rollover1050
Cabin heating System60331
The Ferry Tank335
Blog2694182
Build Mods2252513
Nose Gear Doors856
Wheel Pants/Gear Leg Fairing40473
Oxygen System762
Roll and Pitch Trim964
Winglet Intersection Fairings445
Baggage Pods11104
Pilot Side Windows437
RAM Air & Hellhole Cover15177
Main Gear Beef Up322
Post Cure124
Fire Extinguisher16
Wing Fences13
EVS (Enhanced Visual System)130
Hinge Upgrade115
Cowl Keeper110
Rudder Gust Locks19
Cooling20607
Taxi Tests42
Flying10

Complete the Test Flight Program

2025/6/30 10:26:01

Round Australia in Four Flights

2026/4/1 10:26:01

Round the World Departure

2026/8/22 10:26:01

Rough River Flyin, Sept 23, 2026

2026/9/23 10:26:01

© Copyright 2025 Dave Berenholtz