| Date: 03-18-2018 | |
| Number of Hours: 12 | |
| Manual Reference: no ref |
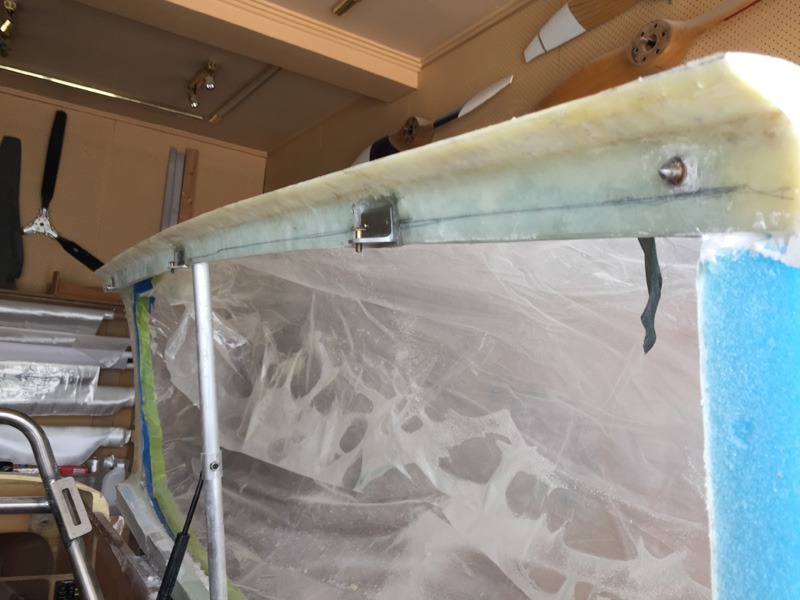
The canopy rail I’d so carefully build is too wide …in some places. I’m not sure if I could have done it any other way but I knew it wasn’t right as I made the thing. Now it is time to fix it!
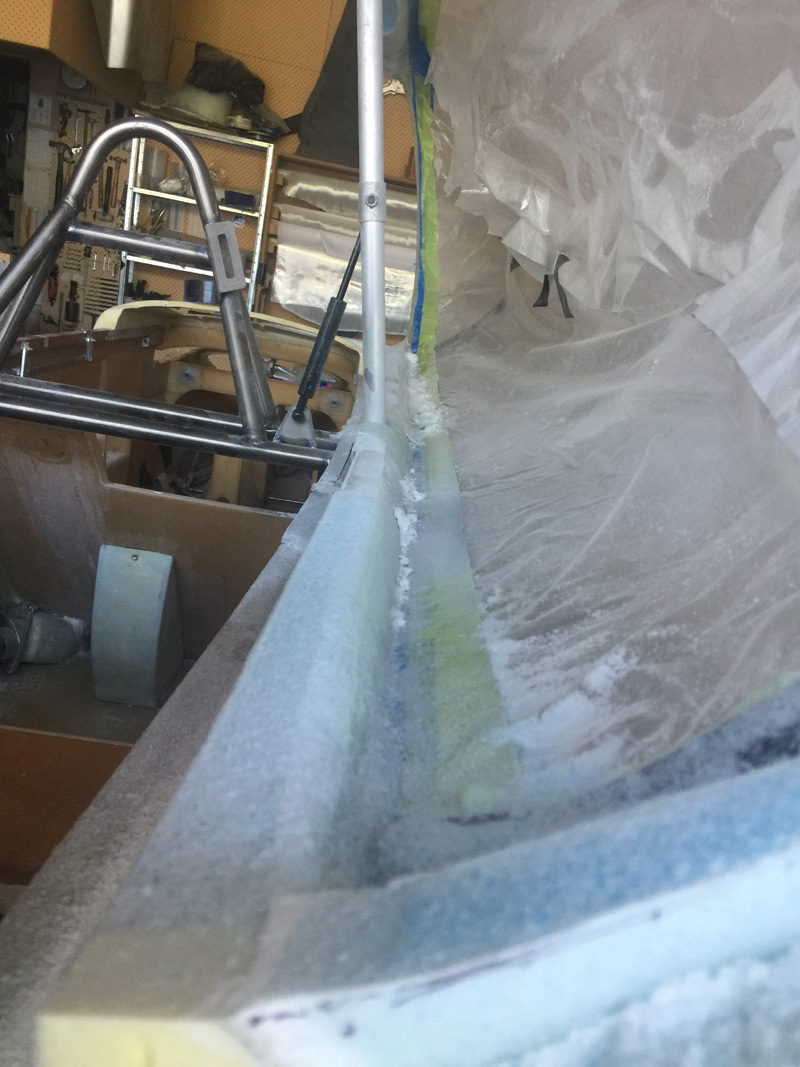
The lines drawn on the picture above show where the longeron meets the canopy rail. So anything past this impinges on shoulder width and general space in the cockpit. I still need it this wide where the canopy catches go AND where the canopy safety catch needs to be.
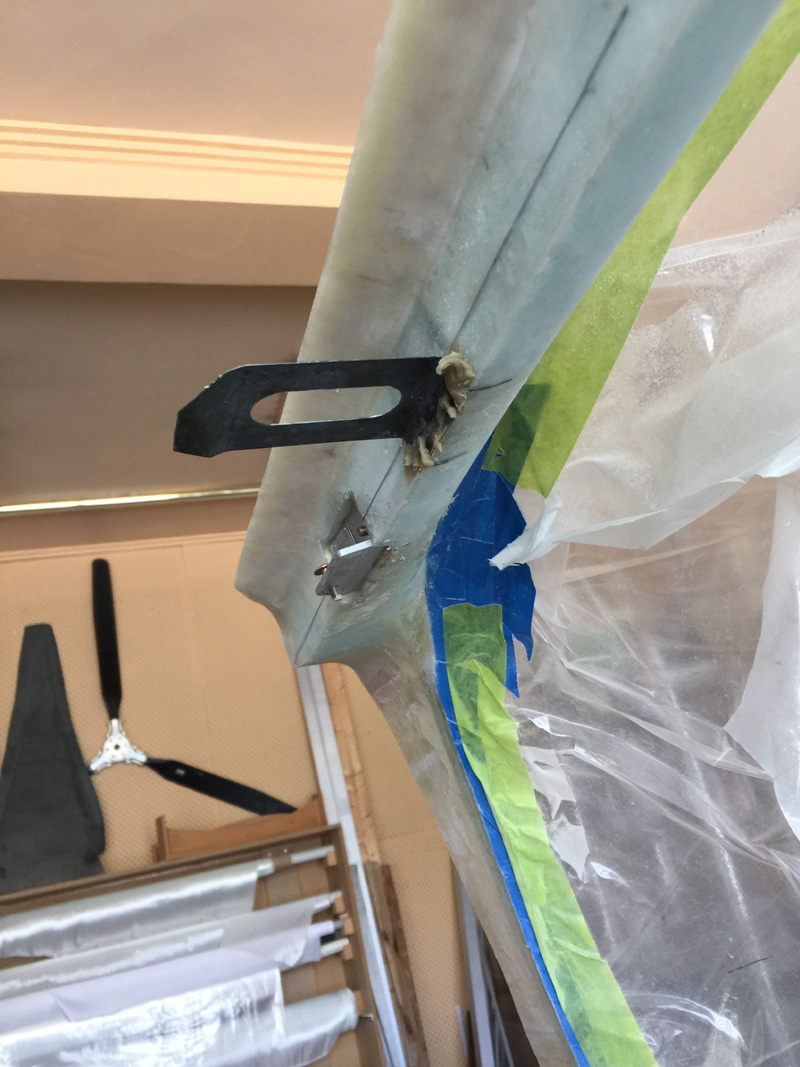
This is the canopy safety catch. Its about time I set this up. It needs to be done before I can tinker with the rail width. I used builders bog (bondo if you are from the USA) to ensure I had the positioning correct.
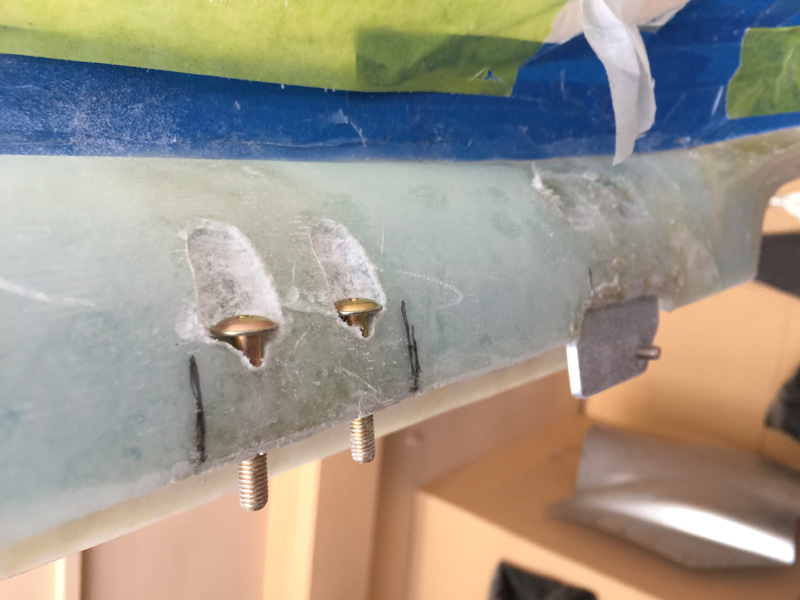
Next up was drill holes and making sure the screws would be OK before floxing them in place.
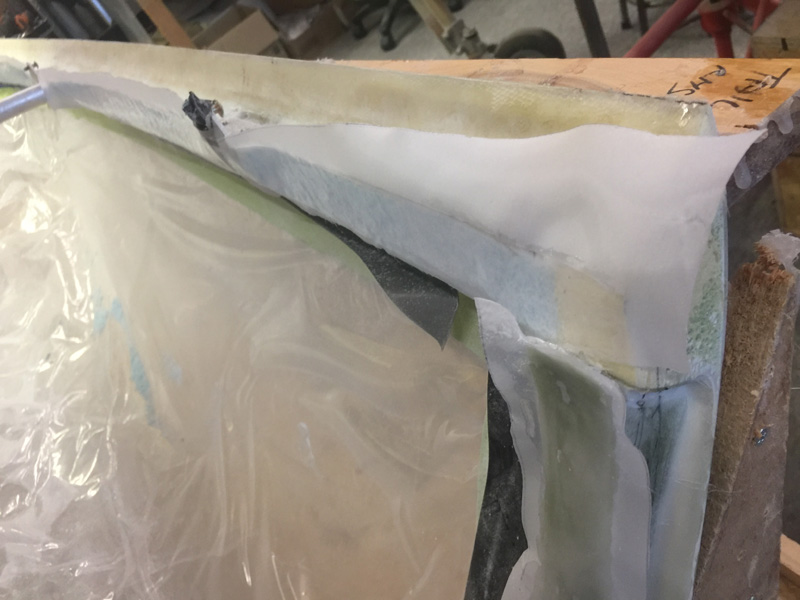
I again spent some hours tweaking the canopy hinge width and reducing the canopy frame so that it matched the longerons on the inside. This given me the extra space that the french style canopy allows.
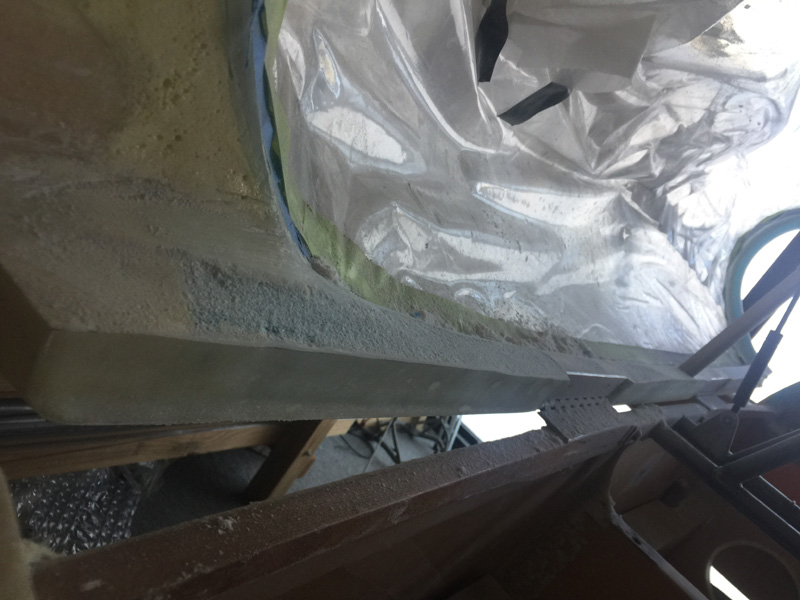
This is another angle after hours of careful trimming. I was in and out of the cockpit 40 or 50 times. Quite good for the biceps as you have to lower yourself into position as if you were doing Gym work on the parallel bars.
You might be able to see I have trimmed the canopy rail width and then allowed it to go as it was at the ‘spreader’ section. This fine tuning adjustment will really pay off in terms of extra interior space.
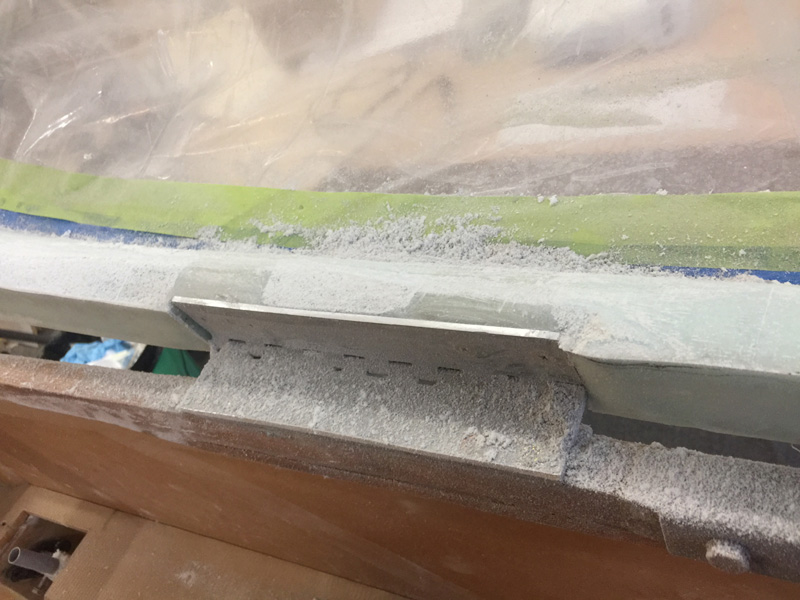
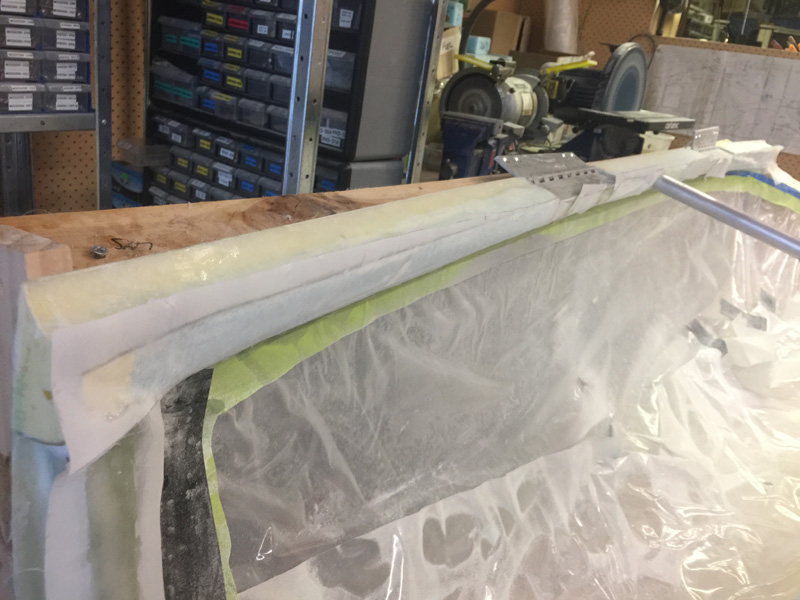
After a couple of days work I went and microed the frame where I had altered the width. I had to finally remove the canopy from the fuselage to do this. That was almost a full day getting some help to remove it and building another outside frame to hold it. Once I had made the longeron adjacent cuts finalised, it is certainly easier to do the final smoothing work with the canopy removed.
These shots are after micro has been applied for a hard shell approach before the glass work to essentially ‘repair’ the frame back to full strength.

