| Date: 11-26-2020 | |
| Number of Hours: 28 | |
| Manual Reference: 25 |
The canopy outside edges, the front headlight edges, the side window edges and the side light lens all need this edge treatment. I thought I’d be OK with just painting up to them but really, push has come to shove and that won’t work.
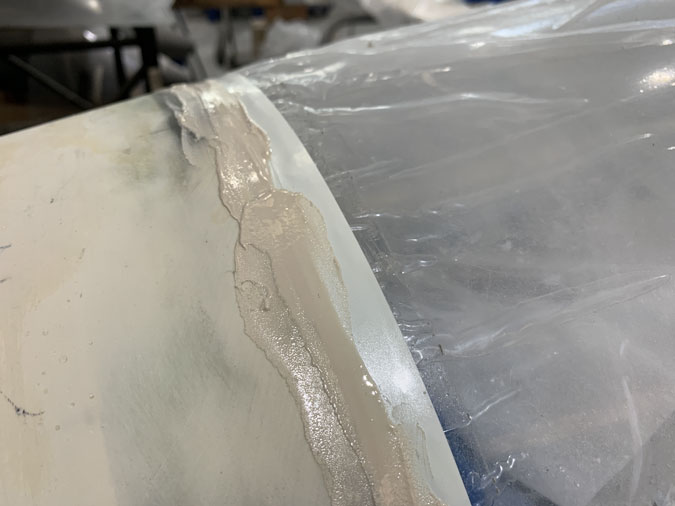
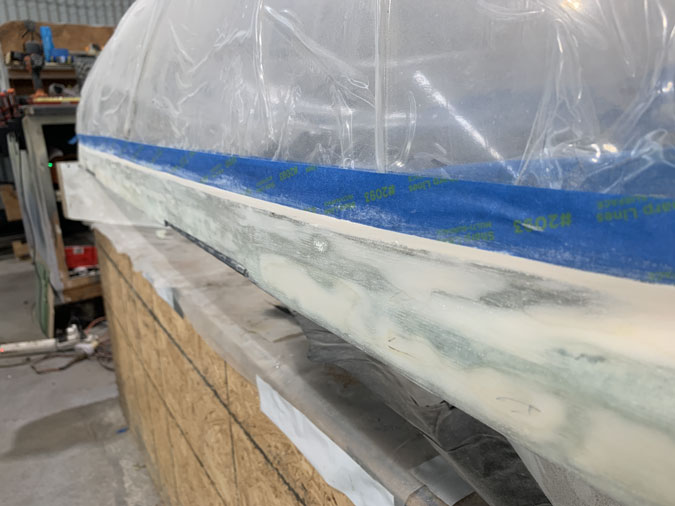
I started on the canopy back edge. First up is really careful removal of old tape and cleaning up the edges right at the canopy surface. I used WD40 and a microfiber cloth for the gunk. Works a treat although getting oil on my bare fiberglass wasn’t ideal. I did the necessary cleanup.
Once my exposed perspex was good using razor blades and a sharpened 4mm tip chisel super carefully, I had an edge of canopy to canopy frame. The issue is that it is not straight and that’s what this procedure is all about.
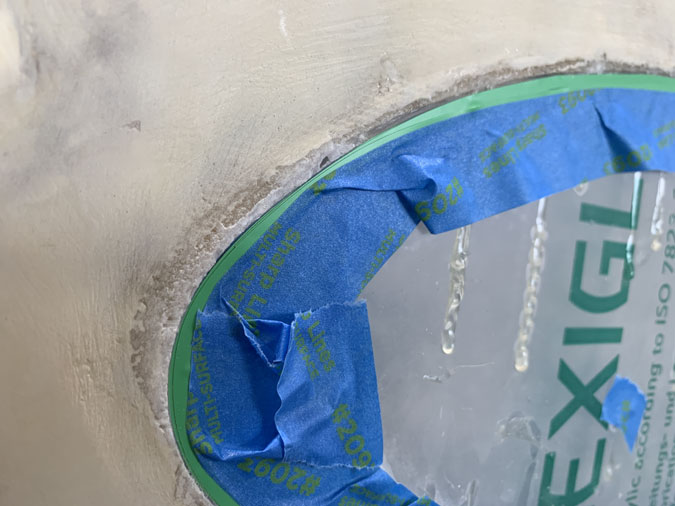
Next comes plastic tape. I like the Nitto brand which we used to use in gliding for tapping wing joins. Once I had the tape right on the edge I wanted the next step is to apply another tape right on top in the same place. Yes, seems weird.
Time for some sandpaper to ensure a good surface for the filler AND to scuff up any exposed perspex that filler has to adhere to. If the tapes get damaged from sanding they need replacing.

One the 410 and West filler is applied the tape has to come off straight away. No waiting for it to get a little stiff.
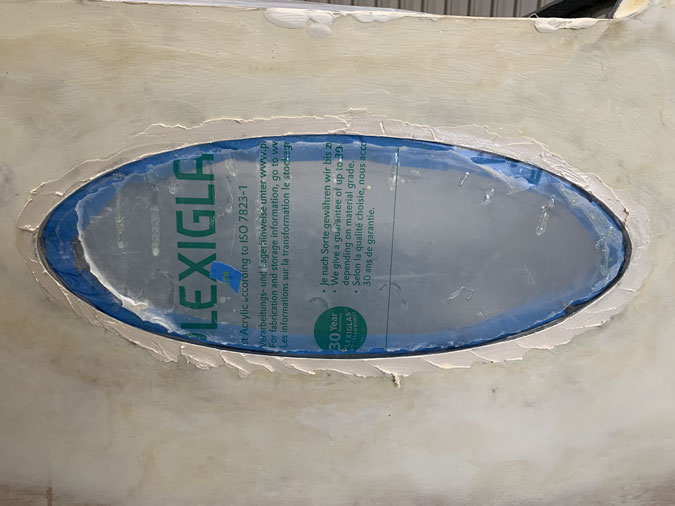
The idea of the two plies of tape? I slowly remove the top one at a 45 degree angle to the job. This gets rid of most of the excess filler sitting on the tape. Now the last ply can be removed at the same angle slowly and you get the razor sharp line you can see above. Now it can be left to cure. I’ll show the clean up on some other parts.
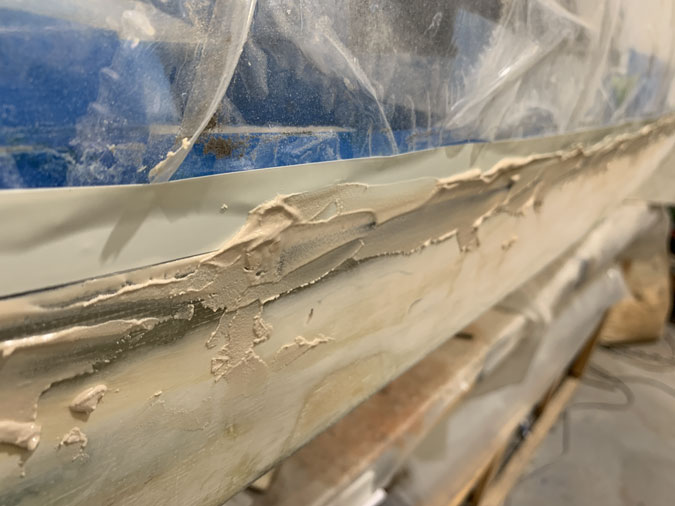
The big job is not shown. That’s cleaning up the edge before the tape. You need a chair, some good tunes in the headset and a determination not to scratch the canopy anywhere. Here we have the two plies of tape and filler applied.

First layer of tape removed and we almost have a good edge.
Second ply gone and our edge shows. That blue tape is on the inside. You can see I’ve had to remove some protective plastic form the canopy to do this job.
Same thing on the other side and the front of the canopy too for that matter. Here we have the tape removed and waiting for the filler to cure.
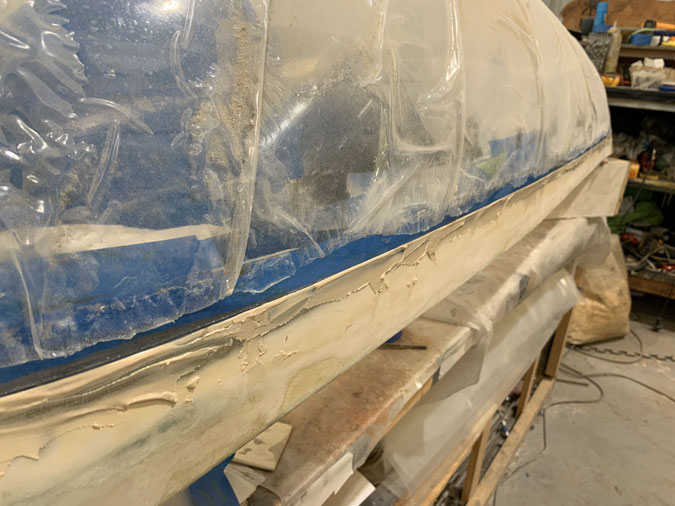
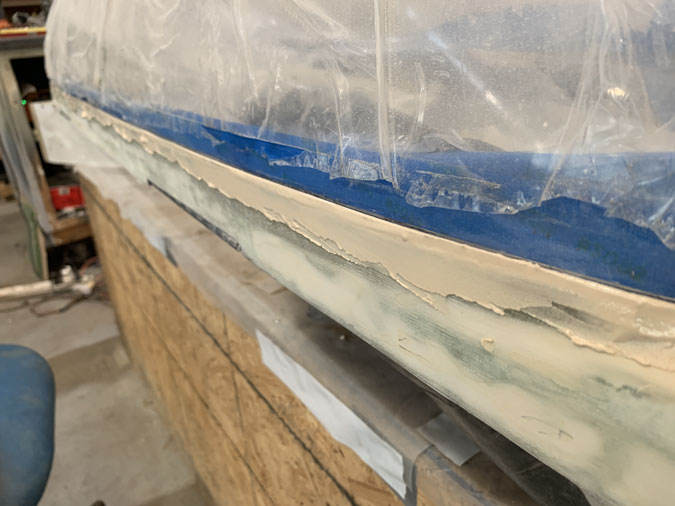
After cure I re-tape the edges and very carefully sand to be flush at the side. I’m just using painters tape for this part as it will stay on for a while. There is not too much residue when you remove it. During sanding I had to renew it in a couple of places. It’s slow careful work.
Here’s a side window after a big clean up. Not so pretty eh.
Close up of the ugly. You can see I’ve had to peel away protective tape and really had to be careful at the edge. .
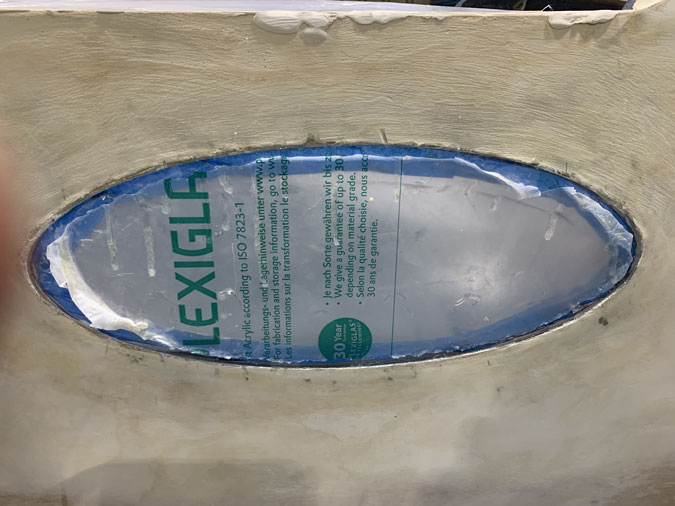
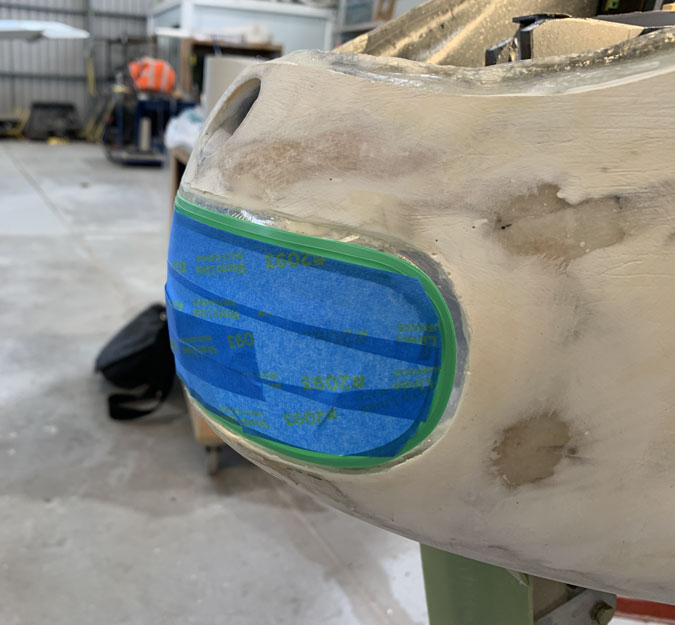
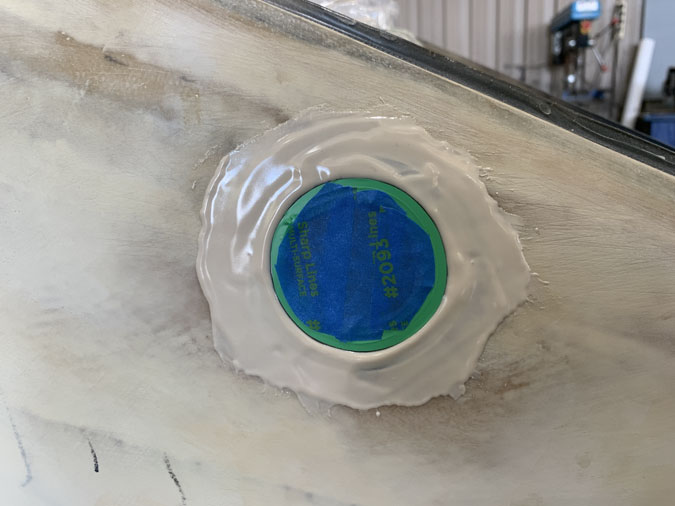
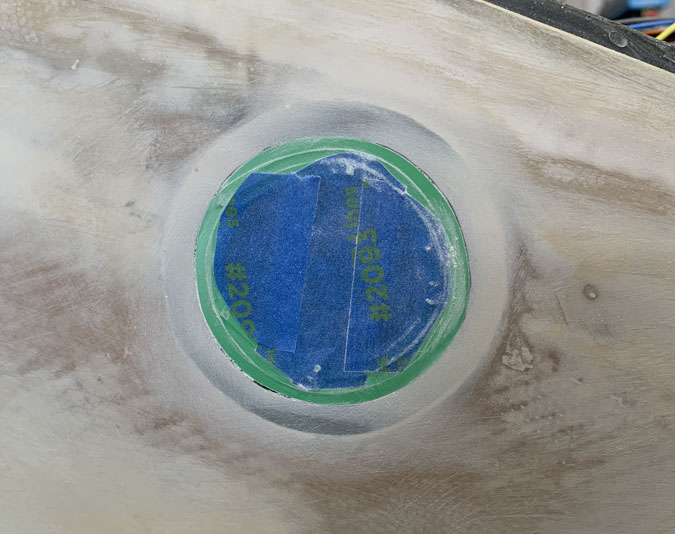
Fortunately the oval windows have a definite boarder where a step was cut making the process of taping easier. I’m using thin green tape I got from a specialist spray paint shop. It can deal OK with the cures.
Again the two ply of tape. It doesn’t have to be perfect although I could have done better with the top layer. Regular blue tape goes on after that. Again careful sanding is next.
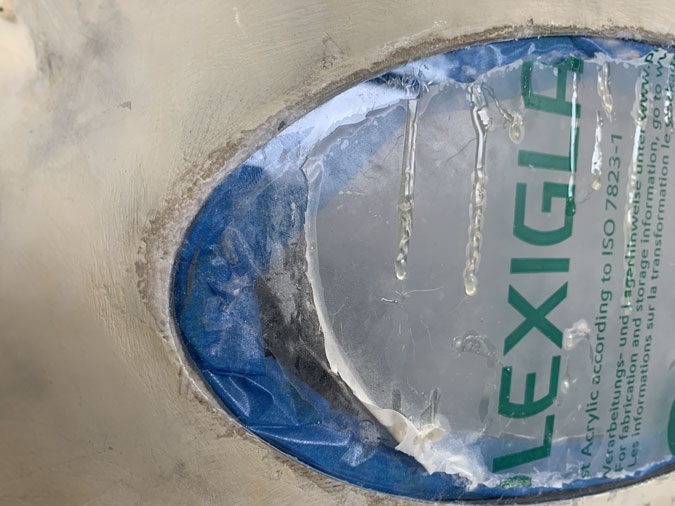
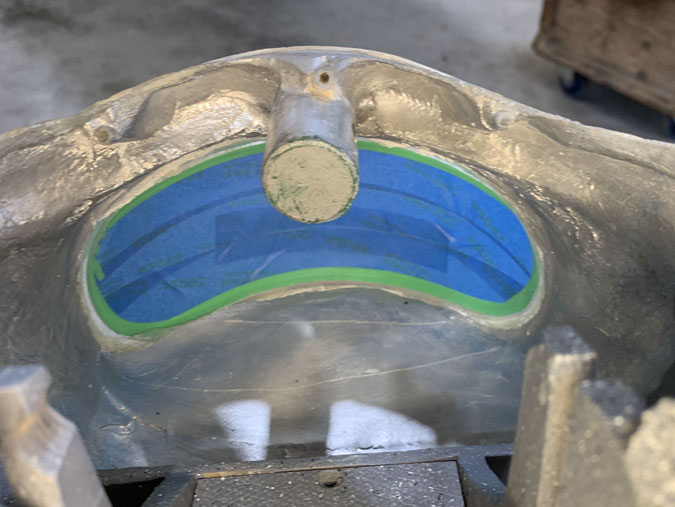
This is after the tape removal while the filler is still very wet.
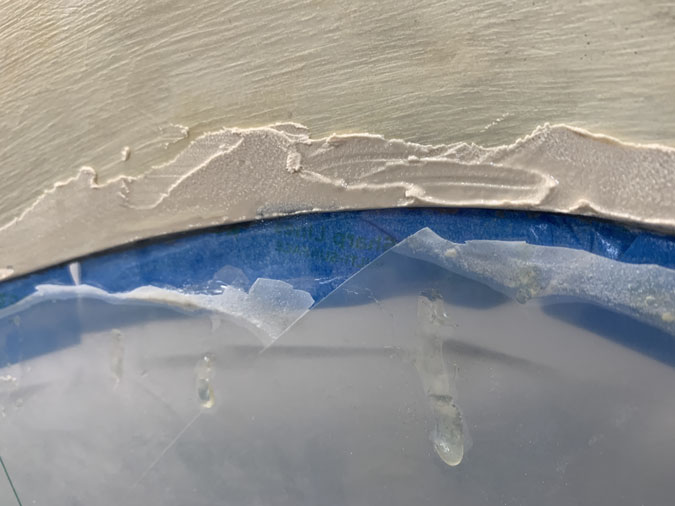
One mistake I seemed to keep making is having too much filler so that as it cures it drops a little at the top. Gravity. Who knew? After sanding it seemed to go away and I got clean edges once down to the tape.

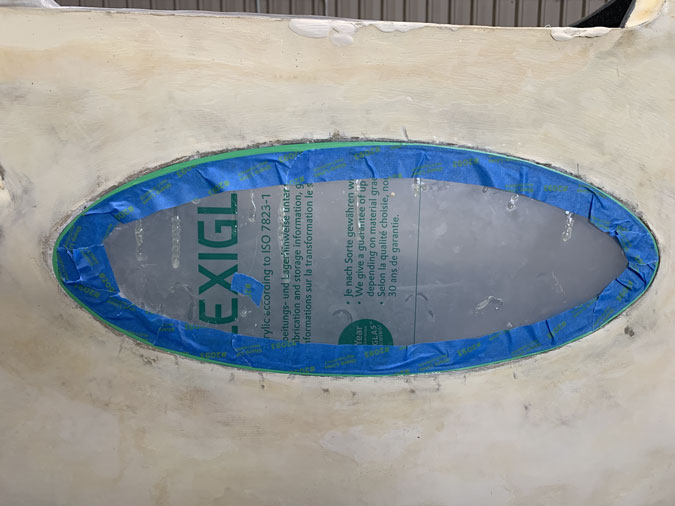
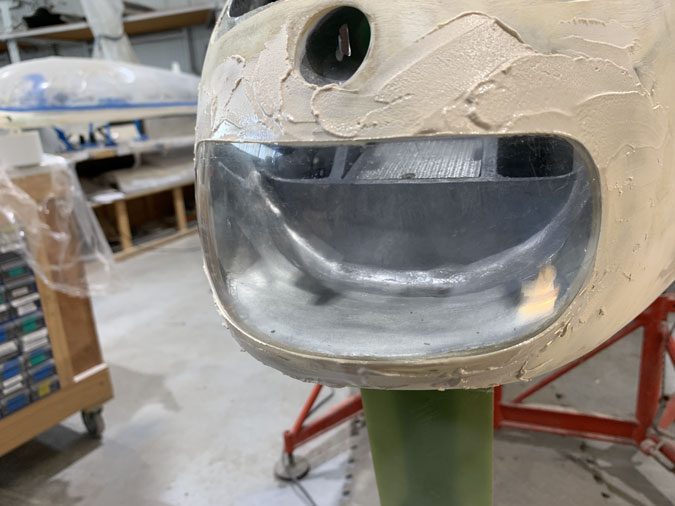
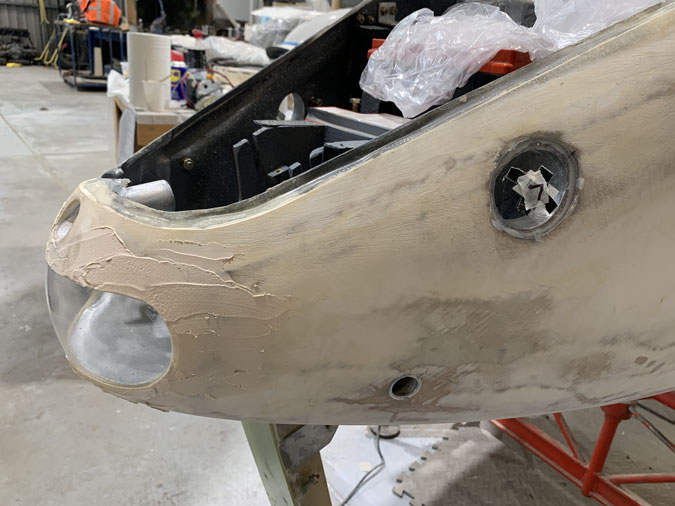
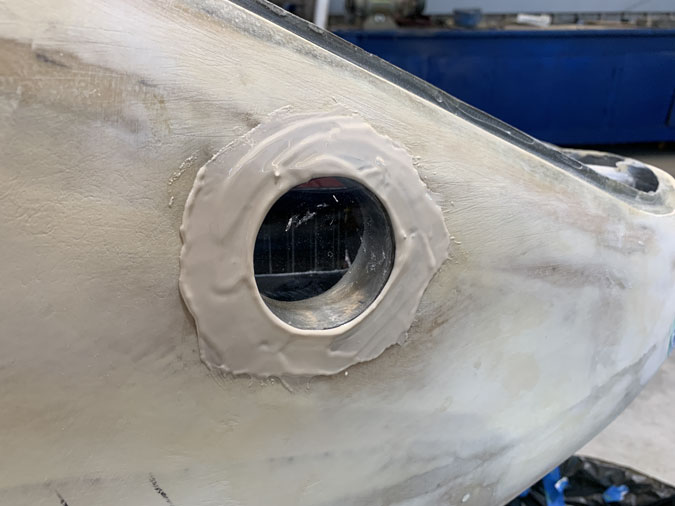
This is after the edge clean up. I’ll do some close ups on the next item. Trust me, the windows are OK with an edge ready for painting. Still the nose and side lights to go.
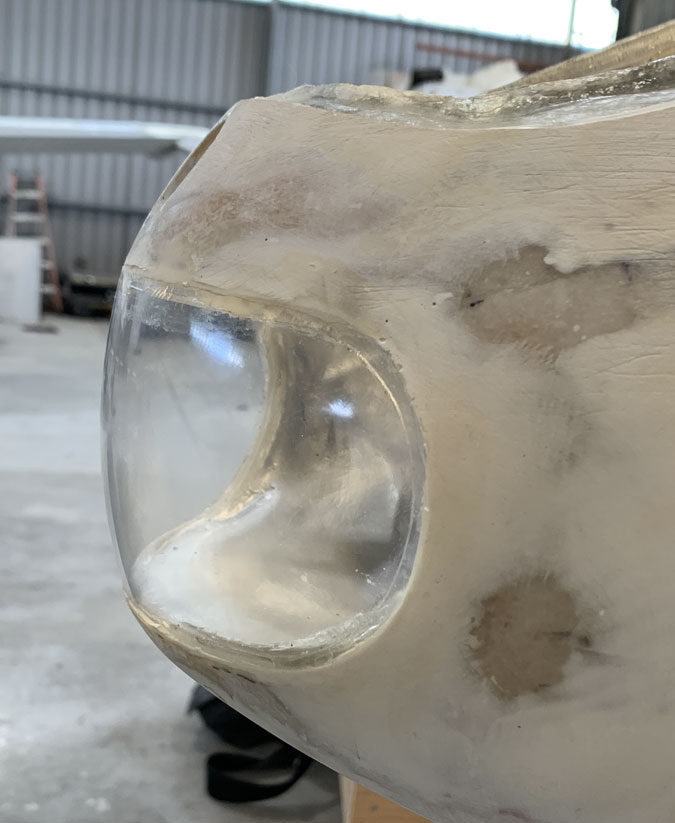
Quite a lot of clean up to get to these edges. The lens might need a polish too. I wasn’t careful enough during construction with keeping it tapped. It’s not too bad.

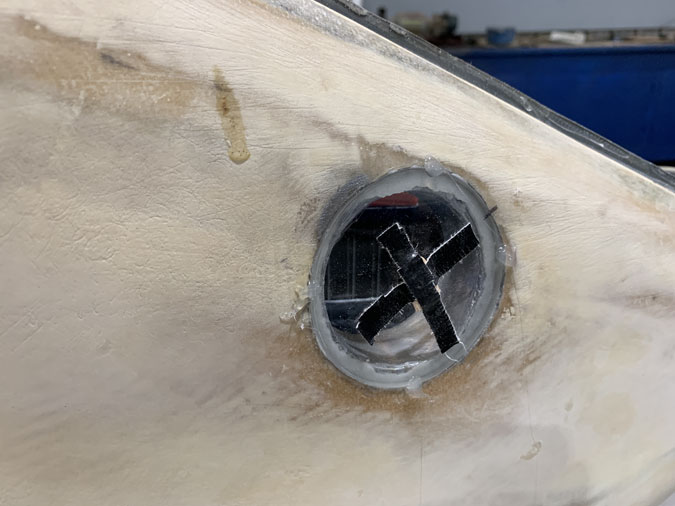
You can just see the border flange I glued onto the lens to make it secure for installation.
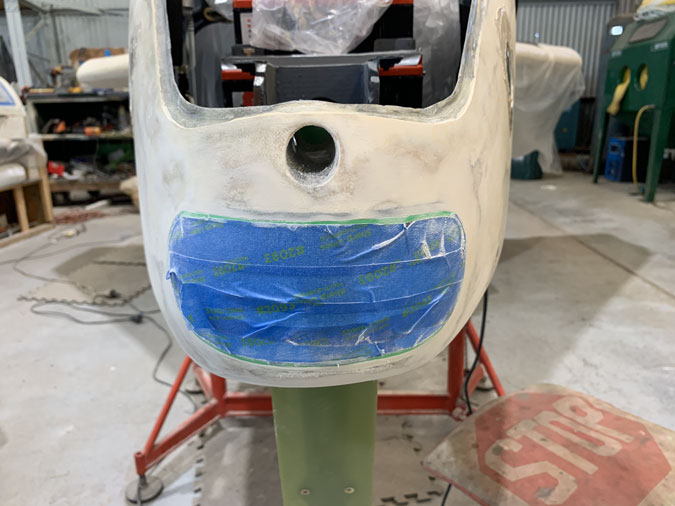
I have used the tape to get the light lens border I want. This covers the flange and I have a bit of sanding to ensure good adhesion on the perspex.
This is the inside where the light get to be mounted.

The usual mess with filler.
Tape removed and I have a good border.
Post sanding and you can’t really see the edges. They are there! I again had a bit of sag in the filler but once it was flush with the fuselage and flat I got away with it.
I’d made the side light lens a long time ago when I did the nose lens. These came from camera security domes I bought online. I didn’t see bending flat perspex into a compound curve being quicker or easier.
I’ve floxed the lens in place and then held then for the cure with hot glue. Even these lens have a curve which is pretty close to the slight fuselage curve in this area.
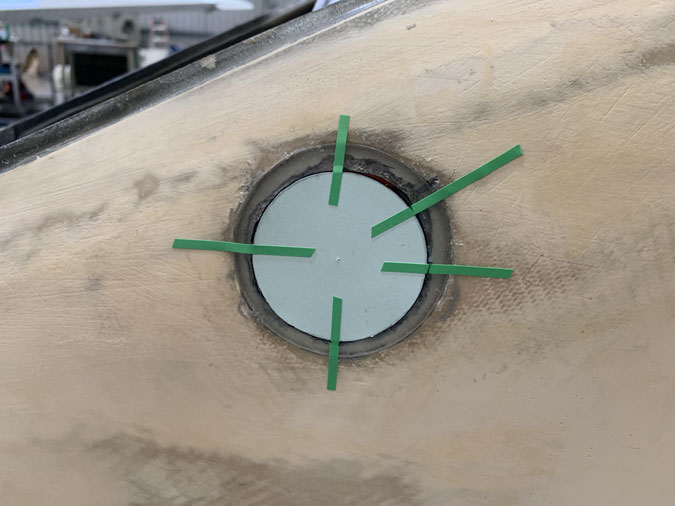
The edges of the light opening need to match the light itself. I don’t need to show off the flange gluing area. A bit of cardboard makes a template to draw around so I have a line for the tape to follow.
Again the thin green tape works well even in these tight curves. You might see how I’ve sandpapered the lens where filler is going.
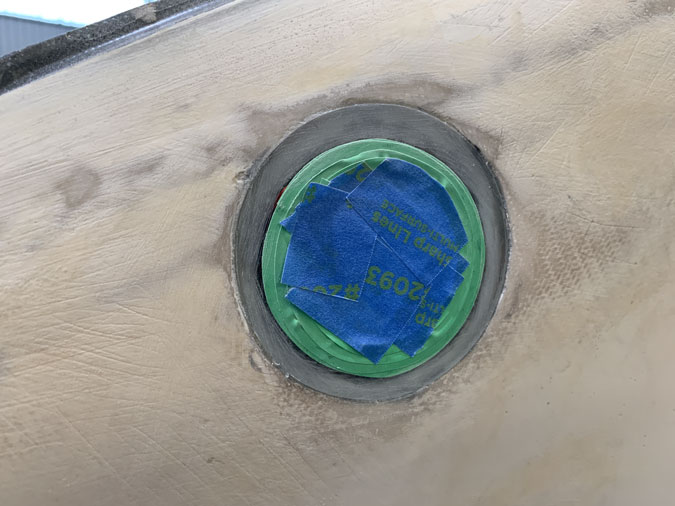
I admit it, too much filler and you know its going to sag. Maybe a smarter person would have done two fills, but have you seen how many hours I’m into this build for?
Tape off and we have a roundish light hole.
Sanding got my sharp edges back. Lucky eh?
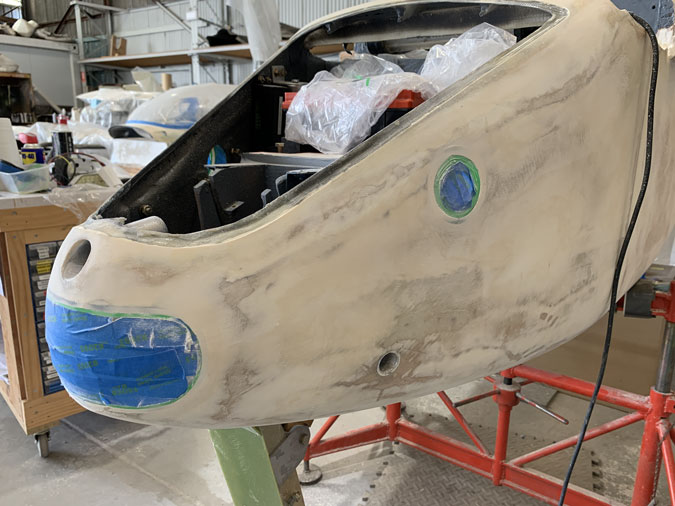
The lights and window edges done I can get on with final prep for the primer paint. We are at around 80 grit on the upper fuselage and I need the big scratches out, some minor detailing and down to 220 grit. I did final sand on the lower part when the fuselage was last upside down. It might never be again.