| Date: 11-05-2020 | |
| Number of Hours: 5 | |
| Manual Reference: 18 |
After all the prep, time for painting the canopy interior. I’ve put this under ‘canopy’ on this site, maybe it should be under Paint? Maybe no one will ever read this. Its not all that exciting, just another required step along the way.
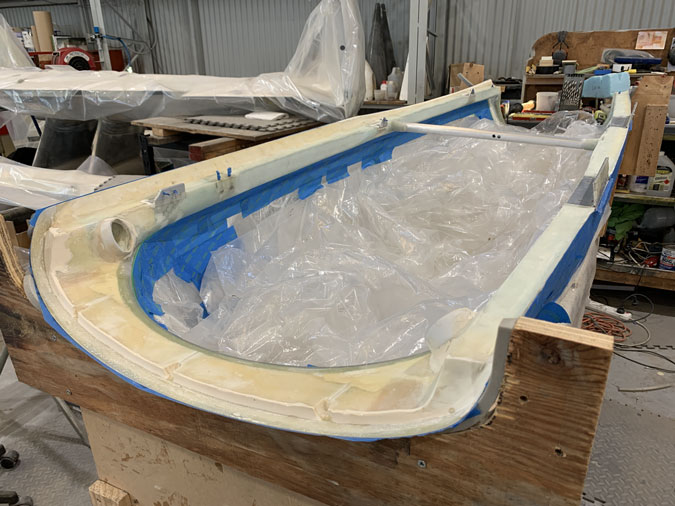
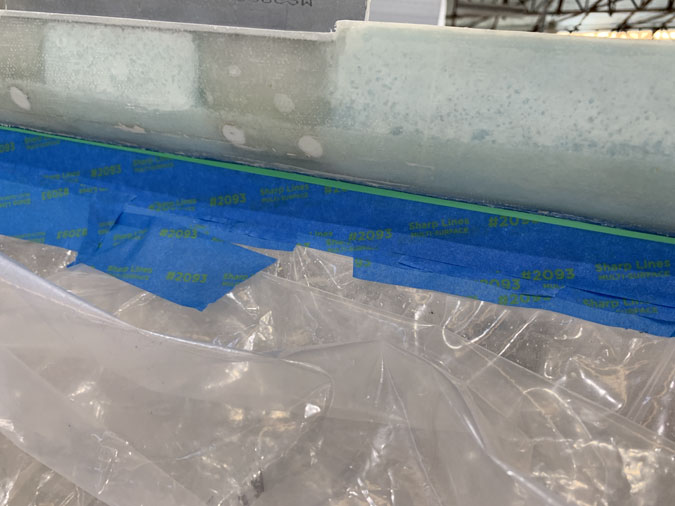
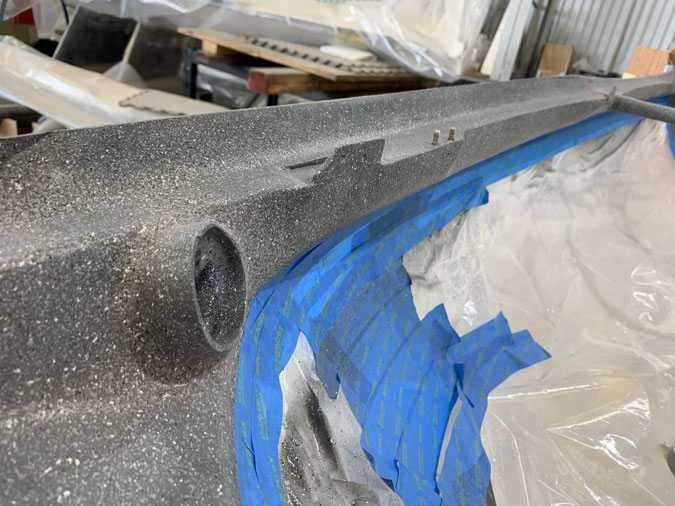
With the edges between the clear canopy insides and the frame now good I carefully re-masked the edges.
To get these edges clear I’ve used 3mm wide special line tape from an automotive paint supplier. Then some low residue, I hope, painters tape.
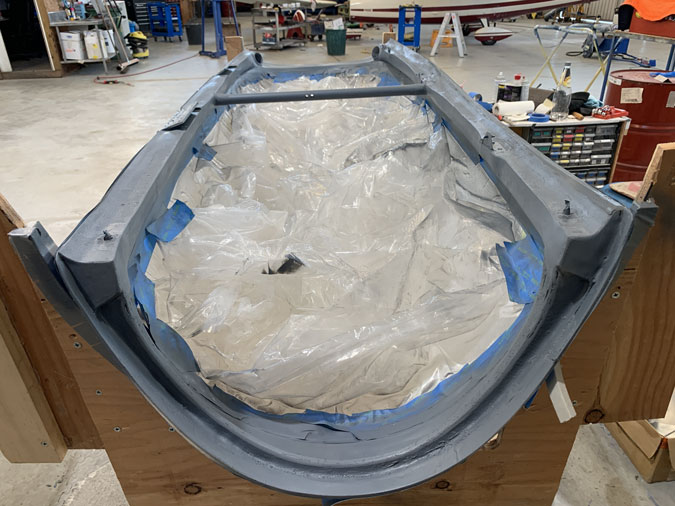
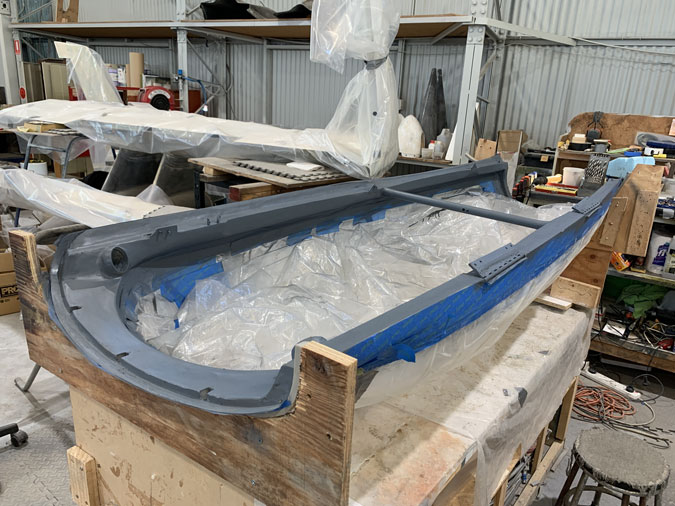
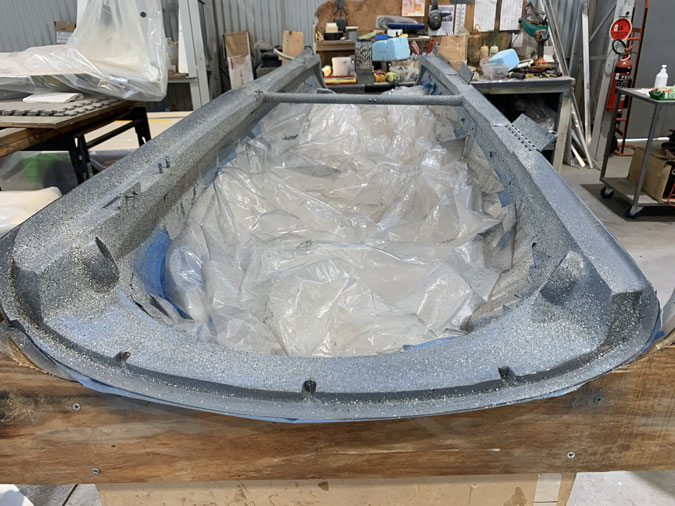
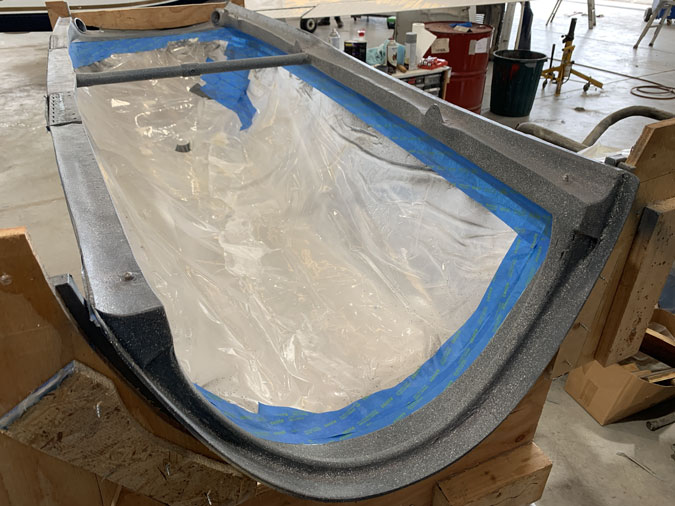
Here’s the grey primer. Of course it shows up every little fault now. Given I’m going for the speckle finish I just didn’t get too fussy and spend another week or two for perfection that wasn’t needed here.
The undercoat grey always looks a little dark.
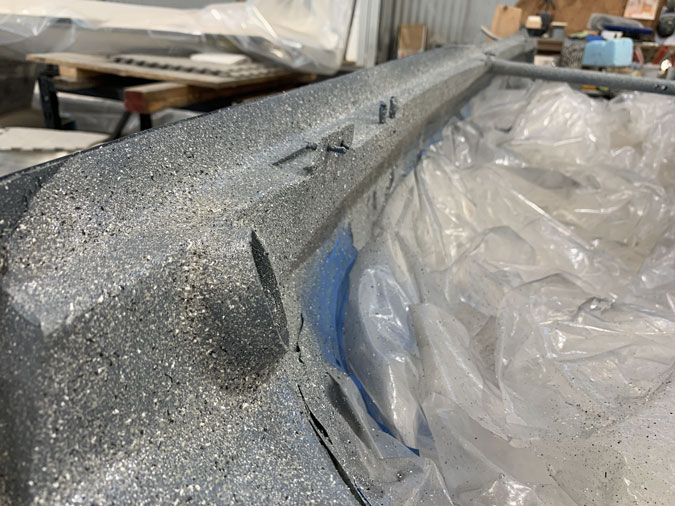
Once the texture goes on with the white flex in it, everything seems to lighten up.
OK, probably too much paint here. It will work out.
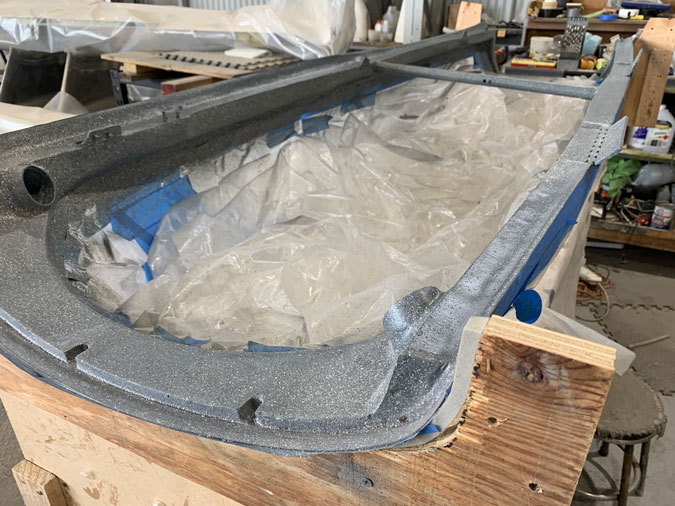
After a day to dry I’ve gone with multiple coats of the satin clear from a rattle can. You can see a bit of shine in the pics. Yes I will be having quite thick foam on the canopy edges. I will sand as required for adhesion. My thoughts were to just get an even finish on for now.
After the satin clear dried I’ve gone hard with the scotchbrite pads to get the shine as dull as possible. This gives a flat even finish and removes some of the roughness.
I have off course removed the line and painters tape, checked the edges which were pretty good and then re-taped for protection. Lets call the canopy interior good and move on.

