| Date: 12-15-2017 | |
| Number of Hours: 12 | |
| Manual Reference: 18-2 |
This is a long one, done over two days with most of it all today from morning until dark.
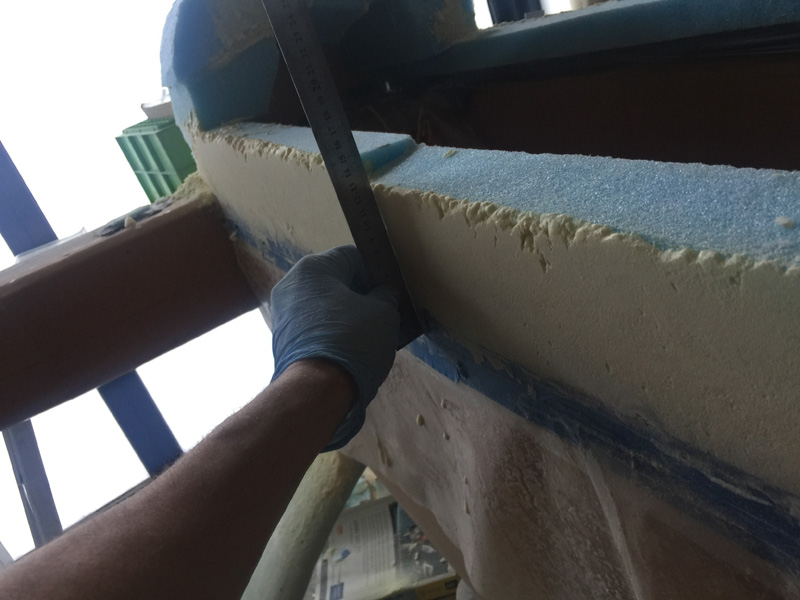
First up, yesterday I rechecked the longeron canopy rail sides and decided that the right side curved in a bit so I spent quite some hours adding more pour foam and sanding it back. How important is this step? Well if everything starts off square my chances of a good final fit are better. A bit like doing a long final in an airplane. It gives you space to get everything right for a good stabilized approach.
I have more filler on the right side now. If I had made my initial blue foam pieces wider they could have sat in the middle of the longerons with lots of overhang and I would have saved about 4 hours or so with the extra sanding. Weight wise its the difference in the densities of the pour foam and the blue foam over a very small width. Really I’m explaining how a small over-sight keeps costing mainly in hours rather than weight or money, this time anyway.
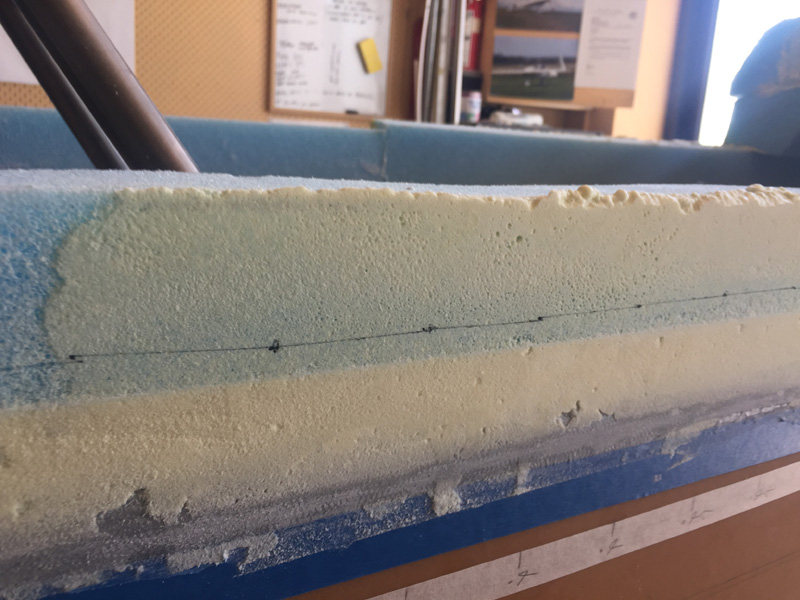
Below the blue tape you can see where I measured the canopy gap for drawing a line later on the remade canopy rail wall so the height I originally set the canopy up can be reproduced. OK, its not a perfect line but it gets me in range for setting up the canopy height above the longerons. Now this was a great idea until I added more pour foam to the other side. Then it was hard to see the longeron line as it was under more new foam. So I had to measure on the inside, transfer than to the outside and then draw the line for the right hand side.
This step is not critical as I will set up the canopy so it is sitting just right. I do foresee a lot of adjustments and taking the canopy off and on the rail repeatedly. Ahh so much fun to come.
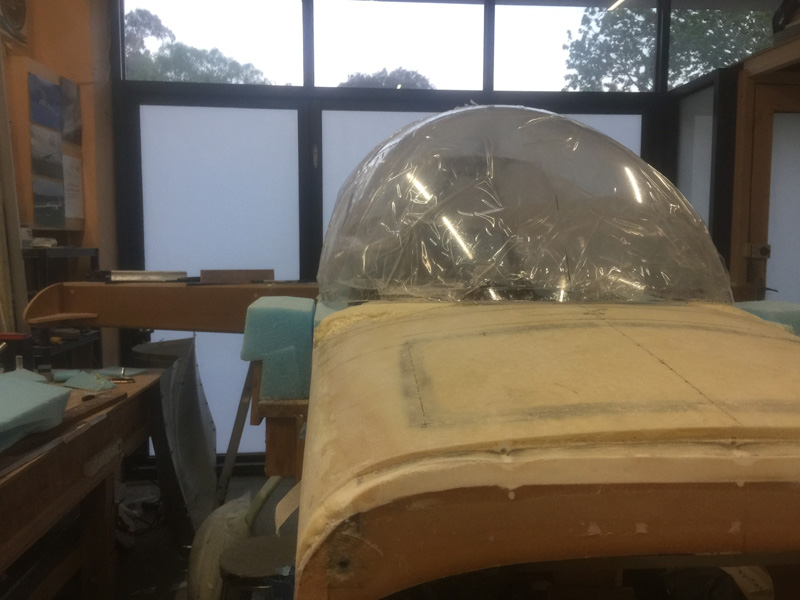
Here’s a look at the front section. I’m using pour foam as a filler for the edges. The curved line is where the canopy will sit inside. I can play with this a bit +/- .25″ or so. Flox goes in the gap and then a glass lay up will happen underneath when the canopy is cut free. How the curves transition is yet to reveal itself. It will.
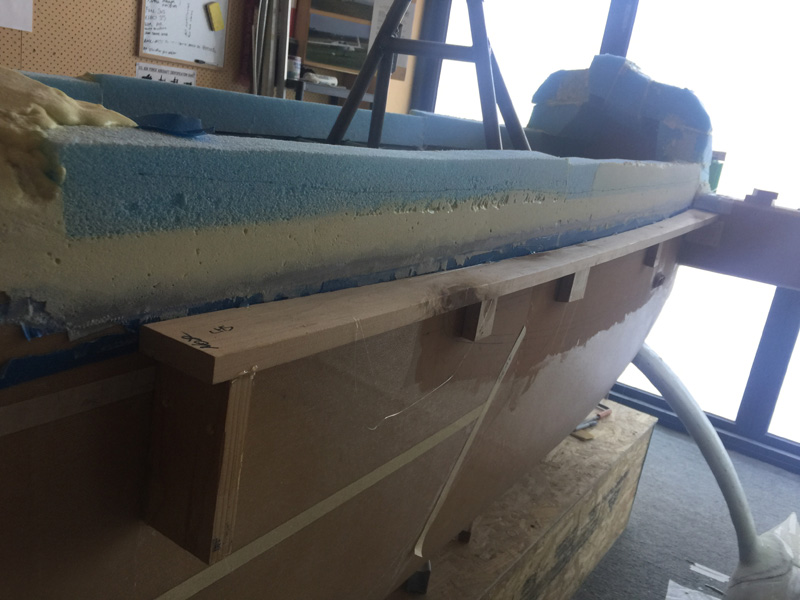
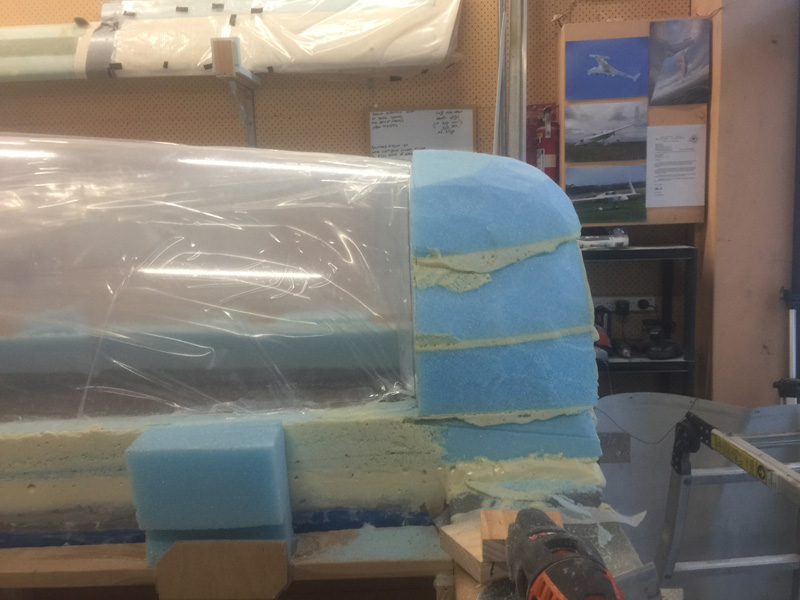
Hows this? I needed an outside jig for getting the canopy in place and holding it while I fiddle with things. The plans method really needs an inside jig. Remember I’m sort of an inside out version of the plans ‘re-imagined’. I’ve used some timber and cut a curve in it so I have an approximate fit to the outside of the plane. This took a good hour or two to get it nice. I’ve used simple scrap pine timber supports too. The wood is hot glued to the outside and is rock solid. The plans often use bondo for this sort of job but I like hot glue for this. It will come off later with the heat gun and a little patience and cause zero damage..
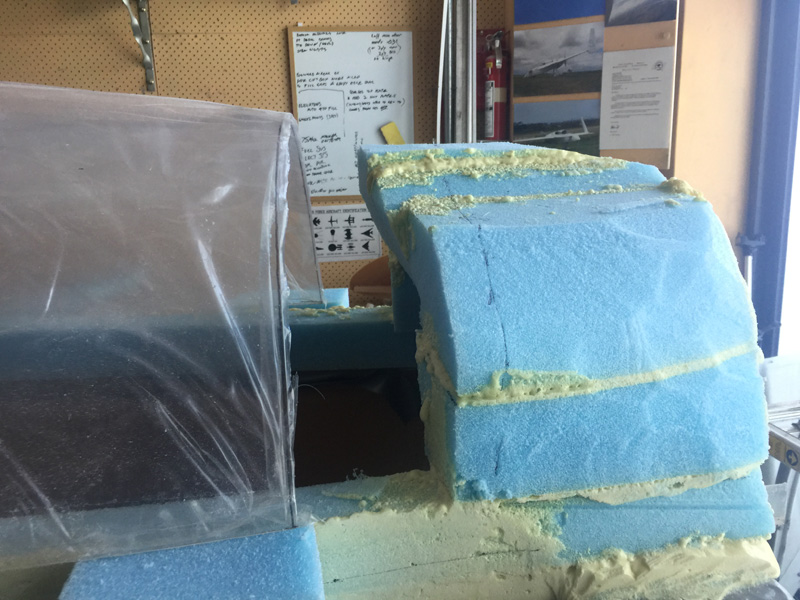
Yep I got a little enthusiastic trimming the turtleback – back. It may or may not be high enough now once the canopy is in place.
Oh, Can you see the canopy sitting on a big foam block? Yep that is glued to the new side jig and allows the canopy to sit spread and relaxed as I move it. There are four of those extra wide supports as you may have guessed.
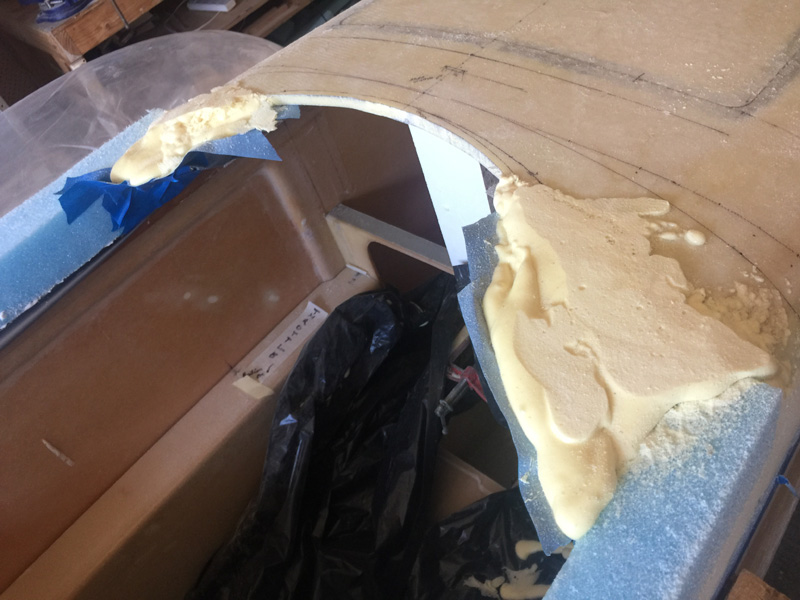
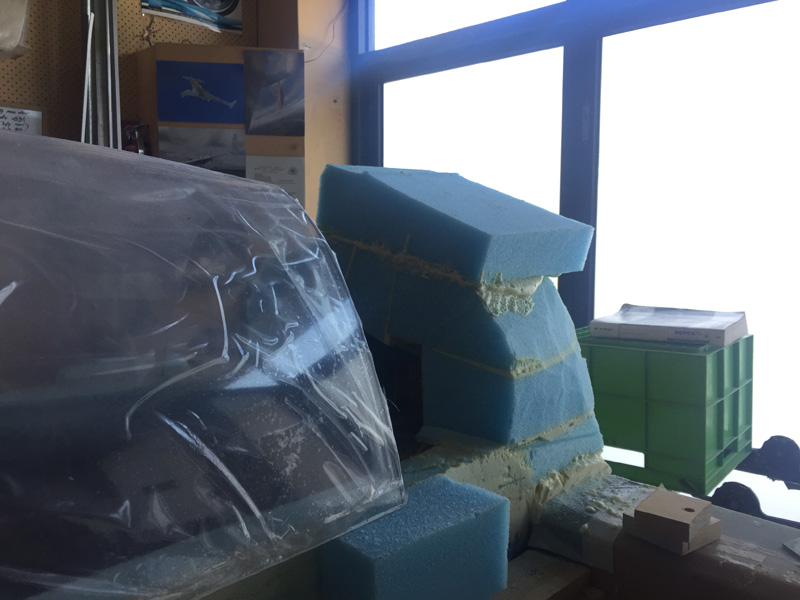
The solution is easy for a slightly small turtleback…. more foam and pour foam to ‘glue’ it together. I’ve got the hang of this now and it was done in 30 minutes including cure time.
Here where I spent a lot of time today. No I will not have that curve at the back. I just wanted to see where the top of the firewall was. The canopy itself will be an inch or so lower too. It’s going to work out.
Carefully trimming the rear turtle back so the canopy will sit flush and be at the correct point at the front was the next job. This was a couple of hours. I am working slowly and deliberately as I have to pull the canopy forward each time, trim the foam turtleback just a little and recheck. I do NOT want to damage the canopy. I am being careful not to hurry as I walk around the plane too. I keep having to go from one side of the other to move the canopy bit by bit. Consider it a meditation.
After some work I’m within .25″ at the front and it is reasonably flush at the back. I’ve decided to leave the canopy full length rather than do the plans 10-15 degree angle cut. I’ll have a look when its done and then a line of paint will determine the ‘look’. I’m thinking a bit extra overlapping canopy ‘meat’ may work for me when I add spar UNI rovings so I won’t need that plans arrow stock piece at the back.
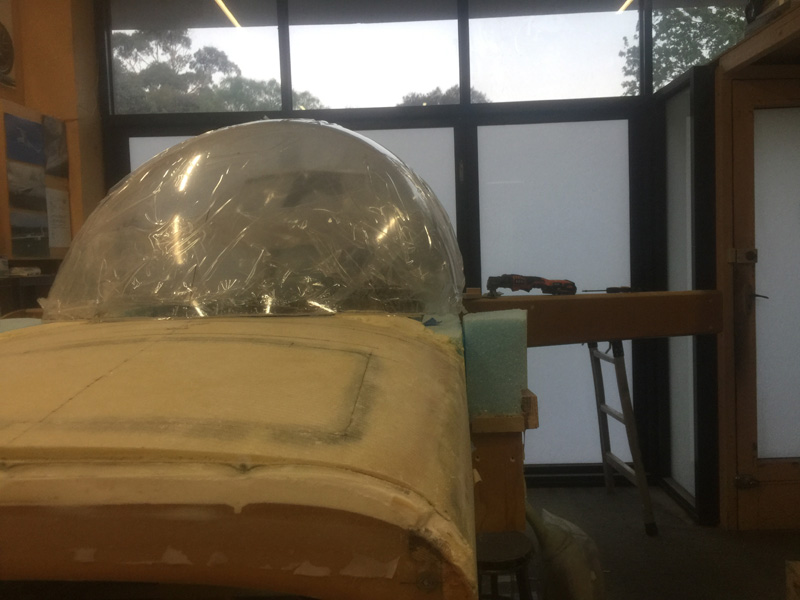
Here are two shots pretty close to what I have to work with. The left side is a different shape to the right. There is more bulge at the bottom of the canopy. The whole thing is too wide by at least two inches and the shape change in length is not to my advantage to say the least. You could say I’m not completely happy with the canopy I purchased and imported from the USA.
I have quite a job to make this fit. It will not look quite right and there will be a bulge at the sides and more on the left side than the right! I have minimised this by taking the canopy rail as far outboard as possible. Instead of a nice even curve I’m going straight up and down. The remedy is about $3,000 three or four months delay and no guarantee that a new canopy will be a better fit. I’m going to do my best here to make it work. I’d rather spend the money on engine tweaks or extra avionic features.
On the plus side is is going to be ‘spacious’ inside compared to a usual EZ of this ‘plans’ width.

