| Date: 12-31-2017 | |
| Number of Hours: 2 | |
| Manual Reference: 18-3 |
The last two days have been just a few small details on the build. I went flying today in my old Long-EZ but was mainly thinking about the world trip and the canopy details of the build. As the last day of this year I’d like to see a near finished new airplane this time next year. I will be making a big effort.
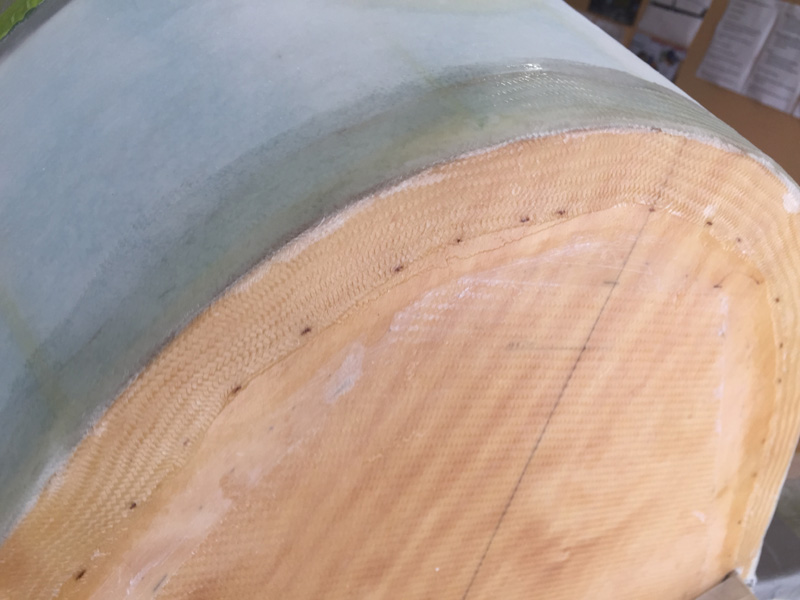
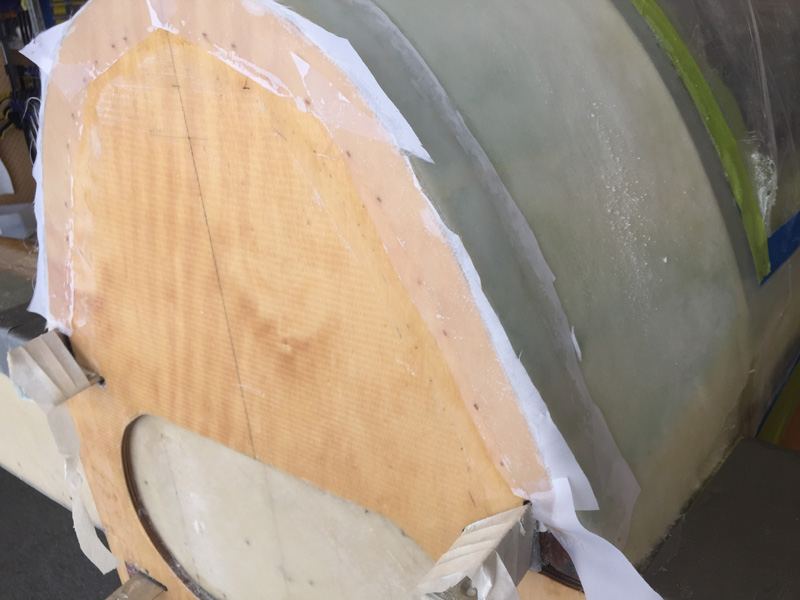
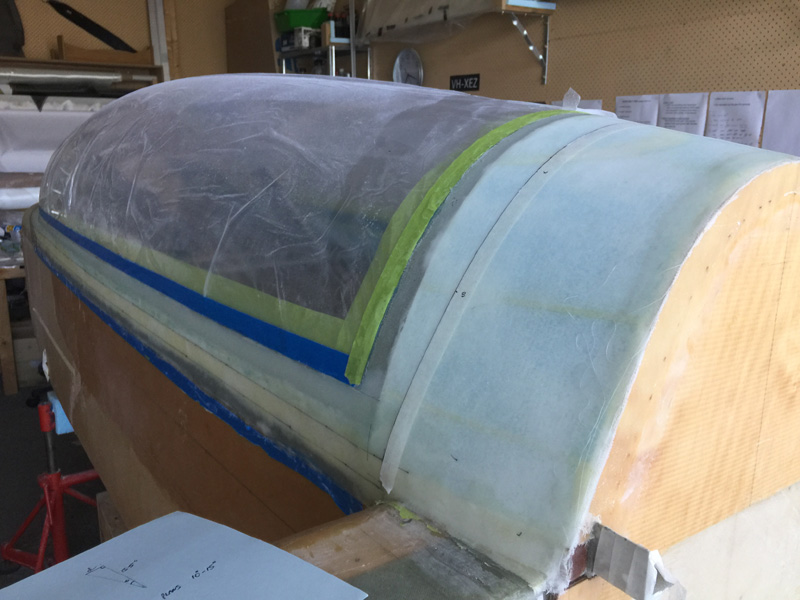
I did ‘finish off’ the canopy turtleback edges yesterday. I put a single BID tape on the edges after the first two ply layup overall and then a last one ply of BID to complete it. Here’s a look.
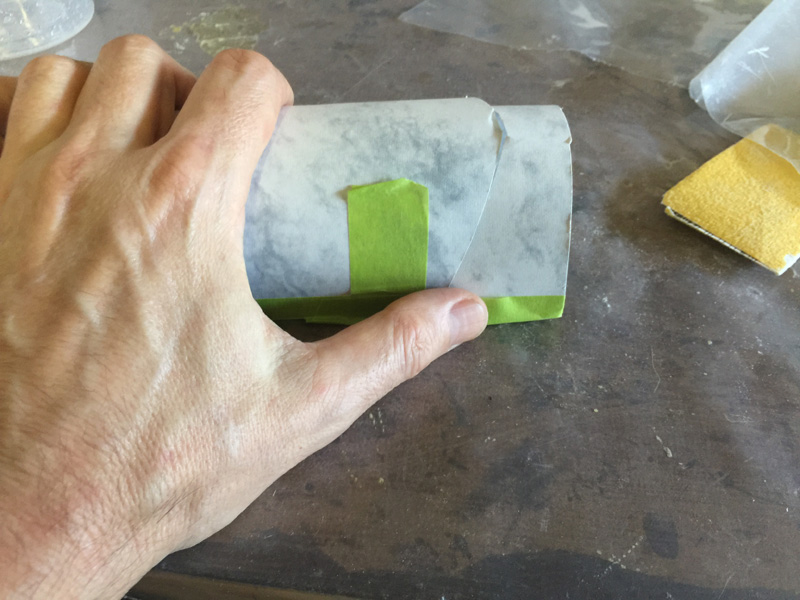
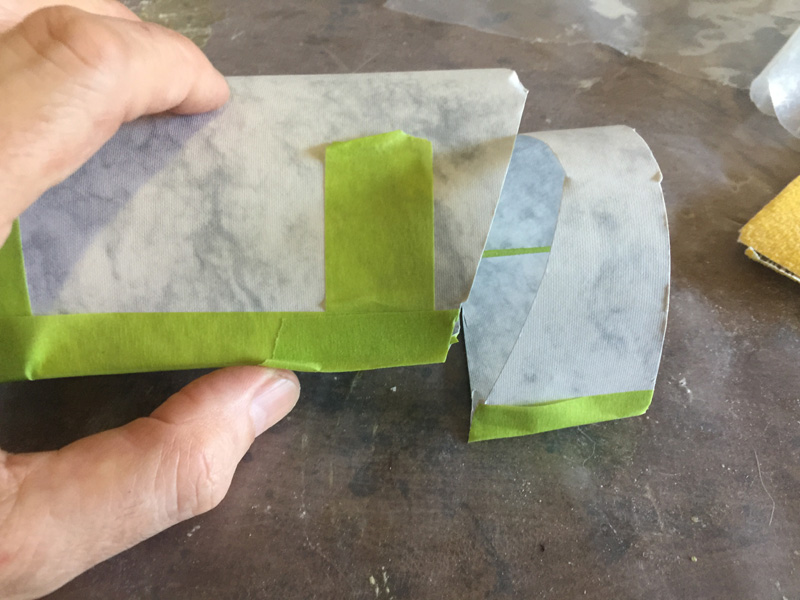
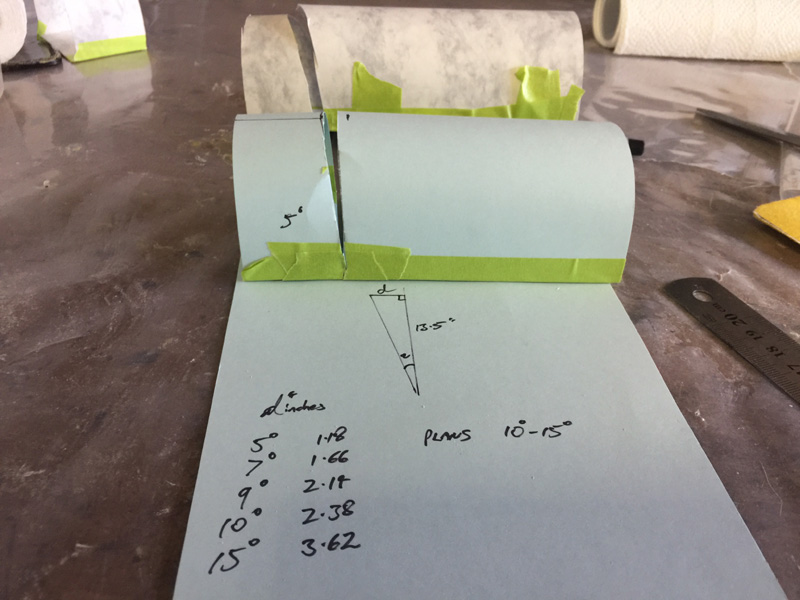
I was having a bit of trouble understanding the canopy geometry at the back so I made a couple of cutout models. In these two following pic you can see I’m interested in the intersection when the canopy moves.
If this was cut perpendicular there might be an issue of the edges touching when the canopy moves. The plans stipulate between 10 and 15 degrees. I wanted to see for myself what the minimum clearances might be. An issue is that if you make an overhanging lip to allow a better seal this angle then comes into play. I noticed this with the rudders at the bottom too and had to make an adjustment.
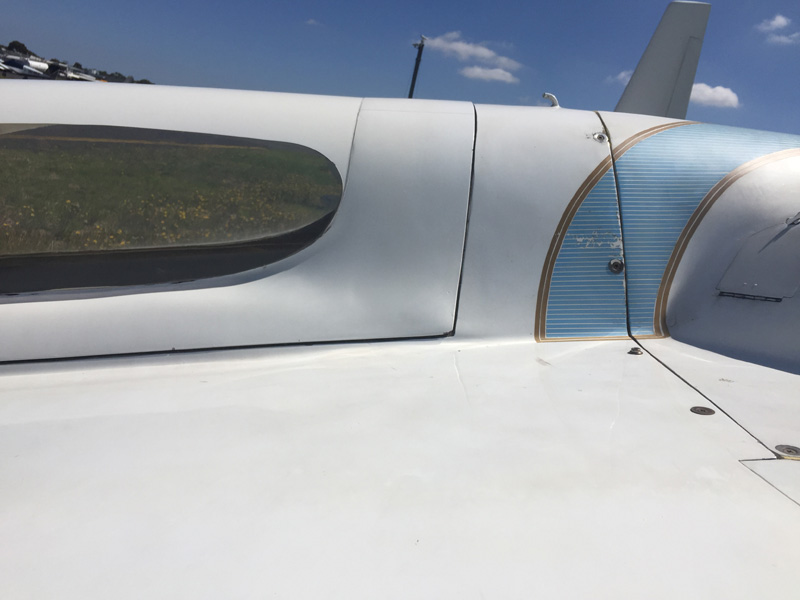
A little basic trigonometry Gives me the ‘d’ distance options. I also took pics of my flying LE canopy as I know that closes OK.
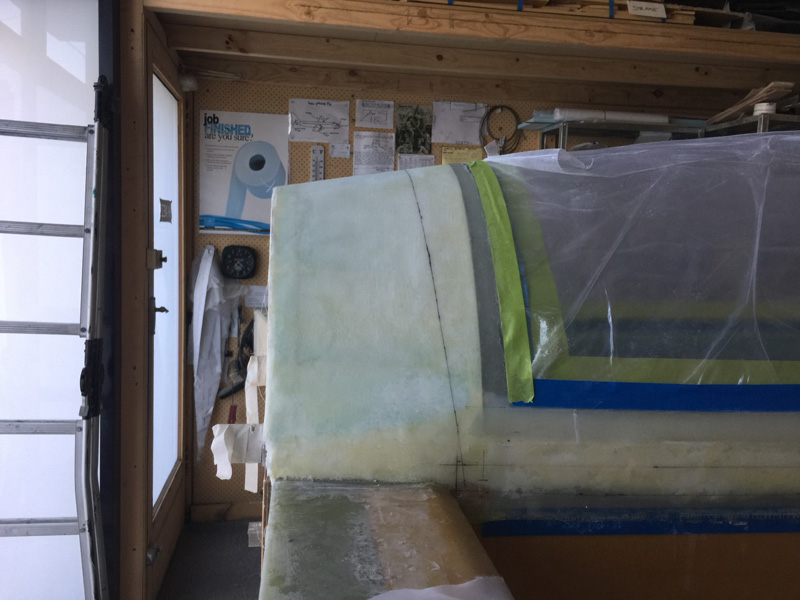
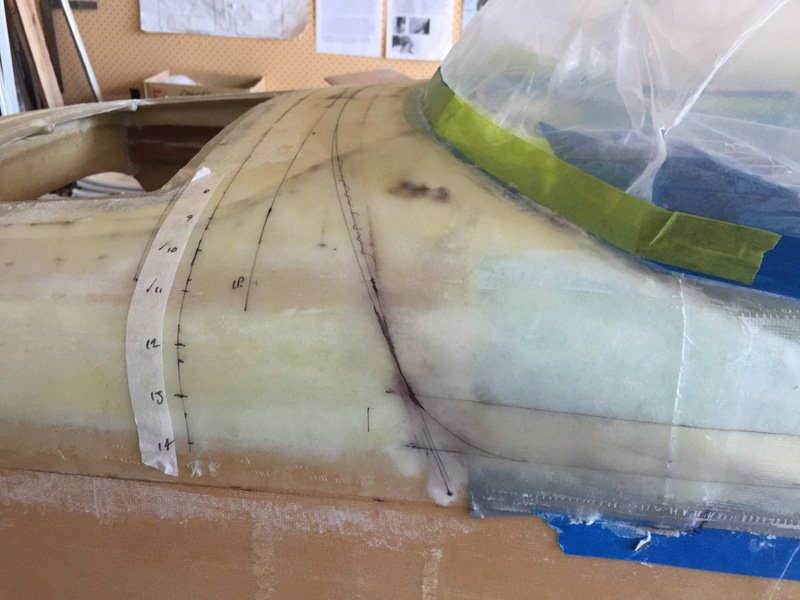
You can see the cut angle is not extreme on JZE here. In the pic below I’m using tape to make the lines and then checking measurements both sides so I can ensure it is even before drawing my final cut lines.
I’ll sleep on it and then get the saws out tomorrow! There is no going back after that.
Here are the front of the canopy cut lines. Yes it is looking messy. I’ve spent some hours just trying different angles. What you see feel right. I guess we have just a little artistry here. My canopy is definitely not the standard Long-EZ variety.

