• Home
  • Flying
    • First Flight
  • Build by Chapter
    • Ch 3 Education
    • Ch 4 Fuselage Bulkheads
    • Ch 5 Fuselage Sides
    • Ch 6 Fuselage Assembly
    • Ch 7 Fuselage Exterior
    • Ch 8 Roll Over/Seat Belts
    • Ch 9 Main Gear/Landing Brake
    • Ch 10 Canard
    • Ch 11 Elevators
    • Ch 12 Canard Installation
    • Ch 13 Nose and Nose Gear
    • Ch 14 CenterSection Spar
    • Ch 15 Firewall and Accessories
    • Ch 16 Control System
    • Ch 17 Roll/Pitch Trim System
    • Ch 18 Canopy
    • Ch 19 Wings, Alierons
    • Ch 20 Winglets/Rudders
    • Ch 21 Strakes – Fuel/Baggage
    • Ch 22 Electrical System
    • Ch 23 Engine Installation
    • Ch 24 Covers/Consoles
    • Ch 25 Finishing
    • Ch 26 Upholstry
  • Build Mods
    • Liquid Cooling, Numbers, Weights and Flow
    • Cooling
      • Solving Ground Cooling 1
      • Solving Ground Cooling 2
      • Solving Ground Cooling 3
      • Solving Ground Cooling 4
      • Solving Ground Cooling 5
      • Solving Ground Cooling 6
      • Solving Ground Cooling7 – Test Data
      • Solving Ground Cooling 8 – Flap Building
      • Solving Ground Cooling 9 – Hinges
      • Solving Ground Cooling 10 – Lower Flaps
      • Solving Ground Cooling 11 – Upper Flaps
      • Solving Ground Cooling 12 – Completed
      • Cooling the Beast 1
      • Cooling the Beast 2 – Lower Cowl Expansion
      • Cooling the Beast 3 – KW Oil Cooler Diffuser
    • EVS (Enhanced Vision System)
    • Cowl Keeper
    • Rudder Gust Locks
    • Wing Fences
    • Post Cure
    • Hinge Upgrade
    • RAM Air & Hellhole Cover
    • Main Gear Beef Up
    • Pilot Side Windows
    • Baggage Pods
    • Winglet Intersection Fairings
    • Titanium Rollover
    • Nose Gear Doors
    • Wheel Pants/Gear Leg Fairing
    • Cabin heating System
    • Fuel System
    • Roll and Pitch Trim
    • Oxygen System
    • The Ferry Tank
    • Cruise Angle Indicator
    • Fire Extinguisher Install
  • Round the World
    • RTW Route East #12 rev1
    • Survival Equipment
    • Training Flights
  • Other Stuff
    • Blog
    • Around the World: RAAUS Sport Pilot Issue 110
    • Taxi Tests
    • Summary Feb ’24 from an SAAA Meeting
    • AOPA Pilot 27th Sept 2019
    • Build Tests
    • Flying Stories
      • A Long Easy Dream ’06
      • Townsville ’07
      • Cairns ’08
      • Albany ’08
      • East Coast ’08
      • Brisbane ’09
      • Cairns ’10
      • Perth ’10
    • Non Build Mods
      • F16 Scoop for JZE
      • Ram Air Box for JZE
      • Strange Tips
    • Milestones
    • Links
  • Contact

Blog

Home
Ch 12 Canard Installation
Canard Gap Seals 2

Canard Gap Seals 2

7 years ago
Dave Berenholtz
Ch 12 Canard Installation
Date:  08-30-2018
Number of Hours:  12
Manual Reference:  no ref

Over several days and many cure cycles I’m slowly making progress on sealing this canard. The cold air that comes in from gaps I have experienced over many flights, this airplane will have the minimum possible air leaks. It IS worth extra effort here.

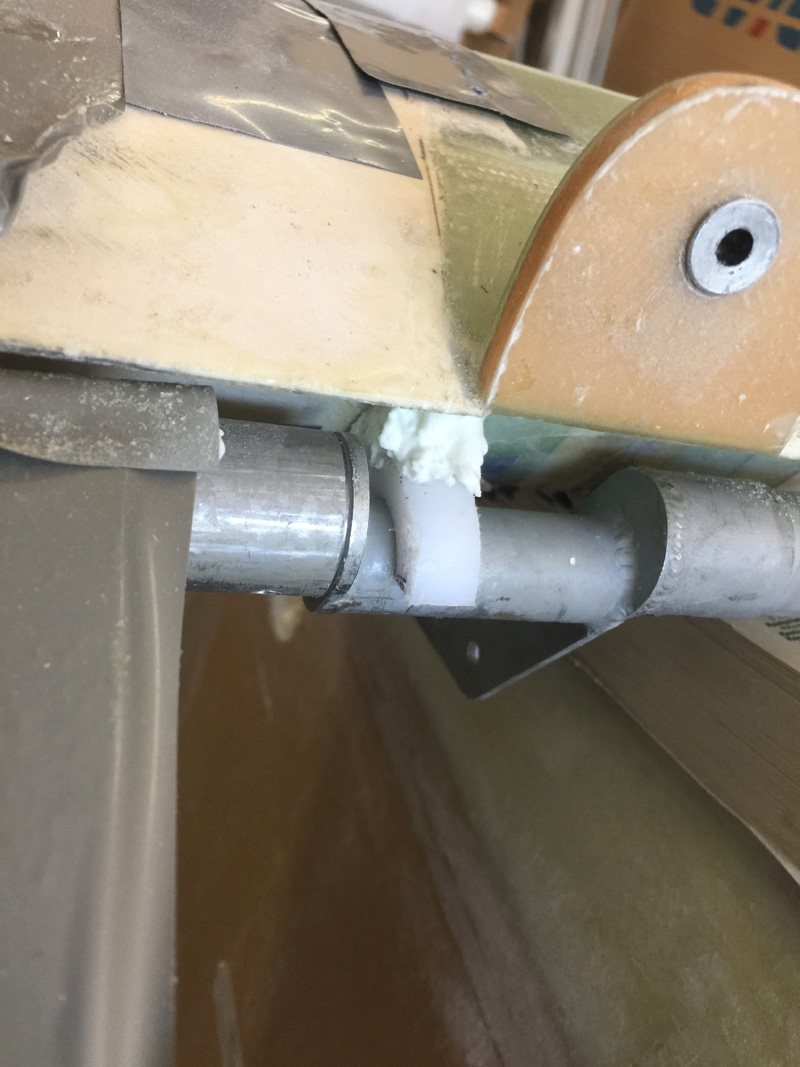
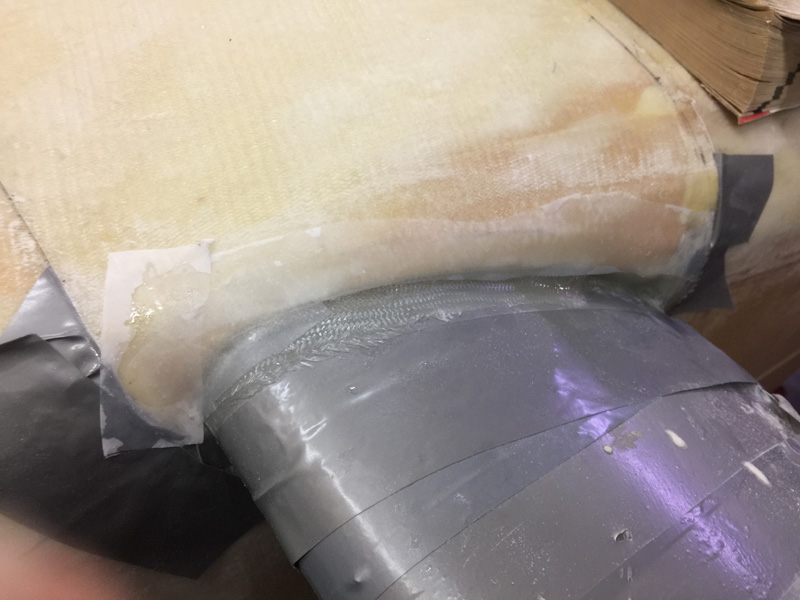
Here we have the top half of one of my phenolic bearings. Pretty messy? Sure, I need to get the top half connected to the canard and the bottom half stays on the fuselage.  I know it will take a few goes. For a start, one of them fell off and I had to go again for yet another cure cycle.

A bottom half here and they are starting to stay put and get filled in.

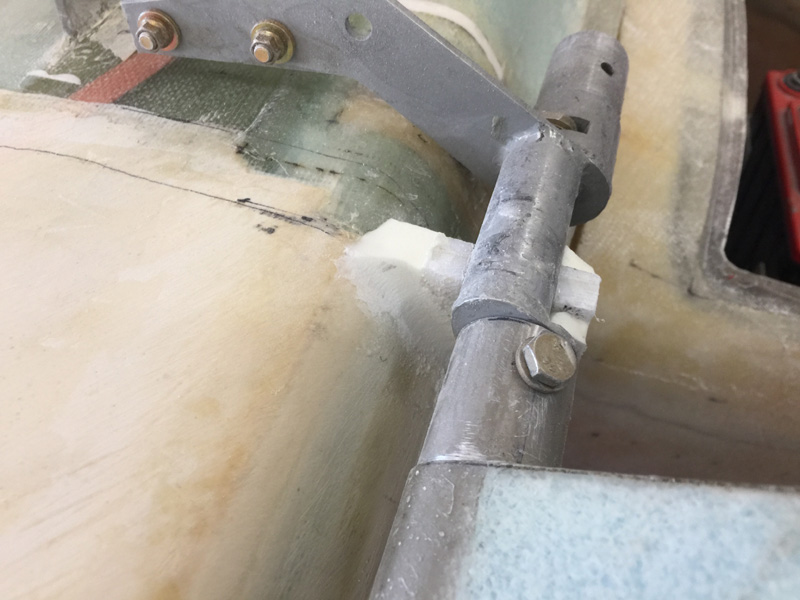
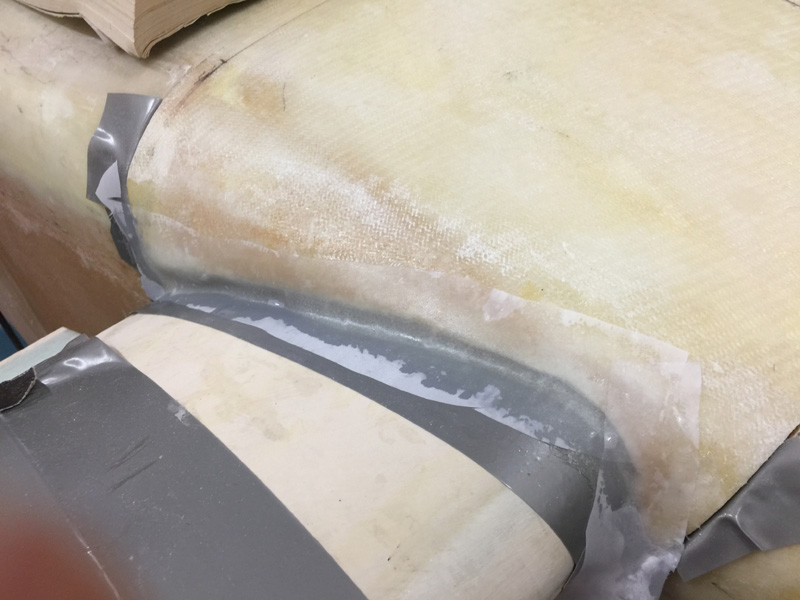
This top half is starting to look right. Now I have the torque tube sealed of course I still need some sort of close seal for when the canard comes off and goes back on. I found I needed to file a flat area, seal that with tape and reinstall the canard and get filler up to this area too.

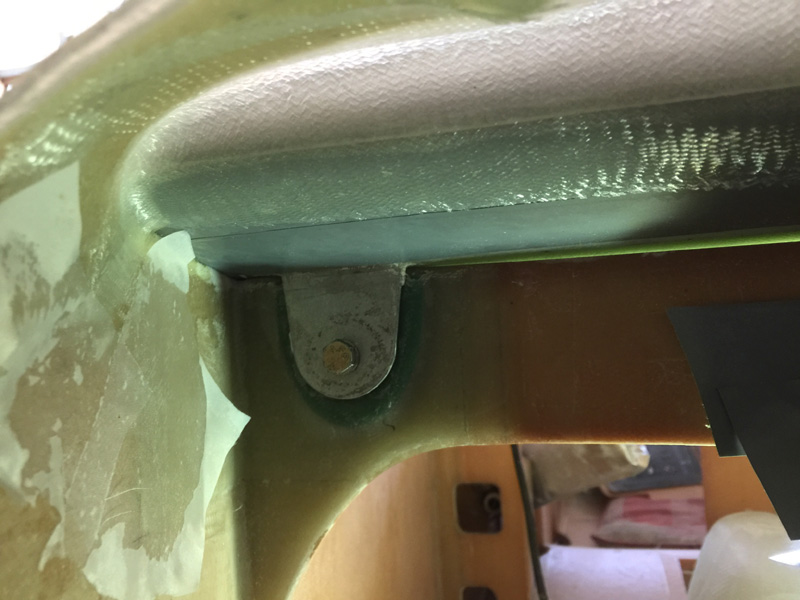
After another cure cycle and the gaps are really minimal now and the canard can be removed and replaced fairly easily.

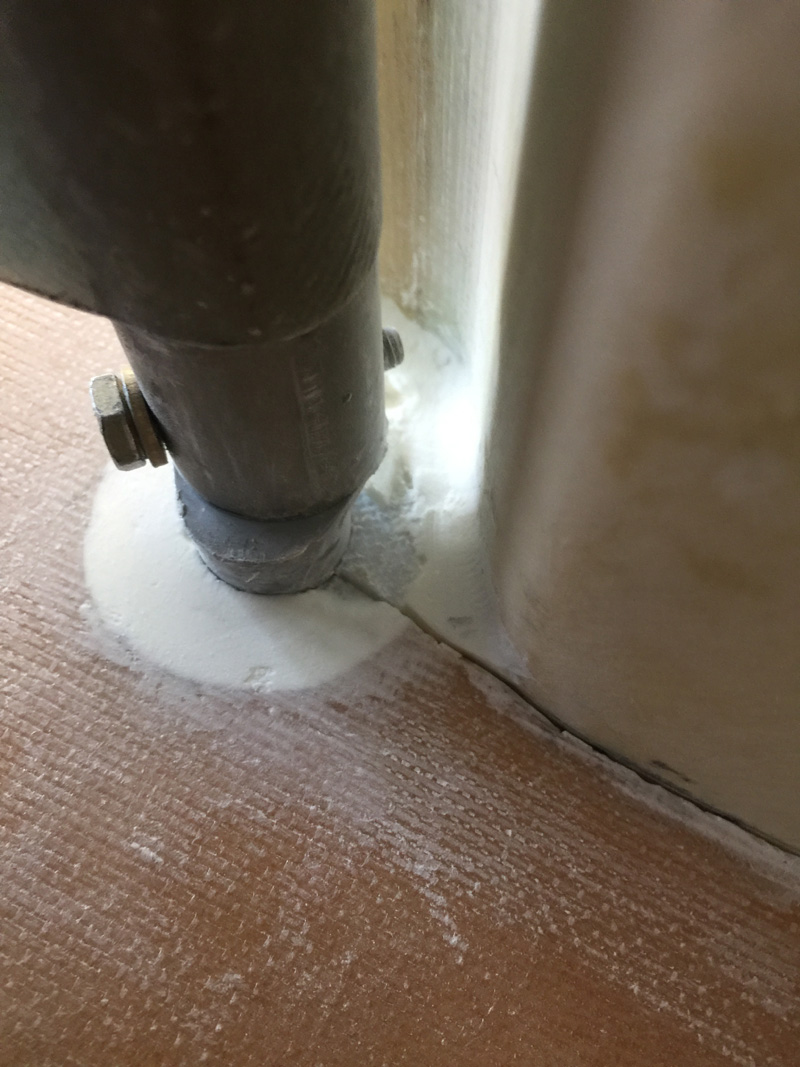
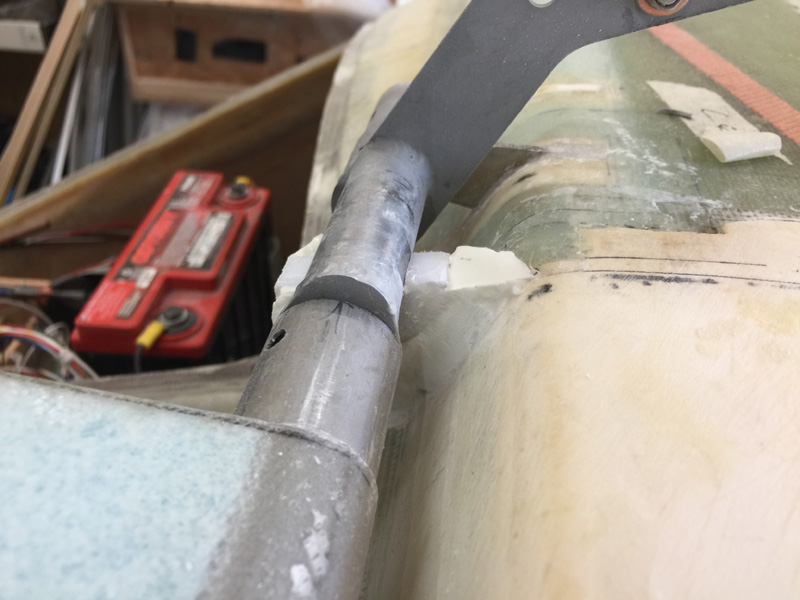
Now we are getting really close. These gaps are the minimal I was seeking. I can get a little better but its approaching a very close seal.

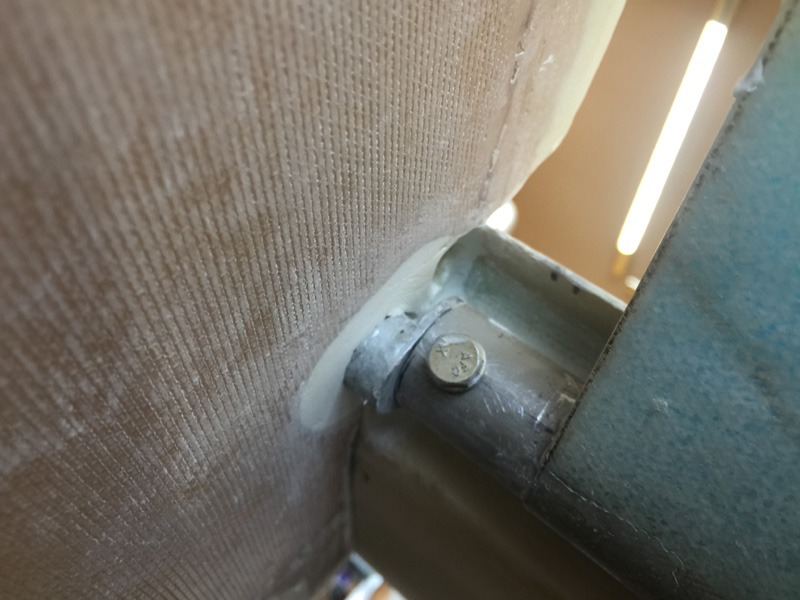
I’m almost happy with this!

While all the torque tube sealing was going on I had a massive gap at the rear of the canard. If the canard cover was not removable if wouldn’t have been an issue. As it is…. I needed a good rear seal too.

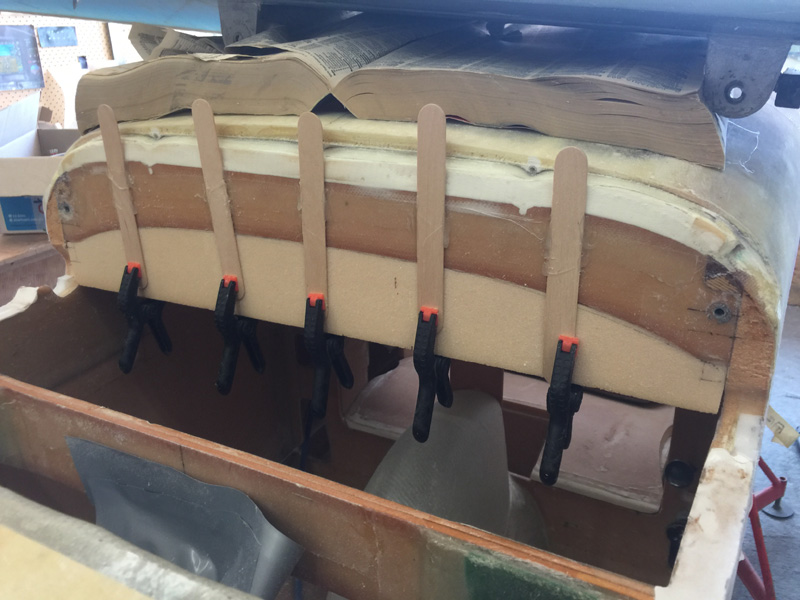
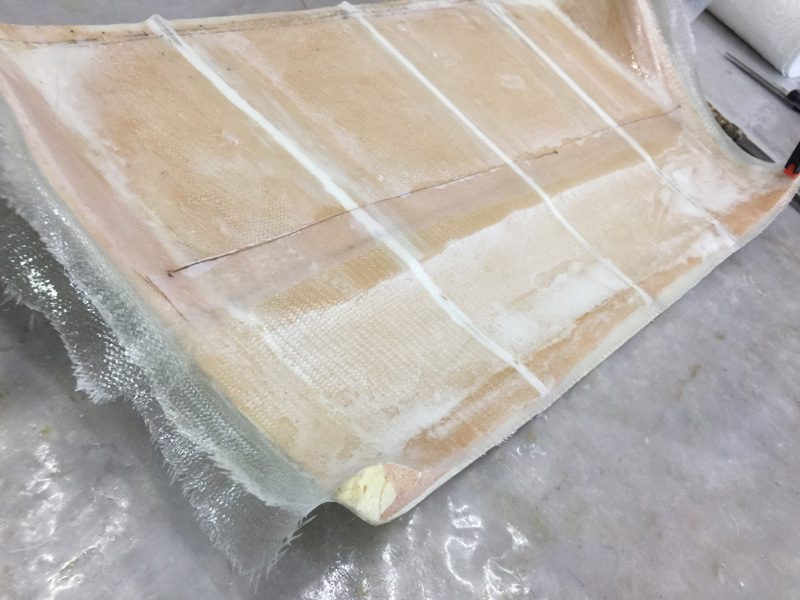
The first step was to extend the rear of the canard about F28 I think? Anyway extend this down with a piece of fitted foam. Of course I had to glass both sides with a ply of BID with a good inch overlap.

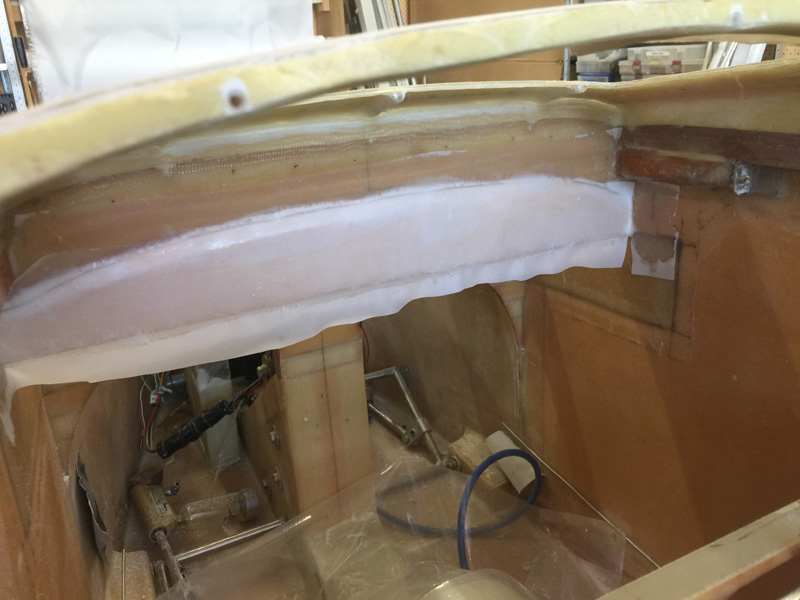
Here’s the inside, peel plied of course.

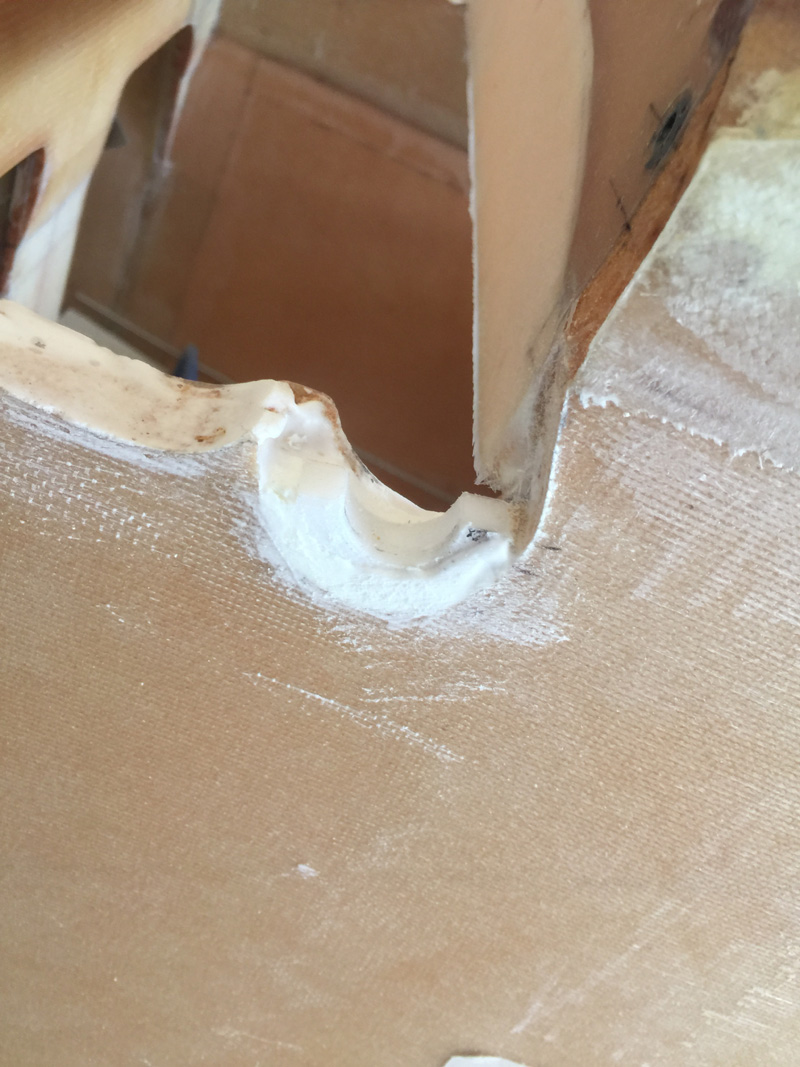
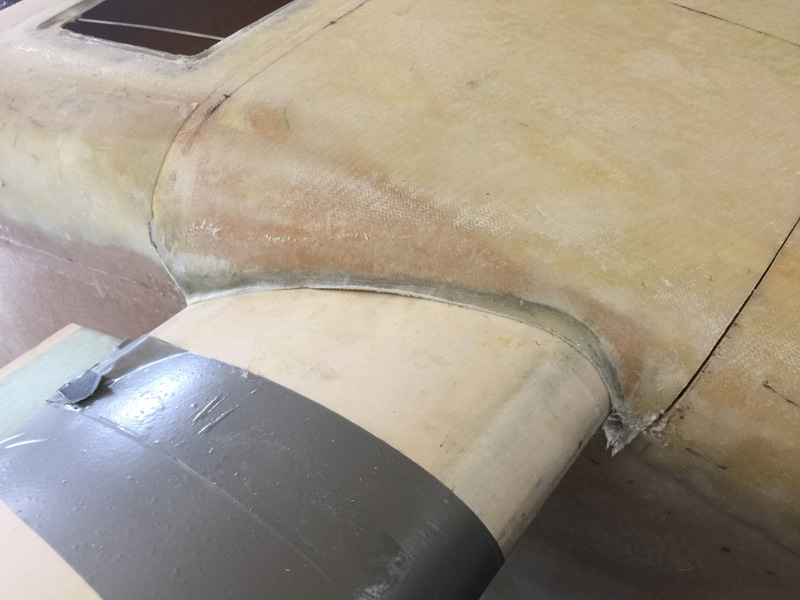
I went to some trouble to also get a front seal, but it still had tiny gaps. So I had to add to that front seal with an underneath seal as you see above.

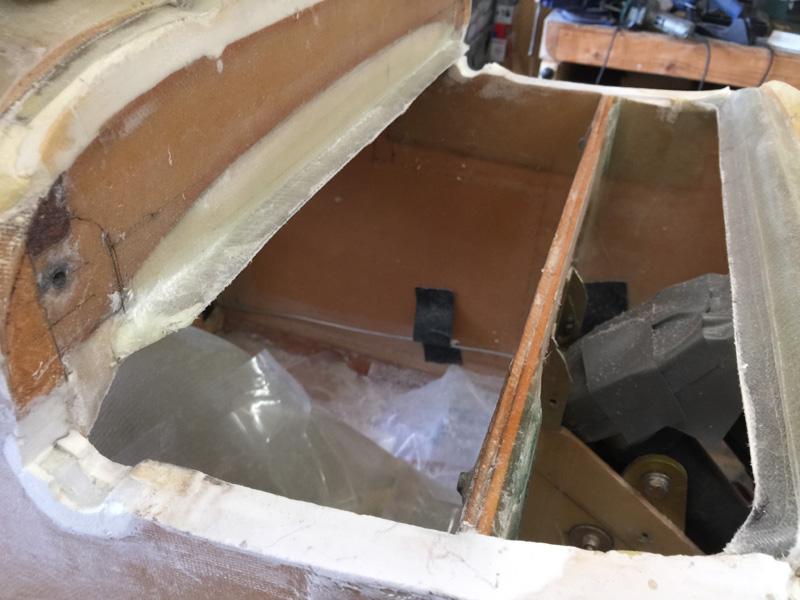
Now my rear wall seal still had a gap too. I’ve trimmed that wall and added yet another few plies of BID under the canard joining into the wall. That all may not make sense. I hope the picture above clarifies it. I’ve added seals to the front and back of the canard that also curl under the canard so it really does seal! Thats four separate operations here. I think we are good now.

Meanwhile the canard cover needed extending.

Yes the canard cover had those gaps at the sides from when I raised things for a bigger instrument panel. Hey, its just a bit more work.

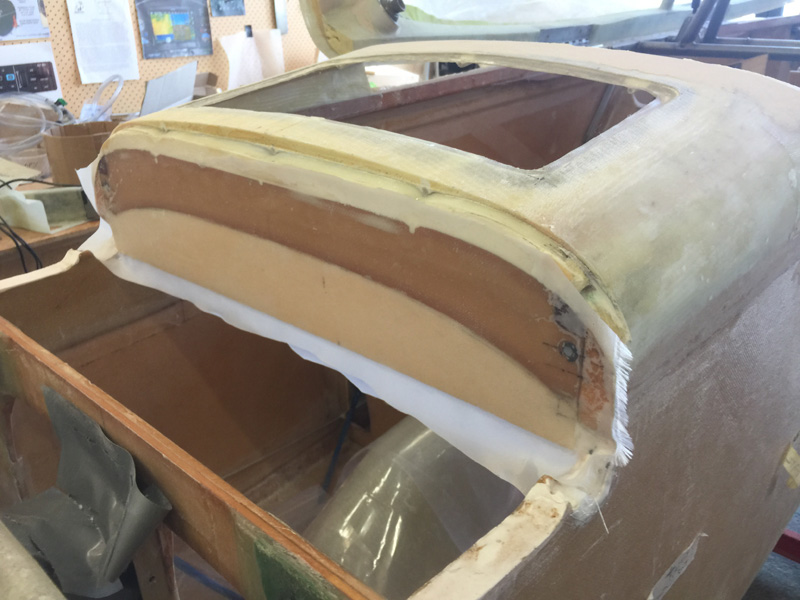
Meanwhile with the canard cover off I realised that some of it was still bare foam so that got a ply of BID. While I was at it I reinforced the side fill areas.

Here we are after the cure and it still needs work. I added some flox to that daggy front corner tonight and it will need more trimming later and maybe another fill to get the gaps down to nothing. I’ll keep at it. We are getting closer.

Previous Post
Canard Gap Seals 1

Leave a Reply Cancel reply

Your email address will not be published. Required fields are marked *

Fill out this field
Fill out this field
Please enter a valid email address.

CategoryLogsHours
All157617079
Uncategorized135
Ch 3 Education220
Ch 4 Fuselage Bulkheads25231
Ch 5 Fuselage Sides32283
Ch 6 Fuselage Assembly30270
Ch 7 Fuselage Exterior14140
Ch 8 Roll Over/Seat Belts990
Ch 9 Main Gear/Landing Brake71642
Ch 10 Canard28287
Ch 11 Elevators36298
Ch 12 Canard Installation12102
Ch 13 Nose and Nose Gear1291097
Ch 14 CenterSection Spar57525
Ch 15 Firewall and Accessories448
Ch 16 Control System27237
Ch 17 Roll/Pitch Trim System654
Ch 18 Canopy70502
Ch 19 Wings, Alierons1271090
Ch 20 Winglets/Rudders71528
Ch 21 Strakes - Fuel/Baggage65437
Ch 22 Electrical System591031
Ch 23 Engine Installation961152
Ch 24 Covers/Fairings/Consoles25202
Ch 25 Finishing561084
Ch 26 Upholstry340
Fuel System46310
Rollover1050
Cabin heating System60331
The Ferry Tank335
Blog2694182
Build Mods2252513
Nose Gear Doors856
Wheel Pants/Gear Leg Fairing40473
Oxygen System762
Roll and Pitch Trim964
Winglet Intersection Fairings445
Baggage Pods11104
Pilot Side Windows437
RAM Air & Hellhole Cover15177
Main Gear Beef Up322
Post Cure124
Fire Extinguisher16
Wing Fences13
EVS (Enhanced Visual System)130
Hinge Upgrade115
Cowl Keeper110
Rudder Gust Locks19
Cooling20607
Taxi Tests42
Flying10

Complete the Test Flight Program

2025/6/30 10:26:01

Round Australia in Four Flights

2026/4/1 10:26:01

Round the World Departure

2026/8/22 10:26:01

Rough River Flyin, Sept 23, 2026

2026/9/23 10:26:01

© Copyright 2025 Dave Berenholtz