| Date: 04-03-2018 | |
| Number of Hours: 12 | |
| Manual Reference: no ref |
I’ve had to rethink my battery choice. My build buddy Wade Parton, (his excellent site here), noticed I’d chosen two Odyssey PC310’s. Mainly because I wanted two batteries and these were all I could find that would fit in my nose. He had some pretty good reasons why they wouldn’t fit my mission profile! What goes up my nose was not his consideration. I really need a couple of the excellent PC680’s which are much larger, heavier and WILL do the job. I’ve been using these batteries in my flying plane for years.
Two right up there will also be good for my CofG. Even though I’m yet to weigh the plane of course, the experience of others suggests I may be closer to tail heavy with my larger than plans engine and short nose.
So how to fit two large batteries that don’t fit at all? When you just have to, you find a way. I have and the build part of it is a little complicated with quite a lot of steps. It is a fun process to come up with things when they are not critical aerodynamically so there is a bit of room to experiment with minimal consequences. Although if the batteries come loose in flight that would be a major issue, it has to be sound.
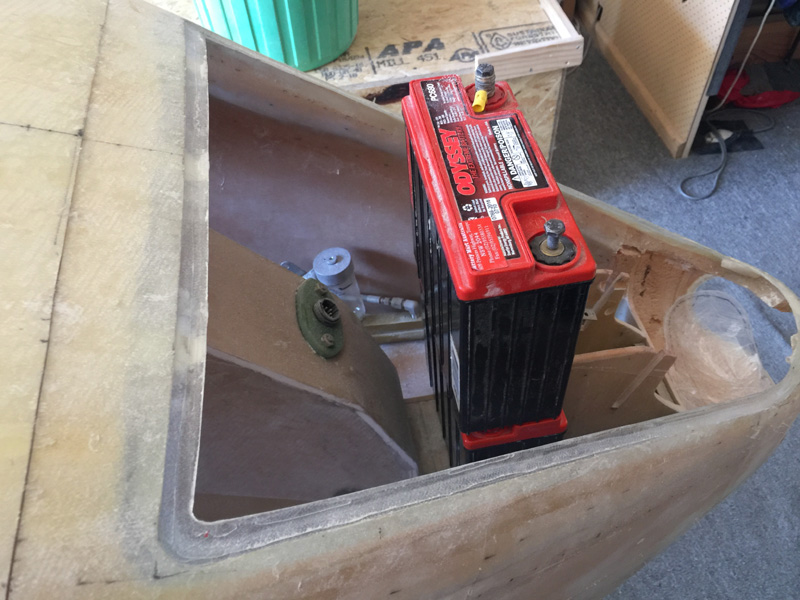
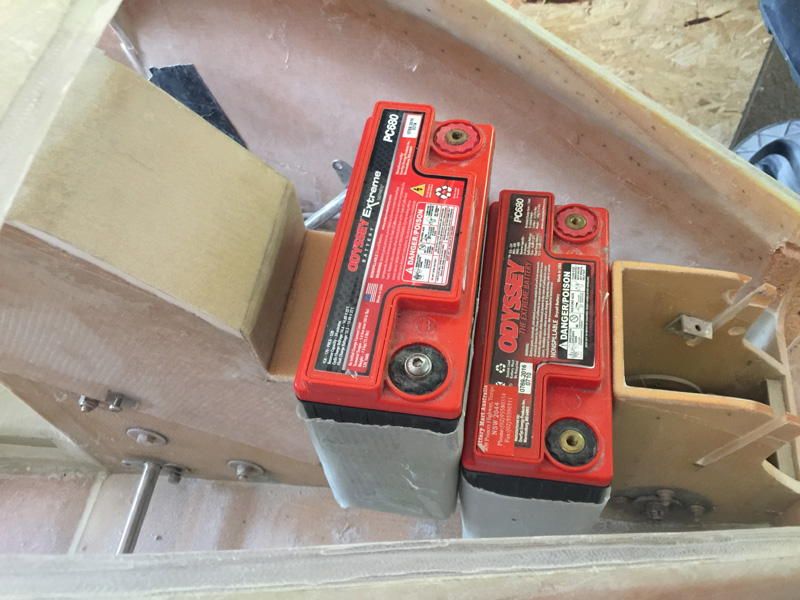
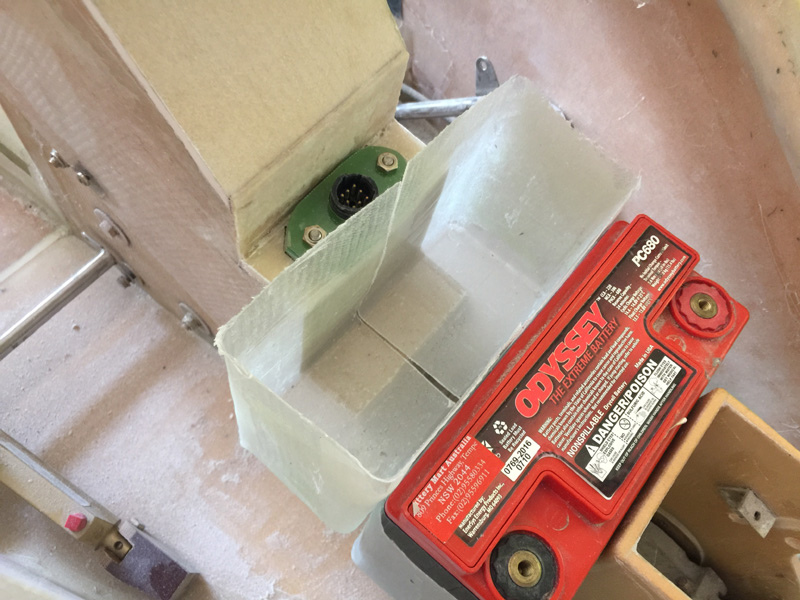
Here are the two batteries and you can see the problem.
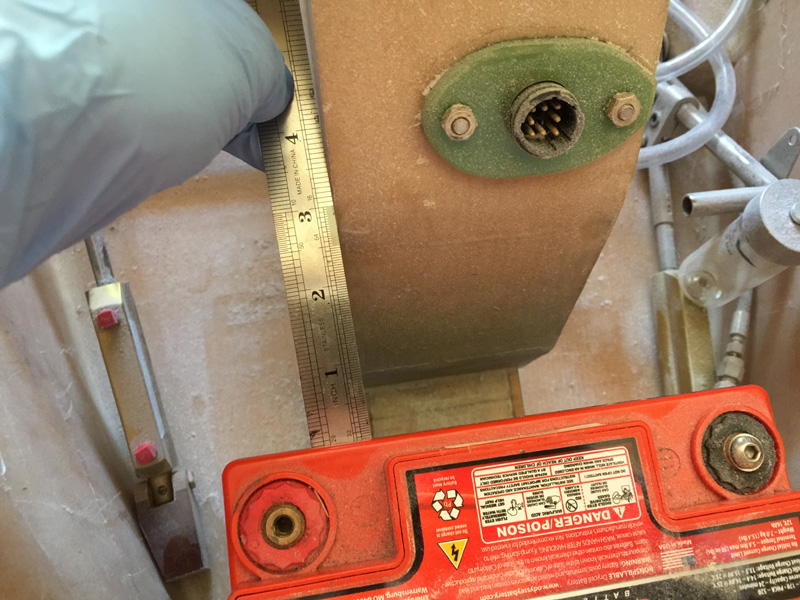
There don’t really fit side by side either as the batteries are 3″ wide and I have less than 1″ available on that flat area.
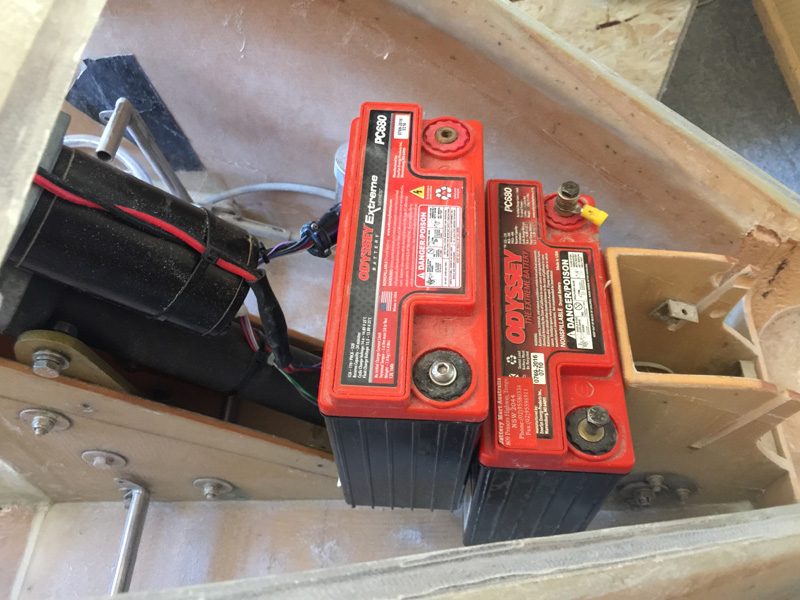
This is what I need to do, somehow. Putting the batteries on the side of the NG30’s (nose gear box sides) would have them too far back and start to interfere with my feet. The other problem was how do I get the cover for the nose gear on and off with all that lead in the way?
First up I cut open the gear box to determine if I really had enough room. It was tight and I checked the up down positions too.
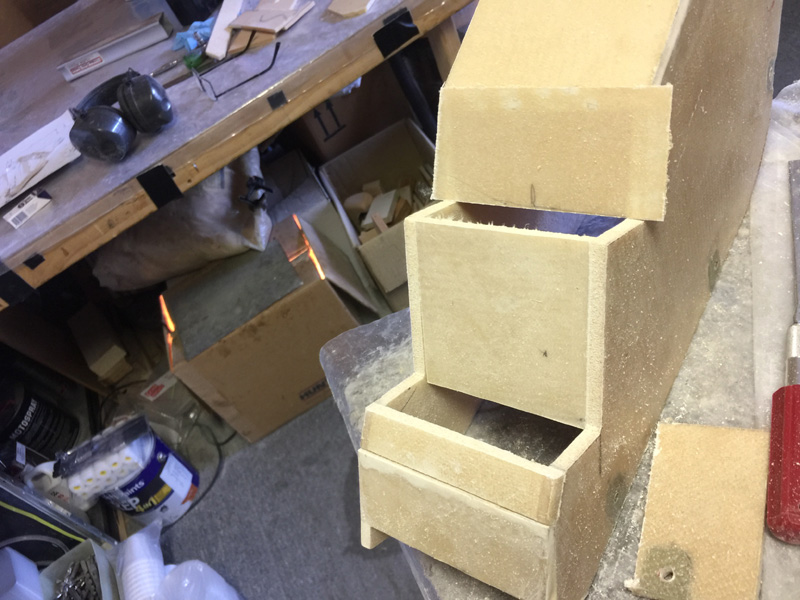
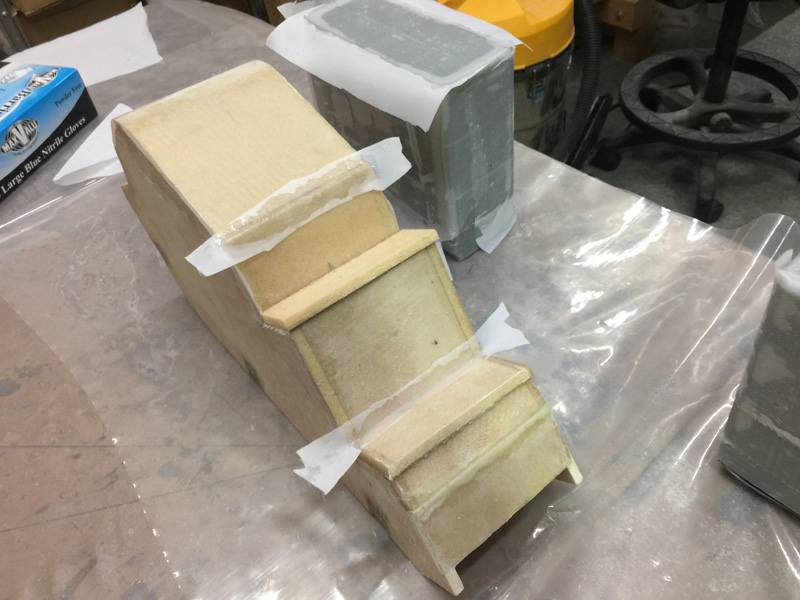
The gear cover really needed a serious makeover.
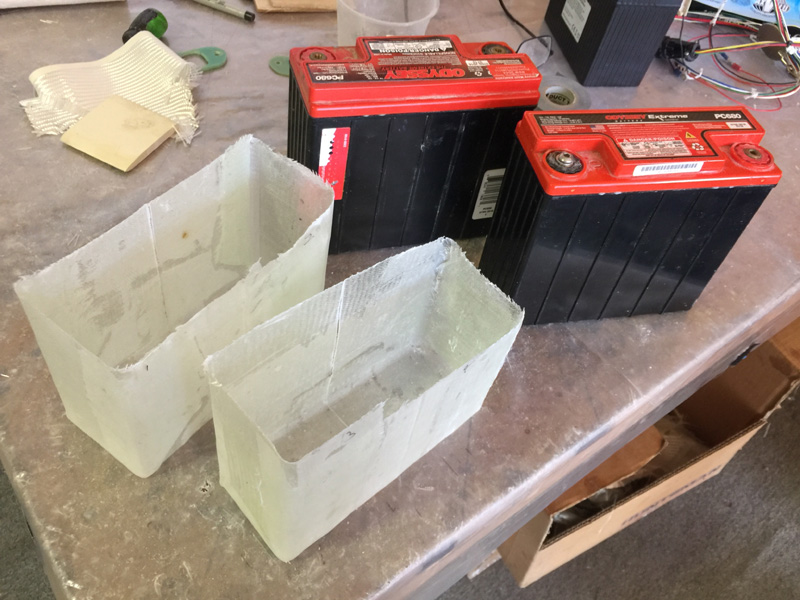
After a couple of layups and adding bits and pieces it was looking better. You can see in this pic on the right I have also glassed the two batteries to make battery holders.
Here are the holders in the planned position, wedged in place they are sitting tight. There is still the issue of getting that gear cover on and off of course. Otherwise I’d just flox these guys in and call it a day.
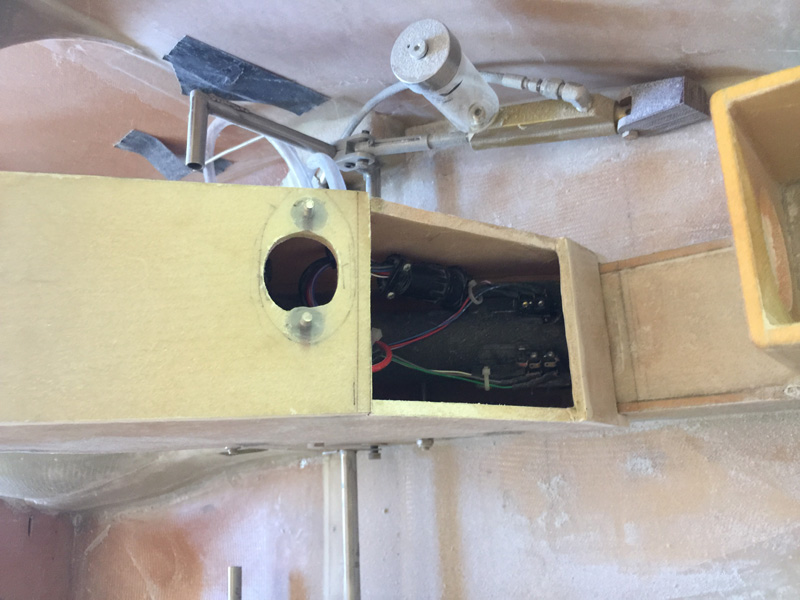
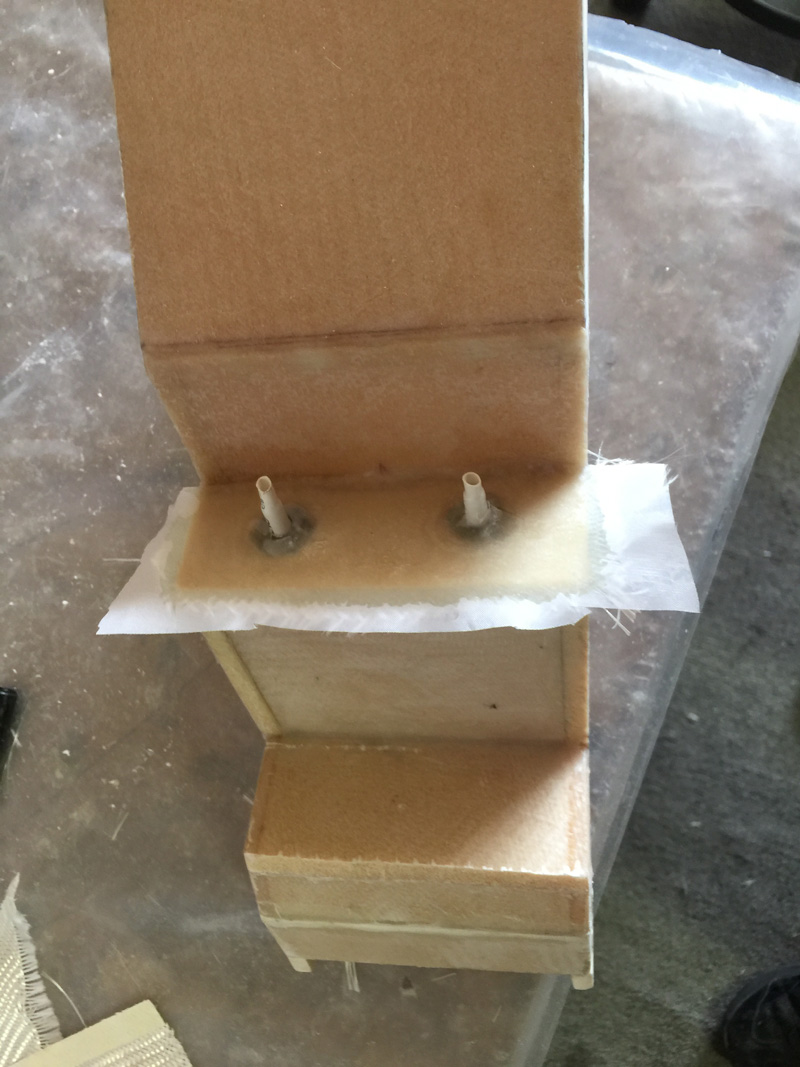
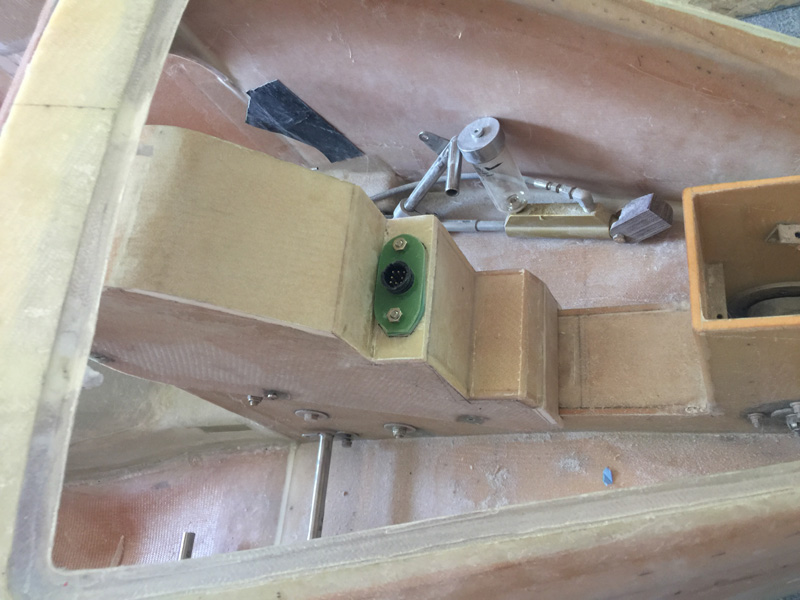
Another issue was that the exit fitting for the nose gear wiring was in the way of the batteries, so that had to be re-positioned from pointing out at a forward angle to being straight up.
Here’s the gear connector now pointing the right way.
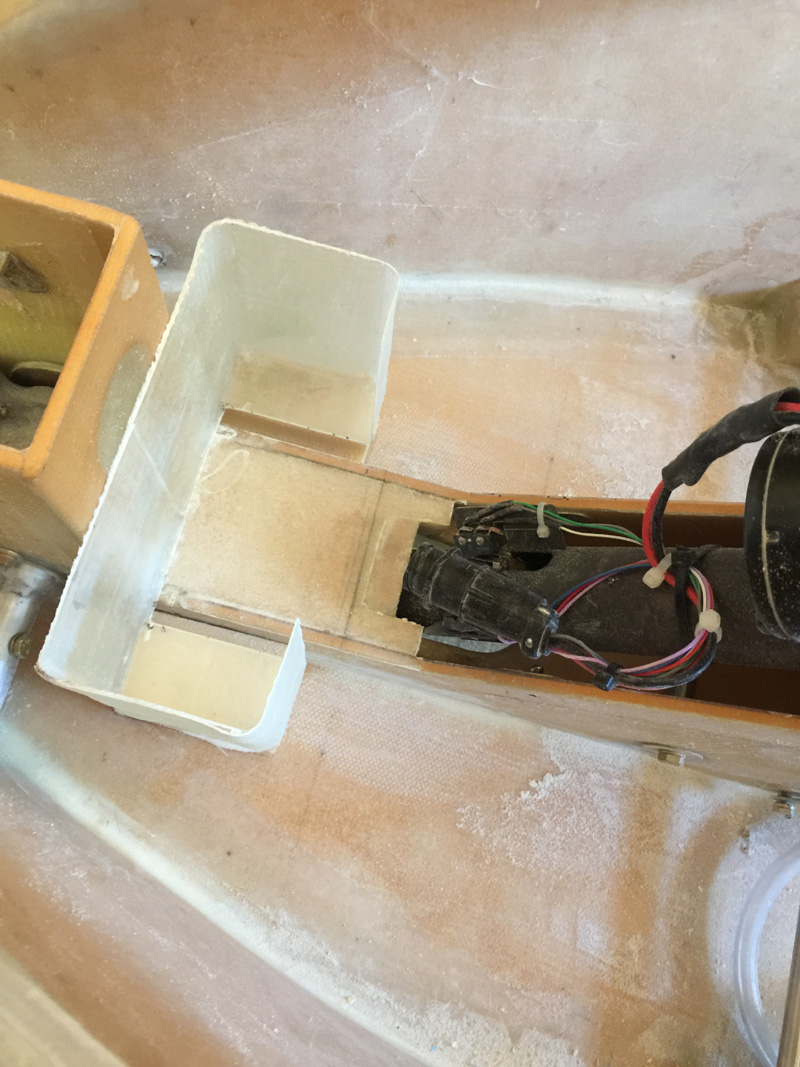
To get the box’s off the batteries I had to cut them down the middle.
Here I’ve rejoined the battery box halves with a single BID tape. This will disappear as I cut those boxes up later. The need to rejoin them was so the bases were fitted exactly level. A small extra step.
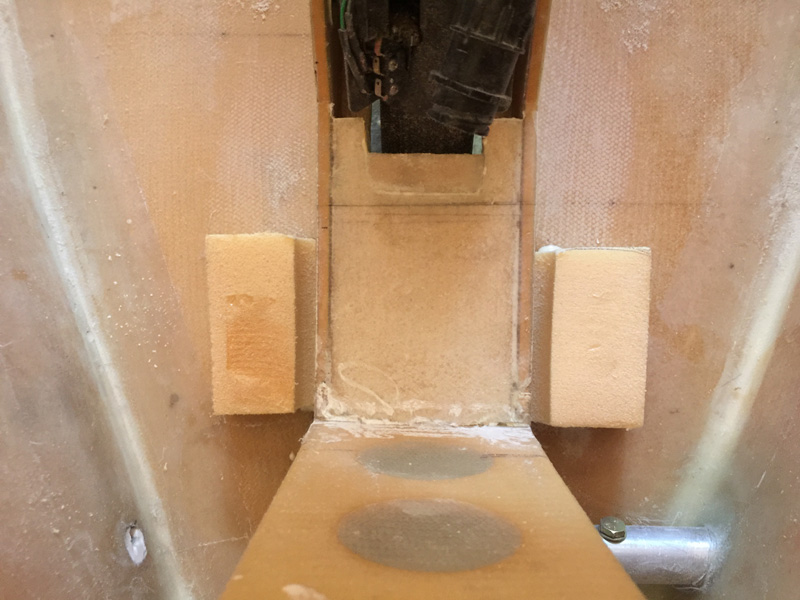
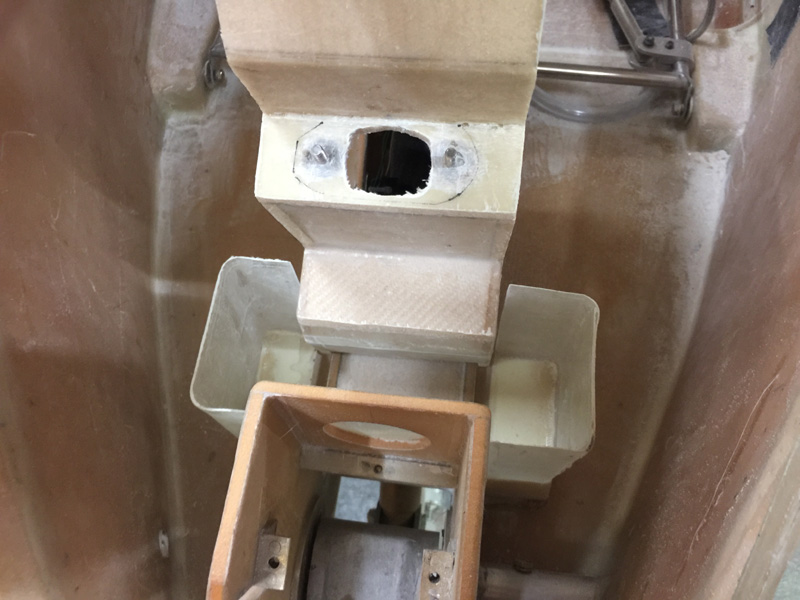
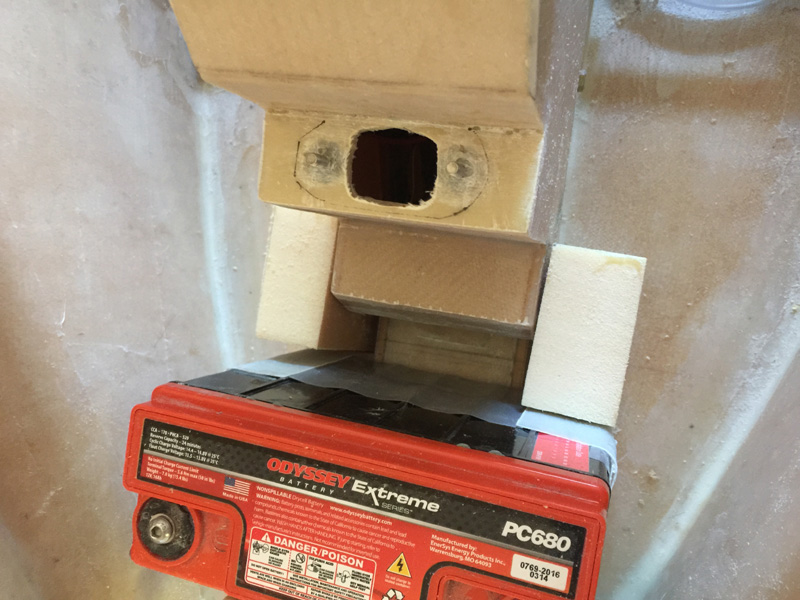
Here are the first two foam spacers for the front battery box. Note that they have a sort of channel at the side of the gear NG30’s. This is so that I can get the gear cover off when I have to without interference.
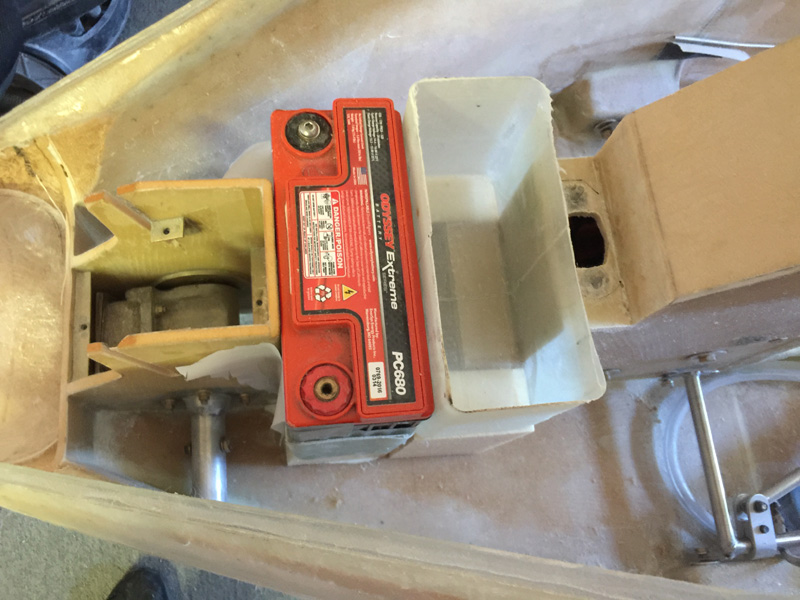
Now you might see my thinking. The front battery box is on the foam blocks and the front section has been cut away for that cover removal issue. There is enough structure to still hole the battery in place. It is going to need several glass layups later to ensure it is nice and strong and to tie it into the rear box which is still to be mounted.
Here’s that cover coming off to explain why I made the access cutout.
Here’s the first step on making spacers for the rear battery. It needs a little gap so that pesky nose gear cover can be serviceable.
At this point I realised that the inside of the foam blocks should be glassed before they are epoxied in place. Once I did that I could see the front side of the blocks needed the same treatment. This has been a few days work to this point. I’ll do a bit more tonight and keep going tomorrow.

