| Date: 02-03-2019 | |
| Number of Hours: 12 | |
| Manual Reference: |
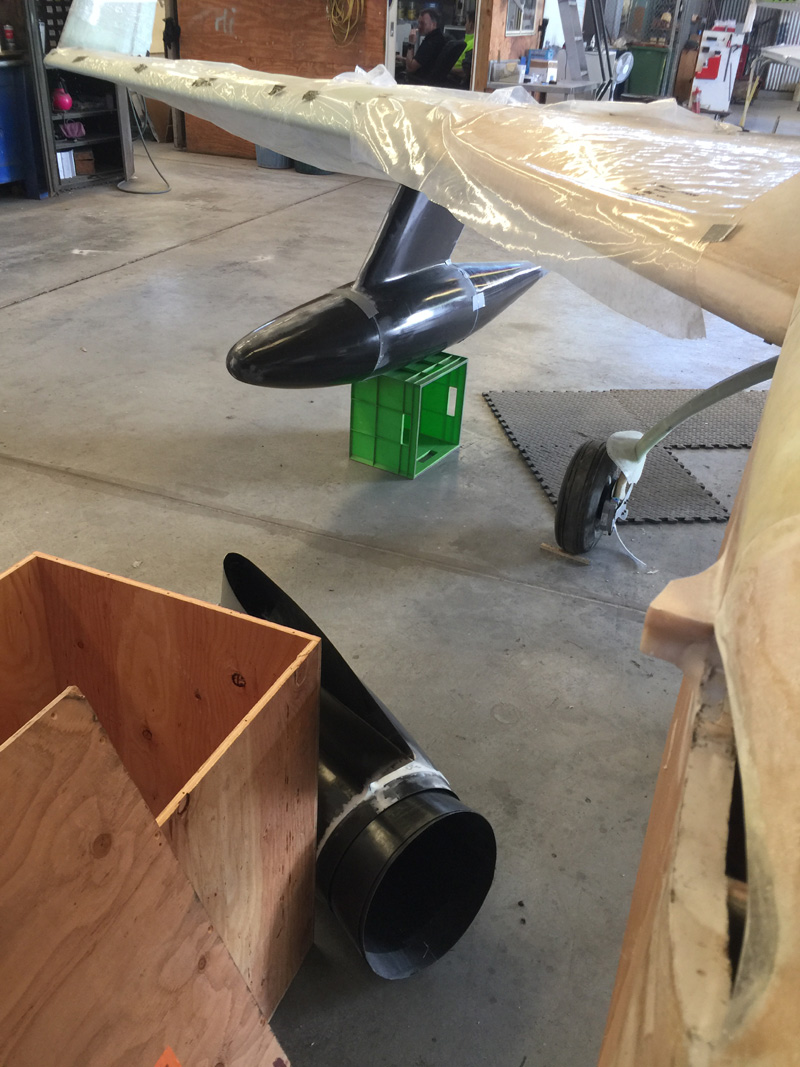
The baggage Pods arrived November 8 last year. They are one of the very few pre-made items on this build.
These came from Dale Martin in the USA, are carbon fiber and very well made. Thanks Dale. At time of writing they are still not on his website. I guess he is busy making more parts. I was pretty keen to get them out of the wooden packaging box and stick them in place to see how they look. Yes they cost a bomb too!
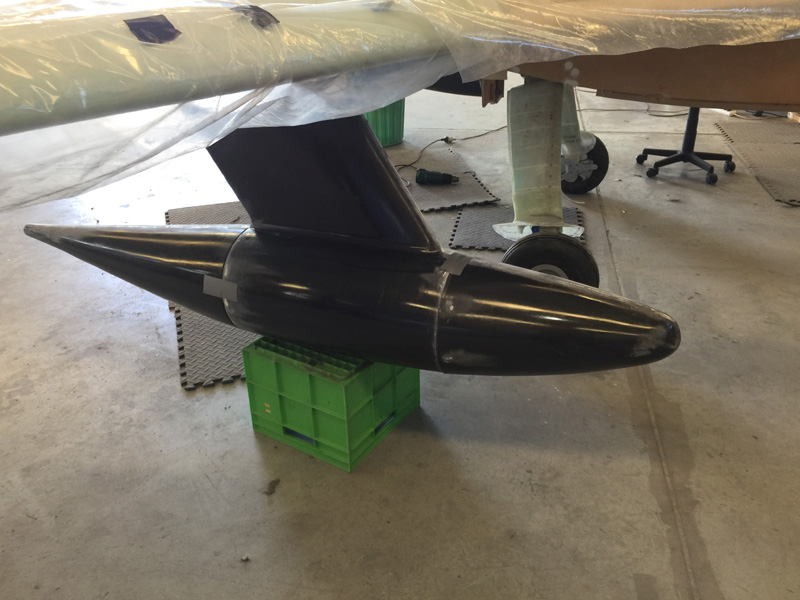
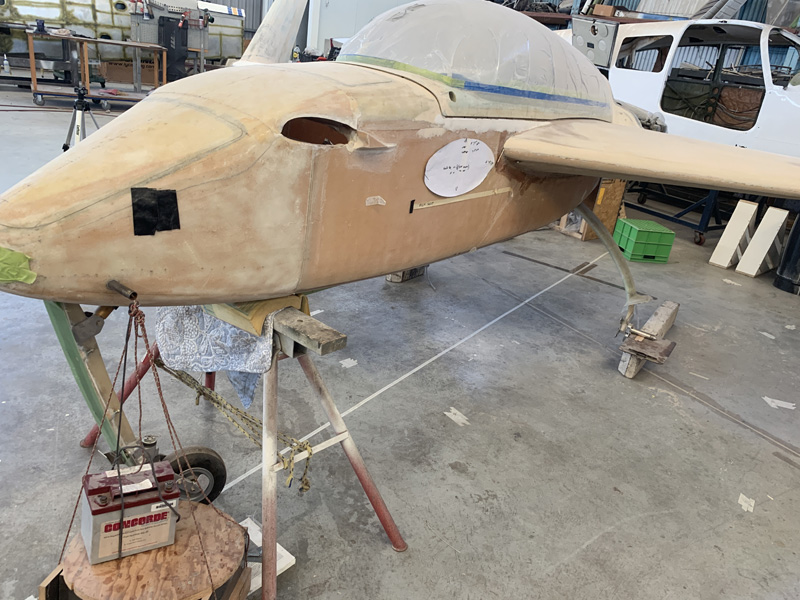
I don’t think I have it quite the right way around here but you get the idea. Installing them is going to be a huge job. They need to be in perfect alignment or I will have unnecessary drag.
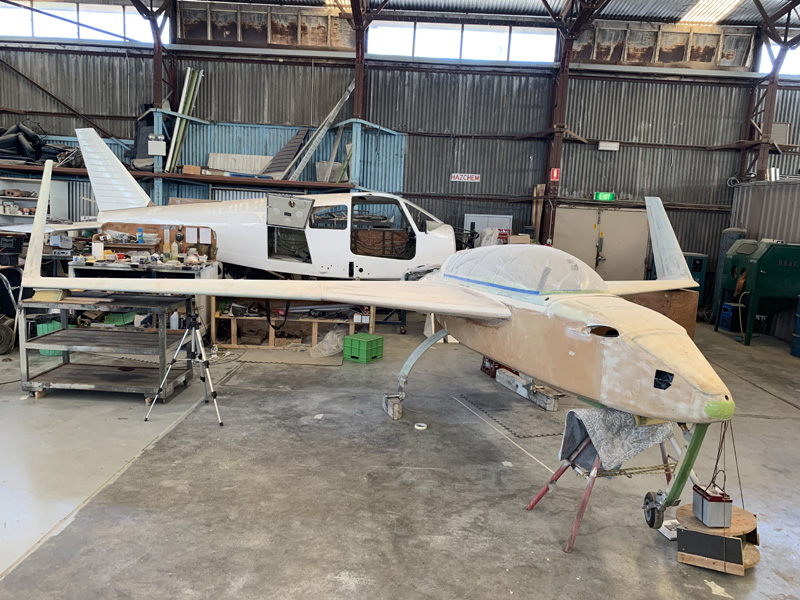
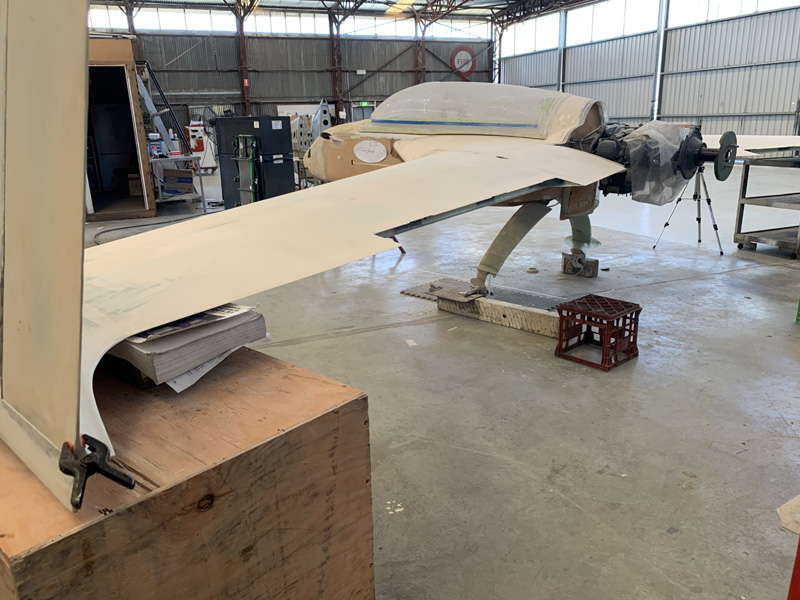
I spent two full days trying to get the fuselage aligned and checking various points. The longerons are at 0.00 degrees. The nose is 2.2 degrees up which I think will be my fast cruise position. Obviously the nose is weighted down so it won’t go backwards. The wings measured within about 0.2″ just hanging in space to the ground which was surprisingly good. I have stabilised them with the pod box and a workbench and some books so it is nice and stable. The wings are under slight tension to keep things steady.
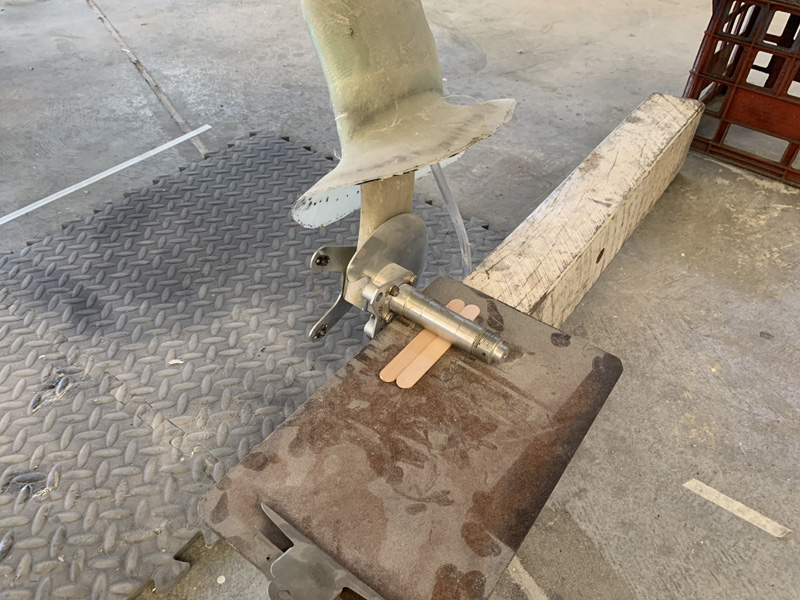
I removed the wheels and just have the axles on wooden blocks. Those tongue depressors and clip board helped me achieve the 0.00 across the longerons.
Here’s a view of my pod box acting as a wing holder and some old computer books making the height just right as well as a bonus soft surface.
While I’d spent a couple of days crawling around trying to make the lines on the fuselage work, I kept finding about .3″ overall discrepancies using plumb bobs and rulers. My nose lines and the canopy lines and the line at the firewall are not perfect. However, while crawling underneath I found I had a continuous line under the fuselage still visible. Perfect!
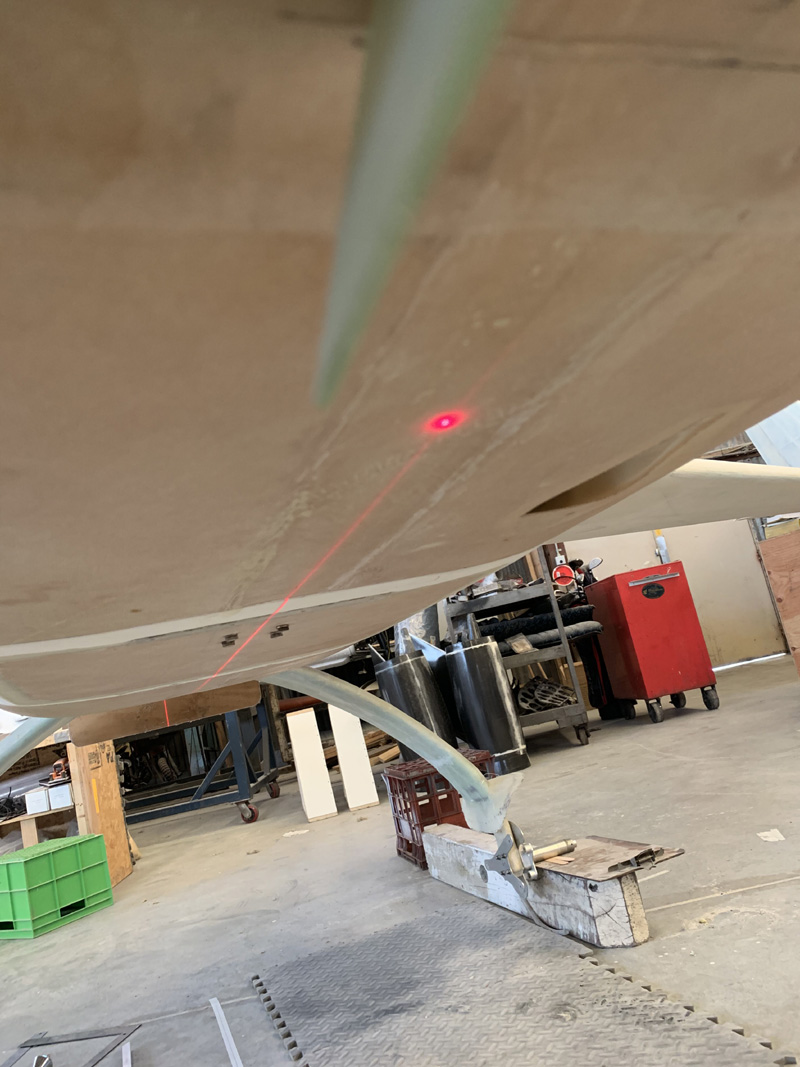
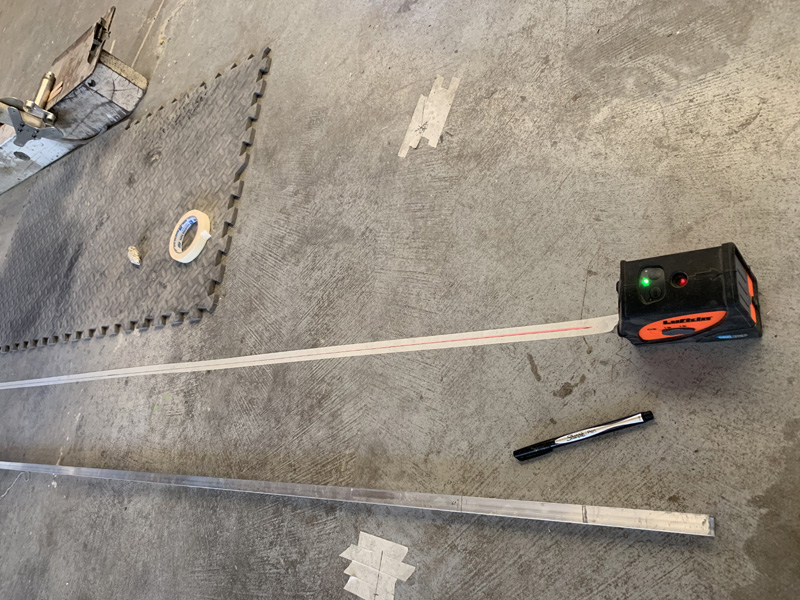
More crawling and I discovered that my laser (pictured below) can make a line on the floor and on the fuselage bottom at the same time. As another bonus it shines an extra laser dot straight up which I could center on the line. (pic above)
Armed with all this I was able to lay some tape and get a line on the floor exactly below the line on the fuselage. To my surprise this lined up with a plumb bob on the nose which turns out to be exactly in line, not off to one side a little as I thought.
Above you can see my line on the floor. At the back you might notice what are two large carpenter’s squares. I’m using these to help get parallel lines on the floor at particular measurements. I think this will work out OK. I’ve also spent quite a while on the install directions and other builder websites. As usual James Redmond’s was very handy. Thanks James!
I need a few more measurements and then some prep work and I can begin the first 7 ply layup which are the wing cuffs.

