| Date: 04-07-2022 | |
| Number of Hours: 15 | |
| Manual Reference: 22 |
April ’22 and we are still working on the avionics. My un-named expert does the real work and I tag along every session to help with a few decisions and build a little understanding. You don’t get to find out who that is because he is a very busy guy and I don’t need YOU to ask him to work on your plane! <grin>
This Long-EZ, while a small plane, is devilishly complex. The round the world mission has many redundant systems for the engine electrics and extras like the ferry tank pumping system, fuel position liquid sensors, movable headlight, side lights, HF radio, special electric trim, heated pitot with temp sensing and the EVS (IR) camera. There are numerous breakout boxes housing all sorts of complexities.
After a session I sometime have a little homework making fittings, fastener systems or altering something to give the wiring more room. I’m only logging those hours even though we are spending many, many late nights on these systems.
Here’s a brief look at the progress, nose to back seat.
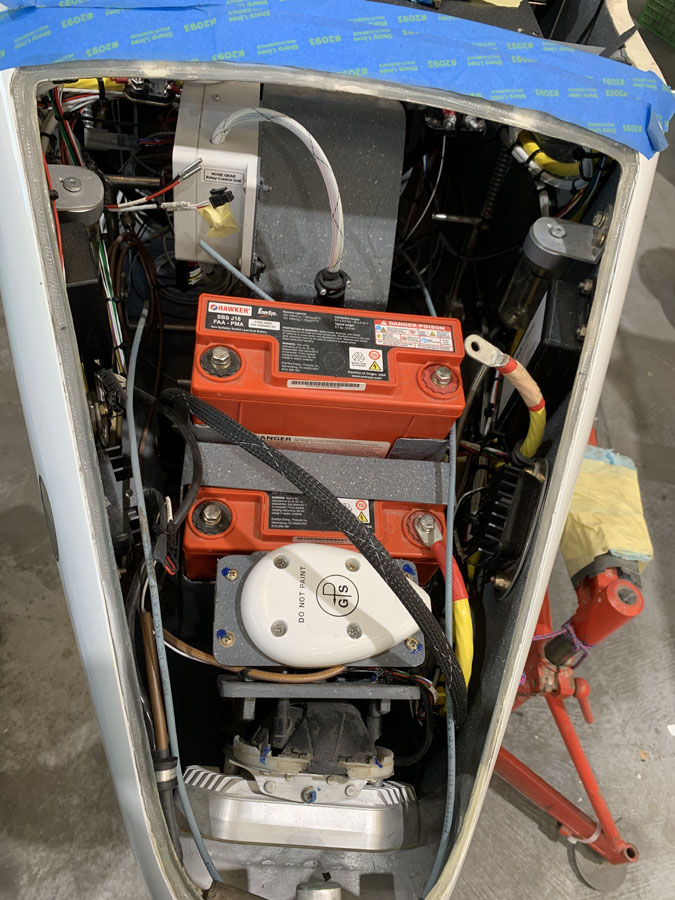
Items in the nose are close to done. I will probably need lead or tungsten for balance there. There is very little room left! That braided thick wire hanging over the GPS antenna goes to the nose IR camera and will detach to get the cover off.
I’m glad I didn’t do hinges for the nose hatch as there is no room. I perhaps should have done a longer nose for C of G reasons and to give a bit more room in for all the toys. I had concerns about extending the nose but many builder have done this without reported issues. Mine is to the plans length but much broader than usual.
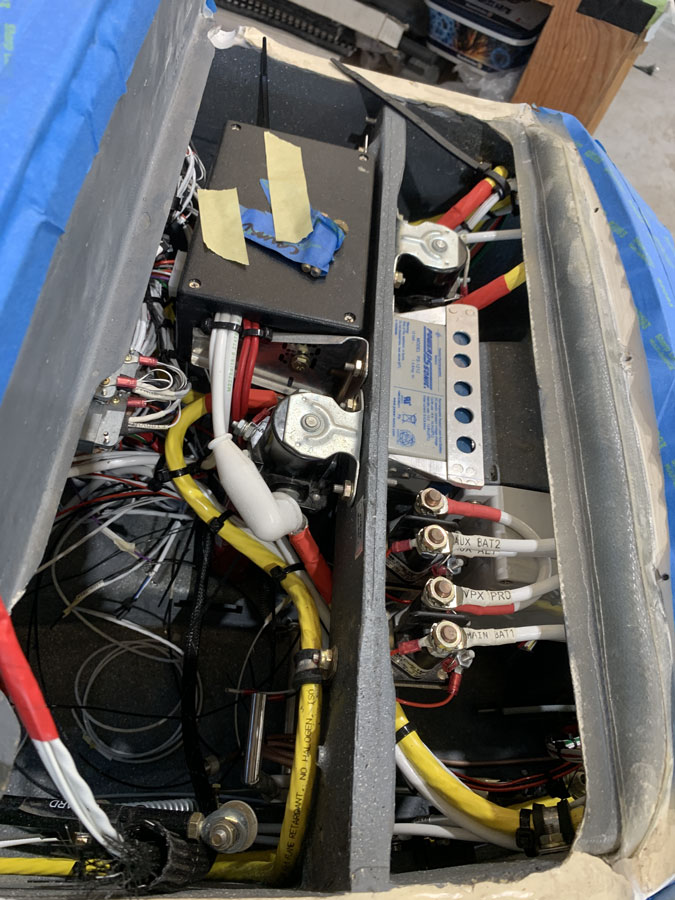
A lot is going on below the canard. The yellow wire is 4 AWG and being a special aircraft aluminum and copper type to reduce weight, its diameter is enormous. It has taken about seven click bonds glassed in with two ply to make standoffs for the P-clamps needed to hold it.
You might also notice there are four contactors or solenoids. Two for starting from either battery and one for each BUS. The third little battery is for emergency extension of the nose gear if I have a total electrical failure.
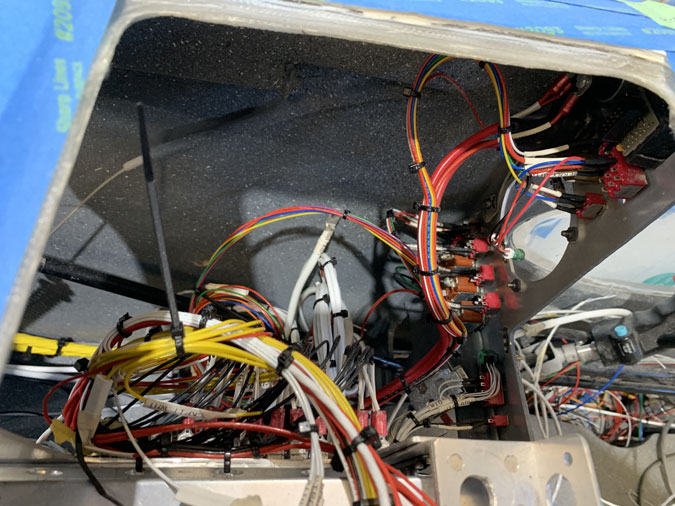
This is just behind the panel. We had to ensure the canard still went on and the torque tube was clear. It was a challenge with the pitch auto pilot servo on the canard.
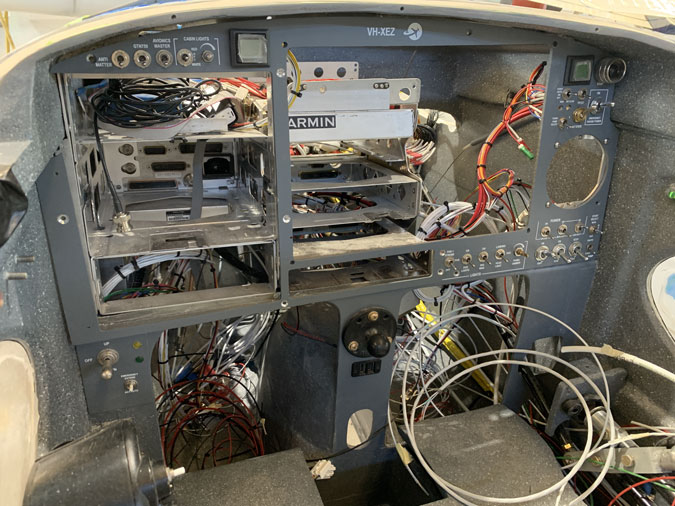
The front panel is in of course. Also “of course” I had to remove it partly to make some small holes for the lighting wires.
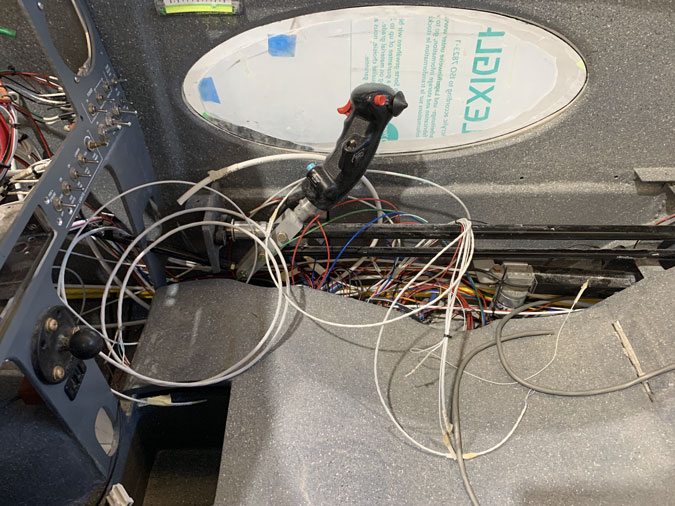
There is a lot going on near the stick, its driving tubes and the trim actuator. It will all be tidy in the end. For now we just need to get the wire runs in. After that I’ll start on cable tie fasteners to the air frame.
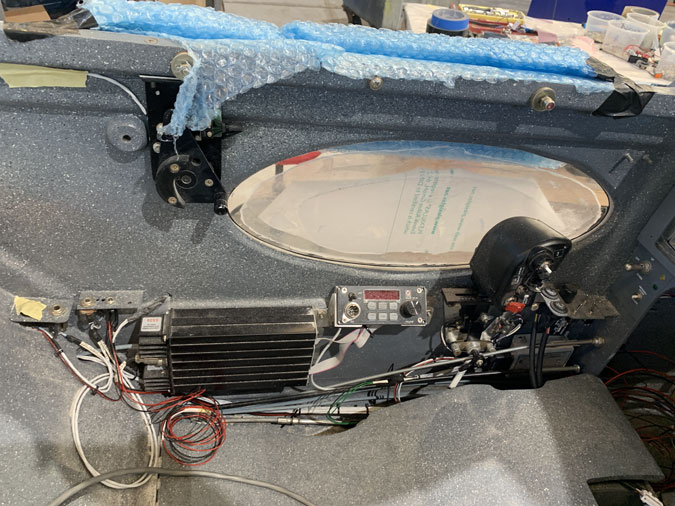
On the left or throttle side we are going well. Much of the work is nearly done here. You can see the HF radio head and its electronics box.
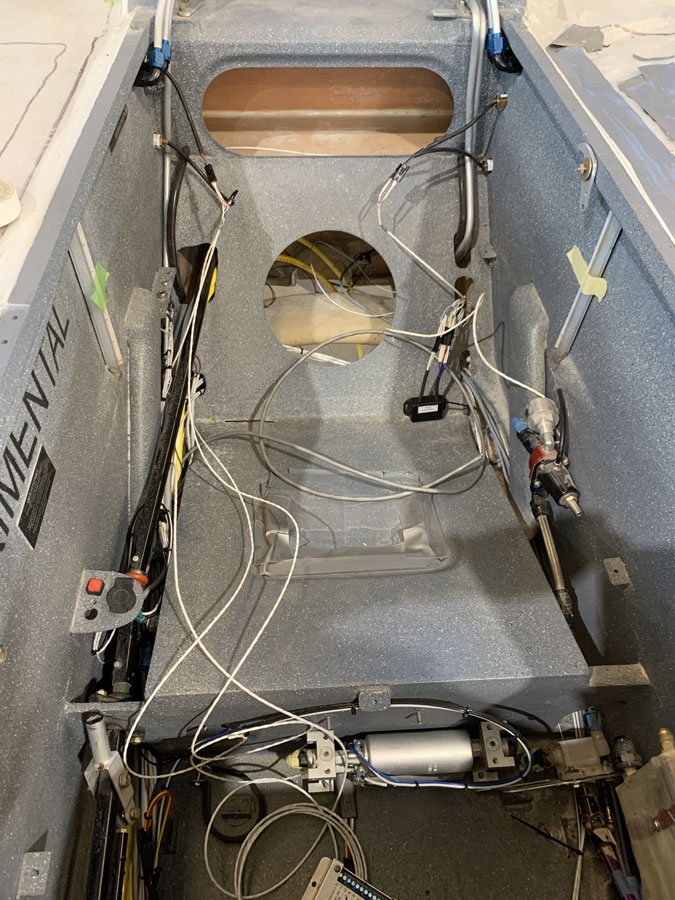
All those wires in the back are a challenge to fit. We still have the strip lights to go in. However, overall progress is good.
We might have around half a dozen session to go before we can look at putting the avionics back into the panel and firing her up. A lot of things have to wait for the engine to arrive when I can start running things back from the firewall. For now its just heads down and keep chipping away at each task.

