| Date: 02-12-2024 | |
| Number of Hours: 6 | |
| Manual Reference: 23 |
This is one of those jobs I rarely mention. I don’t generally count it in my accumulating hours either. It is one of those things that keep happening on every build ( I assume). Yes it took SIX HOURS! Yes it was 36C in the hangar today, it was hotter than outside which suggests that building a plane in a big tin shed is not that smart during summer. Then again I am very grateful to be in this hangar to finish my build.
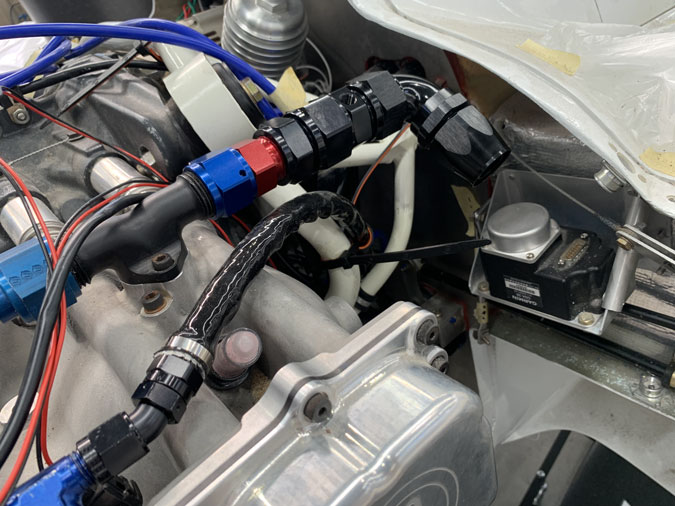
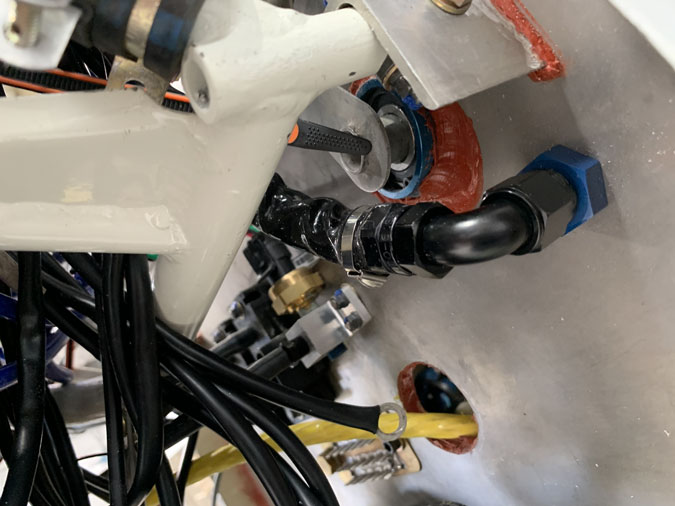
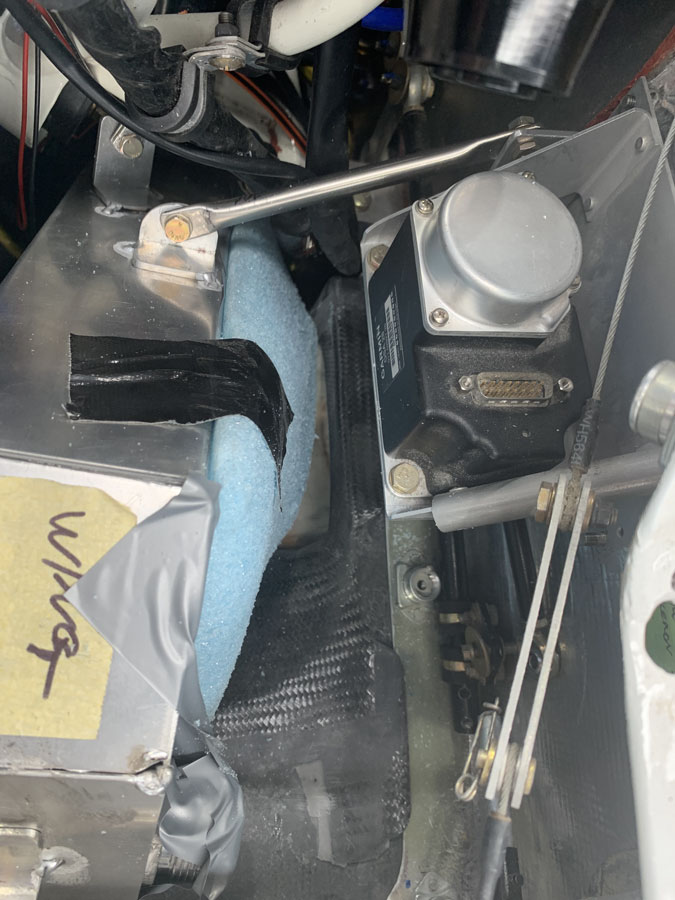
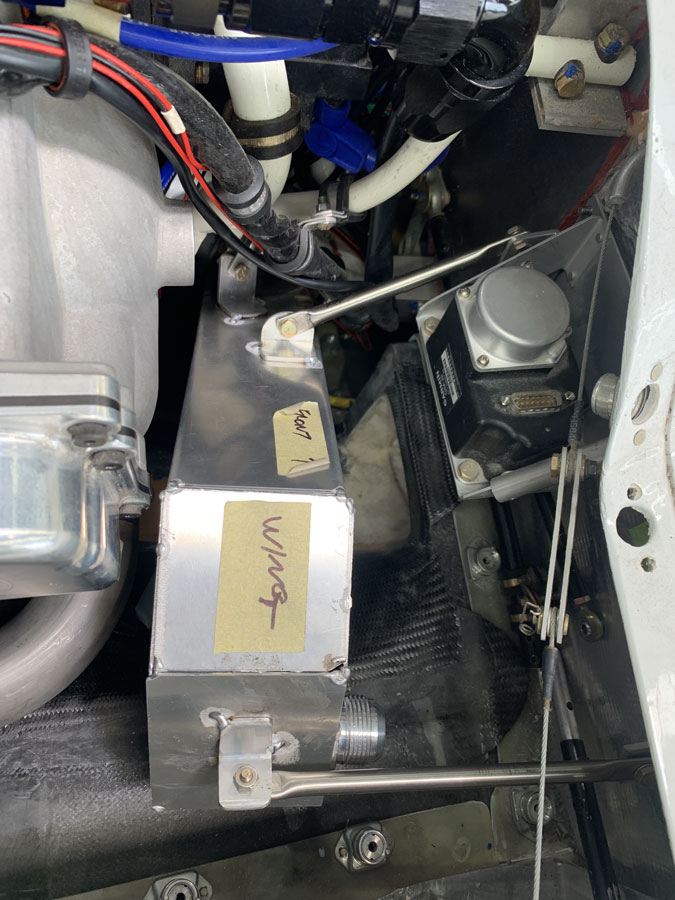
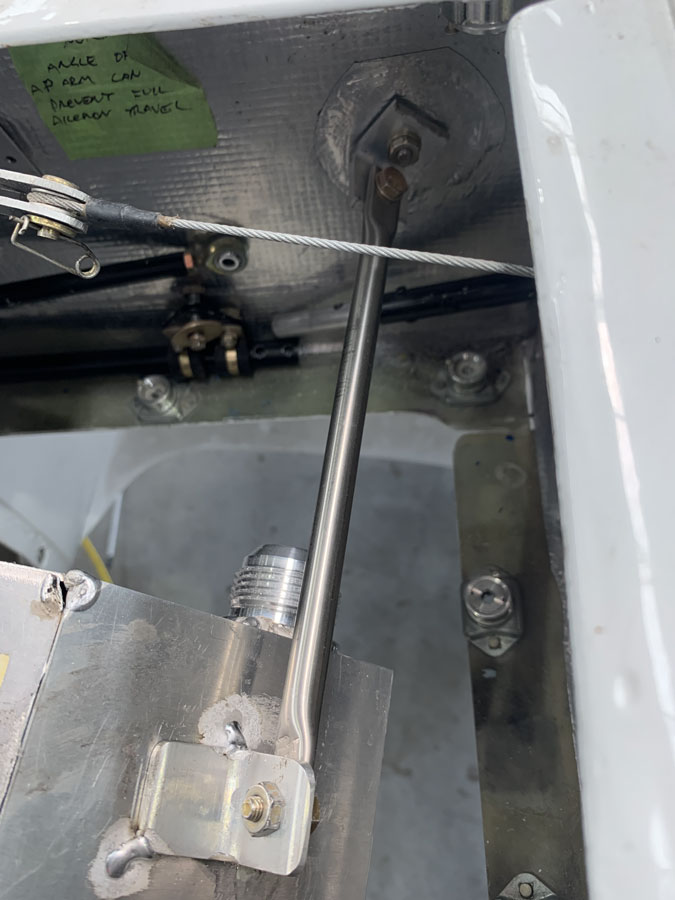
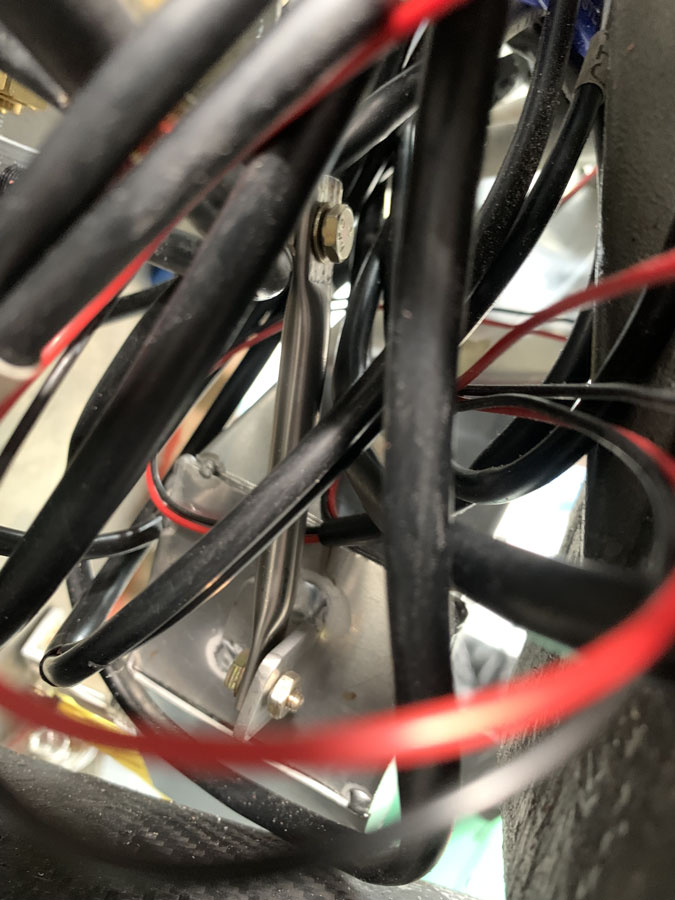
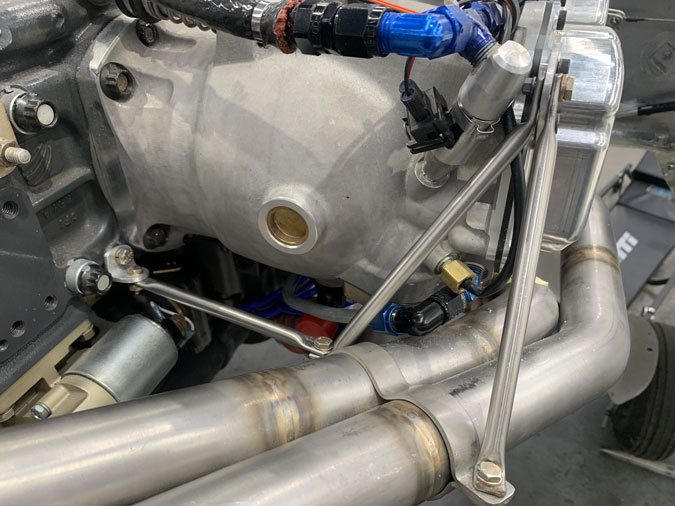
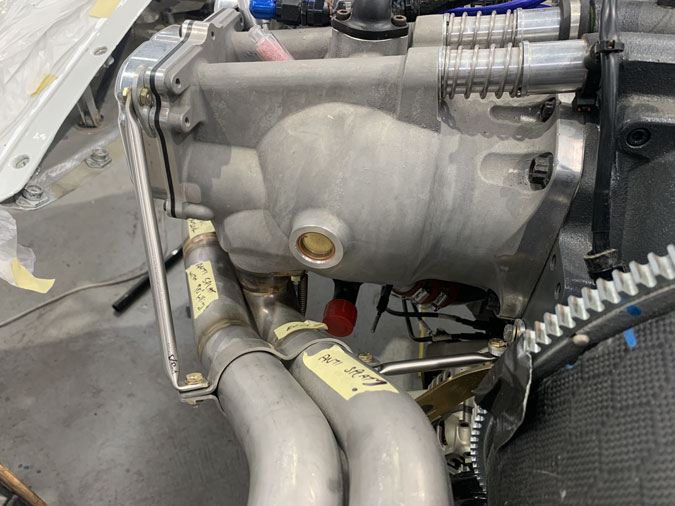
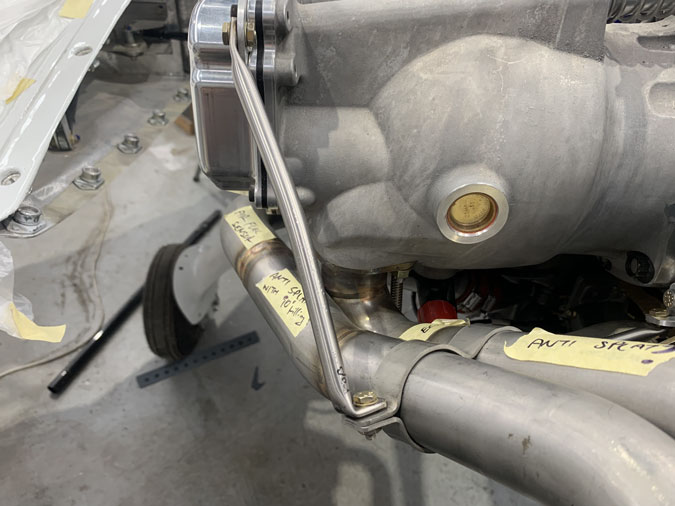
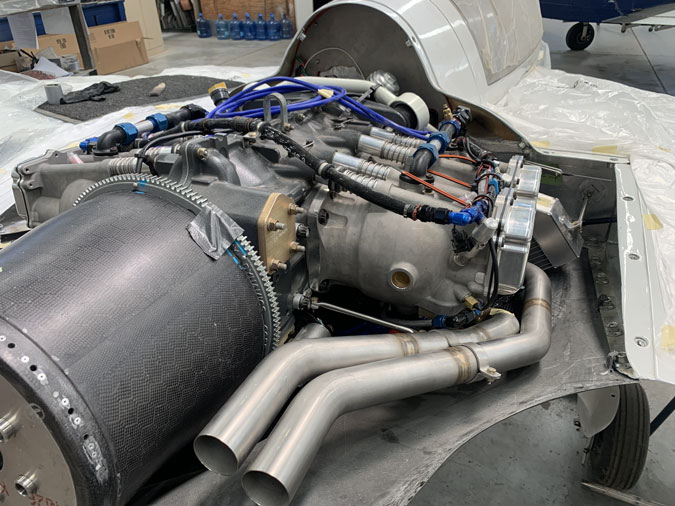
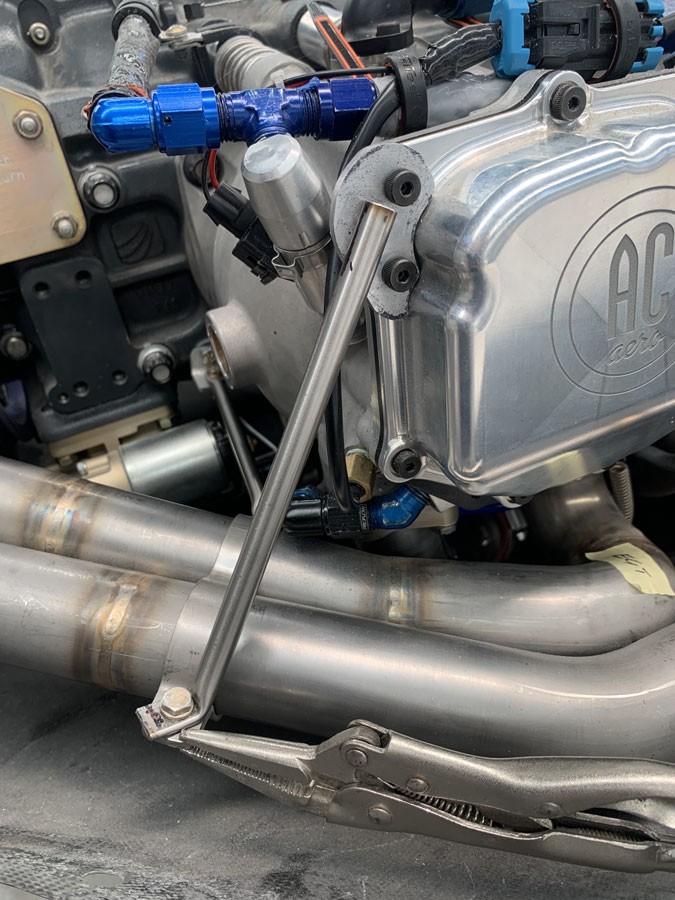
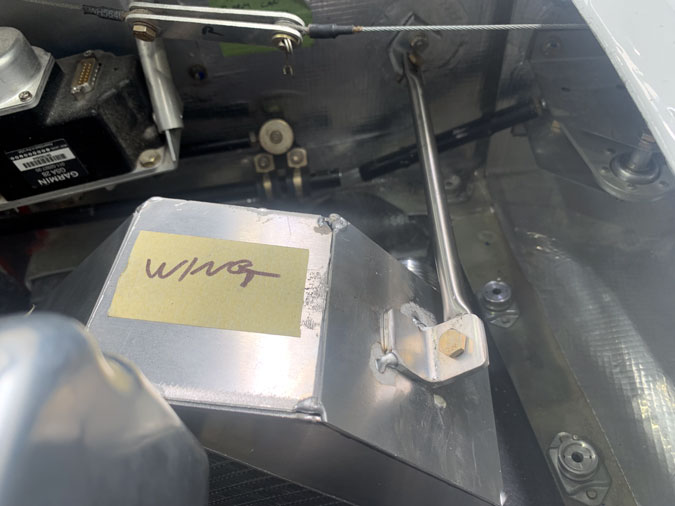
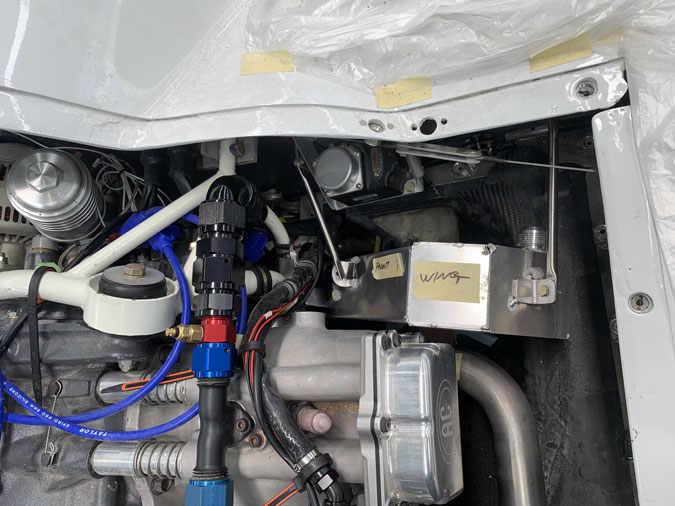
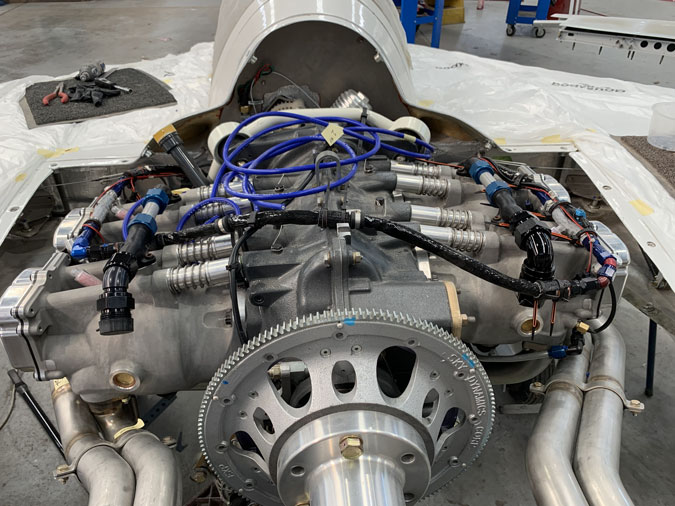
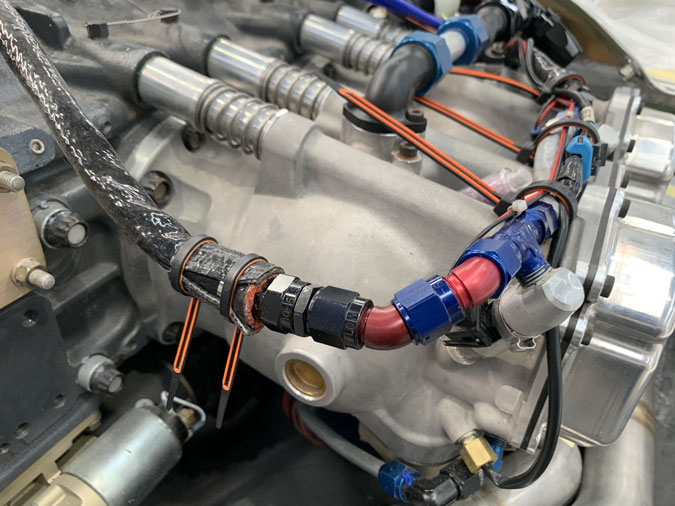
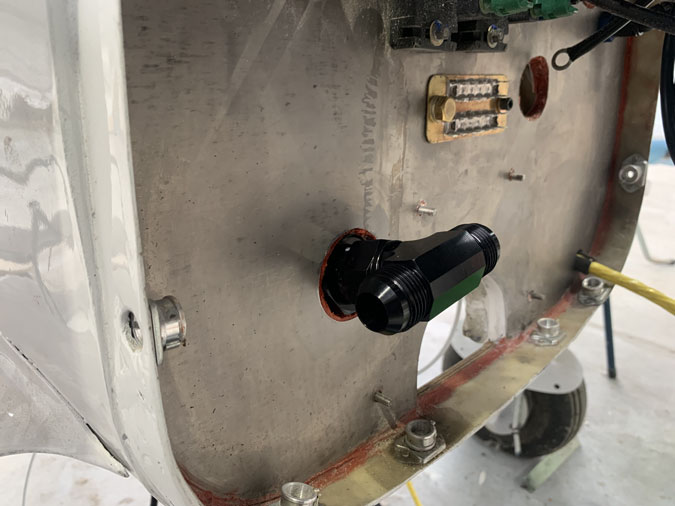
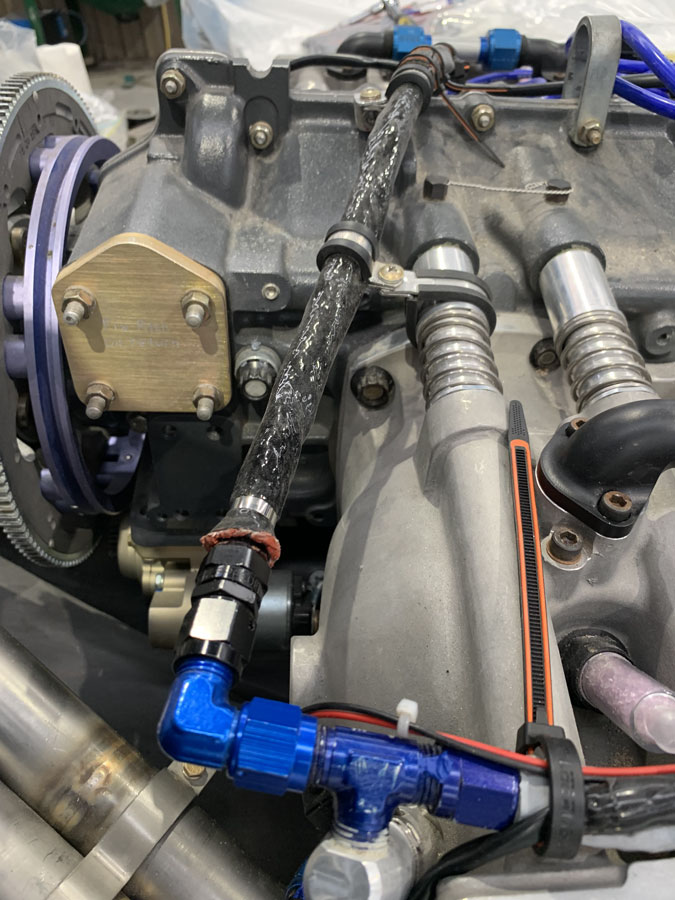
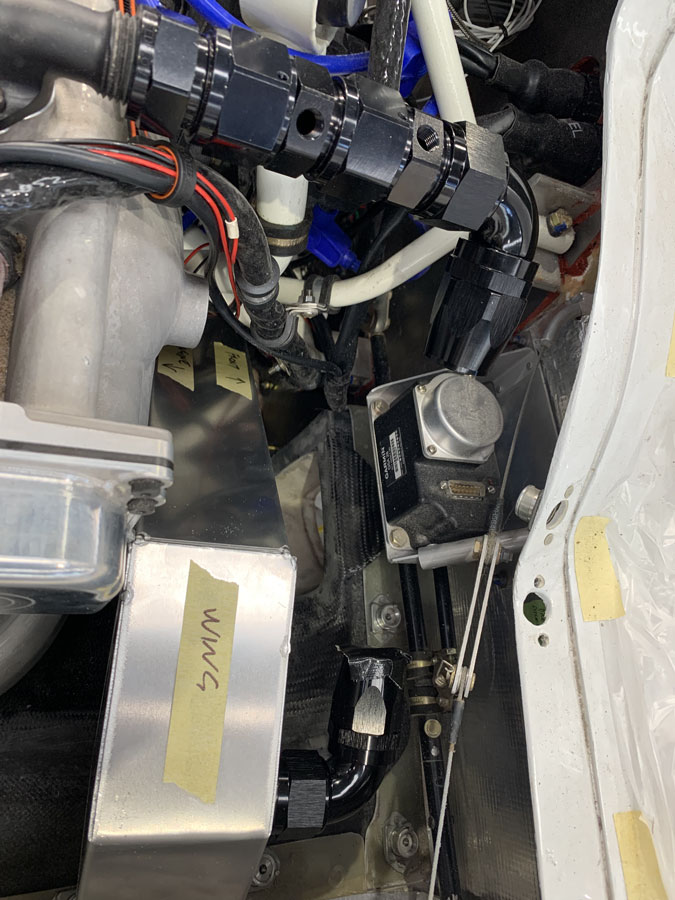
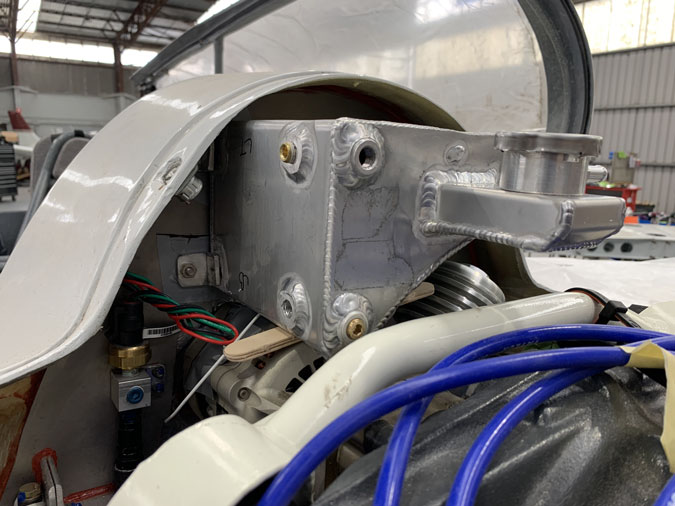
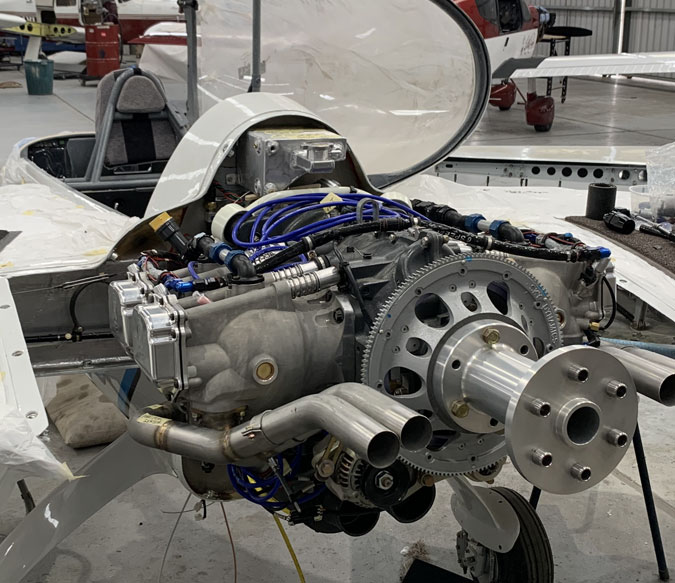
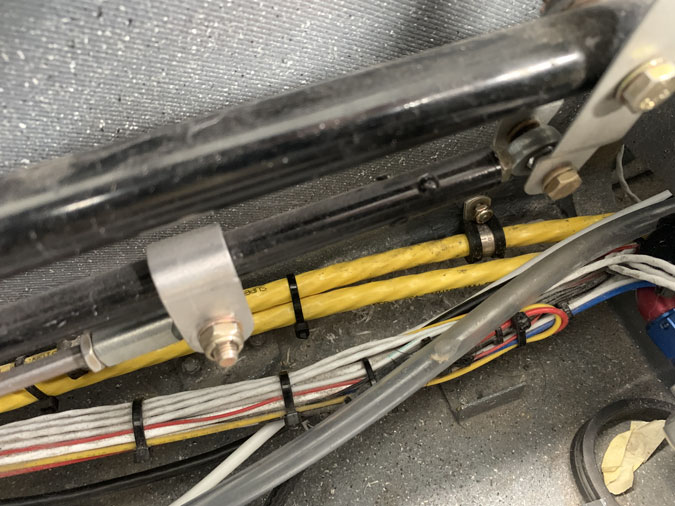
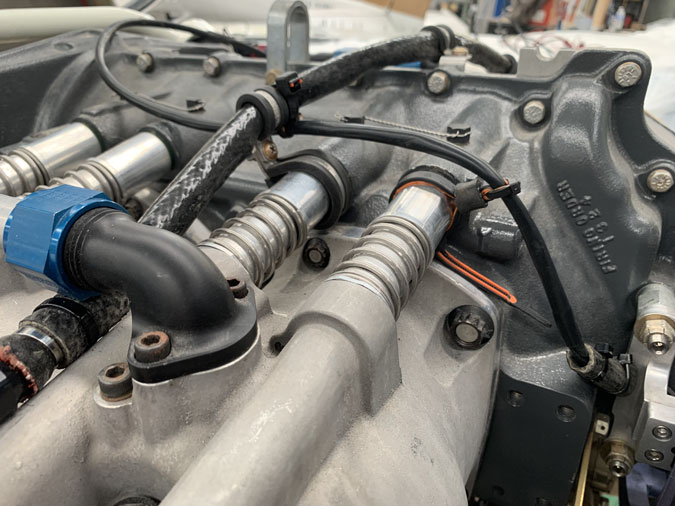
That fuel line going down to the firewall is the new one I replaced today. The old one was beautiful. I had spent a long time on it getting it secured with hose clamps and routeing it to the firewall, supported every 6 inches or less, but it had to go.
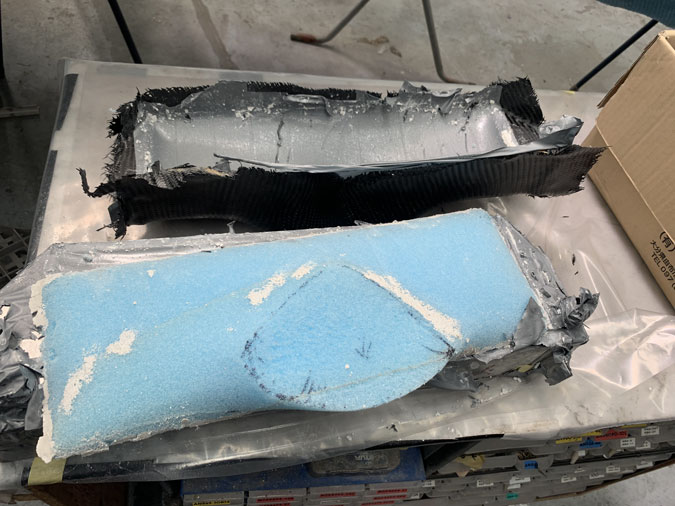
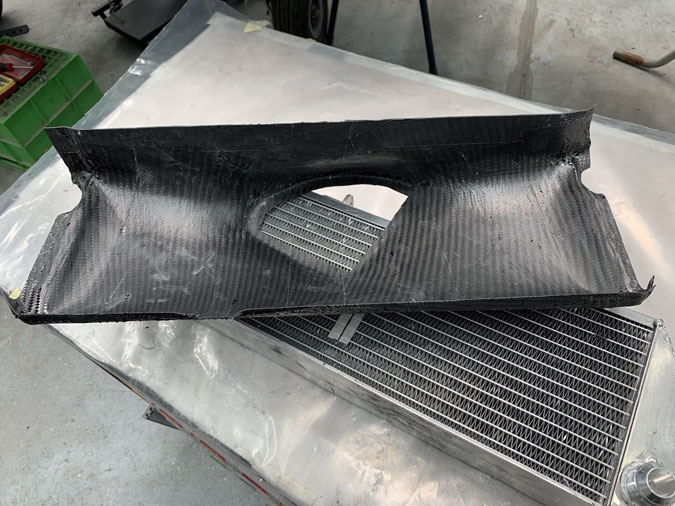
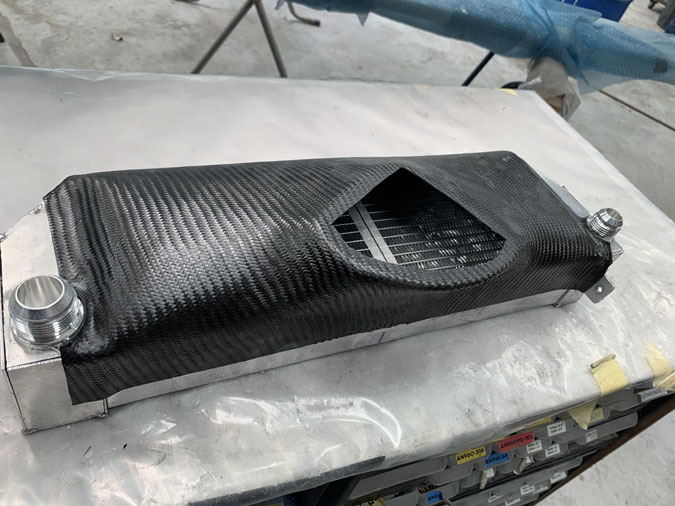
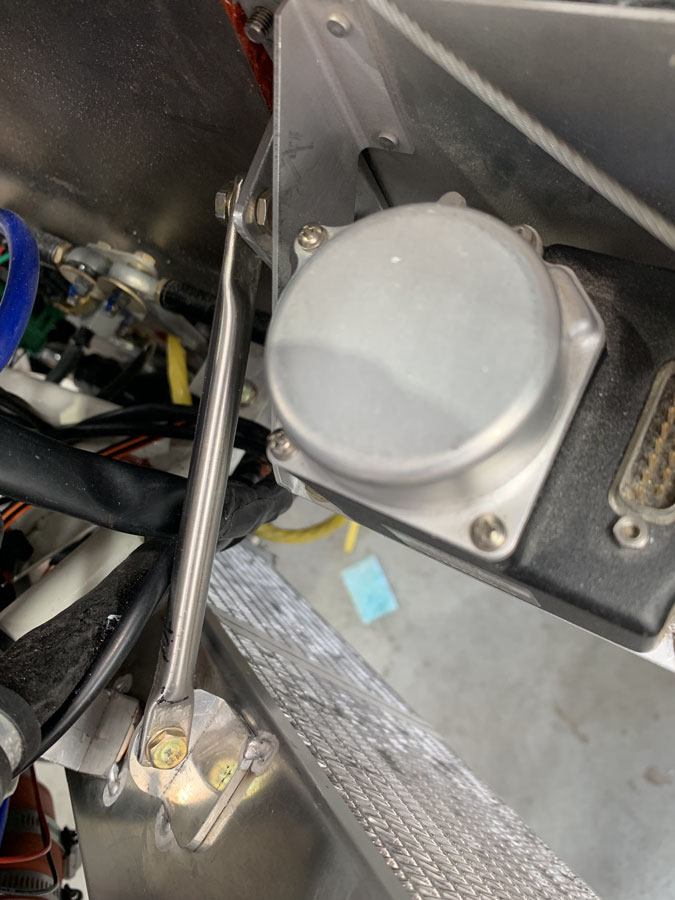
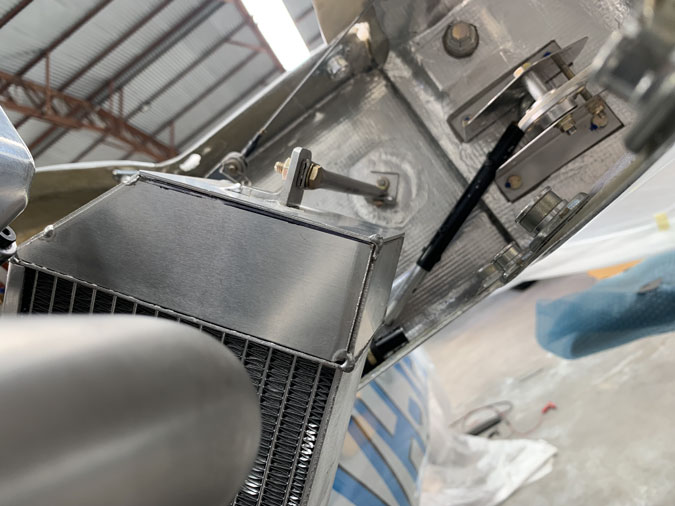
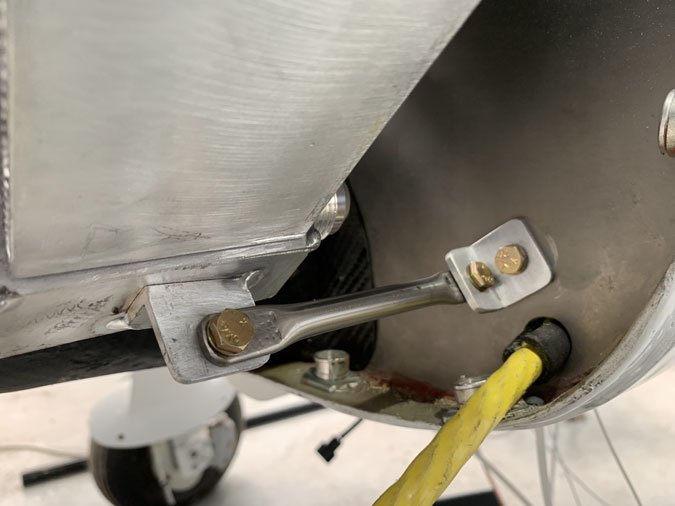
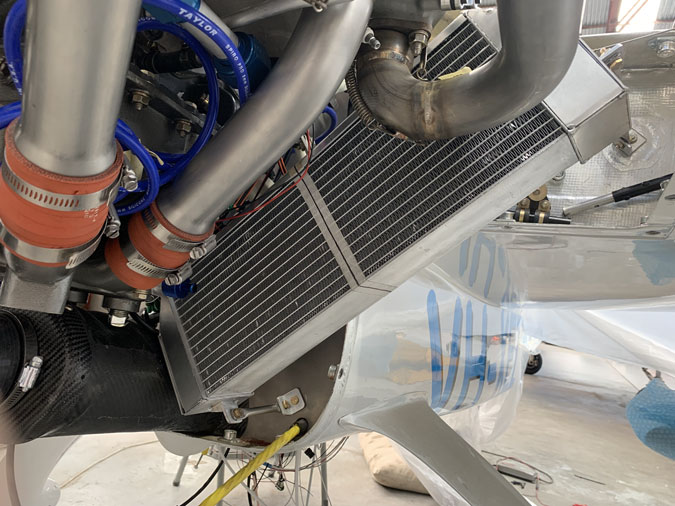
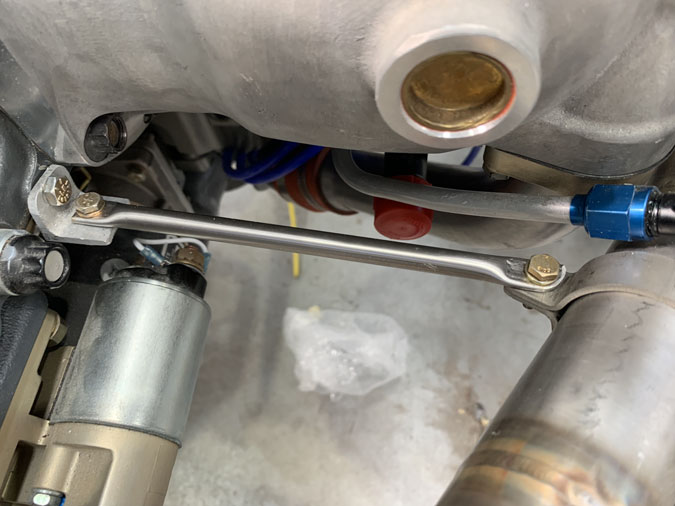
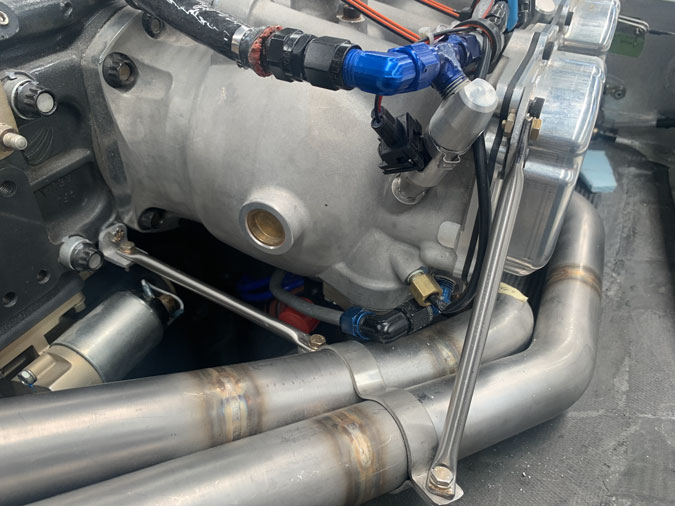
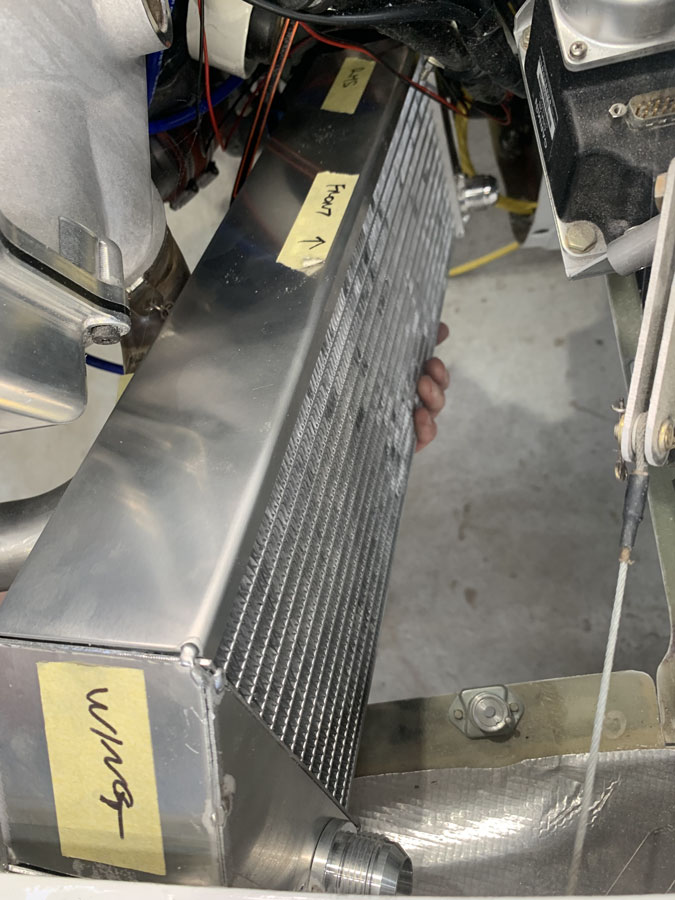
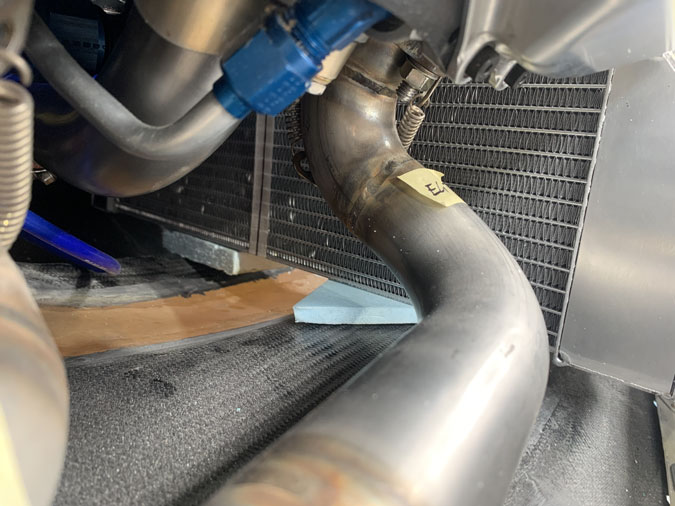
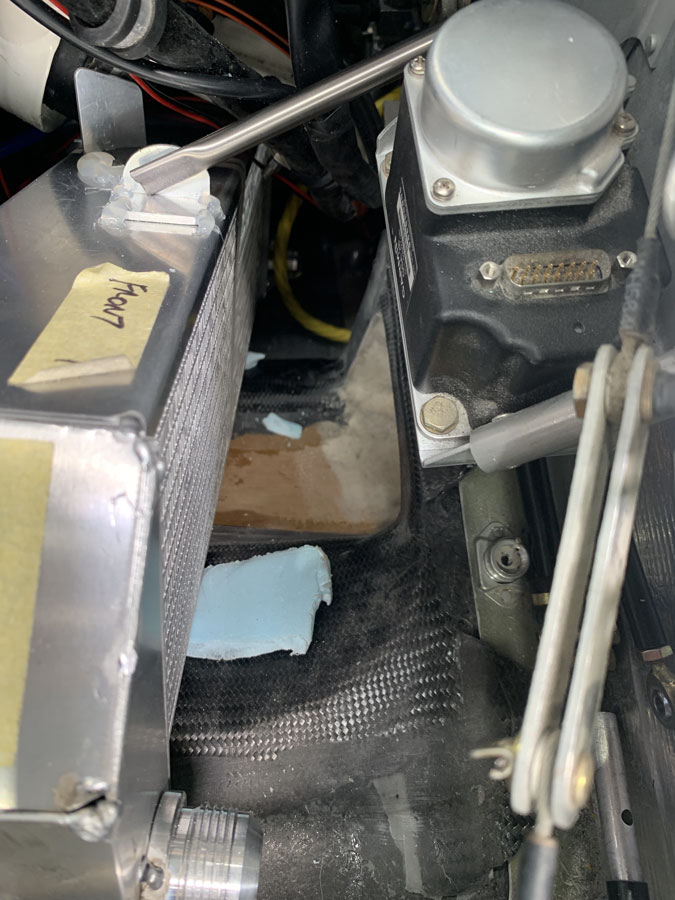
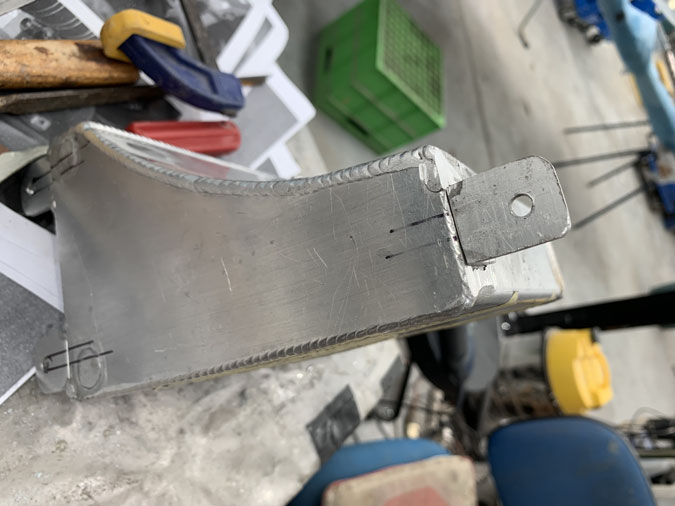
Here’s where it ends up. I had to change the 45 degree fitting to this 90 degree. The problem I had to solve was the old hose interfering with the new radiator duct. I had a allowed for it but the run of the hose was just too close.
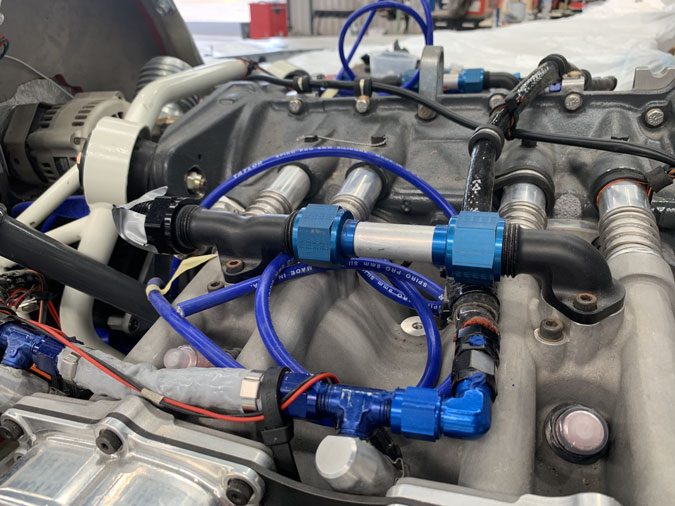
What I had to do was route the hose on the inside of the engine mount, not the outside as I had it. In the end, after swapping out the fittings on the same hose… well I was about an inch short.
So I made a new hose. Then I pressure tested it and the fitting proved to be no good. I went and had it replaced. Then there was a problem with the test gear, it just needed a hydraulic fluid top up as the reservoir was empty. This explains all the pumping I did. Opps. However I was getting a few bubbles in the old fitting which meant that was no good.
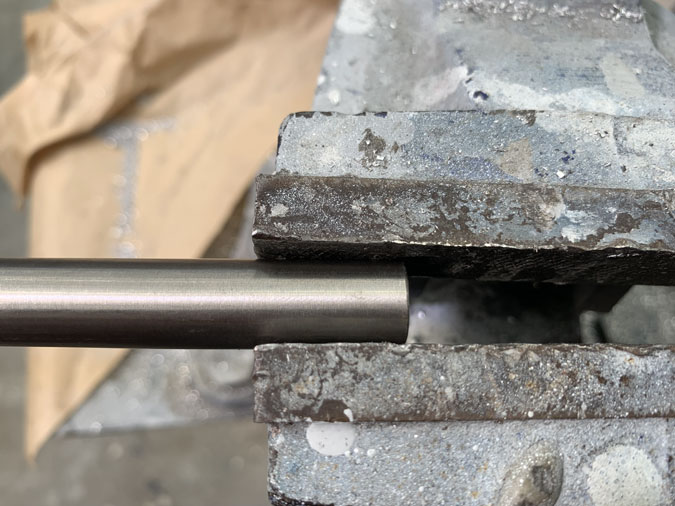
All replaced and check and checked again. I had a lot of trouble getting the old olive on the new hose. That’s OK, it went on eventually. I tested to 1000psi and it was good,
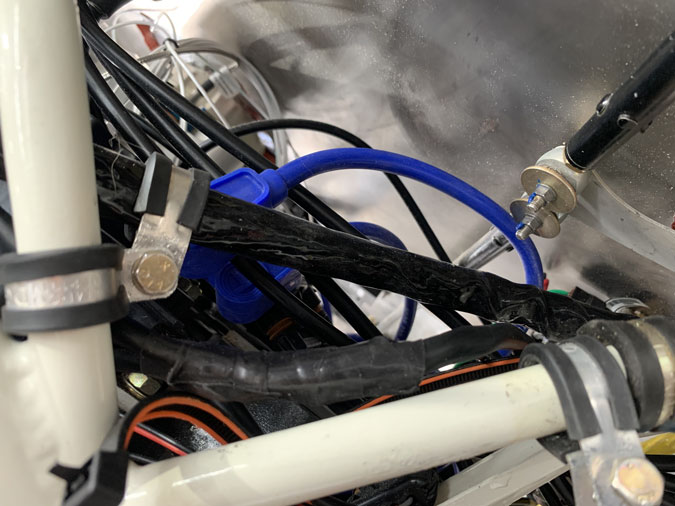
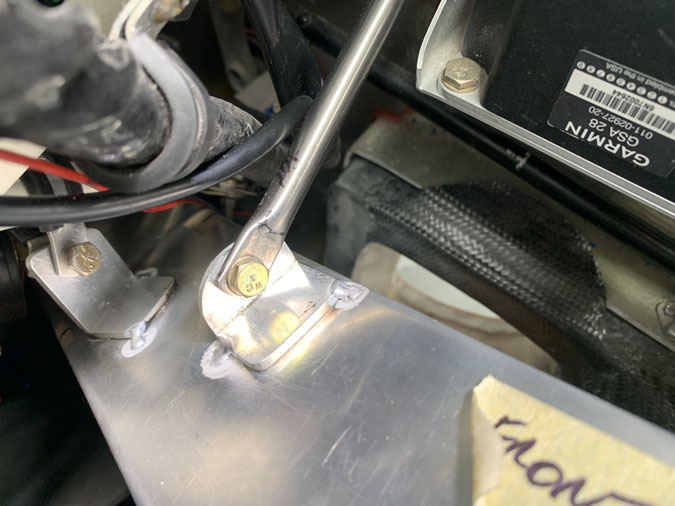
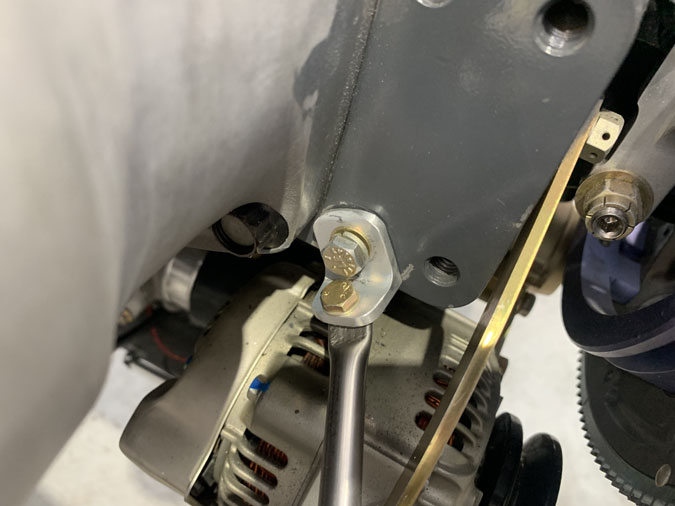
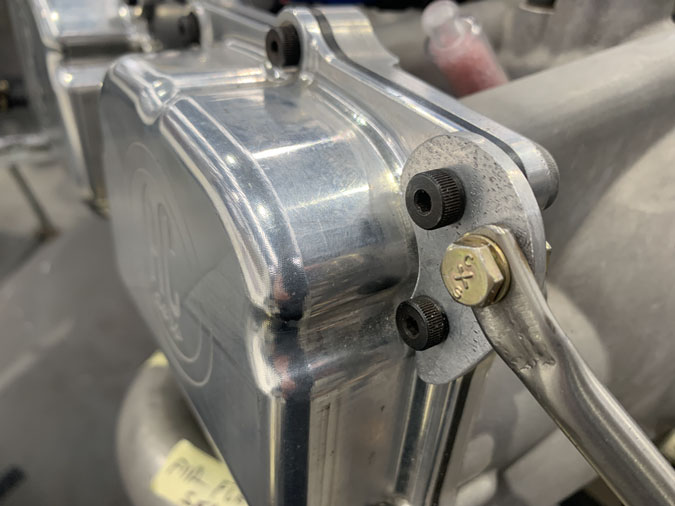
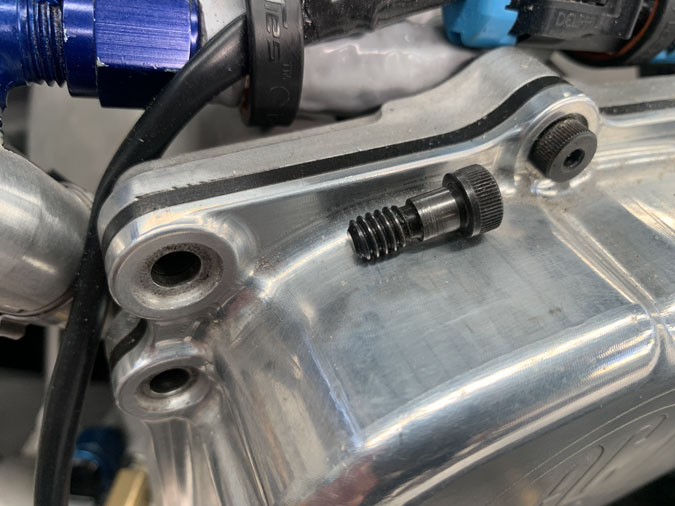
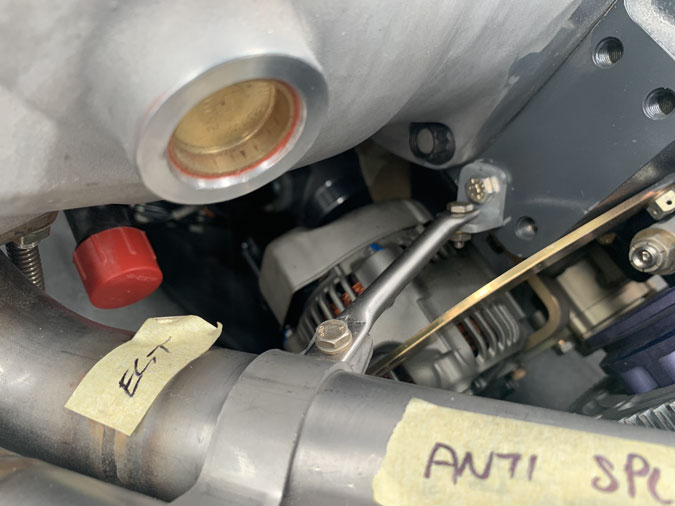
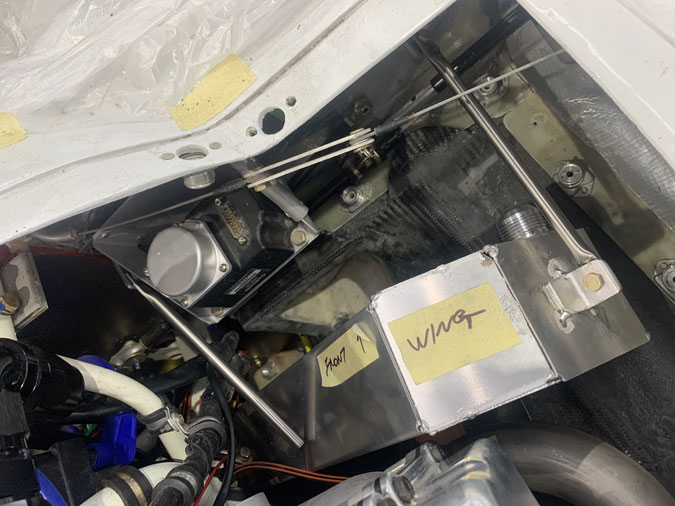
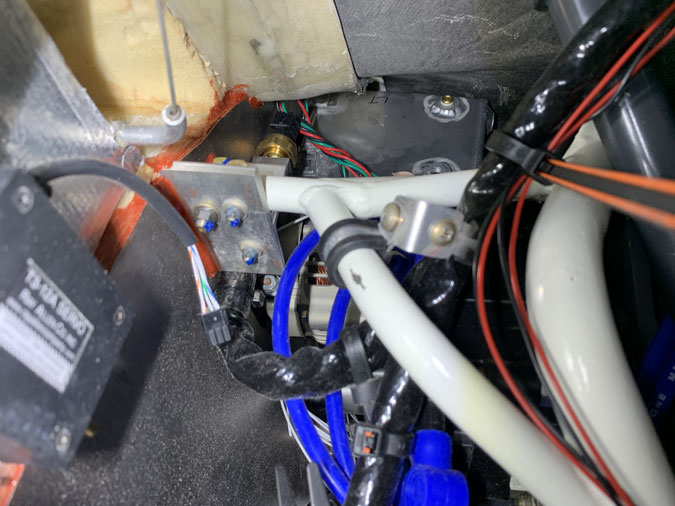
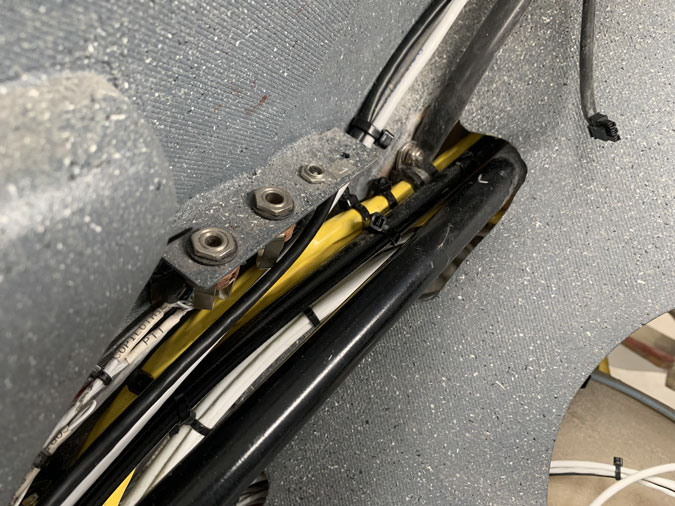
The hose was fitted OK. You see the two P-clamps in the picture. It took over one hour to put that AN3 bolt in and do it up. Those who have done the two P-clamp dance in an inaccessible place know the story. No one else would believe it.
I got this thing done. Two steps forward and one step back is progress in my world.
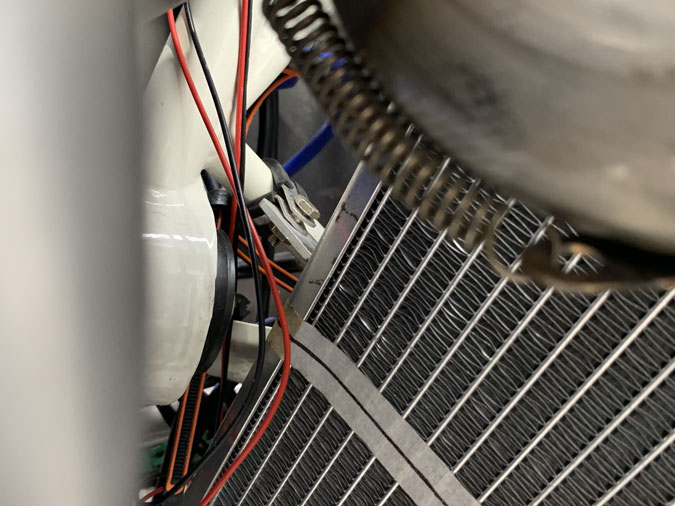
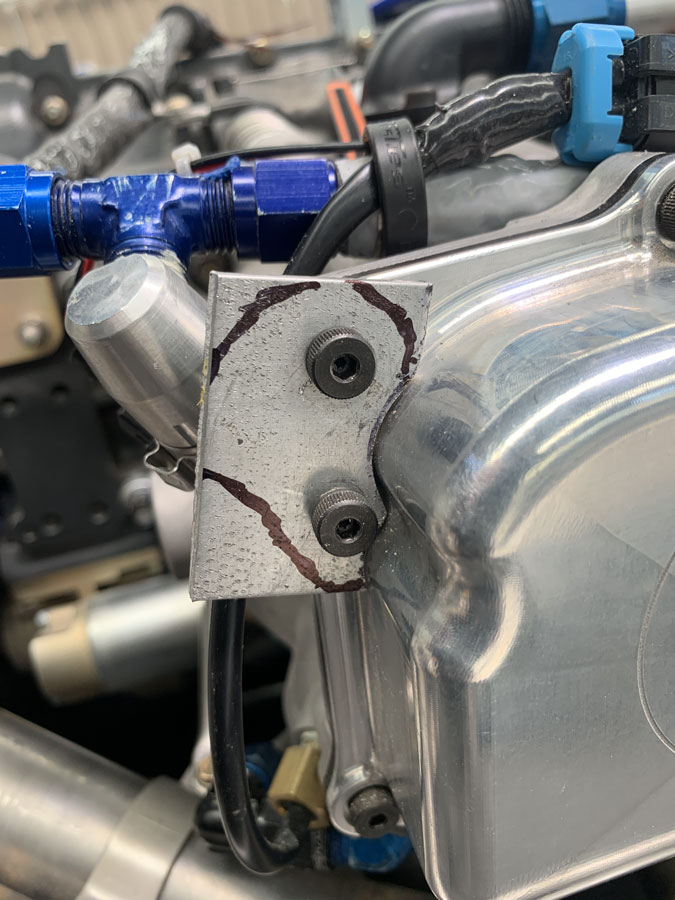
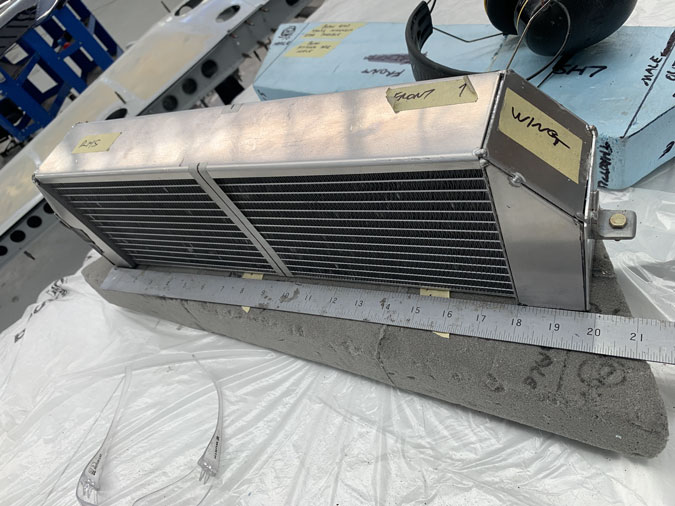
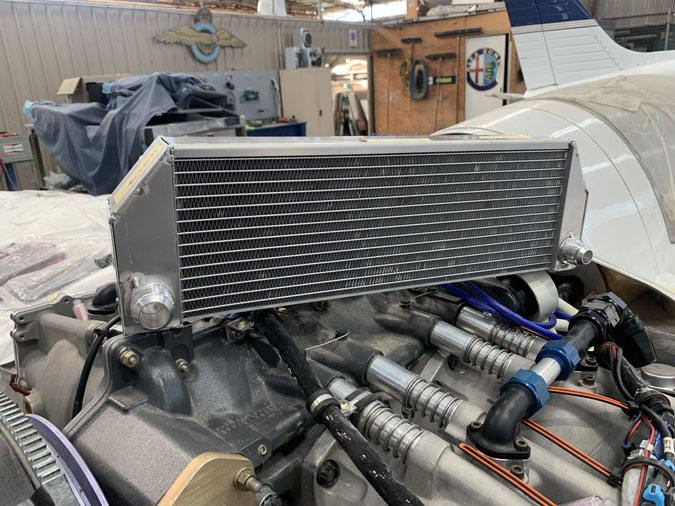
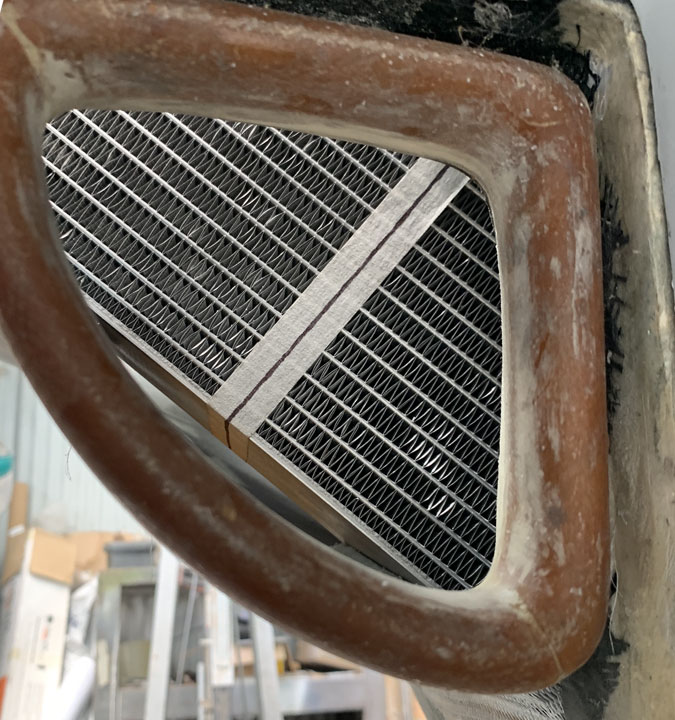
Tomorrow I refit the radiator and try to figure out how to seal it to the cowl. Tonight I have no idea how. Tomorrow is another day.

