| Date: 11-11-2018 | |
| Number of Hours: 8 | |
| Manual Reference: 23-2 |
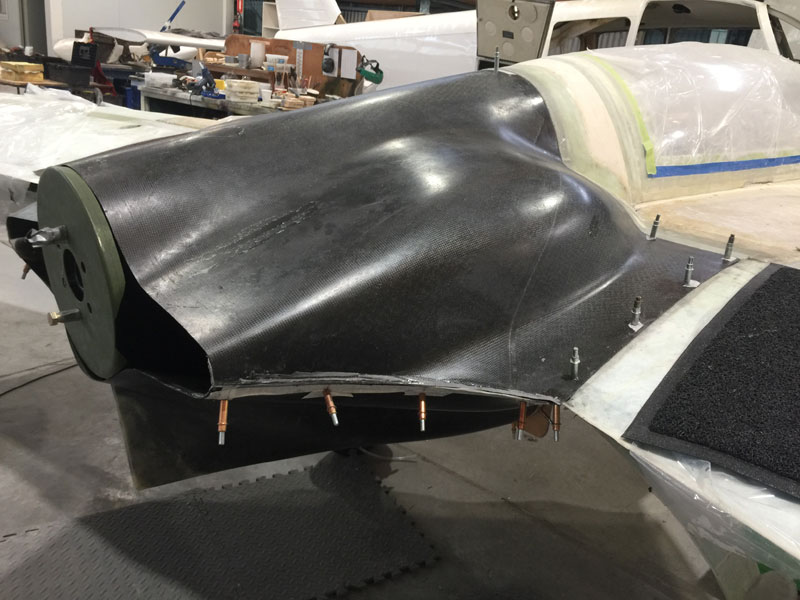
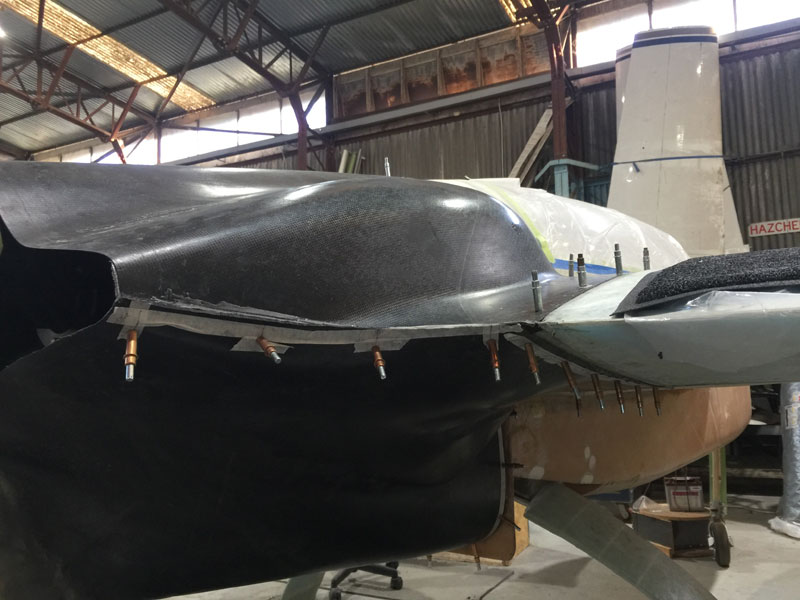
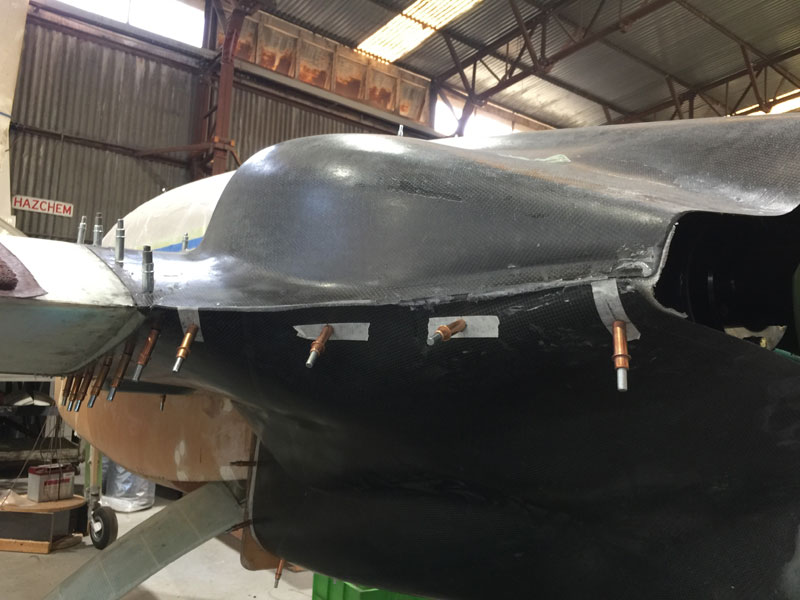
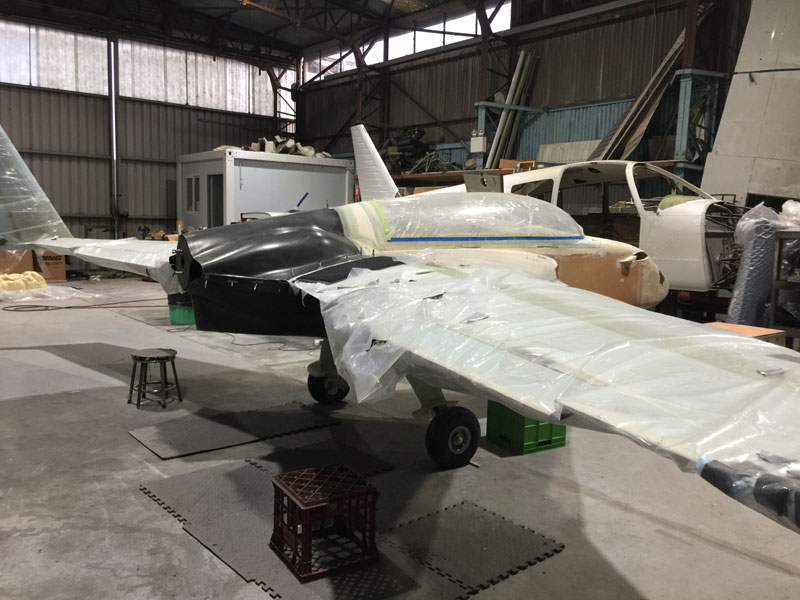
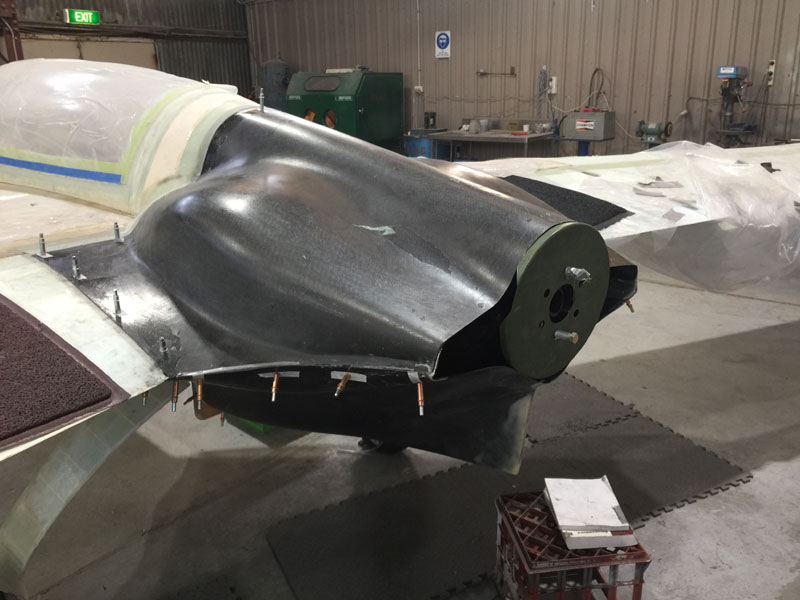
Having done the inner lip layups I began removing the top cowl. Then I realised that now would be a good time to put the clecos in, before I did the release with everything sitting as it should.
I spent quite a while spacing them but in reality I may move positions later.
I’ve ordered 50 sets of camlocs and won’t have many left over.
The sides gaps got a little flox to see how it went. There are a lot of small detailed layups to get this install as it should be. A tiny amount of filler will work out.
I trimmed the edges and this is closer to the final look at the sides.
It looks more like a plane now.
Getting the cowls off took a while. The parts with this heavy PVC mould release worked a treat. It took hours to get enough layers with a good 30mts in between each to dry. This is a great new technique when grey release tape won’t sit properly, as long as you have the time.
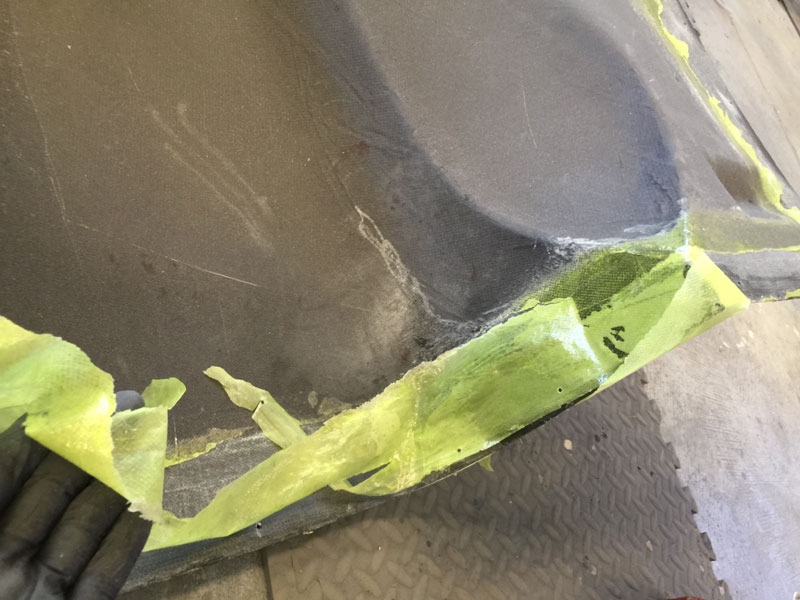
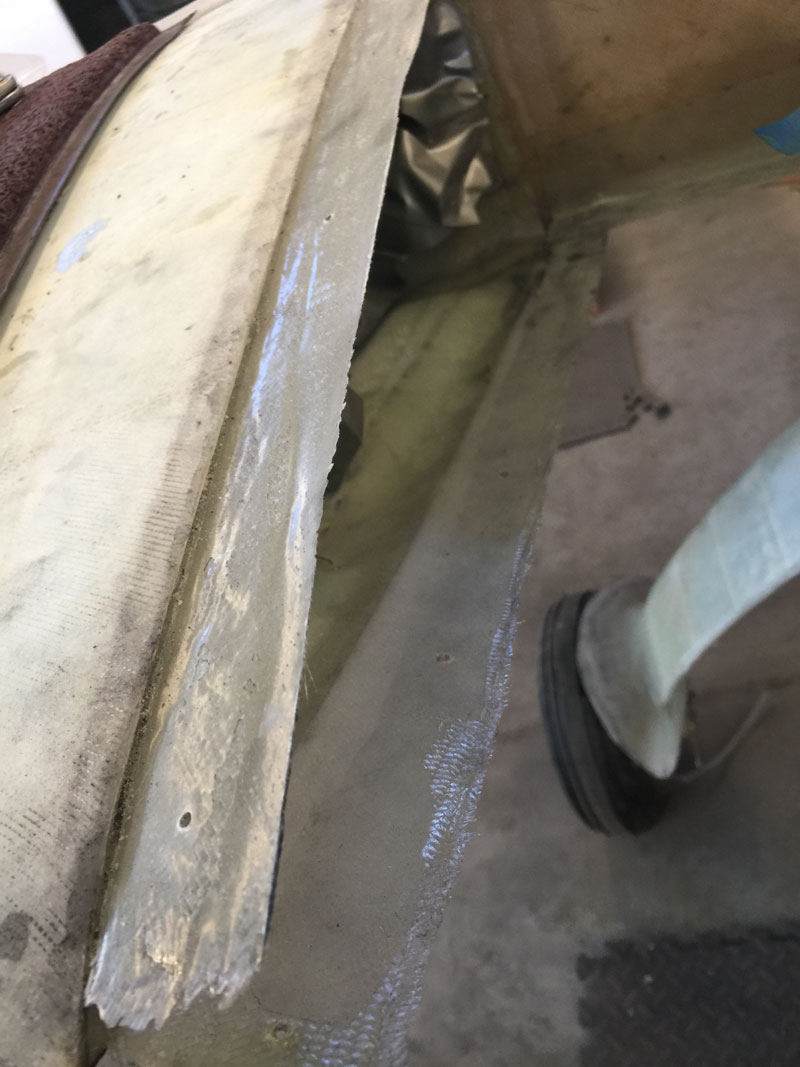
This was right after the cowls came off. A couple of hours was needed to get them removed. Yes the layup needs a good trim. I’m happy with it, given it was done without being able to see very well. The bottom cowl certainly fits. Its not a perfect line at the sides, just something else to fix later.
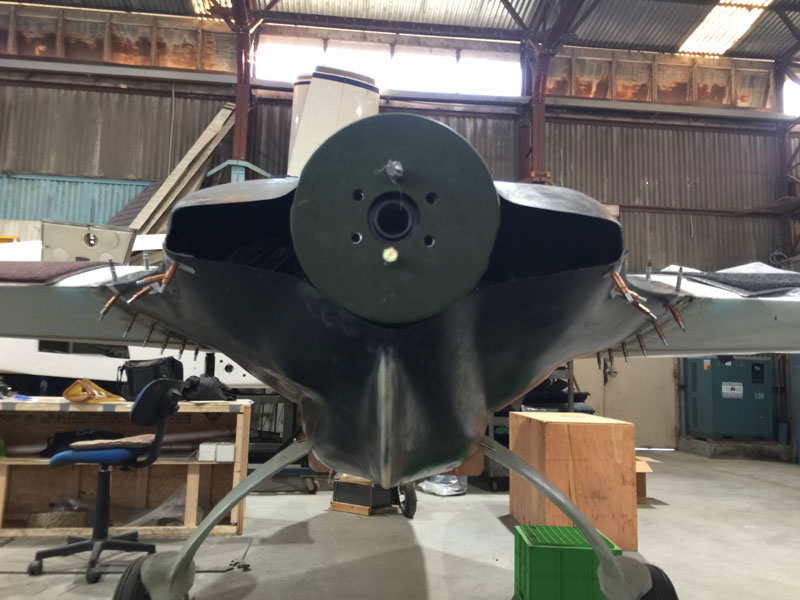
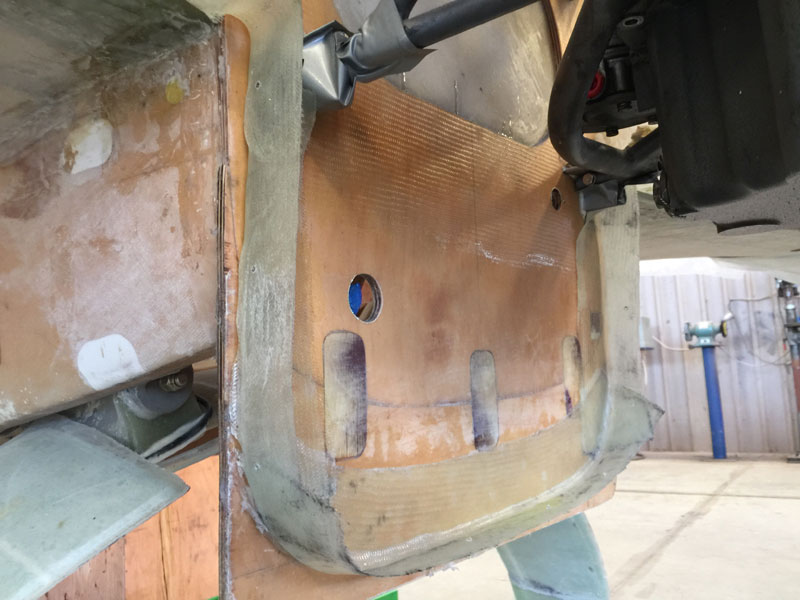
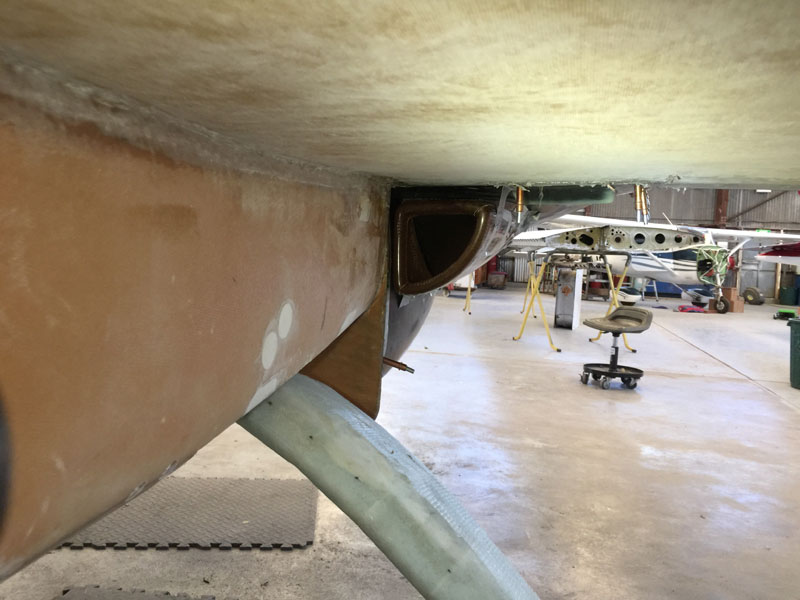
This is where the main cooling intakes will go. How this is going to work I’m unsure. These may bond to the cowls or maybe the cowls will bond to them.
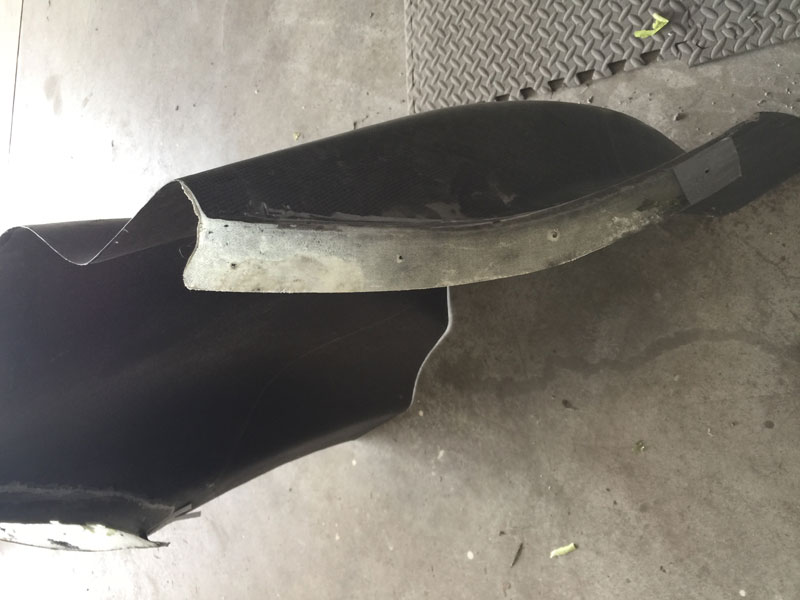
The lower lip is the new one. I’m going to do a small layup and join upper and lower at the prop end to give added strength. (In fact I’ve tried it once and didn’t like the result so I’ve removed that layup and will go again tomorrow)
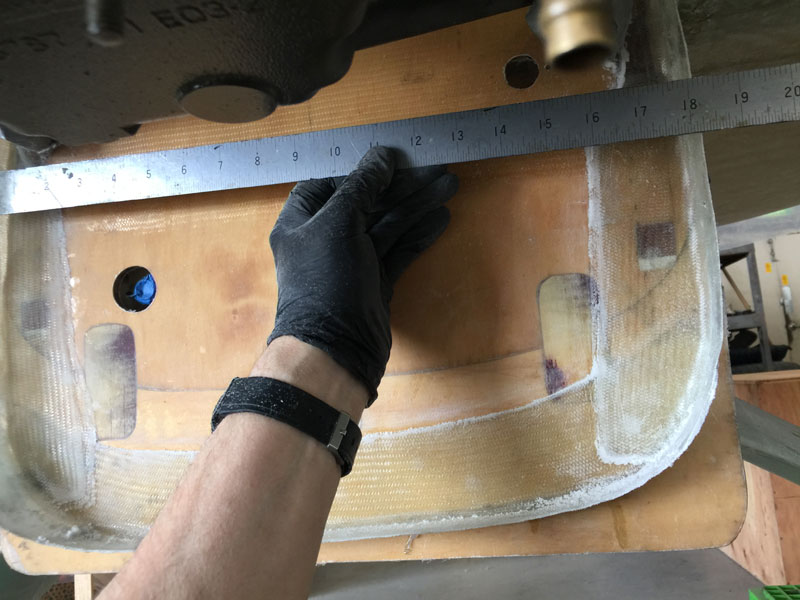
Just showing the width of 18″
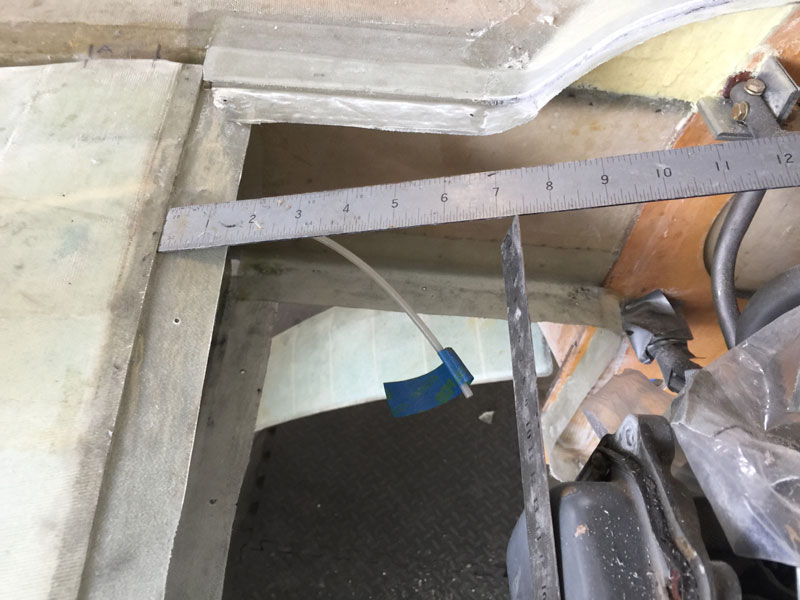
I have some area here where perhaps the radiators might go.
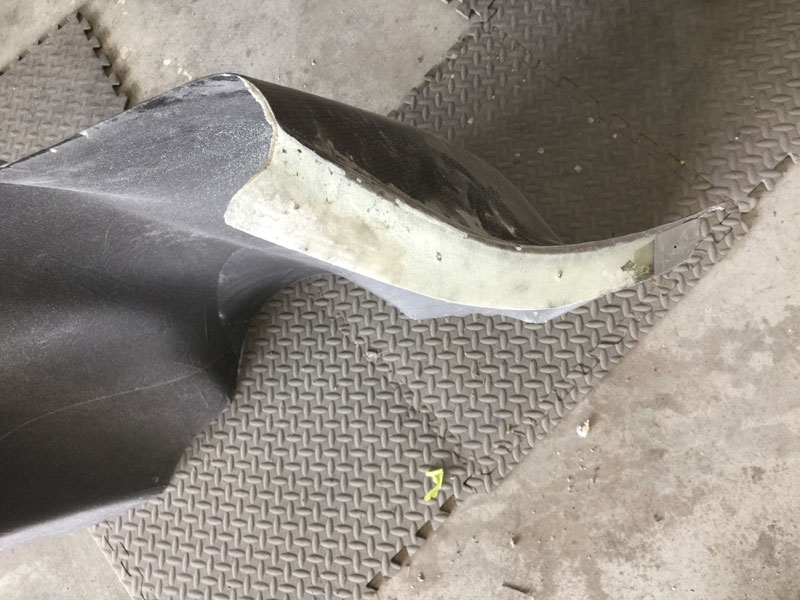
This is the end lip that was bonded to the top cowl.
Fits OK given how wild it all was a few days ago.
Cowls ON and removable!

