| Date: 11-09-2018 | |
| Number of Hours: 8 | |
| Manual Reference: 23-2 |
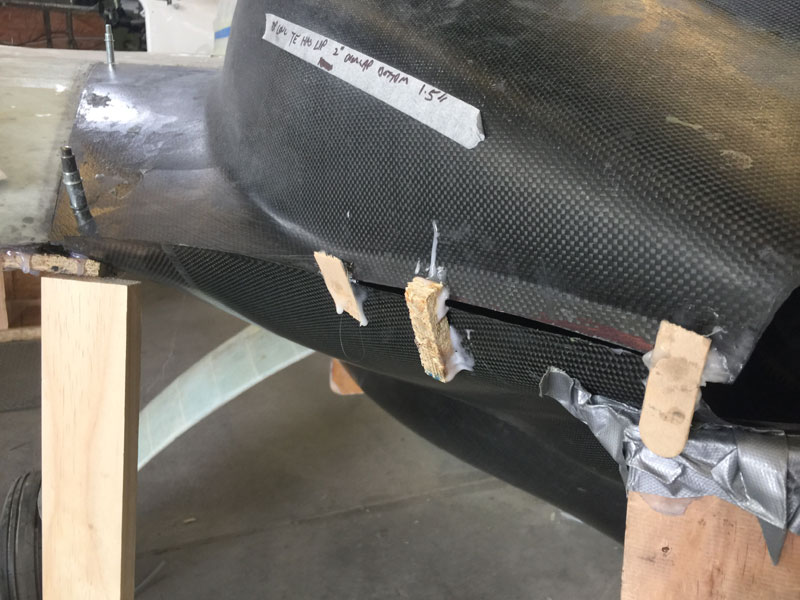
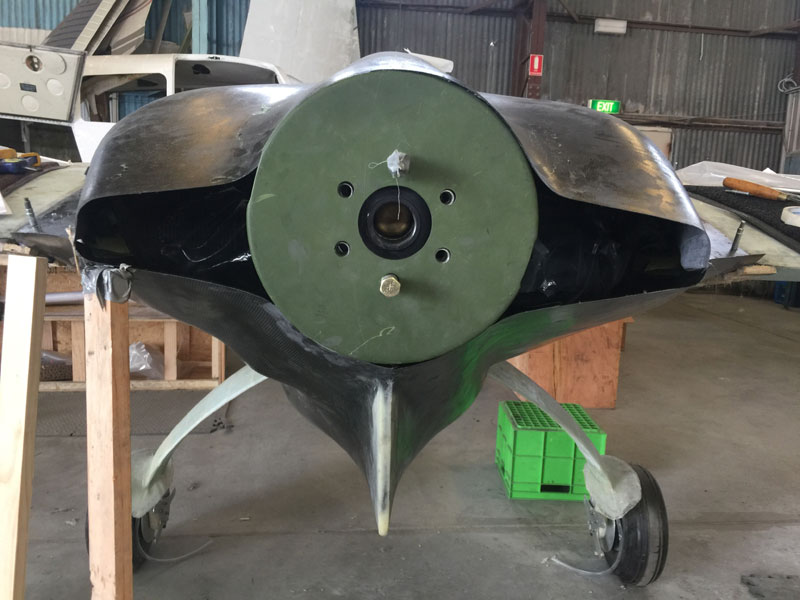
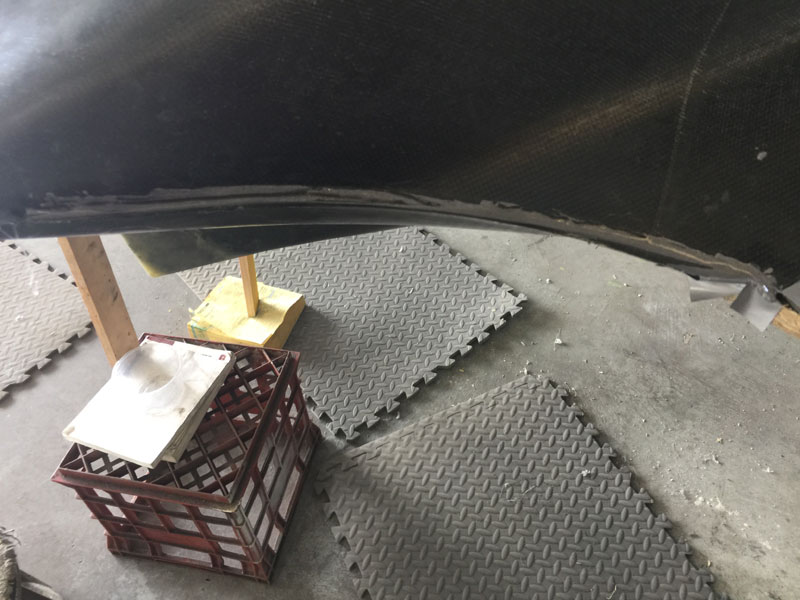
With the top on and the bottom cajoled into place using hot glue and sticks its time for the inner lip layup.
Before we go there, I did try for several hours to get the cowl into a better position with a heat gun. I had that gun at well over 200C and the cowls too hot to touch but that didn’t move them a millimeter. I think if the whole plane was carbon fiber like this and whatever epoxy was used I could paint it black, leave it in the sun all day and nothing would creep.
I again went for the mould release rather than tape. Its not pretty, I only did about 4 coats. That turned out to be less than optimum. (Mold or mould? depends on where you live)
This is ugly building beyond description. A real, “do whatever it takes” to get a result approach.
A few sticks, some hot glue and I even needed 5mt epoxy in a couple of places.
I went for a 6 ply layup, plans say 5. I have my reasons, like the sticks which will have to be removed.
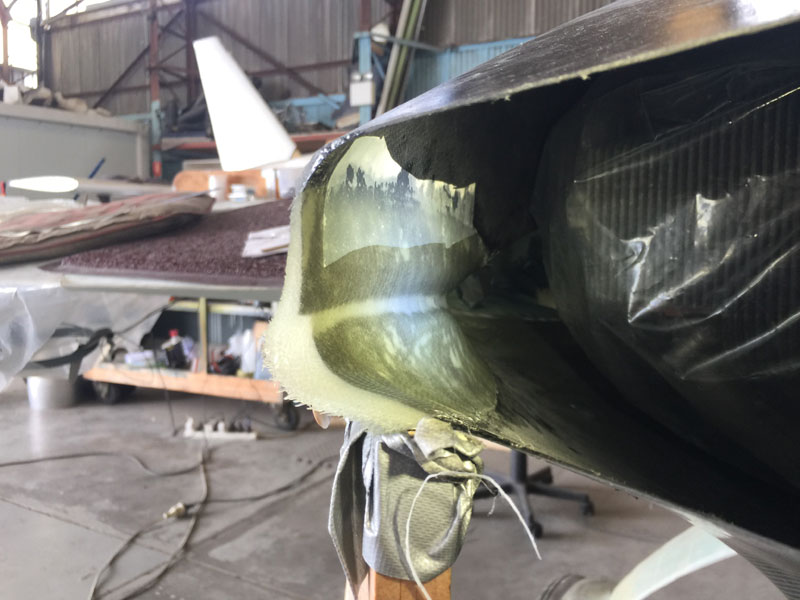
While I was at it I trimmed the edges a little closer although not to the final position. I tried adding flox with some carbon dust to see how it might go as a ‘filler’ experiment. It made me feel better about the fit too!
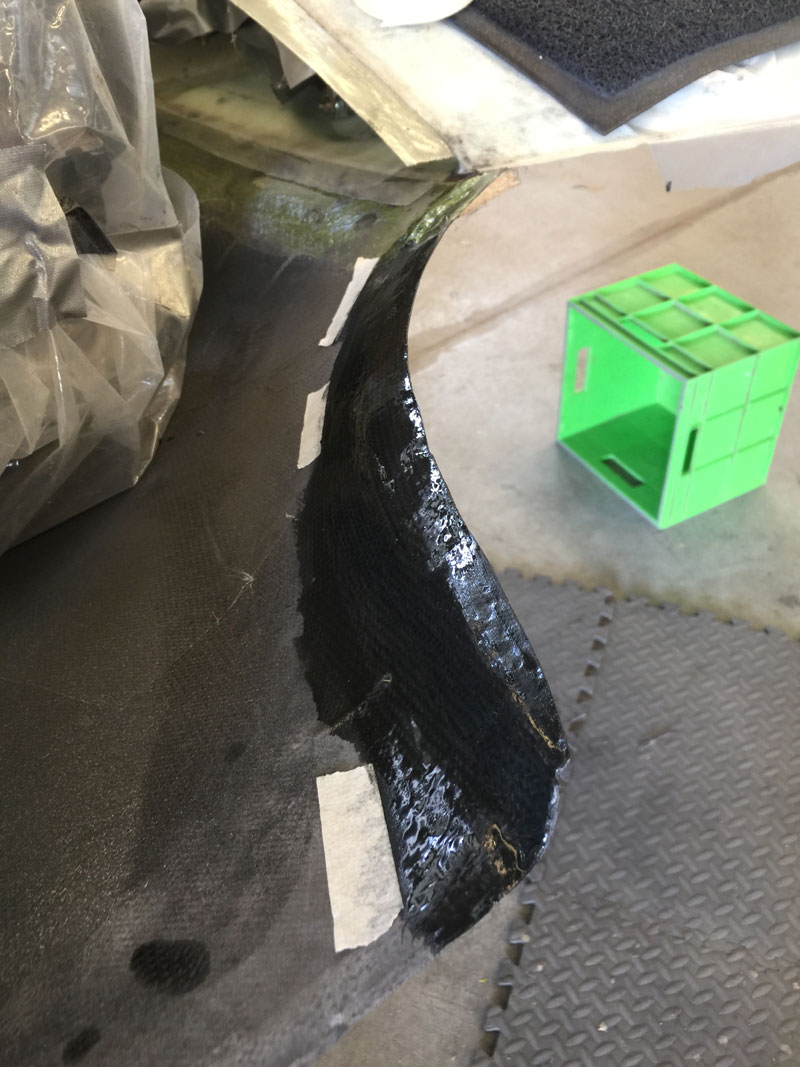
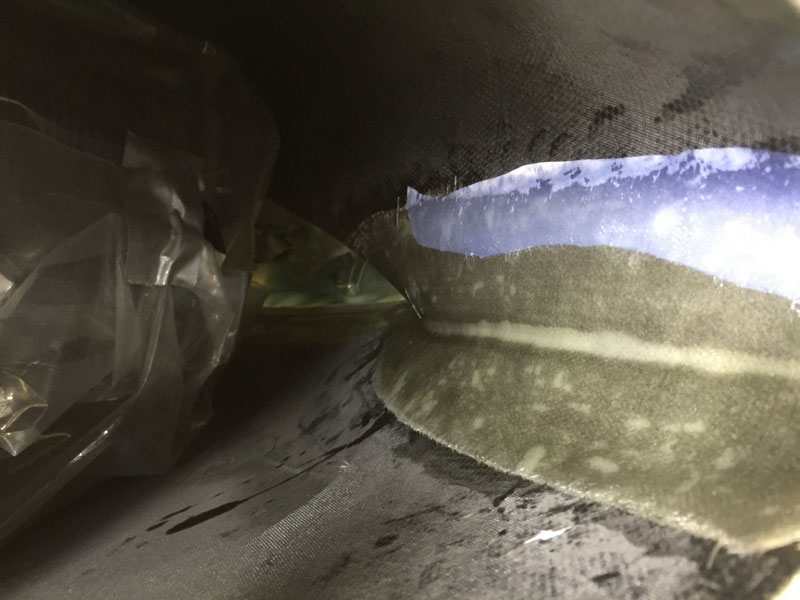
Here’s the right inside lip. The bottom half is where the ‘release’ will be, the top half should stay stuck to the top cowl. I spent some time trying to get all the air bubbles out. A few small ones in the bottom can only help the release later so I was not as fussy although did go at it for a while after this photo. I guess I can’t help myself.
While I had a long way to reach in, with the foil method it was quite doable despite being unable to see what was happening after the curve. If I’d taken the engine out first it would have been easier. Then again it would be really hard to take the engine out without the crane that was still unavailable.

