| Date: 09-11-2018 | |
| Number of Hours: 8 | |
| Manual Reference: no ref |
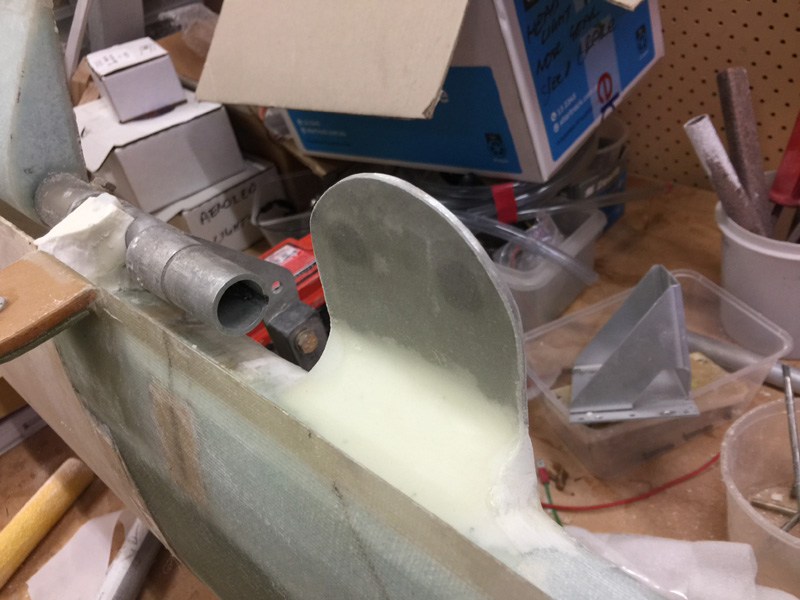
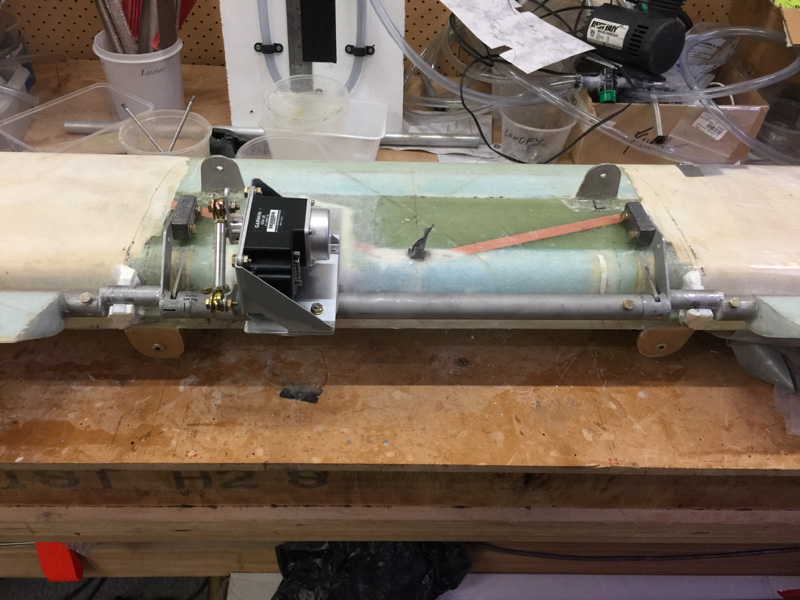
The servo mount install continues with some micro underneath the overhang.
After cure I carefully shaped the micro bed and laid up three plied of BID. After this cured and a clean up it was feeling pretty strong, with just a little flex.
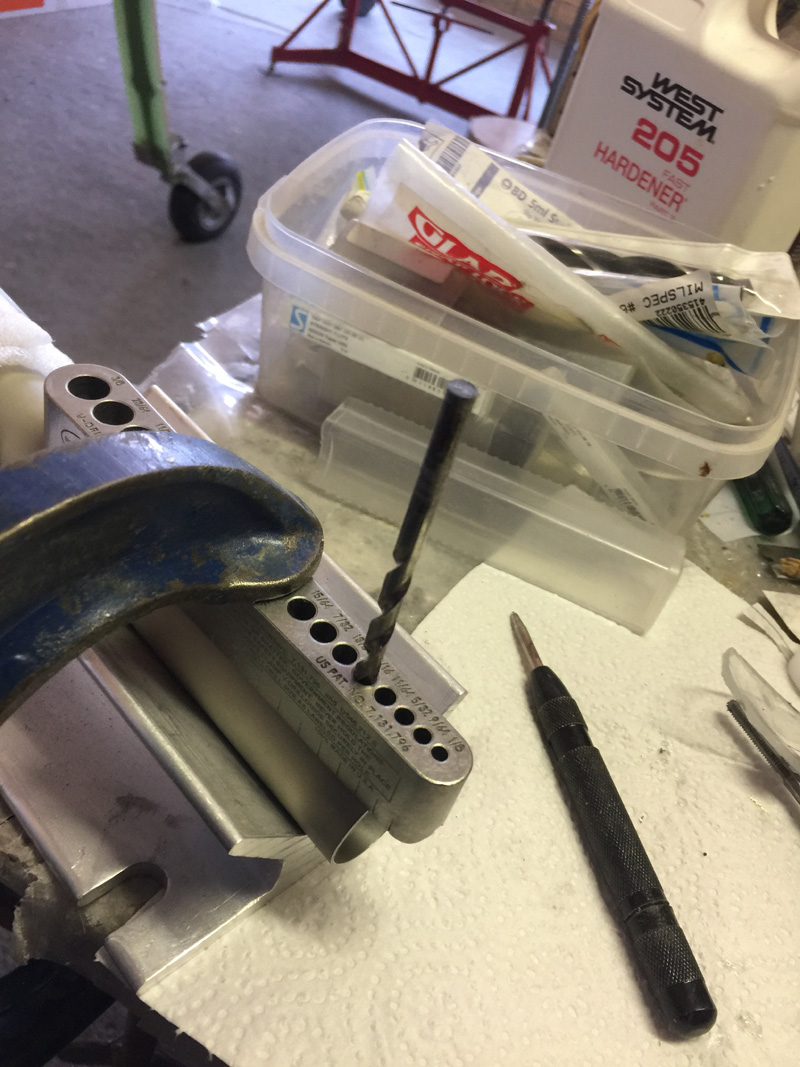
Once I added the servo mount this mount arrangement to the canard was rock solid. Then came the fitting of the push rod. I had to tap 3/16″ fine thread into the middle of the solid rod. Using the hole guide pictured below I could make a center using a drill bit by hand and then various tricks to drill a straight hole pre tapping. It worked out OK.
At this point I refitted the canard to the fuselage to ensure there were still good clearances and it was possible to remove and reinstall the canard. Yes, if you are slow and thoughtful it works well.
Time to add the connecting piece for the two elevators. I started with drilling out the holes for attaching to one side. It soon became apparent that I’d have to remove both elevator pins to get this center piece in position. I’m getting the hang of it and it is not quite the horrible job it used to be. One trick is to get the canard on the floor with the top ‘up’ so that the pins tend to fall to the bottom of the tube. This help connect the last part into the offsets.
As you’d expect the inset phenolic bearings I made for a great seal of course makes the fitting of the elevators a little more difficult. Again, no modification goes unpunished!
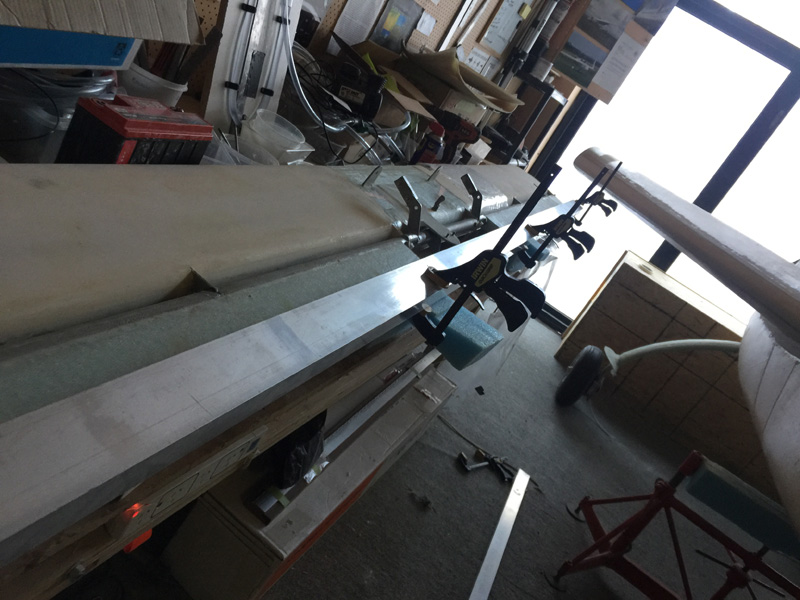
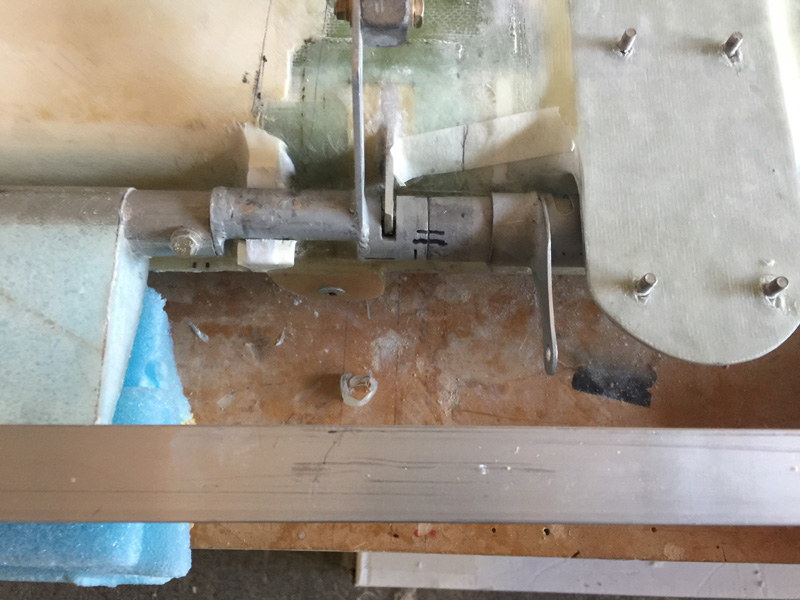
I thought of a few ways to ensure the elevators were are at the same angle when I join them. A straight edge clamped between then was obvious in ensuring the same angles, or at least as close as I can. If this is not perfect I can use a little heat to encourage things later. It is very close.
Here’s a view of the setup for the second drill out, the trim bellhorn that will work as my autopilot server control tab. The above shot is when I was drilling out for level elevators.
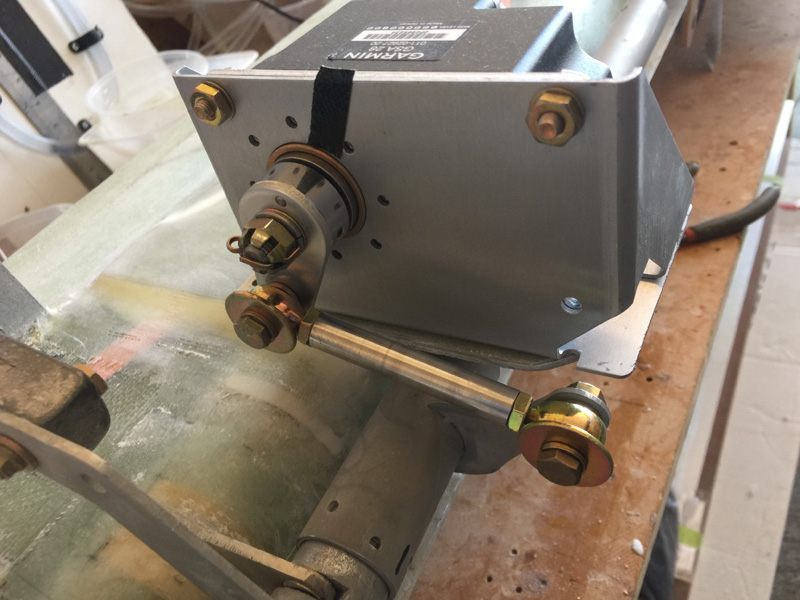
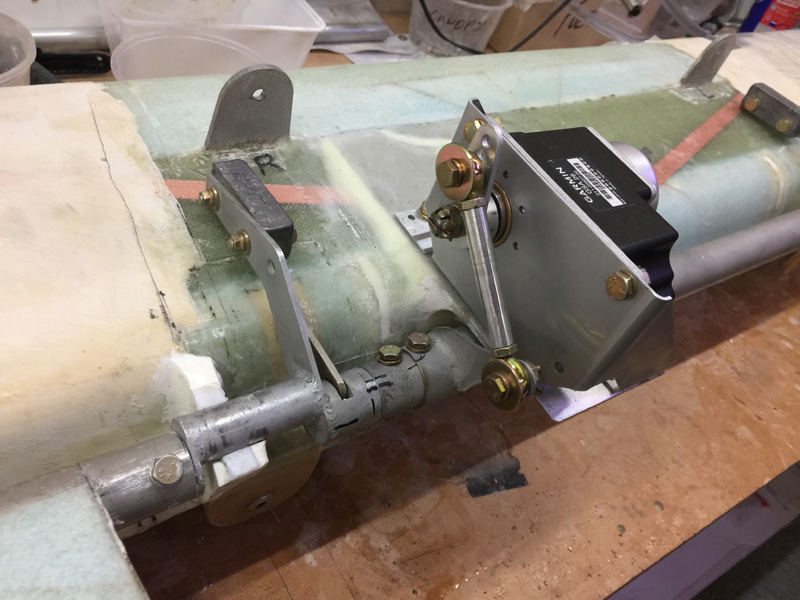
This is the pitch trim servo arm in full down… (counterweights on the canard). You might note the two AN3 bolt head too. One joins the center piece and one the servo pitch trim. Yes I could have used just one bolt but if I have to alter things later, two bolts will be easier to deal with. The trim attachment is exactly where I wanted it. So all is good. I have adjustment in that short pushrod at the rod ends if it needs fine tuning.
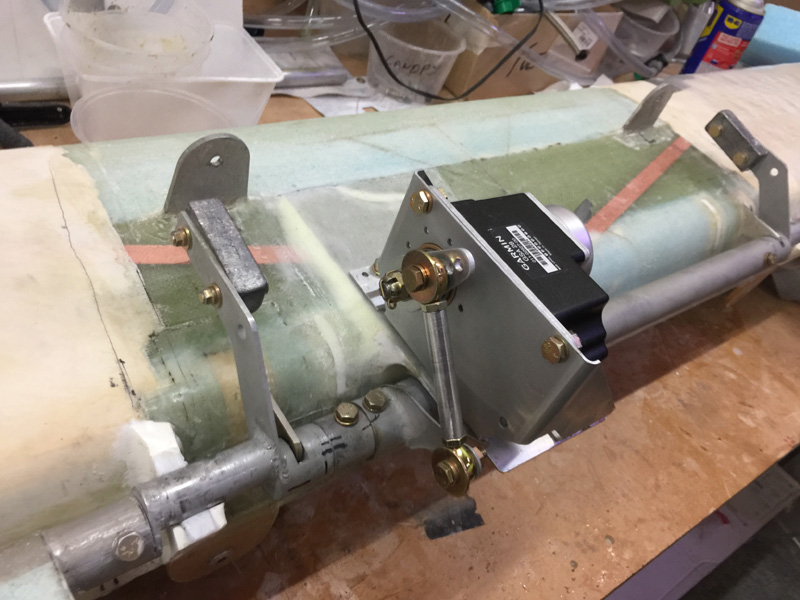
Middle position, note the approximate right angle of the servo to push rod. This is correct according to the Garmin install drawings.
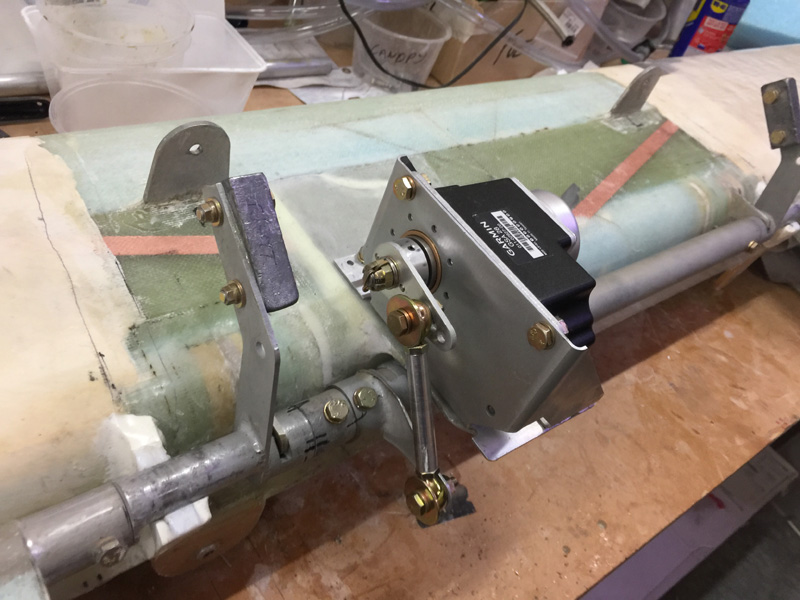
A final pic of the servo installed. Lets call this good and move on.

