| Date: 08-19-2018 | |
| Number of Hours: 11 | |
| Manual Reference: no ref |
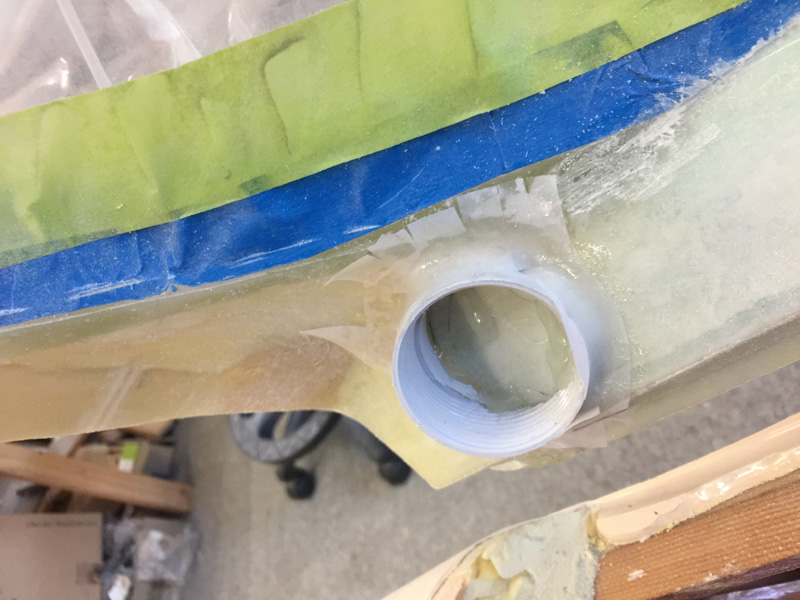
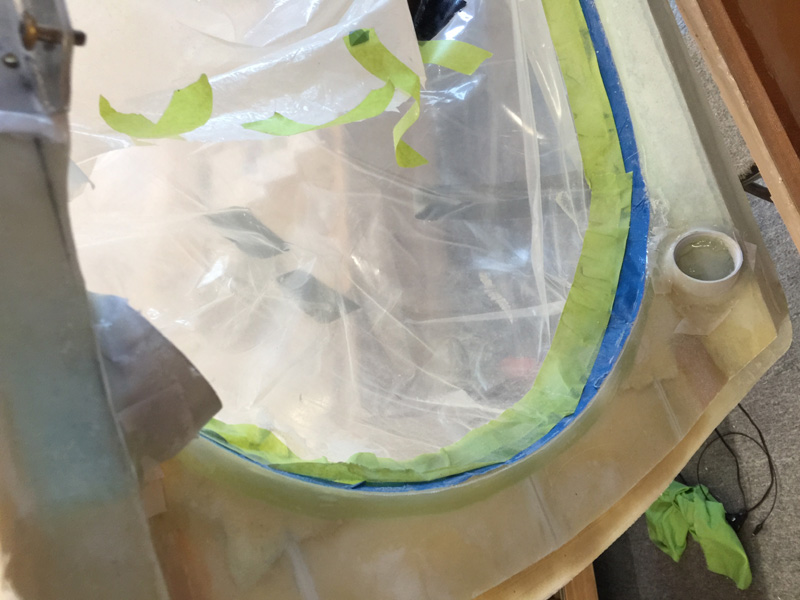
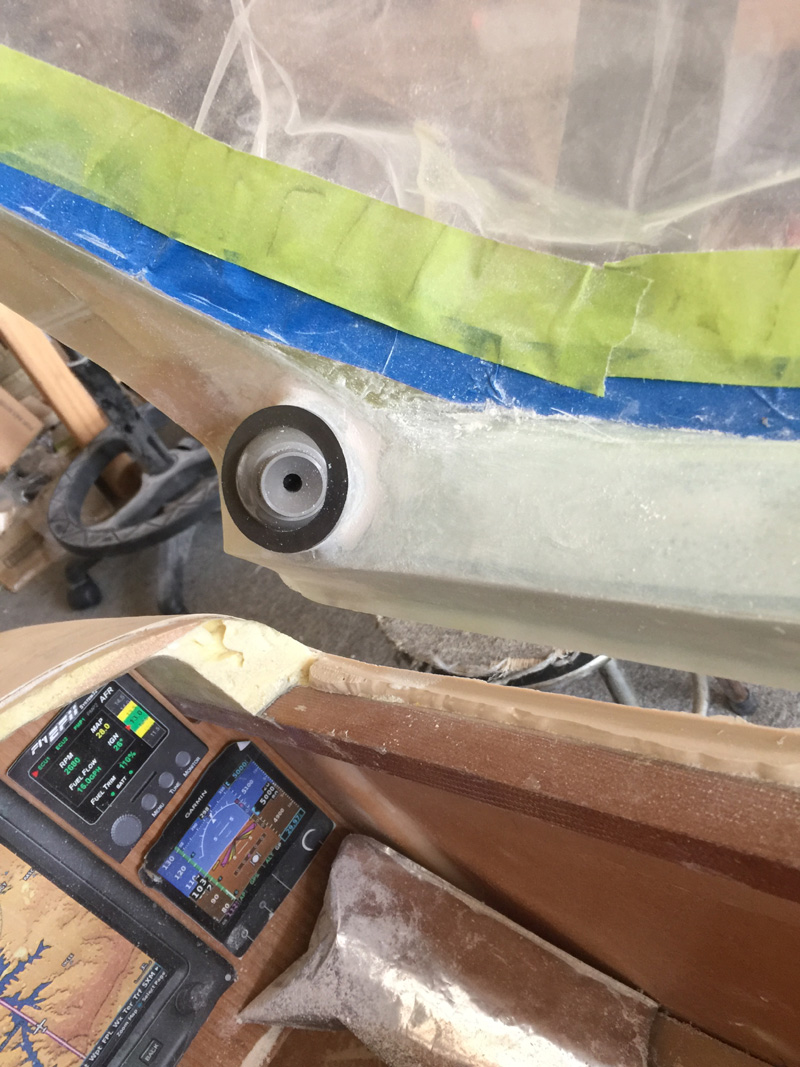
After quite some fitting I floxed the two vent holders aka plastic pipe fittings into position.
I thought I had the angles right but they did need adjustments later.
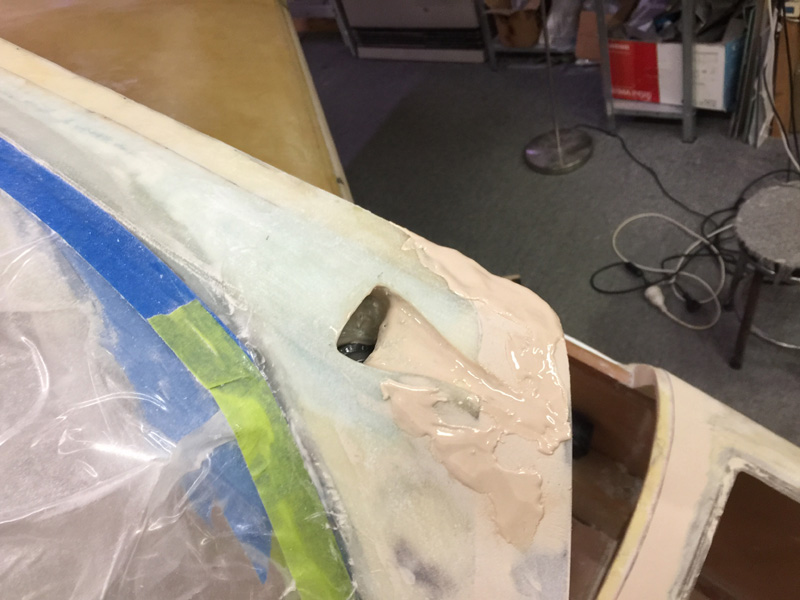
That slot you see below is access through the vent to the NACA on the outside. That got a lot of smoothing later too.
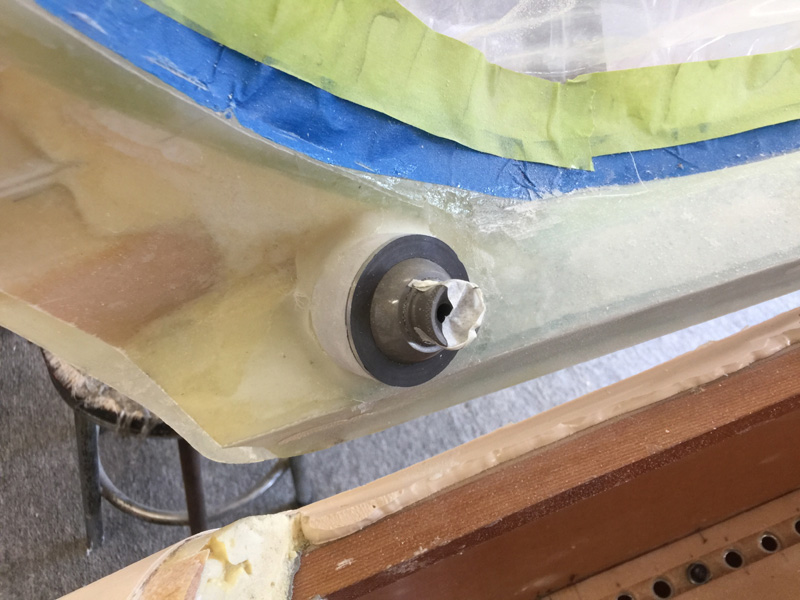
Below you can see how the vent eyeball sits in place and at an angle.
The outside NACA meanwhile had a couple of rounds of 410 filler, most of which was sanded off. The foam is sealed and I had a good smooth contour after a little more sanding.
Here you can see the vent angled and another round of filler just to get the edges flowing nicely.
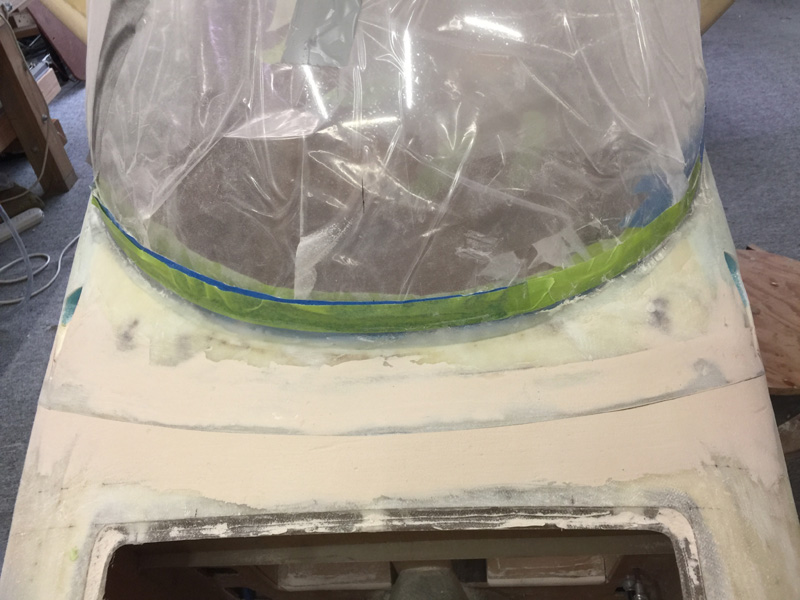
The NACA taking shape. A final tweak can wait the final contour prep work. You might notice that the front of the canopy is fared in now after a few rounds of filler. The fit is so perfect I may need to widen it a little so that some paint will sit to the edges.
Inside the cockpit. I can angle the vents towards my face which was the plan all along. I can also point one of them towards the GIB if needed so they won’t be getting their own vent. Sorry, its just more weight.
This shows the vents from above and after an hour or so of fill and sand work on the front of the canopy. I MIGHT lengthen one of the vents. While they measured perfectly I’m slightly out as the front canopy curve is not perfect. You can only see these things from certain angles and usually after I point them out to people. Sometimes I think its just better to keep moving on to the next thing. I really do want to finish this plane.

