• Home
  • Flying
    • First Flight
  • Build by Chapter
    • Ch 3 Education
    • Ch 4 Fuselage Bulkheads
    • Ch 5 Fuselage Sides
    • Ch 6 Fuselage Assembly
    • Ch 7 Fuselage Exterior
    • Ch 8 Roll Over/Seat Belts
    • Ch 9 Main Gear/Landing Brake
    • Ch 10 Canard
    • Ch 11 Elevators
    • Ch 12 Canard Installation
    • Ch 13 Nose and Nose Gear
    • Ch 14 CenterSection Spar
    • Ch 15 Firewall and Accessories
    • Ch 16 Control System
    • Ch 17 Roll/Pitch Trim System
    • Ch 18 Canopy
    • Ch 19 Wings, Alierons
    • Ch 20 Winglets/Rudders
    • Ch 21 Strakes – Fuel/Baggage
    • Ch 22 Electrical System
    • Ch 23 Engine Installation
    • Ch 24 Covers/Consoles
    • Ch 25 Finishing
    • Ch 26 Upholstry
  • Build Mods
    • Liquid Cooling, Numbers, Weights and Flow
    • Cooling
      • Solving Ground Cooling 1
      • Solving Ground Cooling 2
      • Solving Ground Cooling 3
      • Solving Ground Cooling 4
      • Solving Ground Cooling 5
      • Solving Ground Cooling 6
      • Solving Ground Cooling7 – Test Data
      • Solving Ground Cooling 8 – Flap Building
      • Solving Ground Cooling 9 – Hinges
      • Solving Ground Cooling 10 – Lower Flaps
      • Solving Ground Cooling 11 – Upper Flaps
      • Solving Ground Cooling 12 – Completed
      • Cooling the Beast 1
      • Cooling the Beast 2 – Lower Cowl Expansion
      • Cooling the Beast 3 – KW Oil Cooler Diffuser
    • EVS (Enhanced Vision System)
    • Cowl Keeper
    • Rudder Gust Locks
    • Wing Fences
    • Post Cure
    • Hinge Upgrade
    • RAM Air & Hellhole Cover
    • Main Gear Beef Up
    • Pilot Side Windows
    • Baggage Pods
    • Winglet Intersection Fairings
    • Titanium Rollover
    • Nose Gear Doors
    • Wheel Pants/Gear Leg Fairing
    • Cabin heating System
    • Fuel System
    • Roll and Pitch Trim
    • Oxygen System
    • The Ferry Tank
    • Cruise Angle Indicator
    • Fire Extinguisher Install
  • Round the World
    • RTW Route East #12 rev1
    • Survival Equipment
    • Training Flights
  • Other Stuff
    • Blog
    • Around the World: RAAUS Sport Pilot Issue 110
    • Taxi Tests
    • Summary Feb ’24 from an SAAA Meeting
    • AOPA Pilot 27th Sept 2019
    • Build Tests
    • Flying Stories
      • A Long Easy Dream ’06
      • Townsville ’07
      • Cairns ’08
      • Albany ’08
      • East Coast ’08
      • Brisbane ’09
      • Cairns ’10
      • Perth ’10
    • Non Build Mods
      • F16 Scoop for JZE
      • Ram Air Box for JZE
      • Strange Tips
    • Milestones
    • Links
  • Contact

Blog

Home
Ch 18 Canopy
Installing the Canopy Hinges 1

Installing the Canopy Hinges 1

7 years ago
Dave Berenholtz
Ch 18 Canopy
Date:  02-18-2018
Number of Hours:  10
Manual Reference:  18-7

This has been off and on since late last year. I found that the plans canopy hinges were not wide enough because of my enlarge canopy footprint. So at great expense I ordered a wider hinge. That arrive after a few weeks and I soon realised I’d messed up and I needed an even wider hinge by about .25″  Well the cost of that one was enough to make you weak at the knees. Like nearly $450. I had to order a length of 72″, I needed 16″…. AND it took more than six weeks to arrive.

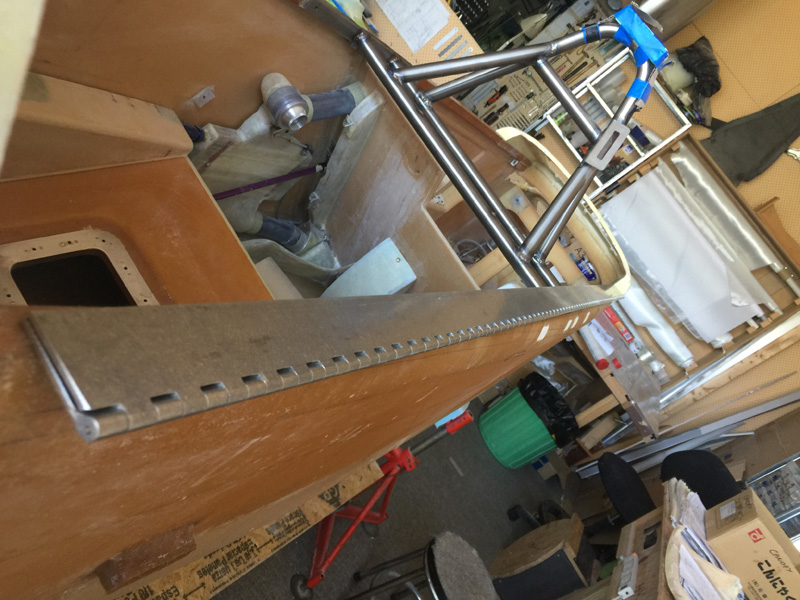
So for those who care thats an MS20001-12 Aluminium Hinge, Butt. I just think of it as a hinge that is 1.75″ wide when folded. Wide enough. Let me know if you need some.

This is all I needed. 2 X 8″

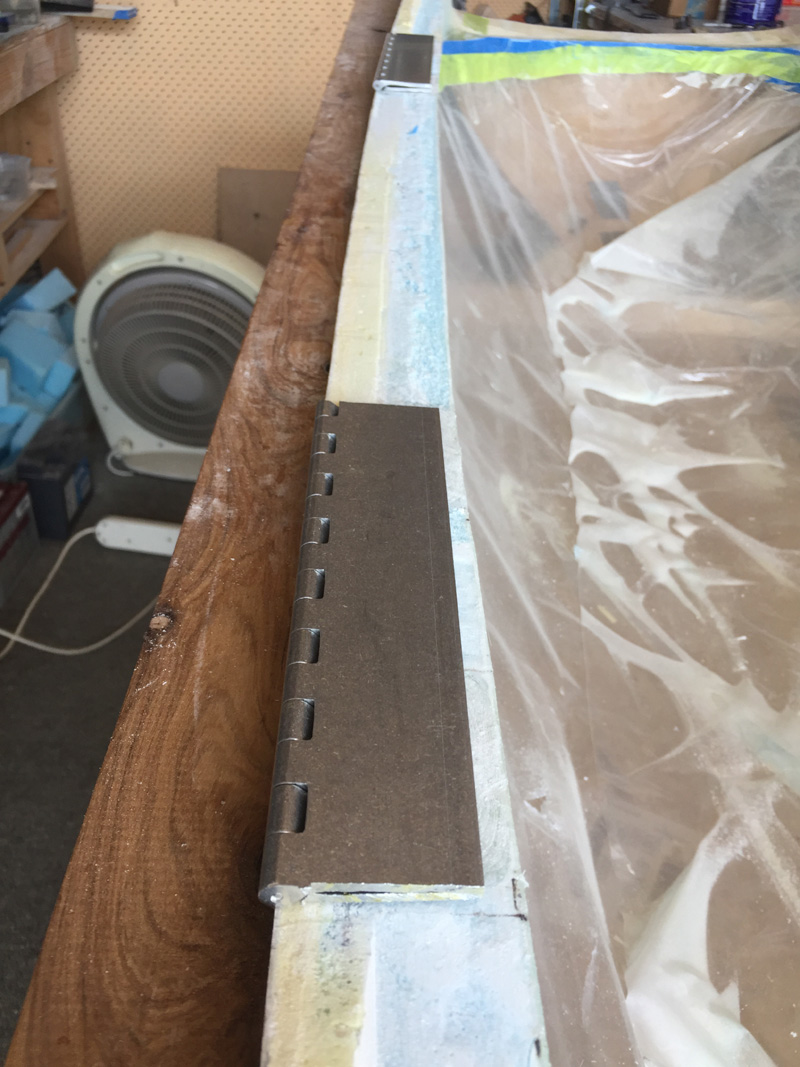
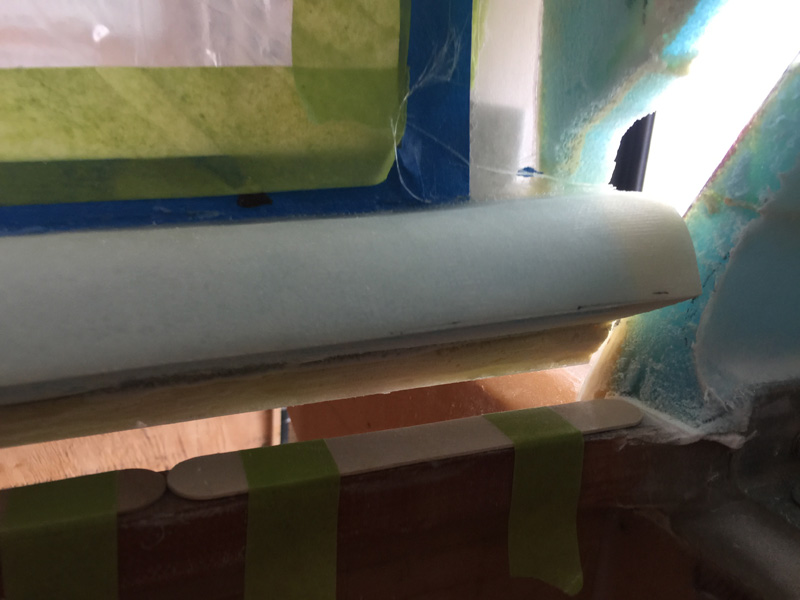
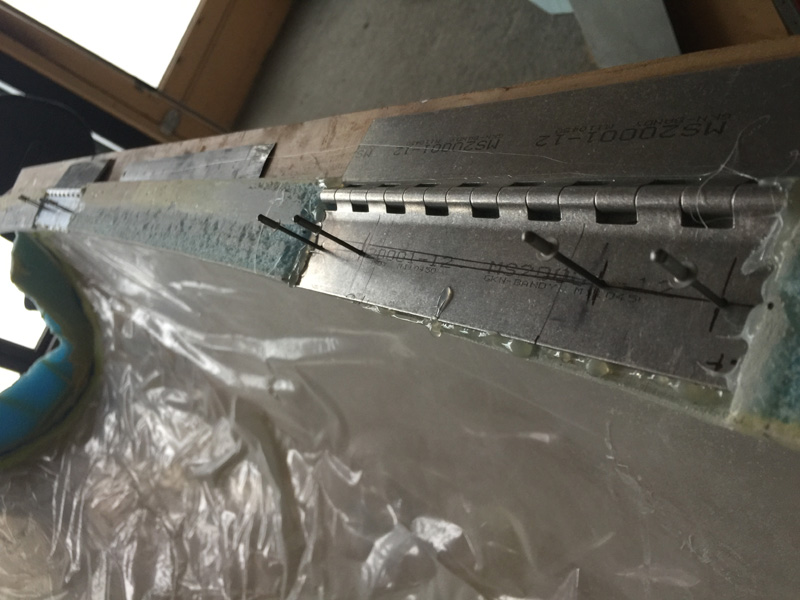
I’m jumping the gun a bit here but I wanted to show you how these hinges line up. Before that some hours were spend inlaying the hinges below the top of the foam as you see above. That meant grinding out some hardpoint material. The canopy was refitted multiple times to ensure the cutout was deep enough. Fun and games.

Yes I was very lucky to have John C. a Quickie builder and pilot, given me a hand for a few hours over a couple of days. Moving the canopy is 100% a two person job. Thanks John!

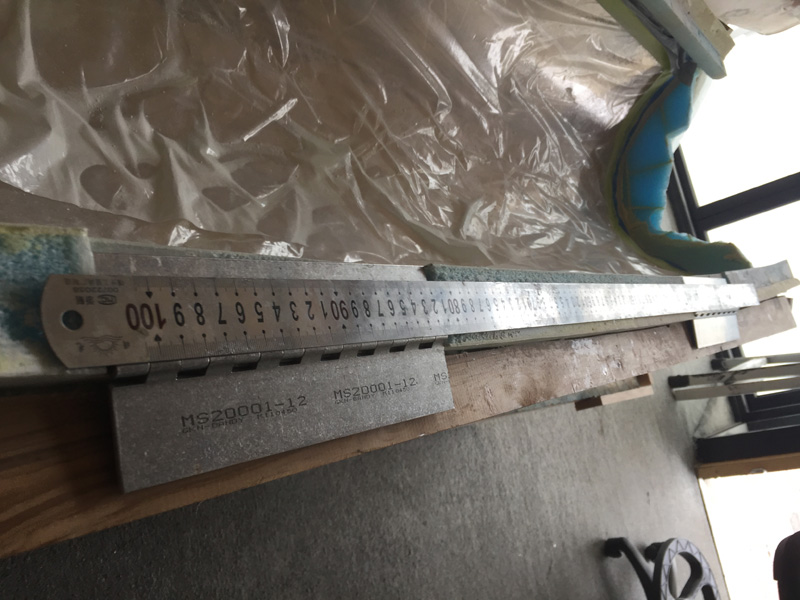
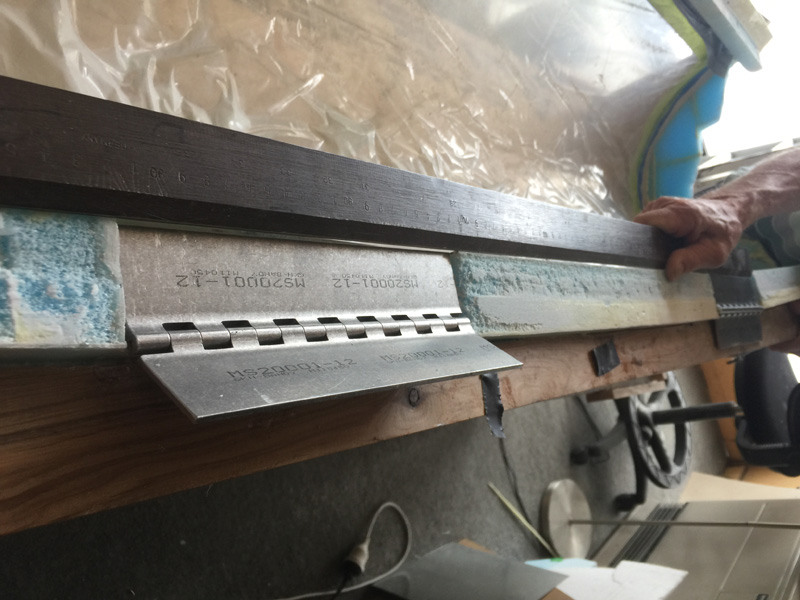
Here’s another shot showing that the important part is in line, the hinge pins. I thought this was going to be really difficult and had ideas about installing a long length and then cutting away the middle after it was drilled out to ensure the hinges were perfectly in line. Naaaa, I was wrong, it’s easy with a couple of rulers.  The trick is to ensure the canopy opens correctly, meaning that the hinge line must be far enough out towards the edge of the fuselage.

Meanwhile I was thinking ahead that the bottom of the canopy rail is yet to be glassed and I need to ensure that the canopy will sit back down far enough after four plies of glass. If it sits Ok with a tongue depressor as a spacer that means I’ll have more than enough of a gap.

You can’t see it, but the hinges fit in their slots and the canopy sits on the longerons with a reasonable gap. A smear of micro later and it will be perfect. John was again a huge help getting that big heavy canopy in the frame on and off.

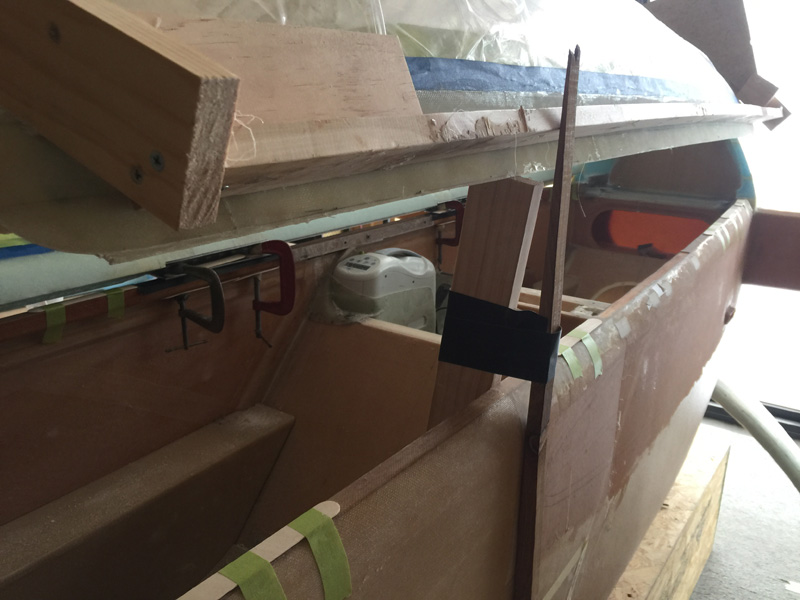
Having spent some time cutting down the right canopy edge in anticipation of the required clearance when opening, we were up to trying it out. I covered the hinge area with gaffer tape and hot glued the hinge and canopy top to that.

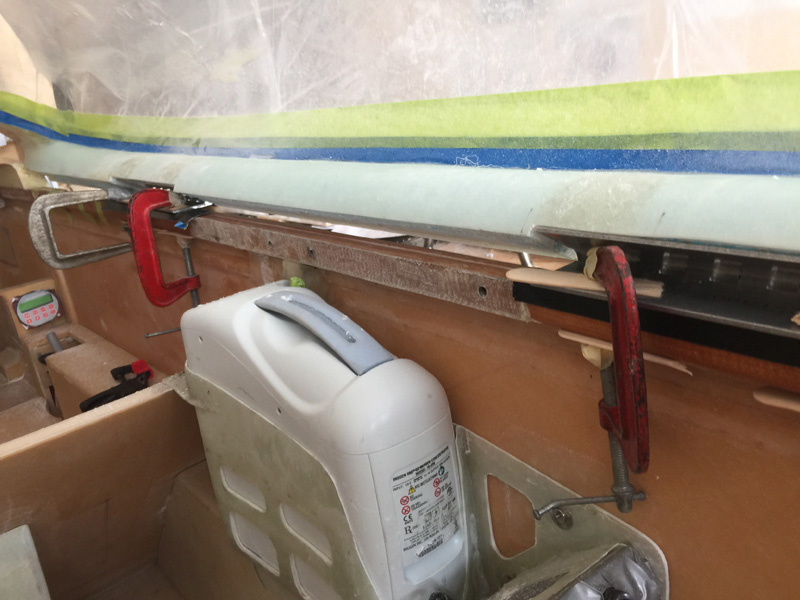
Given the weight of the canopy that hot glue became a pivot point. It needed to sit down while we tested the opening clearances. While John held things open, I added a couple of clamps to keep the hinges down where they needed to be.

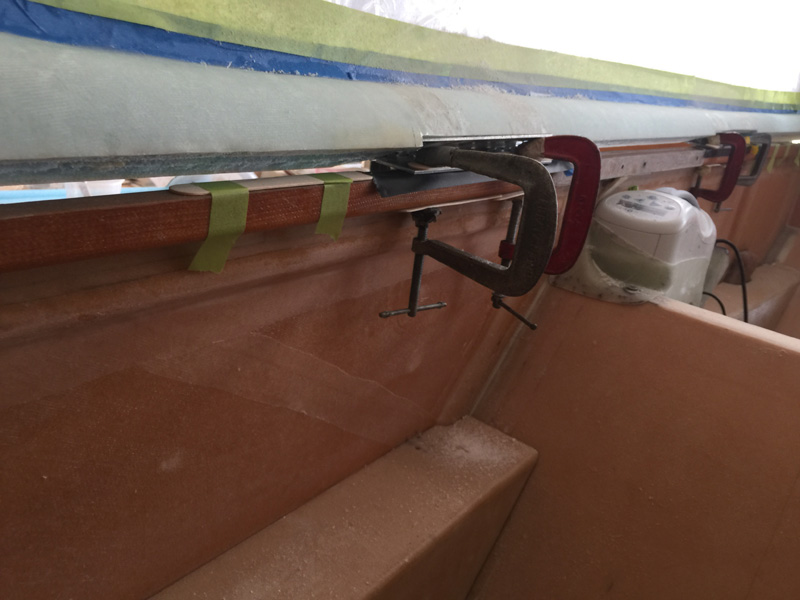
Here’s another shot of the same thing. Obviously you can’t close the canopy now.

Here’s how you can hold it open if you need a rest.

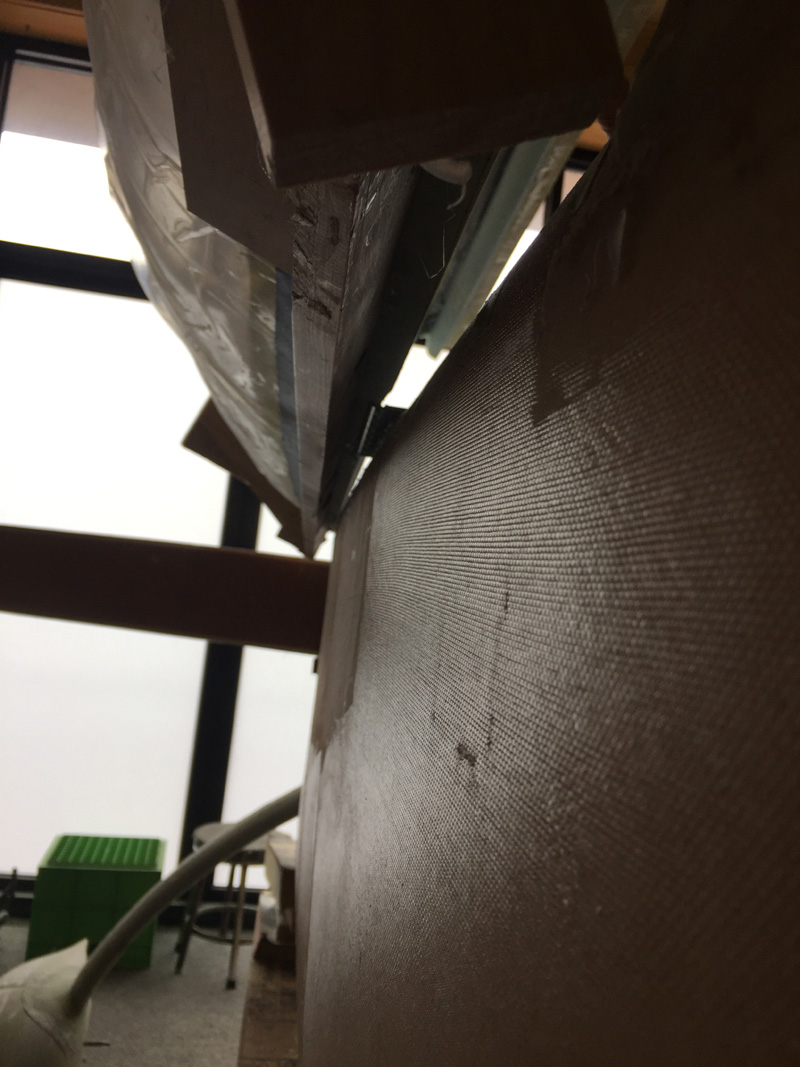
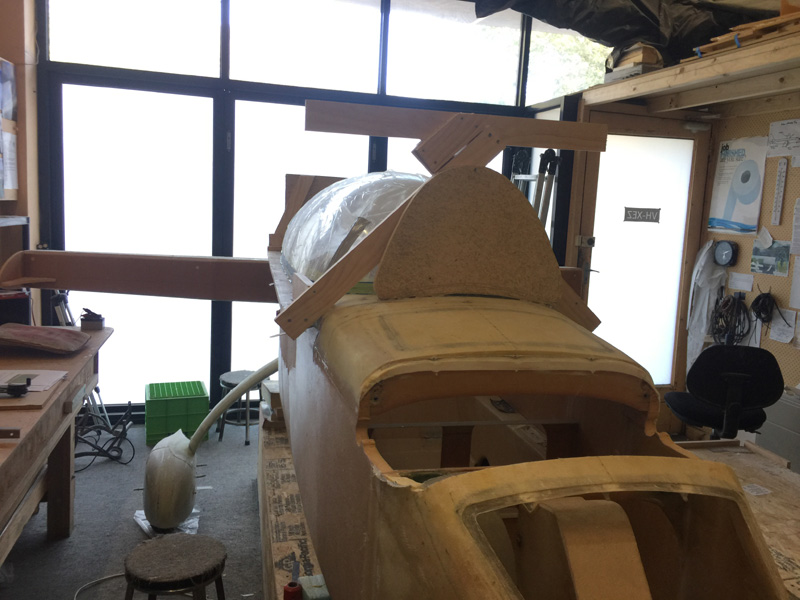
This is the canopy where we opened it wide and there is massive clearance. You’d think way too much BUT… I still have to build the sides out straight rather than curving inwards. This is yet another legacy from the canopy being blown too wide that I’m working around. It will be all good in the end and I will have my ‘French’ canopy.  The hinges seem way off from the edges but trust me it will all be well supported eventually and might even look like this is what I intended. Ha!

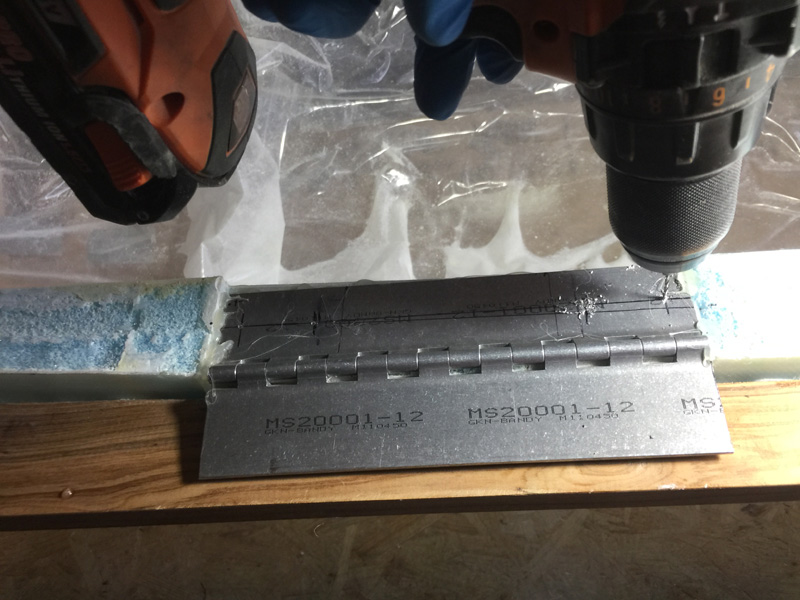
With the hinges in line and 5mt glued in place and everything checked, I went to make 8 marks for the screws. To my horror then I used the center punch the 5mt glue gave way. Fortunately I was able to re-position it exactly using the glue witness ridges and yet again endless checking with straight edges. That was when I got a little excited with the hot glue gun.

Now we have some holes where they should be and I can continue on tomorrow drilling them up for the bolts. After that I can take the hinges off alodyne them… oh, I’ll tell you all about it later. There is still a bit to do before the hinges get attached to the longerons. I am very happy to be getting this done.

Previous Post
Hinge Planning and Hardpoint Extension
Next Post
Installing the Canopy Hinges 2

Leave a Reply Cancel reply

Your email address will not be published. Required fields are marked *

Fill out this field
Fill out this field
Please enter a valid email address.

CategoryLogsHours
All157617079
Uncategorized135
Ch 3 Education220
Ch 4 Fuselage Bulkheads25231
Ch 5 Fuselage Sides32283
Ch 6 Fuselage Assembly30270
Ch 7 Fuselage Exterior14140
Ch 8 Roll Over/Seat Belts990
Ch 9 Main Gear/Landing Brake71642
Ch 10 Canard28287
Ch 11 Elevators36298
Ch 12 Canard Installation12102
Ch 13 Nose and Nose Gear1291097
Ch 14 CenterSection Spar57525
Ch 15 Firewall and Accessories448
Ch 16 Control System27237
Ch 17 Roll/Pitch Trim System654
Ch 18 Canopy70502
Ch 19 Wings, Alierons1271090
Ch 20 Winglets/Rudders71528
Ch 21 Strakes - Fuel/Baggage65437
Ch 22 Electrical System591031
Ch 23 Engine Installation961152
Ch 24 Covers/Fairings/Consoles25202
Ch 25 Finishing561084
Ch 26 Upholstry340
Fuel System46310
Rollover1050
Cabin heating System60331
The Ferry Tank335
Blog2694182
Build Mods2252513
Nose Gear Doors856
Wheel Pants/Gear Leg Fairing40473
Oxygen System762
Roll and Pitch Trim964
Winglet Intersection Fairings445
Baggage Pods11104
Pilot Side Windows437
RAM Air & Hellhole Cover15177
Main Gear Beef Up322
Post Cure124
Fire Extinguisher16
Wing Fences13
EVS (Enhanced Visual System)130
Hinge Upgrade115
Cowl Keeper110
Rudder Gust Locks19
Cooling20607
Taxi Tests42
Flying10

Complete the Test Flight Program

2025/6/30 10:26:01

Round Australia in Four Flights

2026/4/1 10:26:01

Round the World Departure

2026/8/22 10:26:01

Rough River Flyin, Sept 23, 2026

2026/9/23 10:26:01

© Copyright 2025 Dave Berenholtz