| Date: 04-16-2016 | |
| Number of Hours: 10 | |
| Manual Reference: 24-2 |
This is about securing the front of the pilot’s seat. The back is hinged with removable pins. Now the front after many hours of thought also has hinges but positioned so that they are secured with one half on the seat and the other on the floor cavity seat support. The idea is that a 3/16″ piece of piano wire locks the two in place.
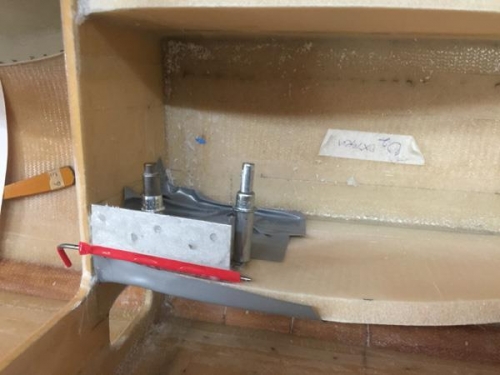
To achieve this I located the bottom half with clicos while it was floxed in place and at the same time with the hinge held at 90 degrees with hot glue, I also floxed that other half to the underside of the movable seat top. Pic 1 explains this. After I closed the lip on all that flox I put a lot of weight on the seat to ensure it was positioned in the hinges. A lot of release tape and grease was also in play.
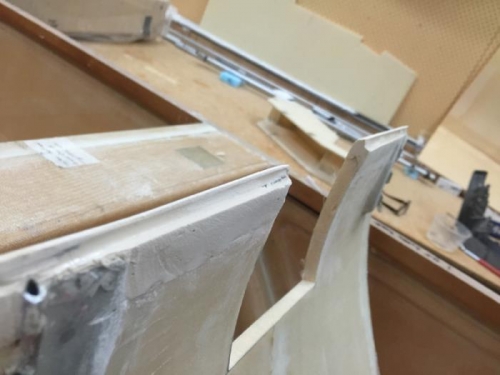
This was a pretty big operation done one side at a time. Then I cleaned it all up and did 2 ply of BID over the hinges. After several days of fiddling I had my hinged lid and secured by pins. Next up was several cure cycles using 410 filler and epoxy to make a nice lip as you see in pic 2.
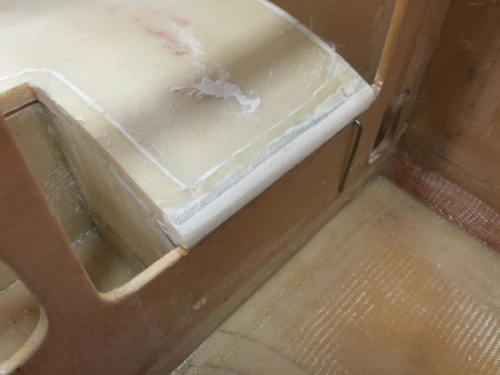
Pic 3 shows my closed seat which you can stand on as its as solid as a rock. I’ve contoured the lip which also seals off the storage area below the seat. I’m not sure exactly how I’ll secure those hinge pins. For now they are bent inward so they lock in place which sorta works. I’ll probably add a keeper and a bit of cord later.
Floxing front hinges
Filled lip
Secured seat


