| Date: 08-19-2015 | |
| Number of Hours: 5 | |
| Manual Reference: 20-4 |
This and the next entry were all on the same long day. I thought you might like 6 pics instead of 3.
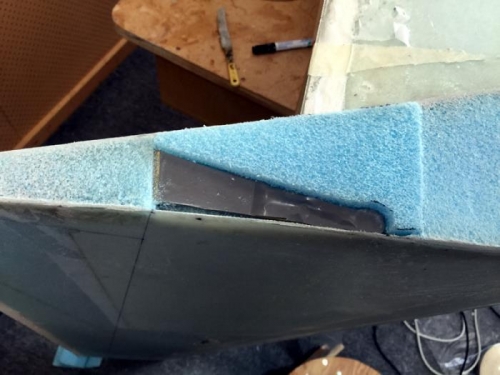
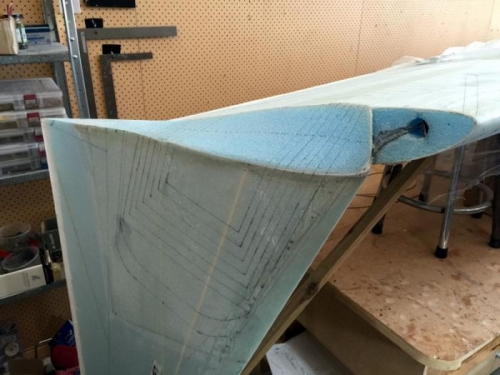
I began by adding filler foam around the bellhorn and then blending those pieces into the winglet curve as you can see in Pic 2 where I’ve also finished off the sanding prep work.This pic shows the lines marked out for the BID and UNI layups. It was a little quicker than the first time I did this on the right wing. Hey I am going to paint this plane so who cares about a few lines. It really makes a complex layup very easy.
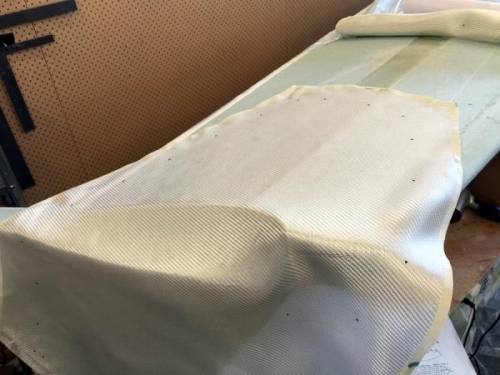
Pic three shows after I’ve cut all the glass out with the first ply of BID going down. The edges are contained in tape and its then easy to get the bias accurate and straight. Once in place I wetted the ply with a roller and then cut the edges to the lines. Next was ply two of BID, the same again just slightly smaller so the outsides will blend more easily later.
Foam filler
Layup lines
First ply of BID


