| Date: 07-04-2014 | |
| Number of Hours: 10 | |
| Manual Reference: 19-7 |
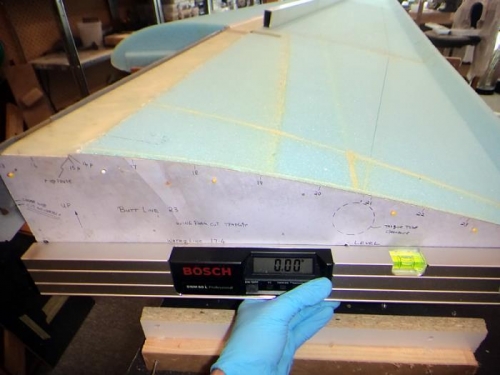
Now with the wing on the jig, I spent a while ensure both ends were level as in pic one. You can just see an aluminium straight edge in that pic and I worked on getting the wing as flat and straight as I could. This just meant a few sticks between the jig tops and the wing.
My UNI tap is 3.1″ wide and the cap area seemed a bit smaller than that in some places and pretty close in others. Plans tapes are 3″ wide, mine give me a bit I can sand off. That’s one viewpoint.
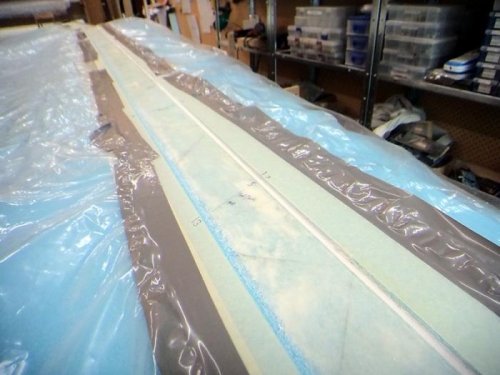
Pic two shows the widened trough after a bit of work. I decided to leave the foam bare and just use pure epoxy during the layup to seal it. On the other side I added some micro as there were a few gaps from joining the top half of the wing cores that needed attention. These were later sanded to remove the shine for a good bond.
The UNI lengths are adjusted in the CP’s to allow for thinner UNI tapes than plans just like the bottom spar cap but again the BL and the lengths given don’t make sense as you end up with incorrect overlaps with a longer ply above a shorter one. My brain again took a while working it all out…
Here are my numbers…
1st BL 23 (0″) Full length to the tip 142″
2nd BL 23 (0″) Full length to the tip 142″
3rd BL 23 (0″) 122″to the tip 140″
4th BL 25 (-2″) 119″
5th BL 29 (-6″) 90″
6th BL 33 (-10″) 71″ to BL 92
7th BL 35 (-12″) 61″.
8th BL 39.5 (-16.5″) 45″
9th BL 41(-18″) 39 to BL 78
10thBL 47 (-24″) 20″
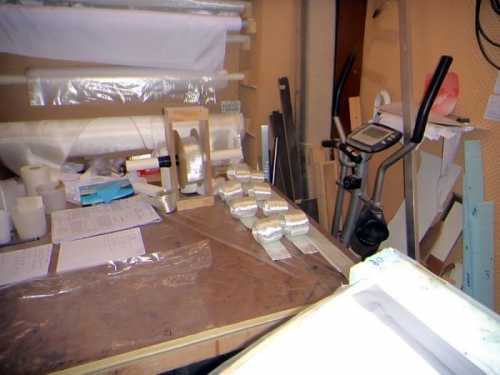
Pic 3 shows some of the prep with the UNI rolled up and labeled. I had pre cut peel ply and some plastic. It takes a few days work. Prep is a big part of making the layups go well on the day. I write out plans and all the steps so I don’t forget things.
Checking for level
Wing protection
UNI rolls prepped and ready


