| Date: 10-15-2016 | |
| Number of Hours: 10 | |
| Manual Reference: 13-11 |
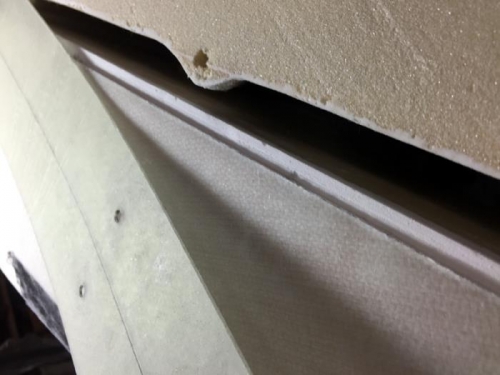
Over a few days I filled and fiddled with this faring. The long piece from the previous log came out OK as you see in pic one. I did find it tended to sit up a bit but found that some applied heat and I could put a bit of a bend in it. All the careful molding for curve was a waste of time. A blast from the heat gun can do wonders to a straight piece glass ply of that thickness.
I very carefully maked out and cut a groove into the bottom of the fuselage for this faring pice to sit flush. Yet it wouldn’t sit flush, I had to cut the glass away from the gear leg and lower the foam. You can see the bare foam in pic 1 where I’ve made it fit. I did another layup as before to cover the foam. You have seen this in a previous log so I’ll spare you the pics. Needless to say it is easy and fast the second time.
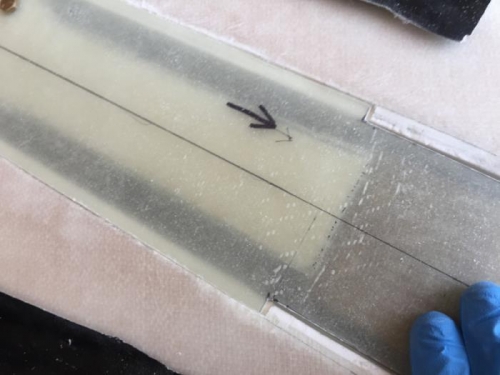
Pic 3 shows where I have spent some time making the cover piece fit into the end of the nose underside so that when the gear goes down the faring fits OK. This is pretty precise and I have a simple plan for how this will seal. A very small gap will do the job. That’s for a later log.
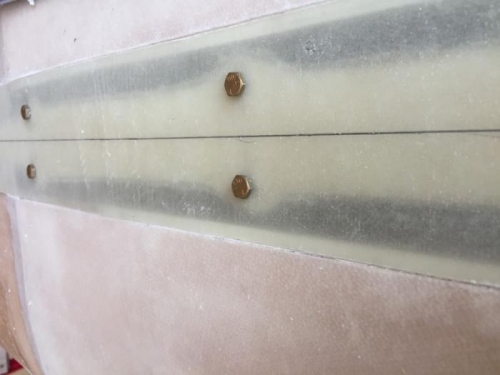
The bolts in pic 2 will be replaced with countersunk screws. This all might work out eventually.
Making it fit
Sitting in the groove
Front notches


