| Date: 07-07-2016 | |
| Number of Hours: 10 | |
| Manual Reference: 13-11 |
After cutting off the nose I spent a couple of hours cleaning up and digging out a bit of foam. I had to recheck the head light fitting and adjusted the mount a little more. Still a bit to do here. I also spent some time thinking about how in the world am I going to do this nose thing with the hatches and will I use screws or hinges? Which bits to do now and what comes later??? ahgggrrrr
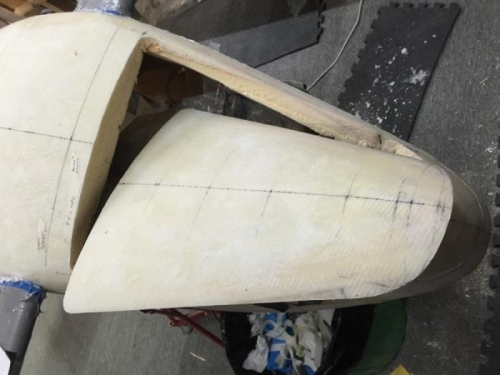
I almost have a plan now… almost. Meanwhile I definitely needed to cut out the hatch. I was going to do a removable nose but realised if I make the hatch forward and wide I may be able to get the light out for maintenance. I also need to install the nose clear lens later and somehow fit the heated pitot without a cut and shut of the nose tip…ouch!
The pitot is still a mystery. I am going to have to make a dummy nose, get in a dark place and do some testing to see if the pitot position will case shadows from the taxi/landing light. I also need to test the submerged tube idea which is hard because my spare/testing altimeter died. That’s another story. I might have to build a wind tunnel and a manometer!!!
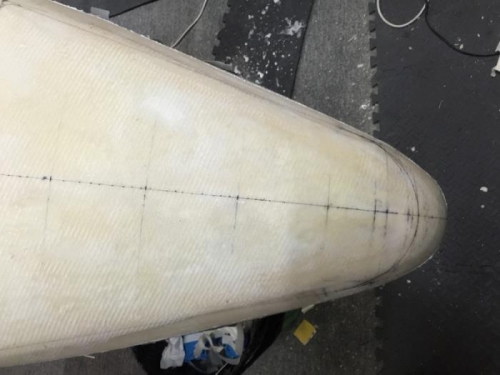
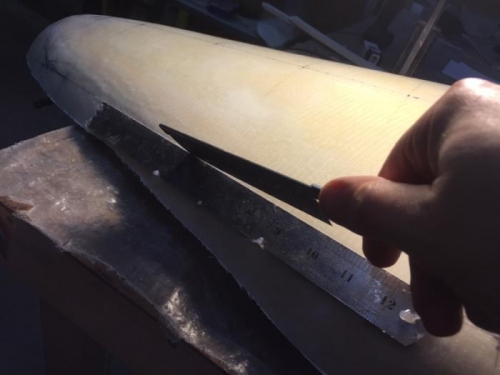
Back to the hatch. I spent more than a day just laying it out and thinking about access. I was not happy with the vibration saw cut slicing off the nose. It was not pretty. This time I used really thin hobby saws, Pic 2. I hot glued a ruler to the line as a straight edge and this worked perfectly. For the corner and face curves, I just dragged the tip of the blade very slowly around the line. Once I had a groove more persistence had me cutting a curve right on the line.
I’m much happier with going slowly by hand for this sort of work. Good result. Oh yeah, and I’m not doing screws or hinges for securing the hatch. All will be revealed in later logs.
Lines in the right place
Super careful cuts
Perfect result


