| Date: 06-28-2016 | |
| Number of Hours: 15 | |
| Manual Reference: 13-10 |
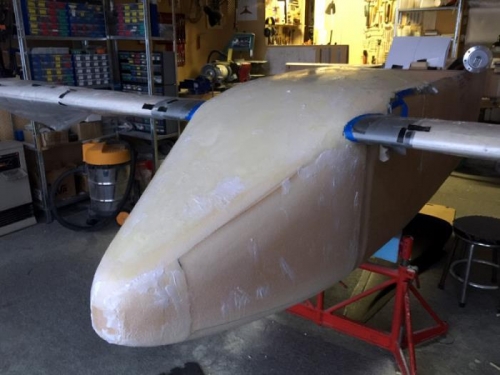
I decided to hard shell the nose. This is just a coat of epoxy that is cured before the glass layup. I needed to do a bit of filling as well to even out the foam. Otherwise I could just see the glass would trap air. Several days were spent after the first coat of pure epoxy cured. Then I did two rounds of dry micro to fill the pin holes and minor craters in the pour foam.
I’ll need a little more filler post glass to ‘perfect’ the shape. Ha! Well I’ll improve it anyway. This will be the lighter West 410. For this initial fill I used regular stiff micro which applys pretty well with the squeegee. It wasn’t a lot of filler but worth the effort to get a good surface for the cloth.
Once the surface was filled, I dull sanded the whole thing.I’ve made a line down across both sides and decided to glass down to that. I’ll have to invert the fuselage to do the bottom and the canard needs to come off for that because my room is so small and the canard is BIG and awkward. The plan is to cut the top off to do the hatches. Of course then I can get the canard off. I’ll join the top to the sides around the IP as a later step.
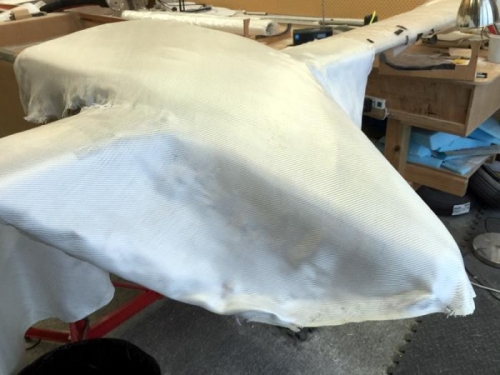
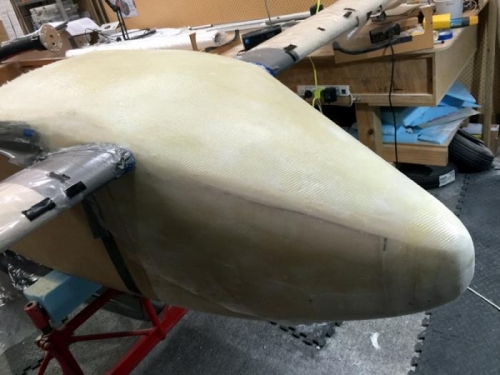
All of today was doing the two plies of BID and then peel ply where I’ll be cutting and adding tapes later. After making plastic templates I decided the best move was to just lay a big piece of BID over the nose and then cut away the excess. That excess will get used in small layups later. I did the usual 45 degree bias if only to help the glass go around the corners although its stronger this way. The BID went well around the nose too. Its great stuff compound curves.
After cure I’ll need to cut from the canard to the nose and somehow get the layup to the rear of the canard all apart from the fuselage so I have one giant piece. That’s going to be …interesting.
Hard shell and the micro filler
Laying out the BID
Two plies done


