| Date: 07-06-2024 | |
| Number of Hours: 17 | |
| Manual Reference: 23 |
It was nearly time for the first engine start to make my 30th of June 2024 deadline. I put fuel into the sump via the wing tanks. I couldn’t get the fuel pumps running however. I poured more fuel into the sump until it was full maybe that was the issue although it didn’t make sense.
Then the trouble started. Avgas was leaking everywhere, down the bottom of the plane, in the back and then into the front cockpit.
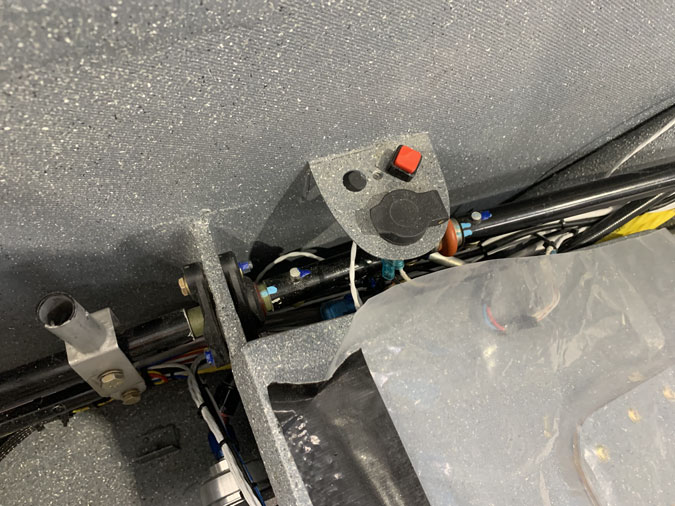
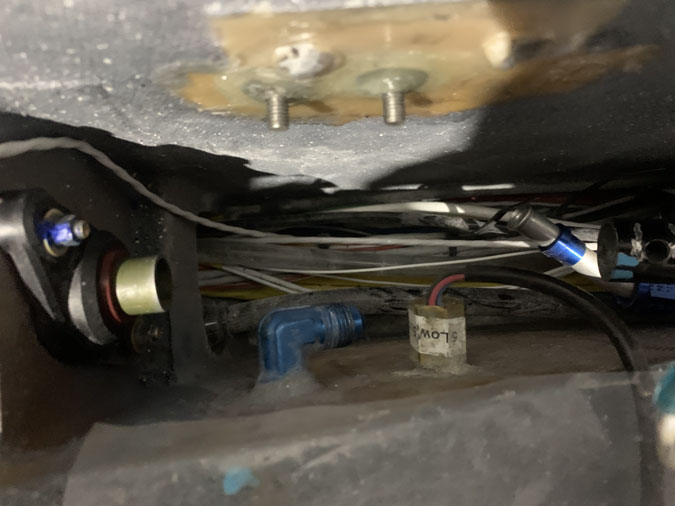
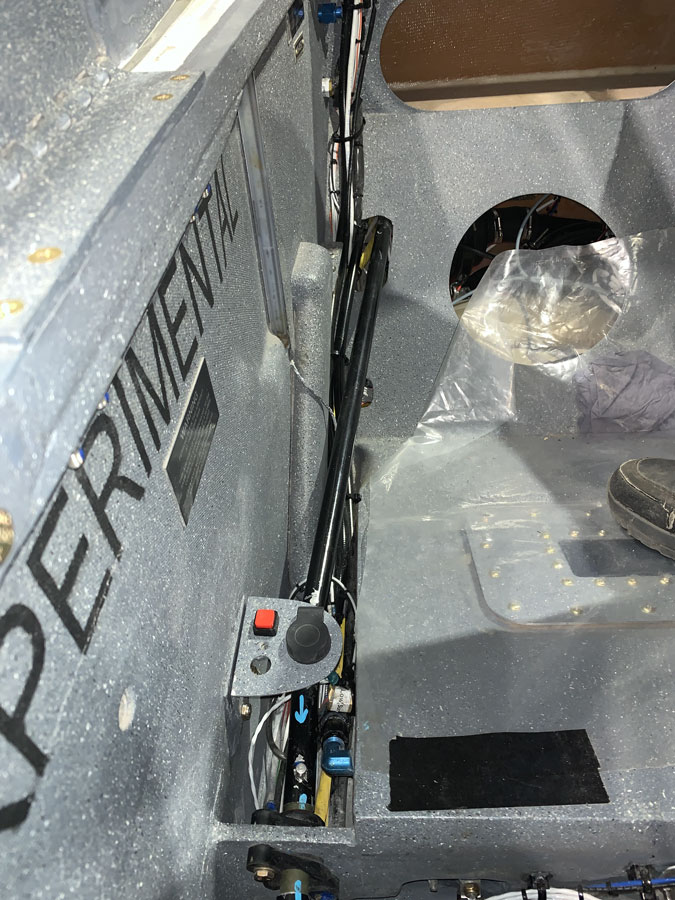
Just down in this ‘inaccessible’ area is the outlet to the sump vent.
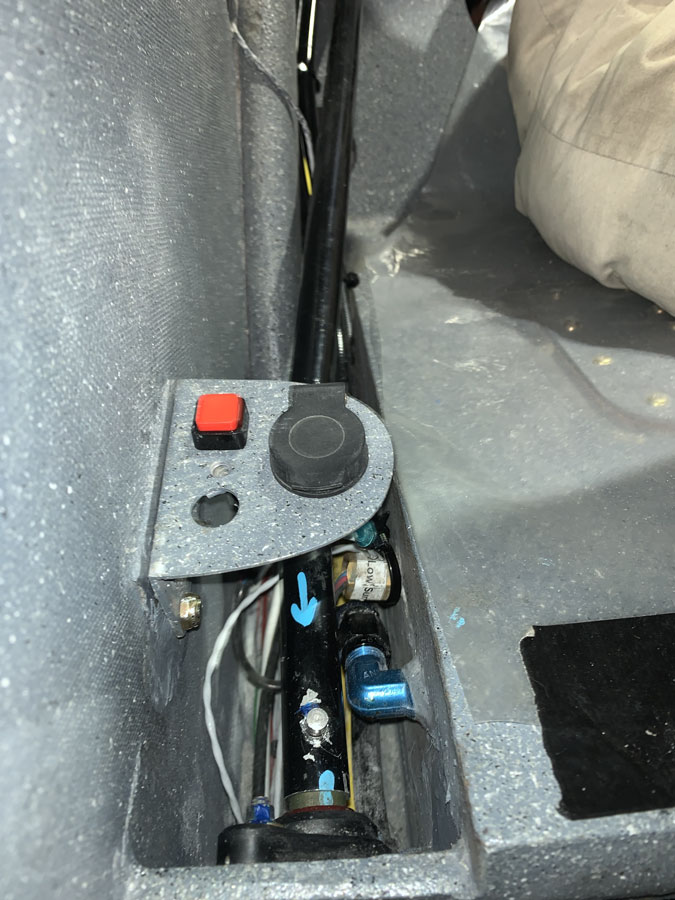
The problem was in this messy cluster of pipes. One was leaking badly, probably not done up or cross threaded. It is a terrible area. I caused the problem by putting the liquid fuel sensor and the vent outlet too close together when I built the sump. So I needed these silly nest of fittings to make it work. This has come back to bite me hard.
My options were to just re-tighten, maybe, or fix this properly. I went with option two.
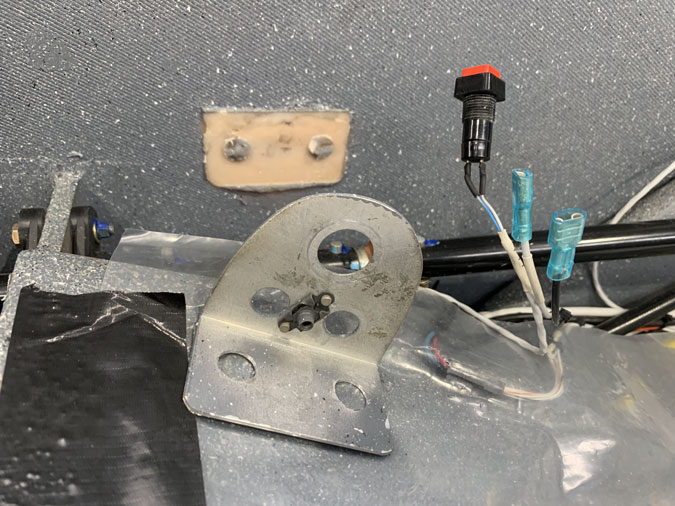
First up was to remove the bracket holding the rear PTT and power outlet and make this item removable so I could have better access.
Here I’ve added a couple of click bonds which will position the bracket pretty close to the same spot.
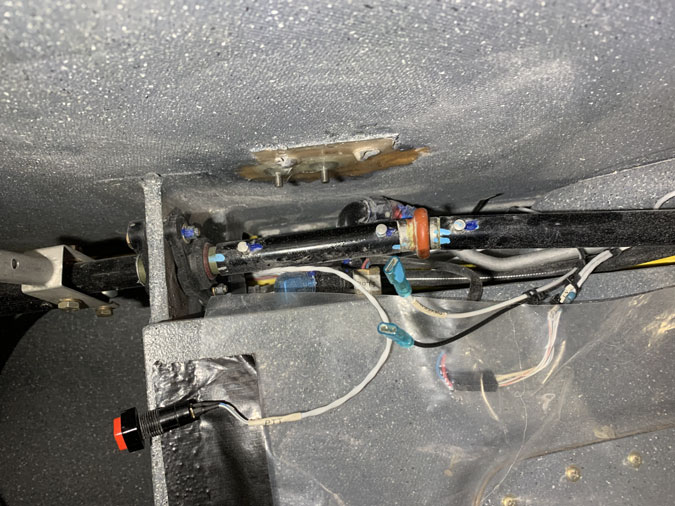
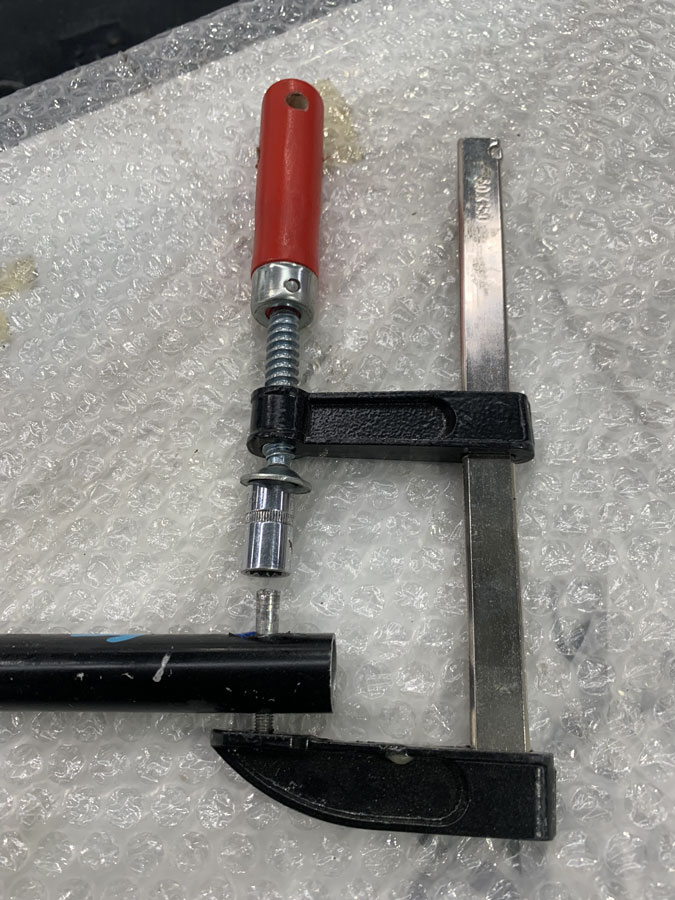
Next up was getting a section of the control system out. This was held in by taper pins that were super solid and inaccessible. You can see the success above. I also had to loosen off the passenger stick and ease out the connecting inner tube.
To get the pins out I drilled a location hole in the foot of this clamp. Next I placed a socket over the head of the taper pin. Once lined up all I had to do was tighten. I needed a couple of holes in the wood handle as well to put a rod in for the significant squeeze pressure required . It was not my idea, I’m not that smart. It did work a treat. Of course I tried other things first for an hour or so, as you do.
Here’s the same picture again, notice how close together the blue vent fitting and sensor are. I could beat myself up a little more, but why bother? My philosophy is to just fix it and move on.
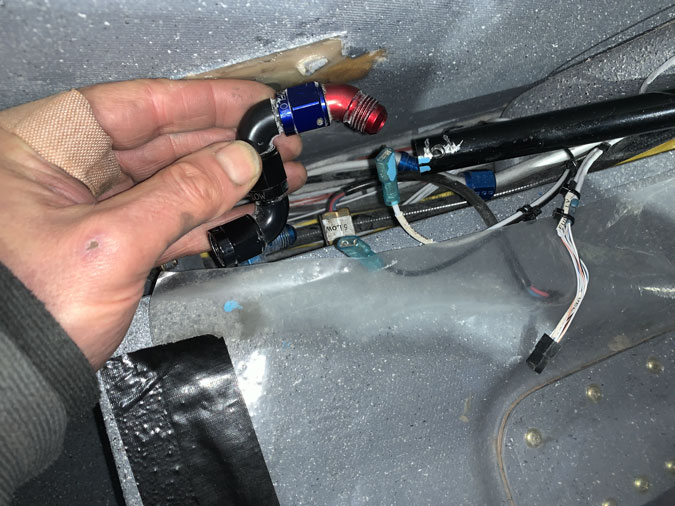
After a lot of thought and fiddling I did find that a certain sort of 45 degree hose fitting had a slightly different shape and size to the pipe fitting such that it could fit better near the sensor and have a gentle curve.
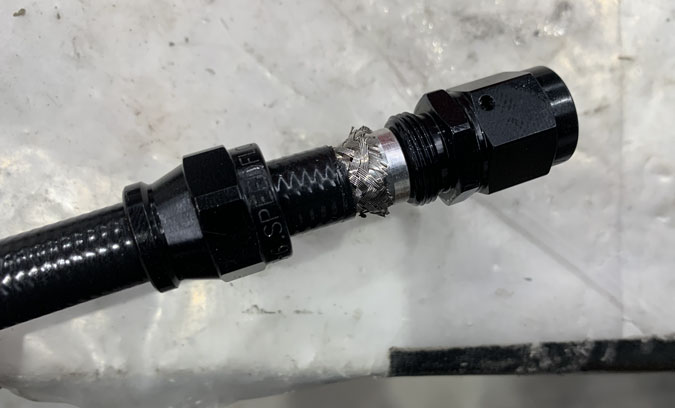
The original hard line is above with the new hose. It had 5 fittings to make it work. I could do this with a quality hose using only two fittings. The down side was 120grams more weight in total AND a couple of full days getting the old one out and putting in the new line.
The hose is the special Teflon lined AN-6 hose I’ve used as fuel line. It is steel braided and this version is also plastic coated. Given it is going next to several wire looms and the main fuel line, this expensive version is the best option.
Of course after the making and fitting process I took it out and tested it to 1000psi
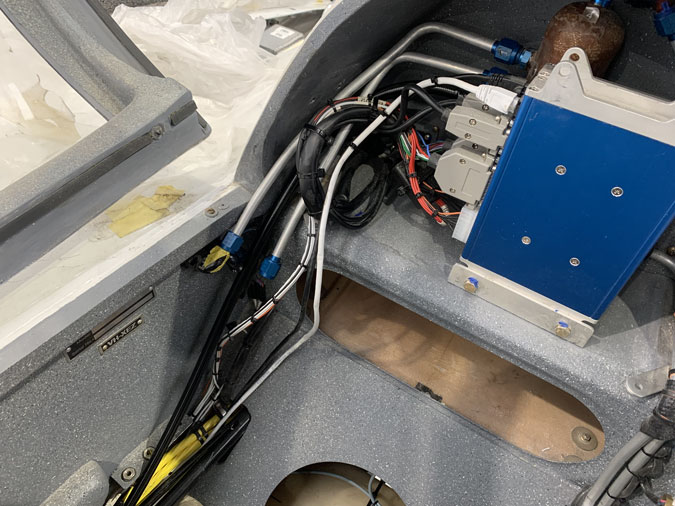
The all nicely settled hoses on that left side in the picture came out to get the black hose to fit. This was a full days work.
We are just about all done another day later. I did manage to damage a wire that needs to be fixed, otherwise we are good.
Those taper pins were not easy to get done up again. However all is well with the world. I did fill up the sump again yesterday and, no leaks. Note that there is an ‘acceptable’ clearance between the vent and the sensor now.
I also measured what went in and the low sump warning goes off with 14 liters remaining when the plane is at flight attitude of 0.75 degrees nose up. Actual cruise angle may not be that flat but we are pretty close I think. At least I salvaged something from this exercise as well as removing a problem area that always bother me.
Oh and in case you were wondering the electric fuel pumps didn’t have an inline fuse in place which is why there was no start.
Time to move on towards the engine start, maybe it will happen early next week.

