| Date: 06-13-2024 | |
| Number of Hours: 4 | |
| Manual Reference: no ref |
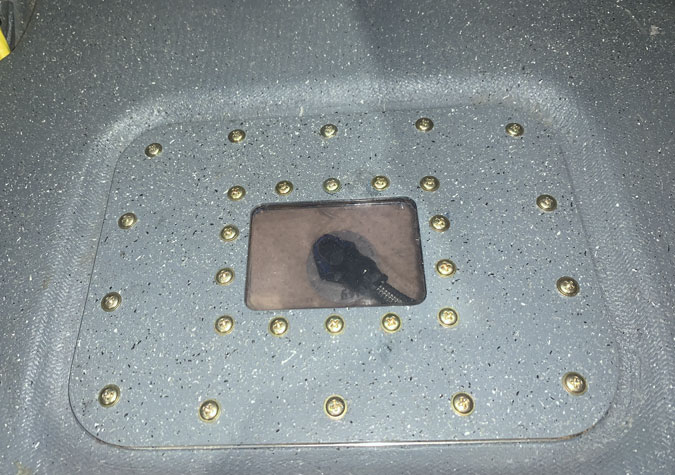
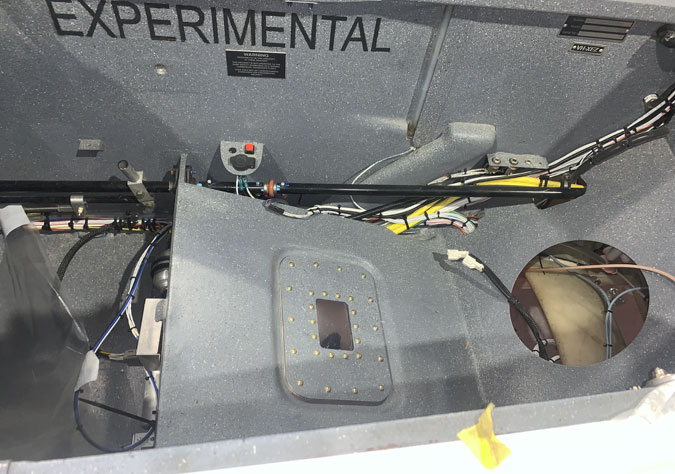
The time has come to close the common sump. I did the hatch window in Sump Hatch 1. Now its time to finish the job.
First up was to use compressed air in both the wing tanks and the sump to get as much gunk out of there as there might be. Next up I grabbed 10litres of Avgas and put 5 in each wing. I used Avgas after some advice… because mogas stinks!
This was the first time the tanks have seen fuel and I got to see how well the common sump drains. It gets everything down to the low point so that works. No leaks either. All good stuff. Then I got to drain it all out and see if there was much residue. Once all the fuel was gone there was a little bit of stuff left in the sump which I cleaned out meticulously.
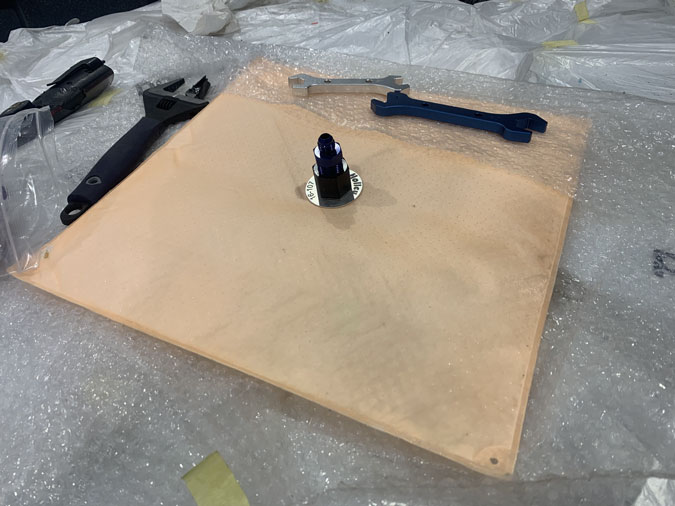
This is the Holy Hydramat, that is going to live in my sump. Its a 15 micron filter 15″ x 15″ and a genus design. I get a huge area fine filter before it even gets to the pumps, then I have a 10 micro cleanable filer after that before we get to the engine. I should have clean fuel and no worries about a filter getting blocked.
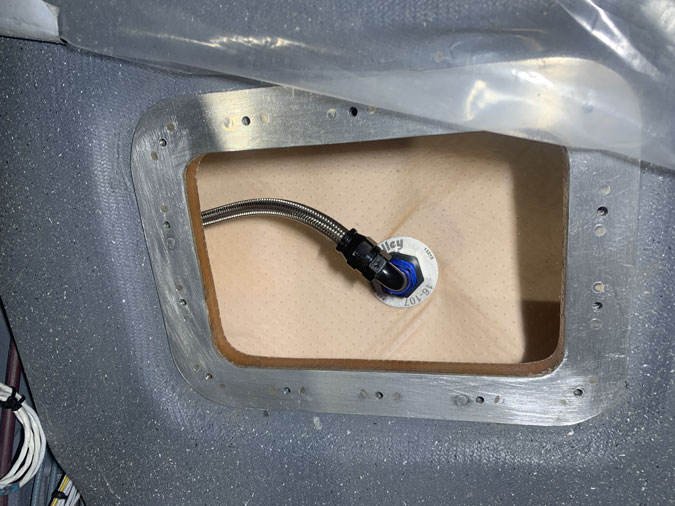
With a now flushed and cleaned sump I got the Hyramat back in and fastened it with two small nuts in the tank. I connected the AN-6 fuel hose, confirmed tightness and it was finally time to button it all down.
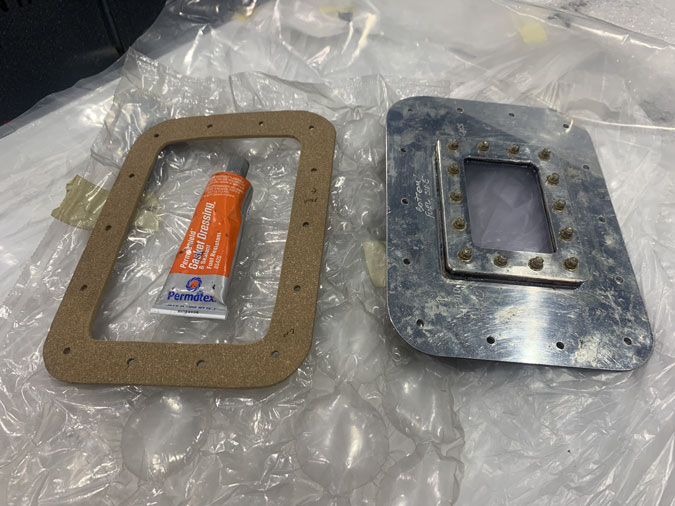
The gasket is 3mm cork impregnated with neoprene or something. It is fuel safe, that much I know for sure! The resident sheet metal guy in the hangar thought that my bolt holes should have been closer together and thats why he suggested the 3mm rather than 1.5mm cork. I’m using a gasket ‘dressing’ that gets smeared on both sides of the cork to aid sealing.
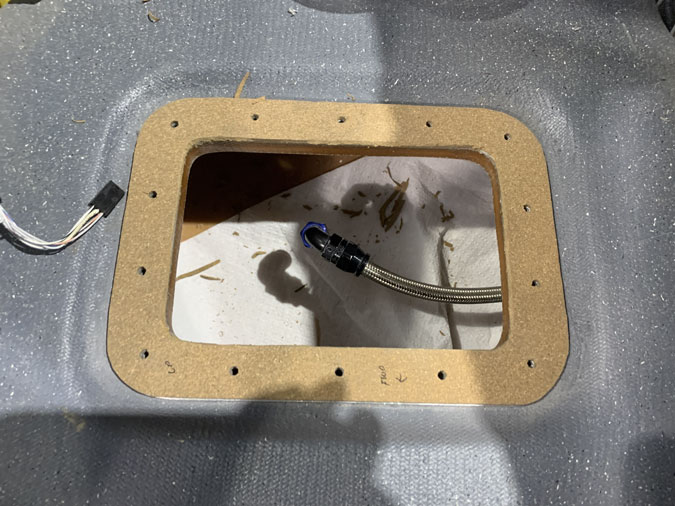
Here it is sitting on the flange during a test fit. I was really careful when I made this to mark which way it goes on so the holes would line up exactly. You can just see the marks.
After the thin sealant and setting it all up, I spent some time getting things aligned and then progressively tightened. I did this with the screws in an opposite pattern as we do when putting on propellers.
Here’s how it looks. The sump is secured. The fuel path is done for now. I still have a couple of hoses on top of the engine to do however but this side of the firewall forward is all good.

