| Date: 04-04-2024 | |
| Number of Hours: 30 | |
| Manual Reference: 23 |
Having made a beautiful RHS radiator duct, of course its not going to work out now. I spent quite some time moving the radiator to accommodate the heat exchanger. Now I need a new duct to allow for the new position.
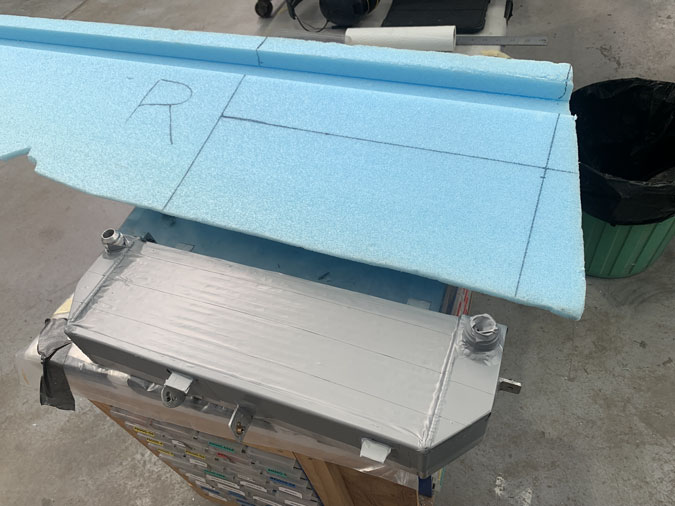
I covered the radiator in tape and selected a new piece of blue foam to make the ‘shape’.
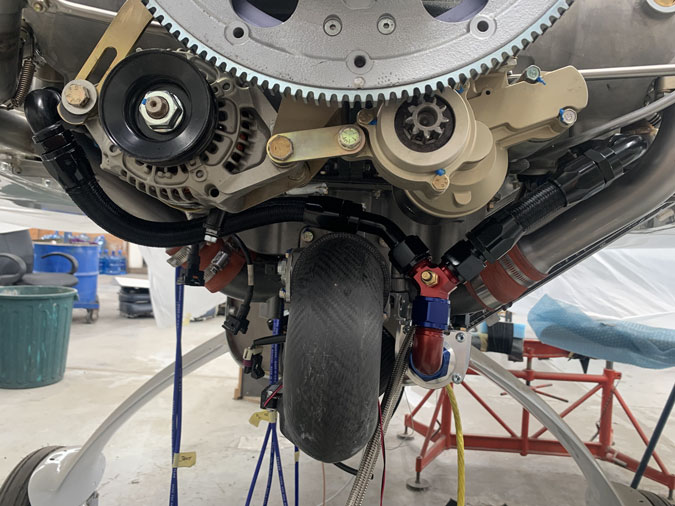
I might add here I have been busy for a week making hoses and securing the throttle-body for real and a number of other jobs as well as a lot of planning for the next steps as well as progress on the oil hoses.
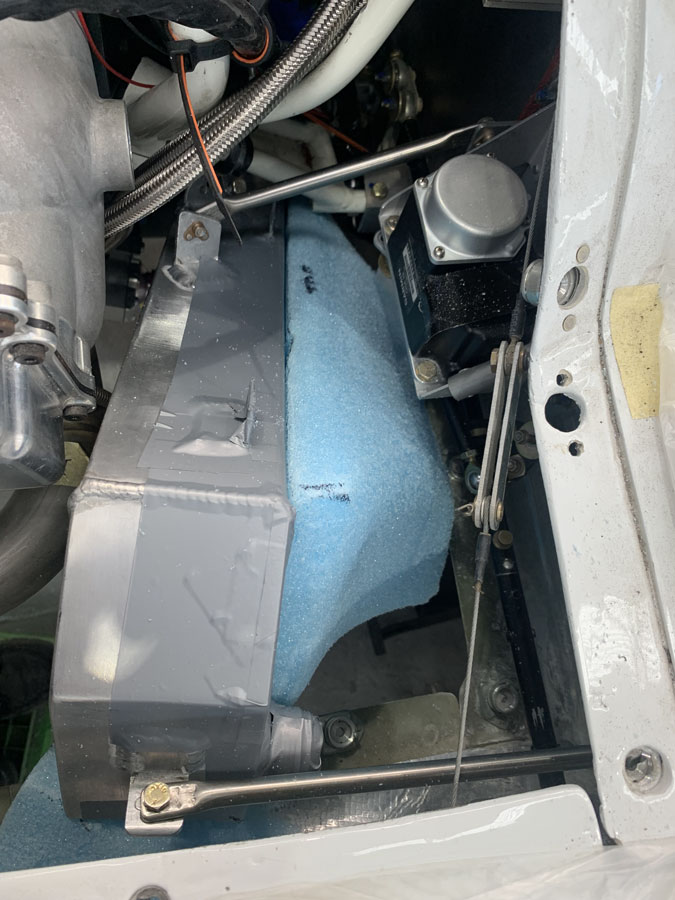
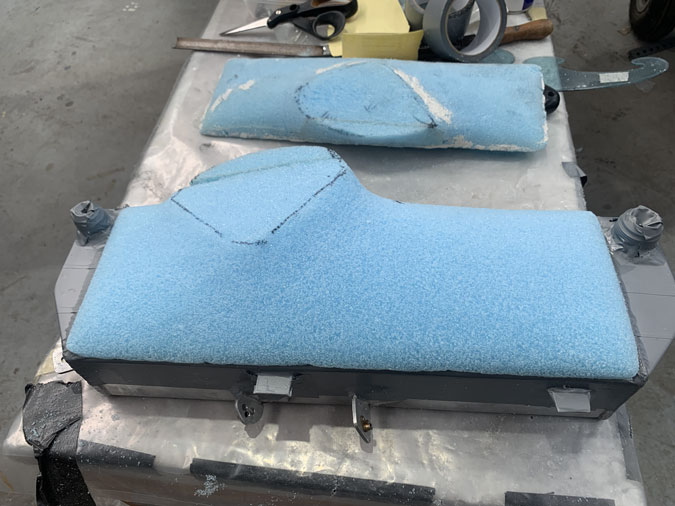
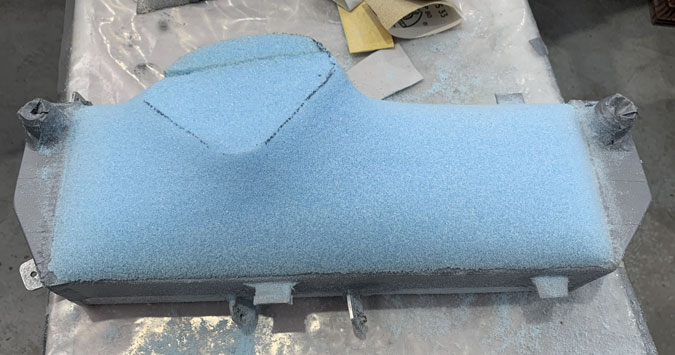
After some hours I got a shape that is beginning to fit. (you can see two oil hoses in approximate position)
A lot of refining got me a little closer. As this is my second try at this duct, or version 2.0, as it sounds better, I am working on the maximum size I can and still get the lower cowl on and off.
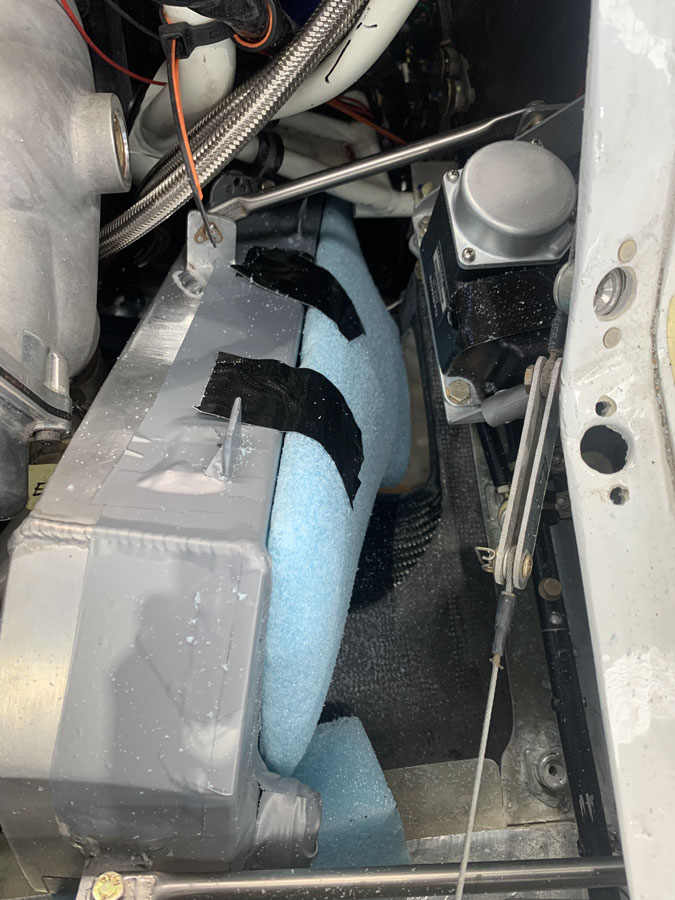
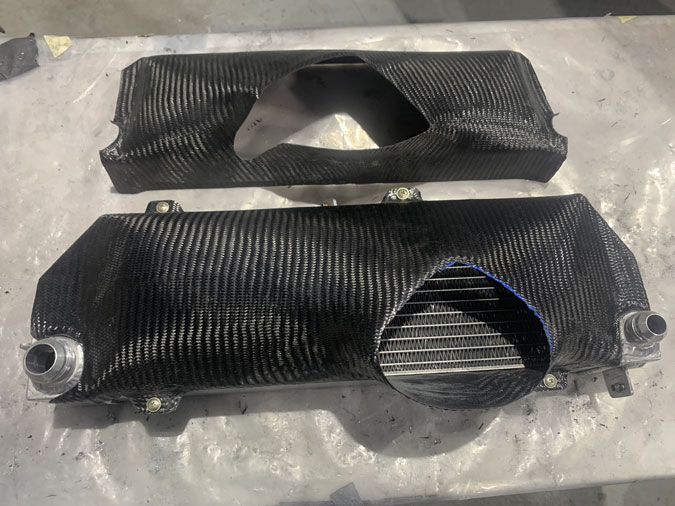
At this point you can see it is more refined. The old plug for version 1 of this duct is in the background. You can see with the radiator re-positioned where the air comes in is now in a new position, less central. I’ve also tried to get more volume into the duct to distribute the air a little better.
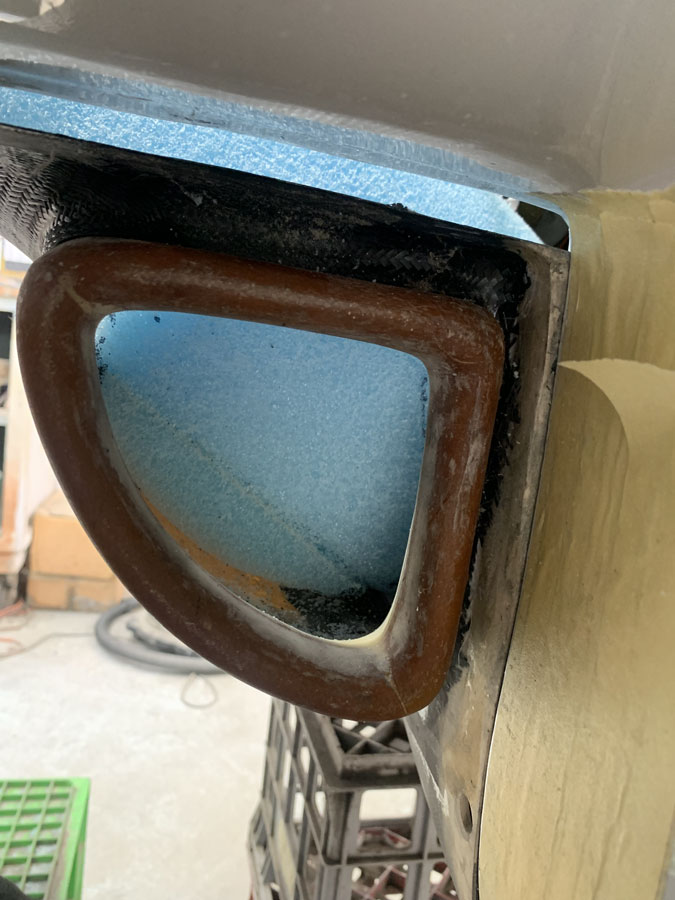
As before, its all about getting the air to enter via the armpit scoop and into the radiator. I still don’t know how I’m going to do the seal that has to still allow the removal and replacement of the cowl. I have a bit of an idea just to use foam seals but it will take quite some refinement.
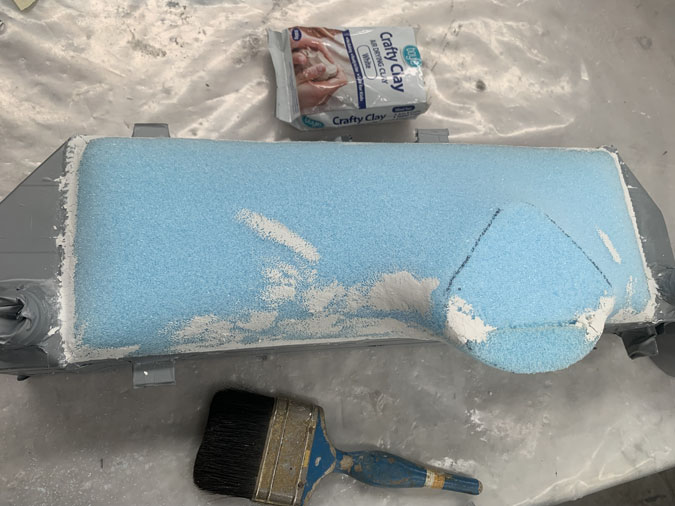
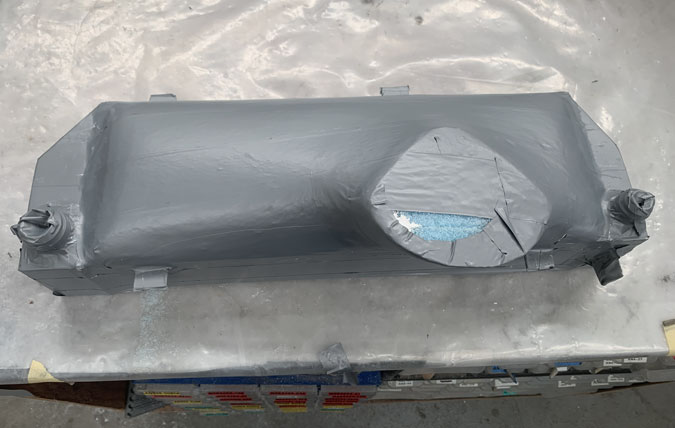
At this point I’m getting closer. The ‘plug’ is contact glued to the tape and the intersections are refined down to 220 grit paper.
I use modeling clay to transition any gaps in the blue foam.
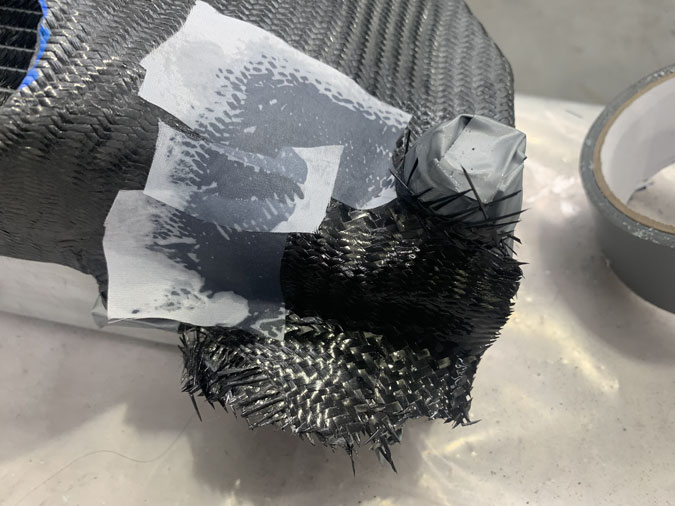
I just use cheap thin duct tape and cover the foam shape. There is no need for a release medium, its a one off shape.
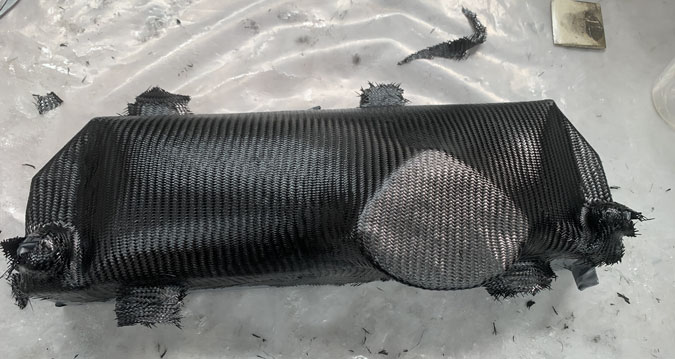
Next up are just two plies of carbon fiber.
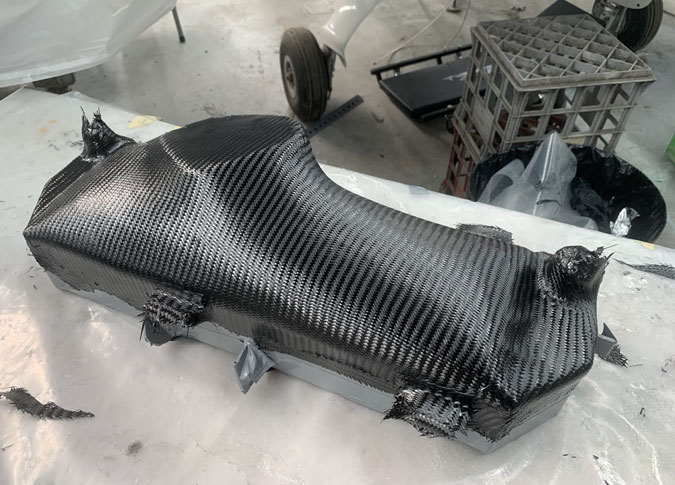
You can see here we have a bit of depth in the duct shape this time.
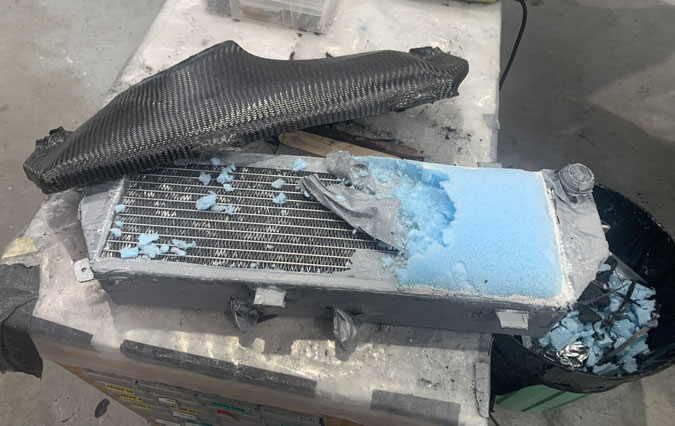
Getting the shape off and free always a bit of a process. This time I didn’t even try to preserve the plug, I just hacked it out. Very satisfying!
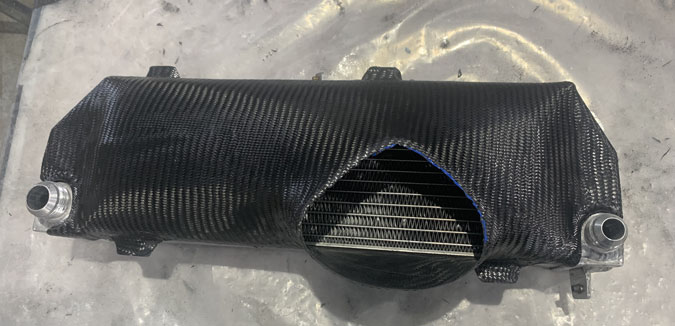
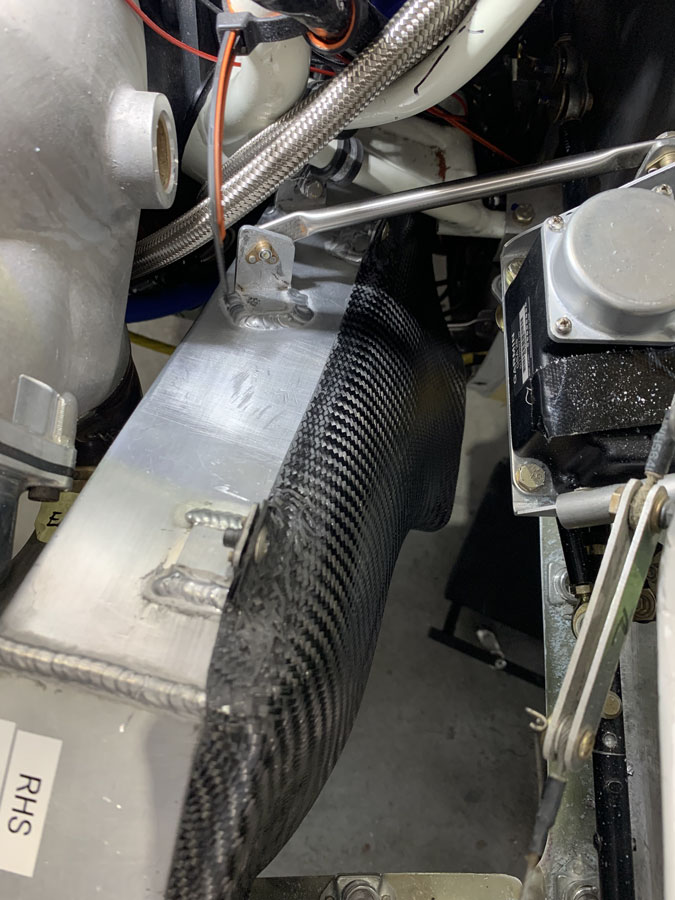
After a bit clean up and trim I have a pretty good fit onto the radiator.
I did the standard nut plate thing to hold the duct in place.
Here we are compared to Version 1. A much better fit and improved shape as well as the holding point for the screws integrated into the first 2 ply layup.
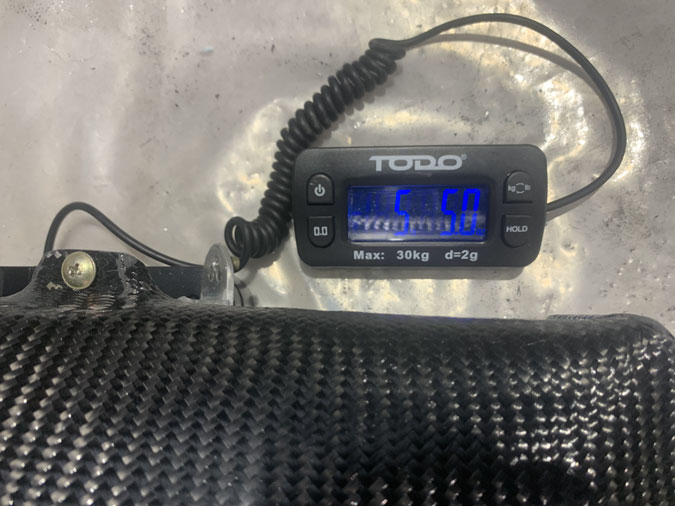
Final weight with the radiator is 5lbs 5 ozs. At least the duct is super light.
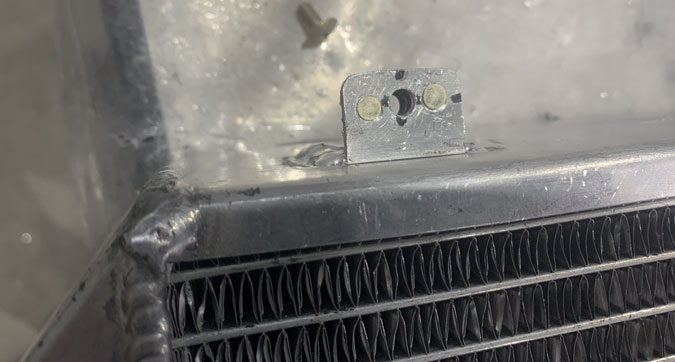
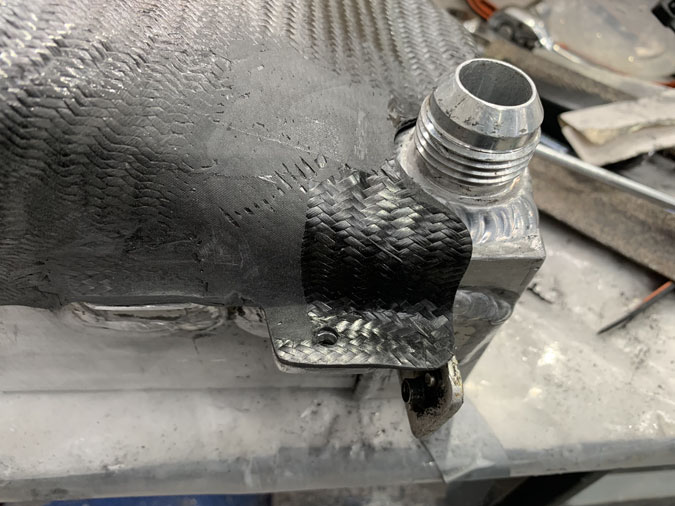
Of course I assembled it all on the plane only to find that one of the attachment points hits the cowl. Doh!!! I had to get a new piece of angle welded onto the radiator at unreasonable expense and the added cost of another day. Then the layup with more carbon.
After another two days and an easy clean up we have our new attachment point an inch or so down from the previous one which I have trimmed away. Of course I have done a new nutplate on the new tab.
All is well now. The bottom cowl clearances are good. The radiator fits. I can now start thinking about the LHS unit which I picked up yesterday from the welder. Here we go again.

