| Date: 02-11-2024 | |
| Number of Hours: 16 | |
| Manual Reference: 23 |
The design of the first radiator duct has been on my mind for a few years now. There had to come a time when it was the next job, ready or not.
On a FB friend’s suggestion, I got in touch with ‘Jac’ in the Netherlands. He was a protege of the late and great airfoil designer, John Roncz, who did the flying surfaces for the Voyager as well as the Long-EZ ‘Roncz’ canard that I built for my plane.
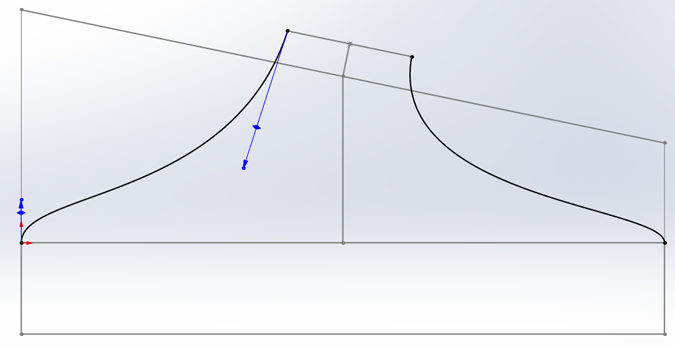
Jac very generously has engaged in a few discussions about my ‘fluid dynamics’ problems. He is an expert in the field doing very large commercial projects. After we talked about KW trumpet ducts he sent the above drawing which is a KW with modified ends. My issue here is that I can’t really make the neck of the duct anywhere near long enough to get the incoming air to spread evenly over the long surface of the radiators.
This RHS is the worst of the two radiator placements. I’m looking at a small puller fan as you might have in a motor car down one end which may help with ground cooling. Hopefully it won’t be needed in flight. These fans can pull 5-6 amps each and I’m running out of alternator capacity.
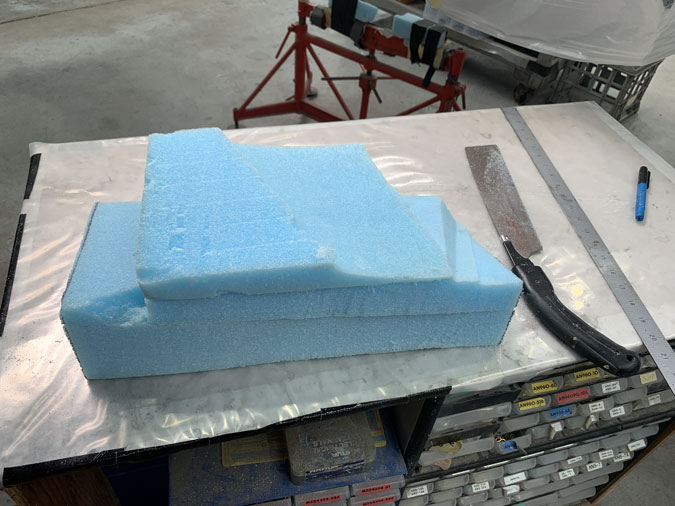
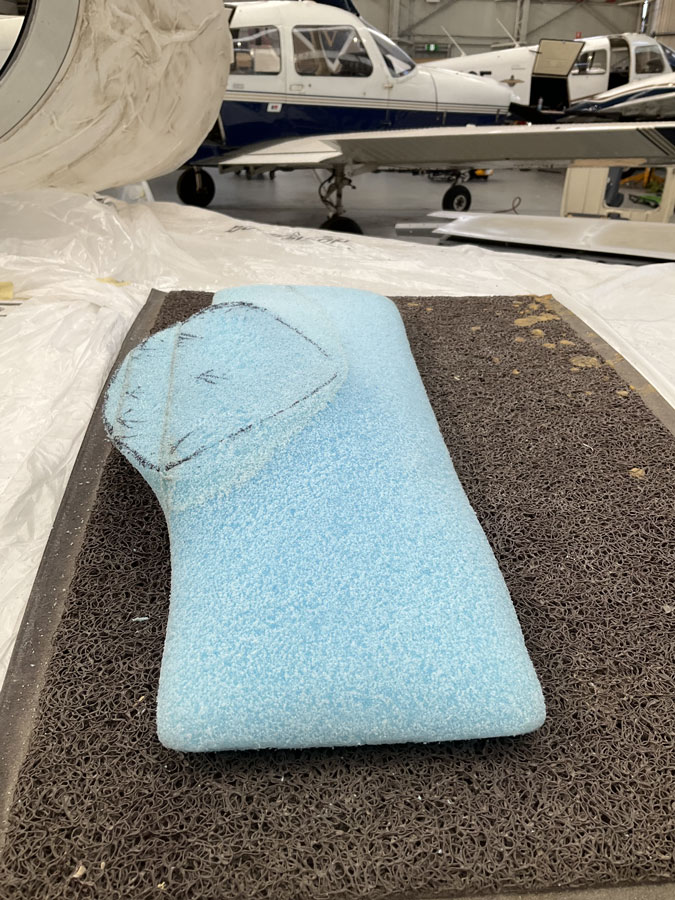
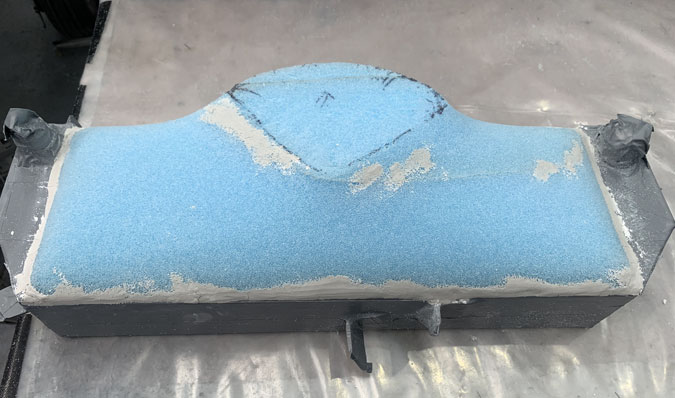
With no idea of what I really needed, I just stuck some foam together that was way too big. Its a start, right?
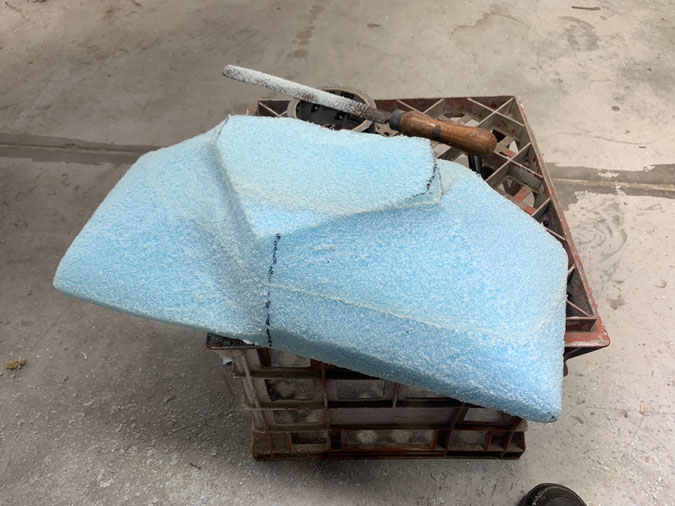
This stuff is easy to carve, My nice big duct was getting smaller and smaller.
In the end to make it fit I had a pretty slim unit, The issue was also how do I get the cowls on and off AND get an airtight seal on the duct? I’ve been wondering on this for a year or so too.
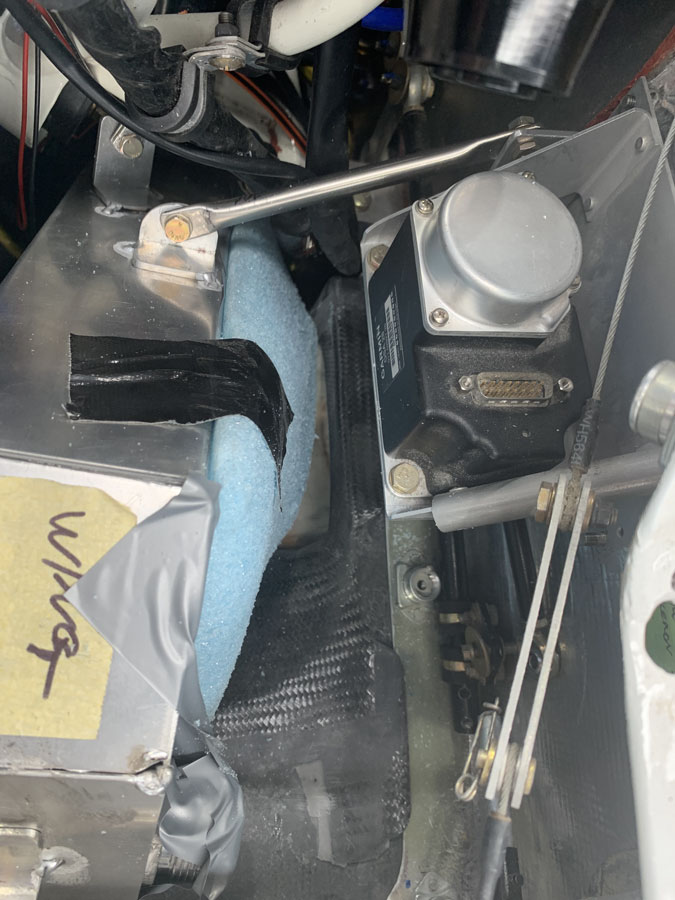
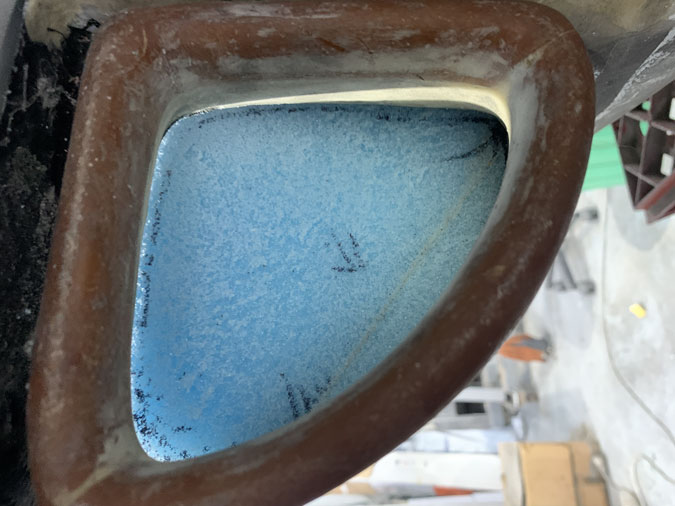
This is what the air sees. It turns out that the duct is in the way of my fuel return pipe. That’s another job to sort out later.
Not exactly my gentle trumpet shape with a nice long neck.
In fact my duct is almost the opposite of this ideal KW duct. Lets face it, the RHS to the radiator is just something that seals to the radiator from the incoming armpit scoop. Nothing fancy going on here.
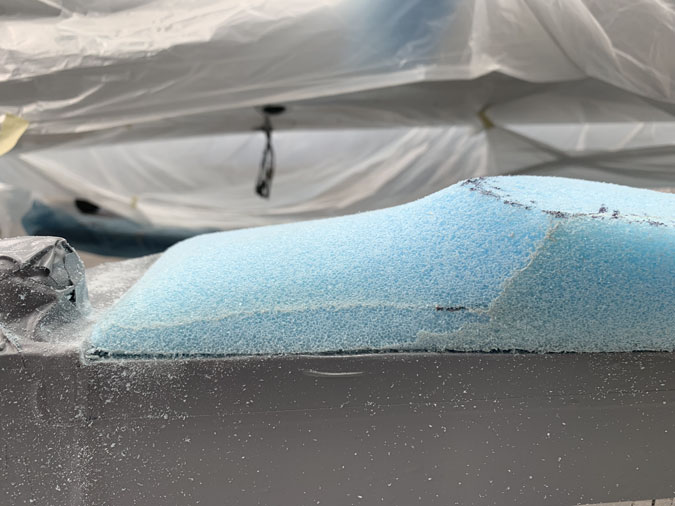
I do have a tiny bit of curve.
Well a really small amount of curve that isn’t going to get the air spread as I would like it. An electric fan at one end is a certainty in my future.
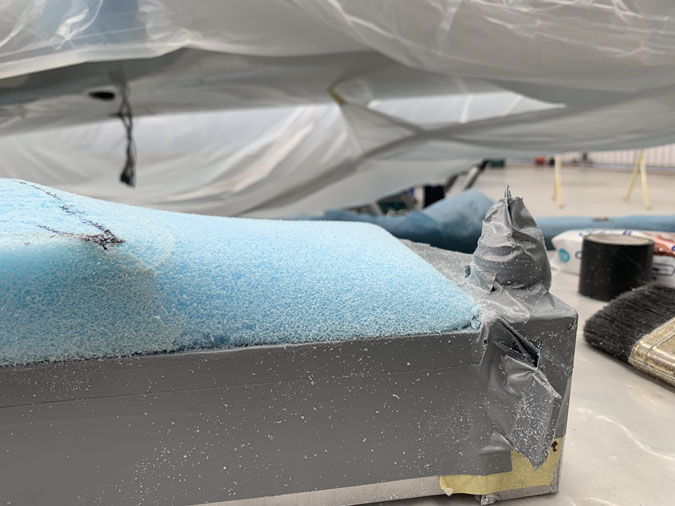
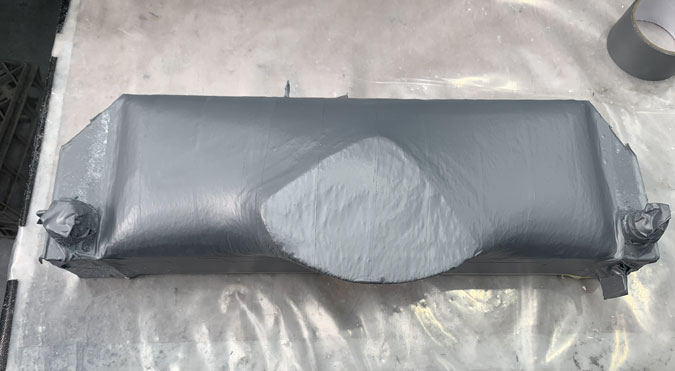
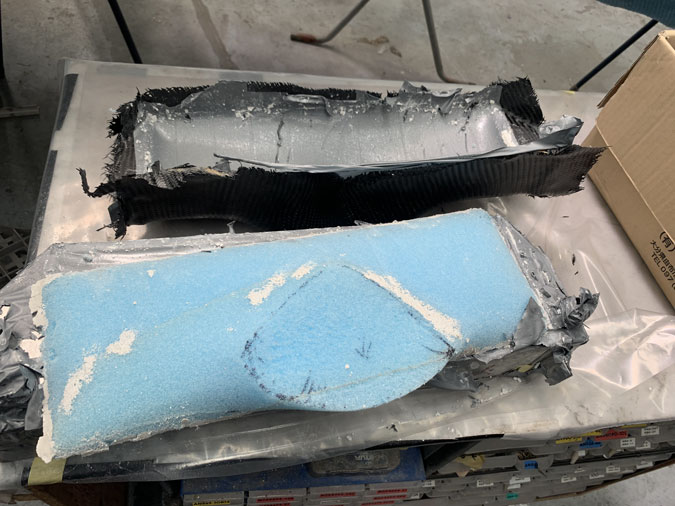
Here I have the radiator covered in duct tape and I’ve just used spray adhesive to hold the foam in place. Soft modelling clay was then stuffed in the edges and over a few gaps to give me a consistent surface.
Next comes more duct tape which is my ‘mold release’.
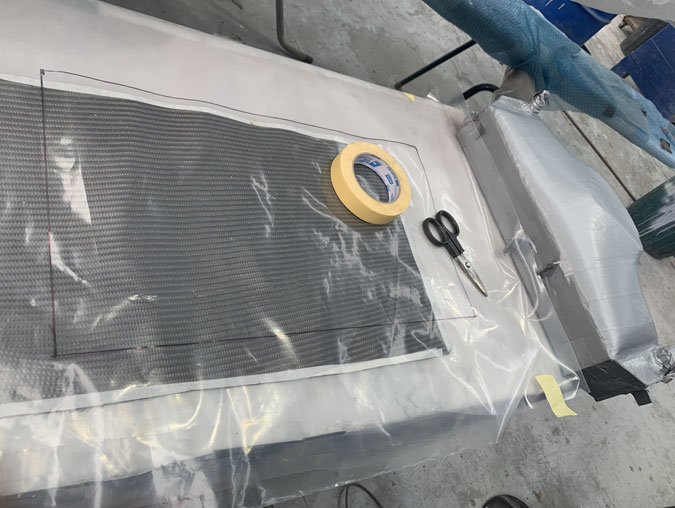
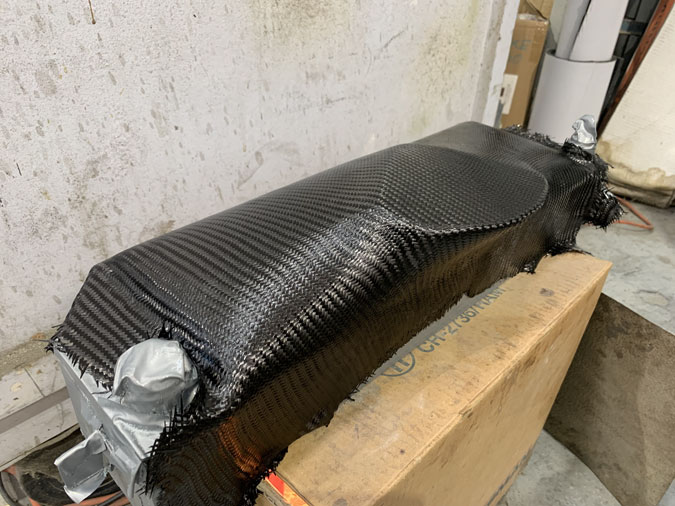
I’ve used three ply of carbon BID, so what you see above three times. I wet them out and then apply each ply separately one on top of the other..
With the three plies applied, I left it overnight sitting on top of my high tech hot box. This has an old school light glob in it. I’ve used that same box for heating my epoxy the last 12 years. I have replaced the globe a few times.
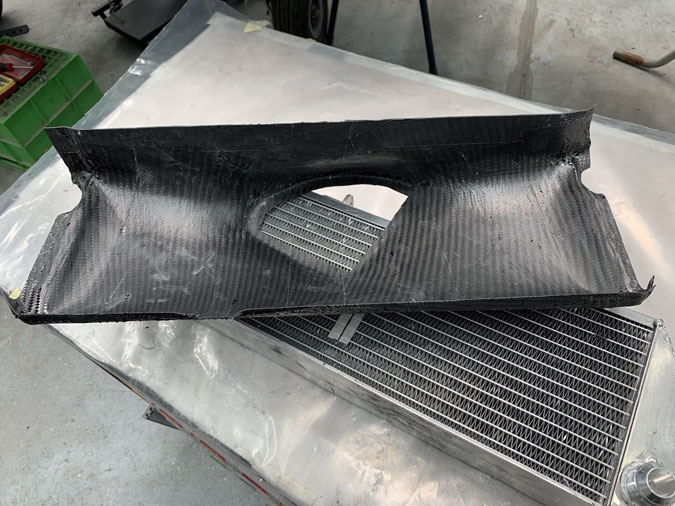
After the usual and expected trouble I got the cured part off the mold. When I say trouble, I just mean it takes patience and some time.
After a clean up, the part came out pretty well. I could do a light sand on the inside but it really doesn’t need it.
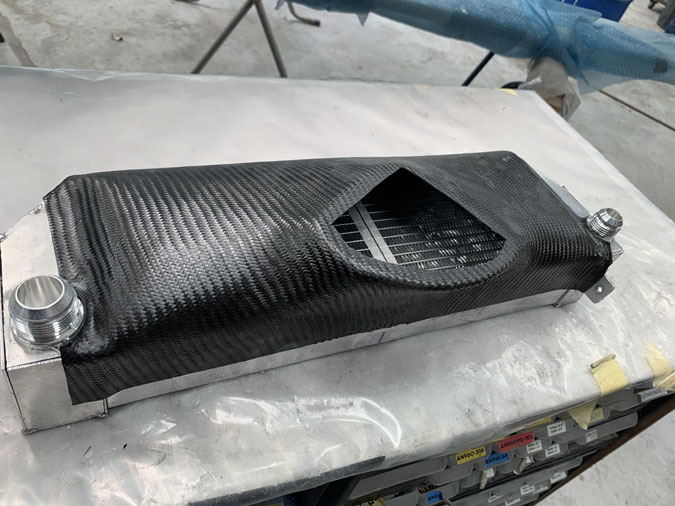
This is the initial trim. The radiator end tanks are just tacked on for now. Once the final welds are done I will probably have to cut the ends off the duct and put new ones on for a nice tight fit. That’s an afternoons work. No problem.
The next ‘radiator duct task’ is to work out how I am going to seal the thing. I have an inch or so gap to the armpit duct. It might be just foam around the edges or a bit more of a structure. I’ve gotten this far, so it’s time to set it all up again…and just stare at the thing for a while until I think of something.

